 (208) 991-3502
 Meridian, ID




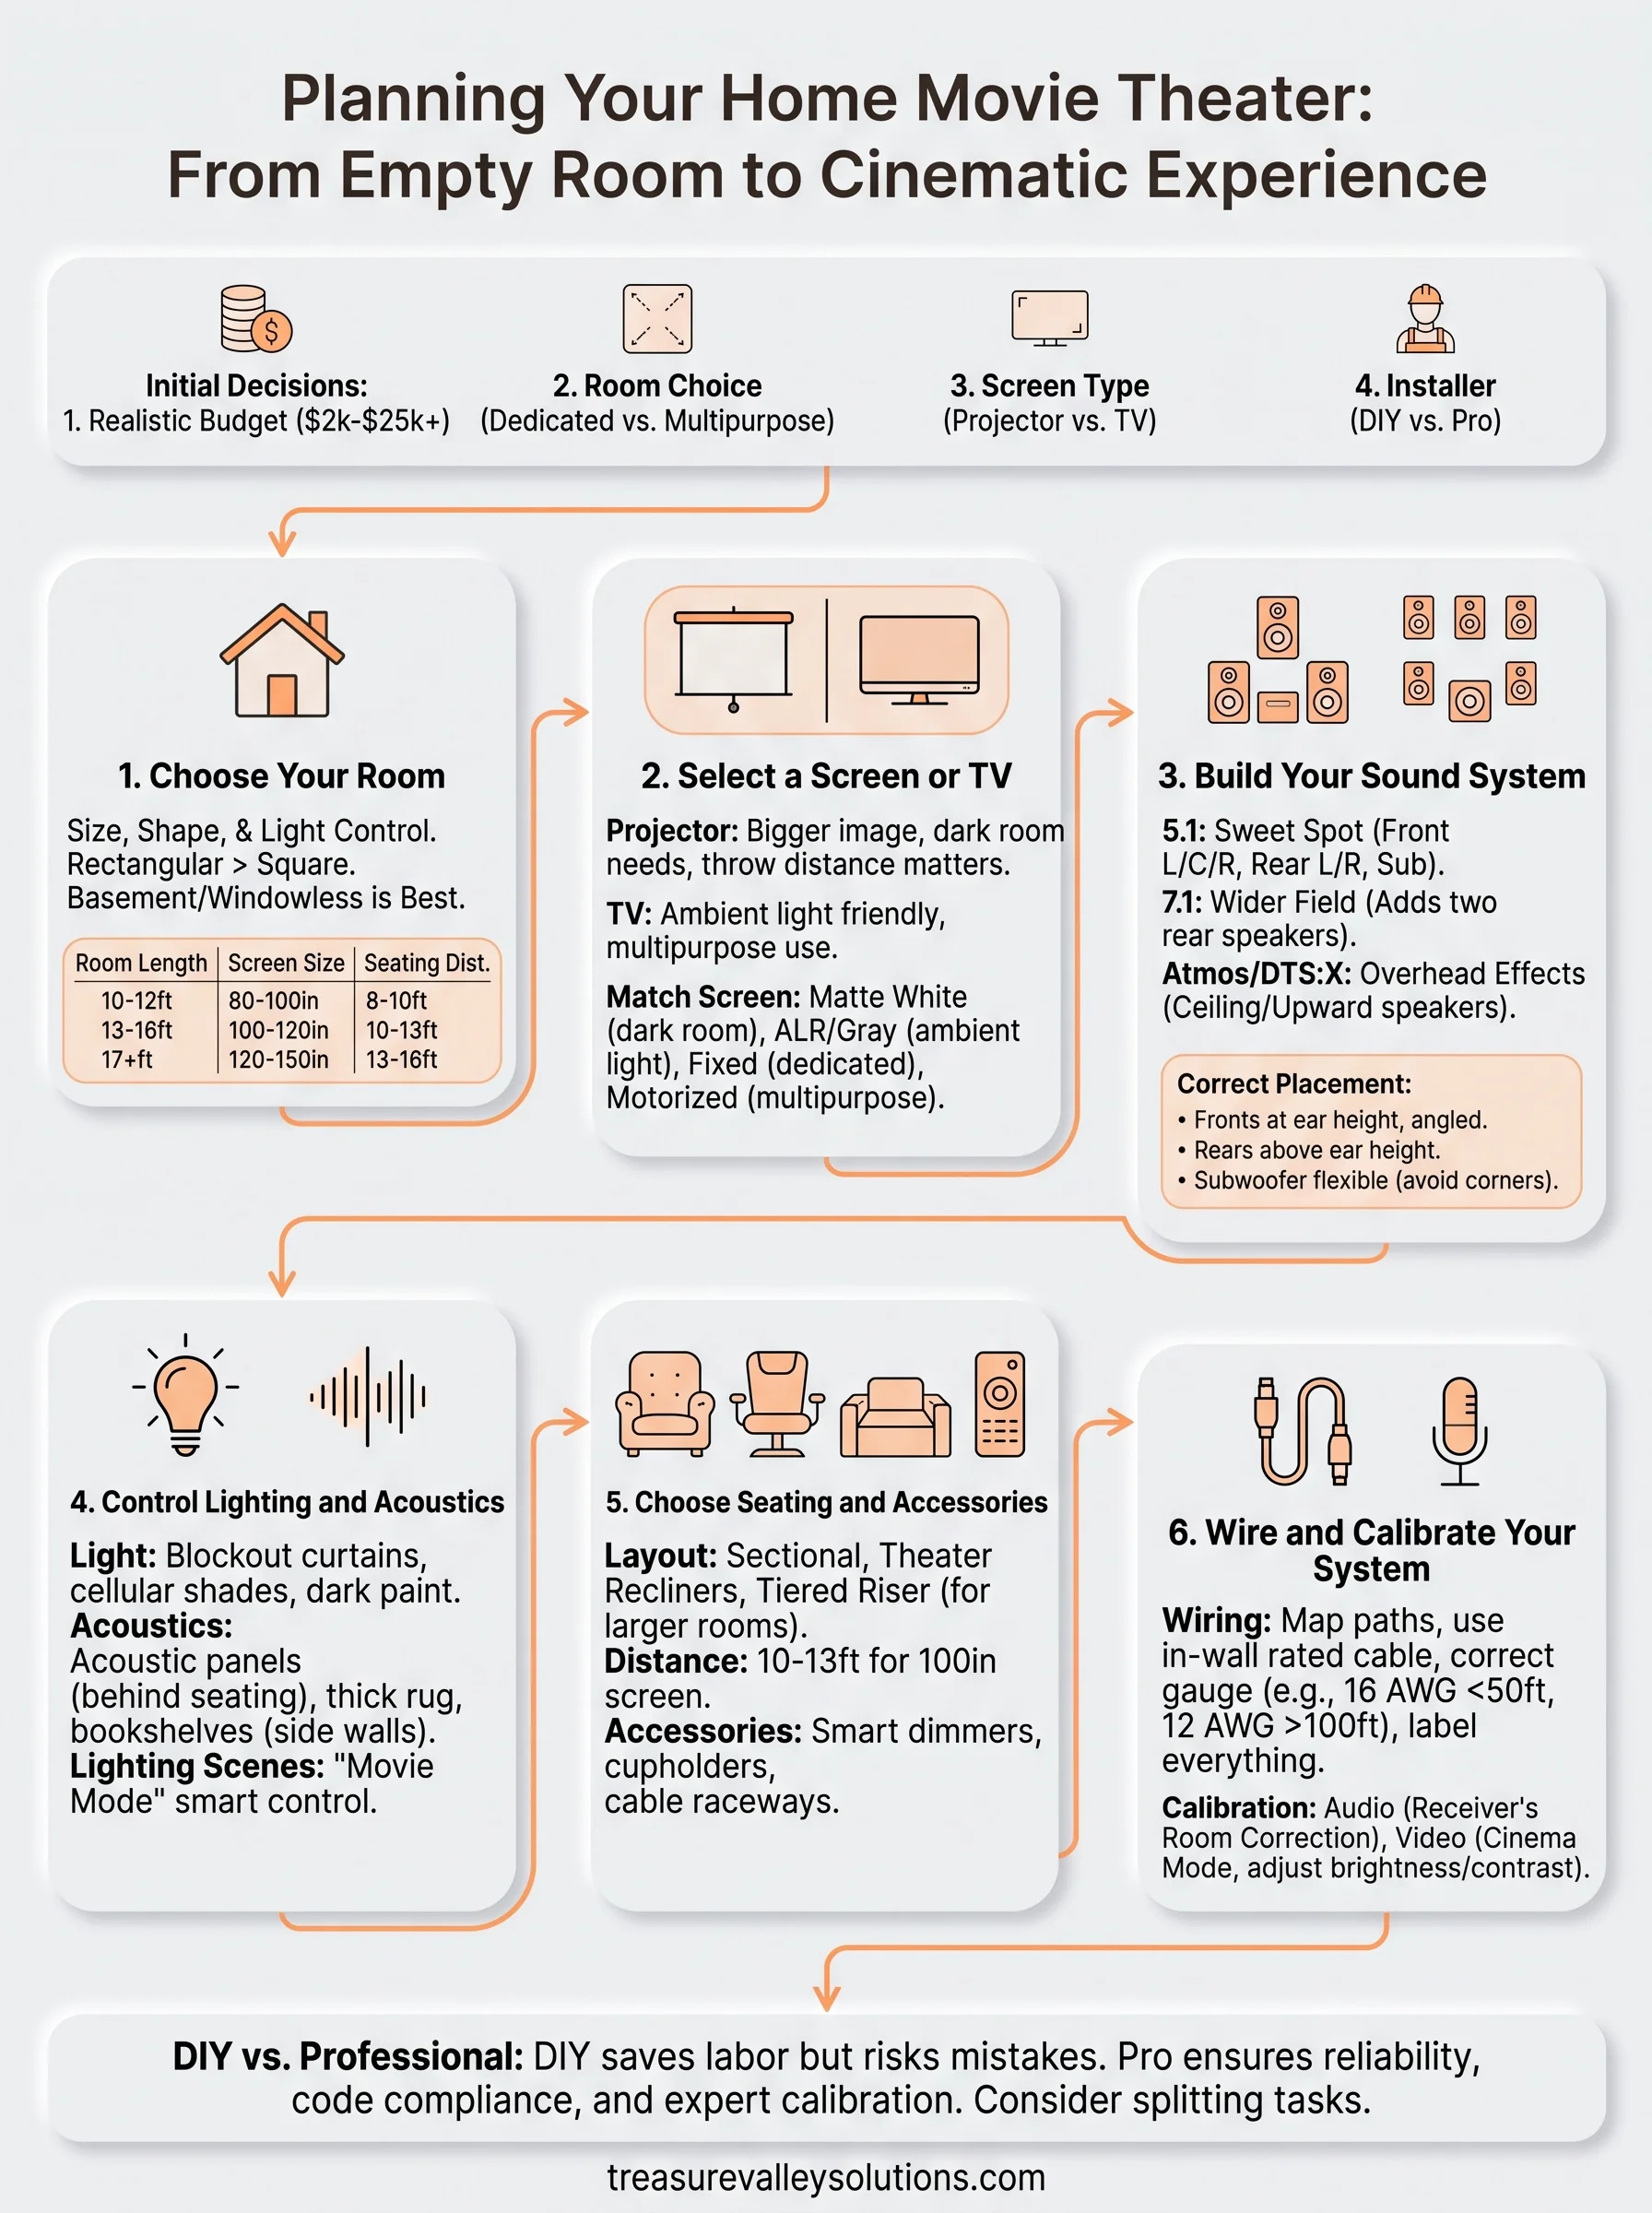
You've watched the YouTube videos, priced out a projector, and now you're staring at an empty room wondering where to actually start. Planning a home movie theater installation means more than buying...
You've watched the YouTube videos, priced out a projector, and now you're staring at an empty room wondering where to actually start. Planning a home movie theater installation means more than buying a big screen and a couch. It means thinking through wiring, acoustics, seating layout, and power before a single cable gets run, and skipping that planning stage is exactly why so many DIY setups end up disappointing.
This guide walks you through the real planning process: how to pick the room, size your screen and speakers correctly, run wiring the right way, and budget for equipment without overspending on gear you don't need. Whether you're doing a full home theater room installation yourself or deciding where you need a pro, you'll know what questions to ask and what mistakes to avoid.
We cover the whole process, from choosing between projector and TV to laying out surround sound and lighting control. If you get partway through your home theater installation diy project and realize the wiring or acoustics need expert hands, that's where our Meridian-based team at Treasure Valley Solutions comes in, handling the technical parts you'd rather not troubleshoot alone.
Home theater planning: what to decide first
Before you touch a drill or open a browser tab for projectors, you need answers to four questions: how much you're willing to spend, what room you're using, whether you want a projector or a big-screen TV, and who's actually doing the install. Get these locked down first, and every decision after this point gets easier. Skip them, and you'll end up rewiring walls or returning gear that doesn't fit your space.
Set a realistic budget range
Most home theater budgets fall into three tiers, and knowing which one you're in shapes almost every other choice you make. A basic setup with a 4K TV, a soundbar, and a couple of smart bulbs can run $2,000 to $4,000. A mid-range dedicated room with a projector, a 5.1 surround system, and blackout treatments typically lands between $8,000 and $15,000. A full custom theater with acoustic paneling, in-wall wiring, tiered seating, and professional calibration often exceeds $25,000.
| Tier | Typical Cost | What's Included |
|---|---|---|
| Basic | $2,000-$4,000 | 4K TV, soundbar, smart lighting |
| Mid-range | $8,000-$15,000 | Projector, 5.1 surround, blackout curtains |
| Full custom | $25,000+ | Acoustic treatment, in-wall wiring, tiered seating, pro calibration |
Decide where you land before you shop. It's the single biggest factor in whether you finish this project satisfied or frustrated.
Projector or TV: decide early
Once your budget is set, the projector-versus-TV question answers itself for most people. Choosing between a projector and a TV comes down to tradeoffs: projectors give you a bigger image for less money per inch of screen, but they need a dark room and more setup work, including mounting, screen selection, and light control. TVs cost more per inch at large sizes but work in rooms with ambient light and need almost no calibration. If your space doubles as a living room during the day, a TV usually wins. If you're building a dedicated, light-controlled room, a projector delivers a more cinematic result for the money.
A home theater built without a clear budget and room plan almost always costs more to fix than to build right the first time.
Dedicated room or multipurpose space
Going further, figure out whether this is a dedicated theater room or a space that pulls double duty as a family room. A dedicated room lets you control light, sound, and seating without compromise, which is why most home movie theater setup projects that end up looking professional start with media room layout and design for a room used for nothing else. A multipurpose space forces trade-offs: you'll likely skip full blackout curtains, tone down the surround sound for evening use, and pick furniture that doesn't scream "theater." Neither choice is wrong, but naming it now keeps you from buying gear that doesn't match your reality.
Decide who's doing the work
Honestly assess your own wiring, acoustics, and calibration skills before you commit to a full home theater installation diy project, and know what separates a good installer from a bad one if you decide to hire out. Running speaker wire through finished walls, calibrating a receiver's room correction software, and mounting a projector at the right throw distance are all doable yourself with patience and the right tools. But if you're short on time, uncomfortable with in-wall wiring, or want the finished product to actually look clean, professional installers handle the technical heavy lifting while you focus on choosing the couch. Many homeowners split the difference: DIY the easy parts, then bring in a team like Treasure Valley Solutions for professional home theater installation in Boise and Meridian, calibration, or a full custom design once the plan is set.
Step 1. Choose your room
Start by walking through your house and ranking rooms by three factors: size, shape, and light control. A basement or windowless bonus room almost always beats a bright living room for a serious home theater room installation, because you're not fighting daylight for blackout performance. Look at square footage next. A cramped 10x10 room limits screen size and seating distance, while an oversized room can swallow sound and force you into extra speakers just to fill the space.
Match room dimensions to screen size
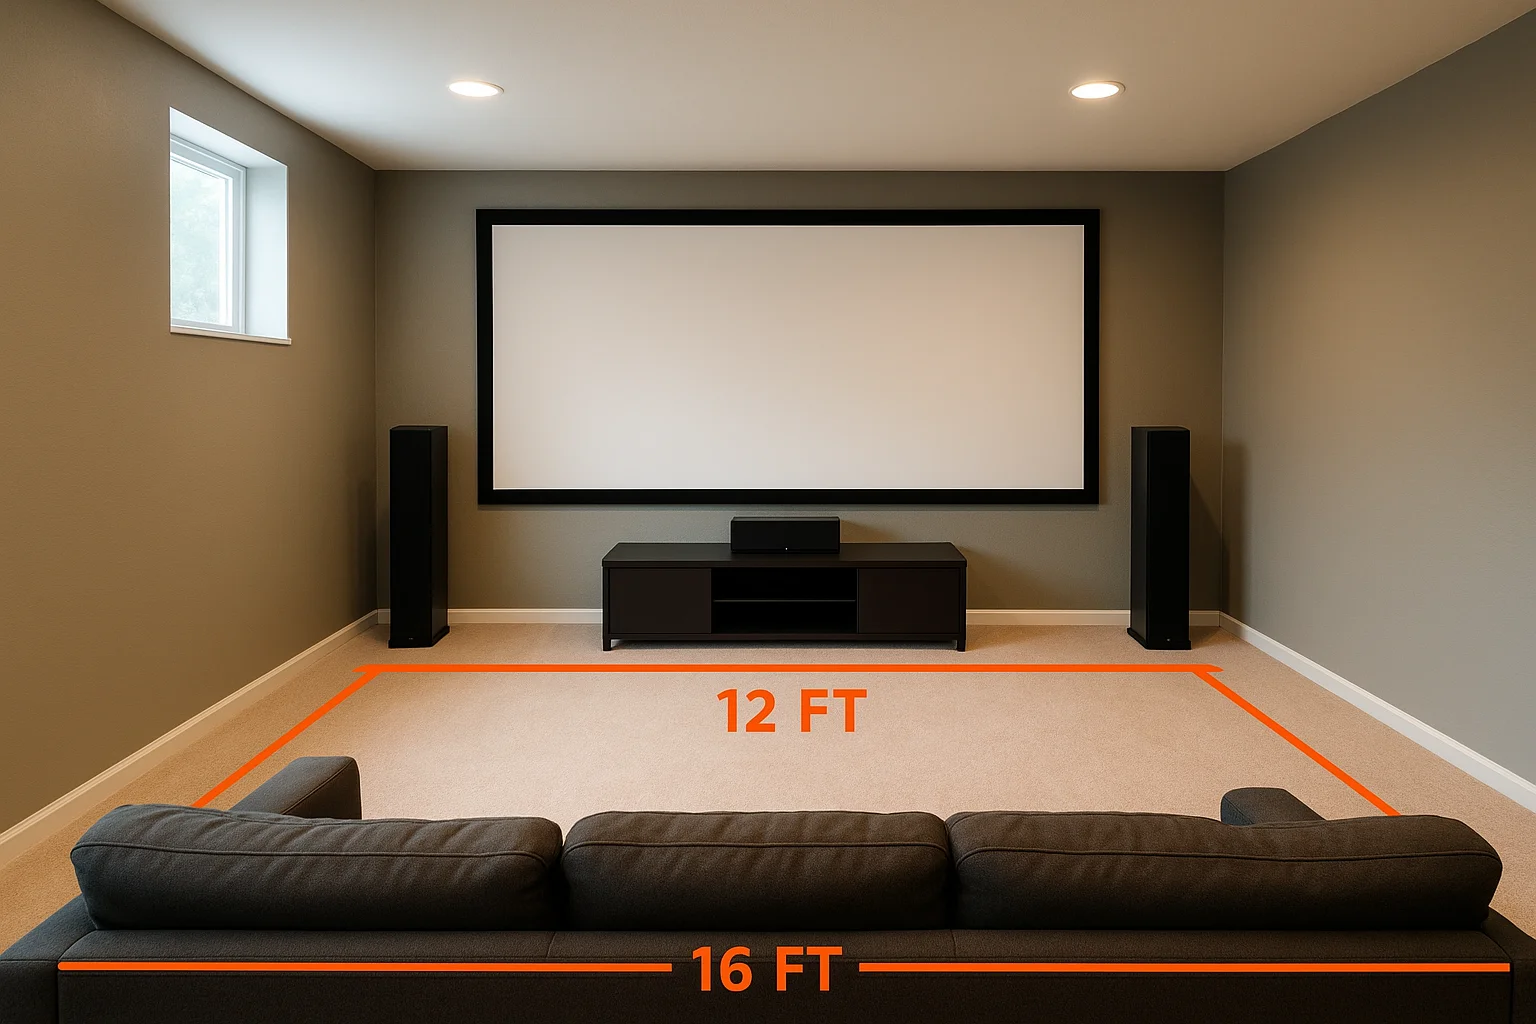
Rectangular rooms work better than square ones because they give you a natural viewing axis and better spot for rear surround speakers. Aim for a room at least 12 feet wide and 16 feet long if you want a 100-inch-plus projector screen with proper seating distance. Here's a quick reference for matching room length to screen size:
| Room Length | Recommended Screen Size | Seating Distance |
|---|---|---|
| 10-12 ft | 80-100 in | 8-10 ft |
| 13-16 ft | 100-120 in | 10-13 ft |
| 17+ ft | 120-150 in | 13-16 ft |
Grab a tape measure before you fall in love with a projector spec sheet. A screen that looks great online can overwhelm a small room or look undersized in a large one.
Check ceiling height and doorways
Ceiling height matters more than most first-timers expect, especially if you're planning a mounted projector or acoustic paneling. You need at least 8 feet of clearance for comfortable projector mounting and screen drop without shadows crossing the image. Measure doorways and stairwells too, since a large screen or tiered seating riser has to actually fit through the path to the room.
The room you choose sets the ceiling on your home theater's performance long before you buy a single piece of equipment.
Think about noise and light bleed
Finally, consider what's on the other side of the walls. A theater room next to a nursery or home office causes problems nobody wants to troubleshoot after installation. Basements insulate sound naturally and block daylight, which is why so many home movie theater installation projects end up below grade. If a basement isn't an option, look for an interior room with no exterior windows, or plan for blackout curtains and extra drywall insulation to control both light and sound bleed into the rest of the house.
Step 2. Select a screen or TV
With your room measured and your budget set, the next decision is what goes on the wall. This is where most home movie theater installation projects either hit their stride or start eating extra cash on returns and re-mounts. The choice comes down to three things: room size, ambient light, and how much wall space you're willing to dedicate to a fixed screen.
Match screen type to your room
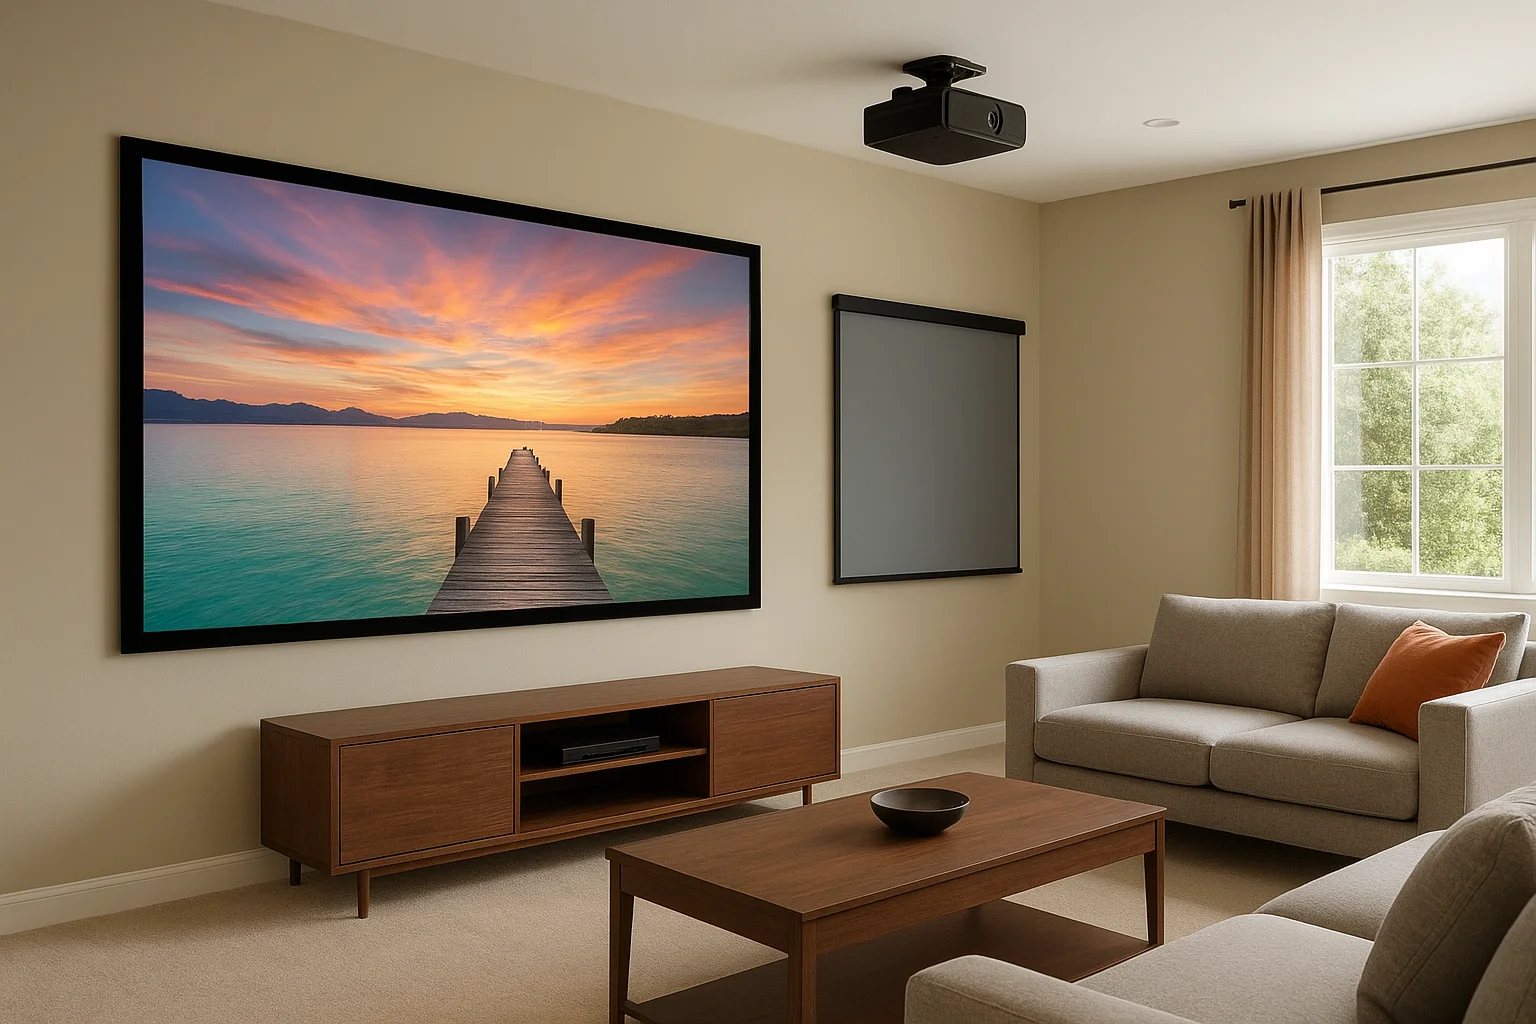
Projector screens fall into a few main categories, and picking the wrong one wastes money on a projector that can't perform. A matte white screen works well in fully dark rooms and gives accurate color at a reasonable price. A gray or ambient-light-rejecting (ALR) screen costs more but holds contrast in rooms with some light leakage, which matters if you're not working with a true blackout space. Fixed-frame screens look the cleanest and stay perfectly flat, while motorized retractable screens let the room double as something else when the theater isn't in use.
| Screen Type | Best For | Approx. Cost |
|---|---|---|
| Matte white | Fully dark rooms | $200-$600 |
| Gray/ALR | Rooms with some ambient light | $600-$1,500 |
| Fixed-frame | Permanent dedicated theaters | $400-$1,200 |
| Motorized retractable | Multipurpose rooms | $800-$2,500 |
The screen or TV you pick should match your room's light control, not your budget's biggest number.
When a TV makes more sense
Going with a TV instead of a projector shifts your priorities entirely. A large-format 4K or 8K TV, typically 75 to 98 inches, holds up in rooms with windows, daytime use, or mixed foot traffic, and it needs none of the calibration a projector setup demands. If your home movie theara setup, sorry, your home theater setup shares space with everyday living, a TV is almost always the lower-maintenance choice, even if the per-inch cost runs higher than a projector and screen combo.
Throw distance and mounting
Projectors depend entirely on throw distance, the space between the lens and the screen, to hit the right image size. Check your projector's throw ratio spec sheet against your room's actual length before buying, since a short-throw model in a long room (or vice versa) leaves you with a distorted or undersized picture, and review how to set up a home theater with a projector before you drill the mount. For a diy home theater installation, a ceiling mount with an adjustable arm gives you room to fine-tune placement after the fact, which is worth the extra $50 to $100 over a fixed bracket.
Step 3. Build your sound system
Sound is where a lot of home theaters fall apart, because people spend $2,000 on a projector and then grab a $150 soundbar to go with it, without asking whether a soundbar is enough. A surround sound system does more work than the screen in selling the theater feeling, so it helps to understand how surround channels and speaker layouts are arranged before you budget. Most home theater room installation projects start with a 5.1 setup: a center channel, two front speakers, two rear surrounds, and a subwoofer, and there are plenty of strong 5.1 packages for a TV to choose from. That configuration handles 90% of movies and shows well, and it's the sweet spot for cost versus performance.
Expanding beyond 5.1 makes sense once your room and budget allow for it. A 7.1 system adds two more rear speakers for a wider surround field, which helps in larger or wider rooms where the standard rear pair leaves gaps. A Dolby Atmos home theater setup goes further, adding ceiling or upward-firing speakers that bounce sound down for overhead effects, as does DTS:X. Here's how the common configurations stack up:
| Configuration | Speaker Count | Best For | Approx. Cost | |---|---|---| | 5.1 | 6 (incl. sub) | Standard rooms, most content | $500-$1,500 | | 7.1 | 8 (incl. sub) | Wide or large rooms | $1,200-$3,000 | | Atmos/DTS:X | 8-12+ | Dedicated theaters, height effects | $2,000-$6,000+ |
A great projector paired with cheap speakers still sounds like a laptop, no matter how sharp the picture looks.
Placing speakers correctly
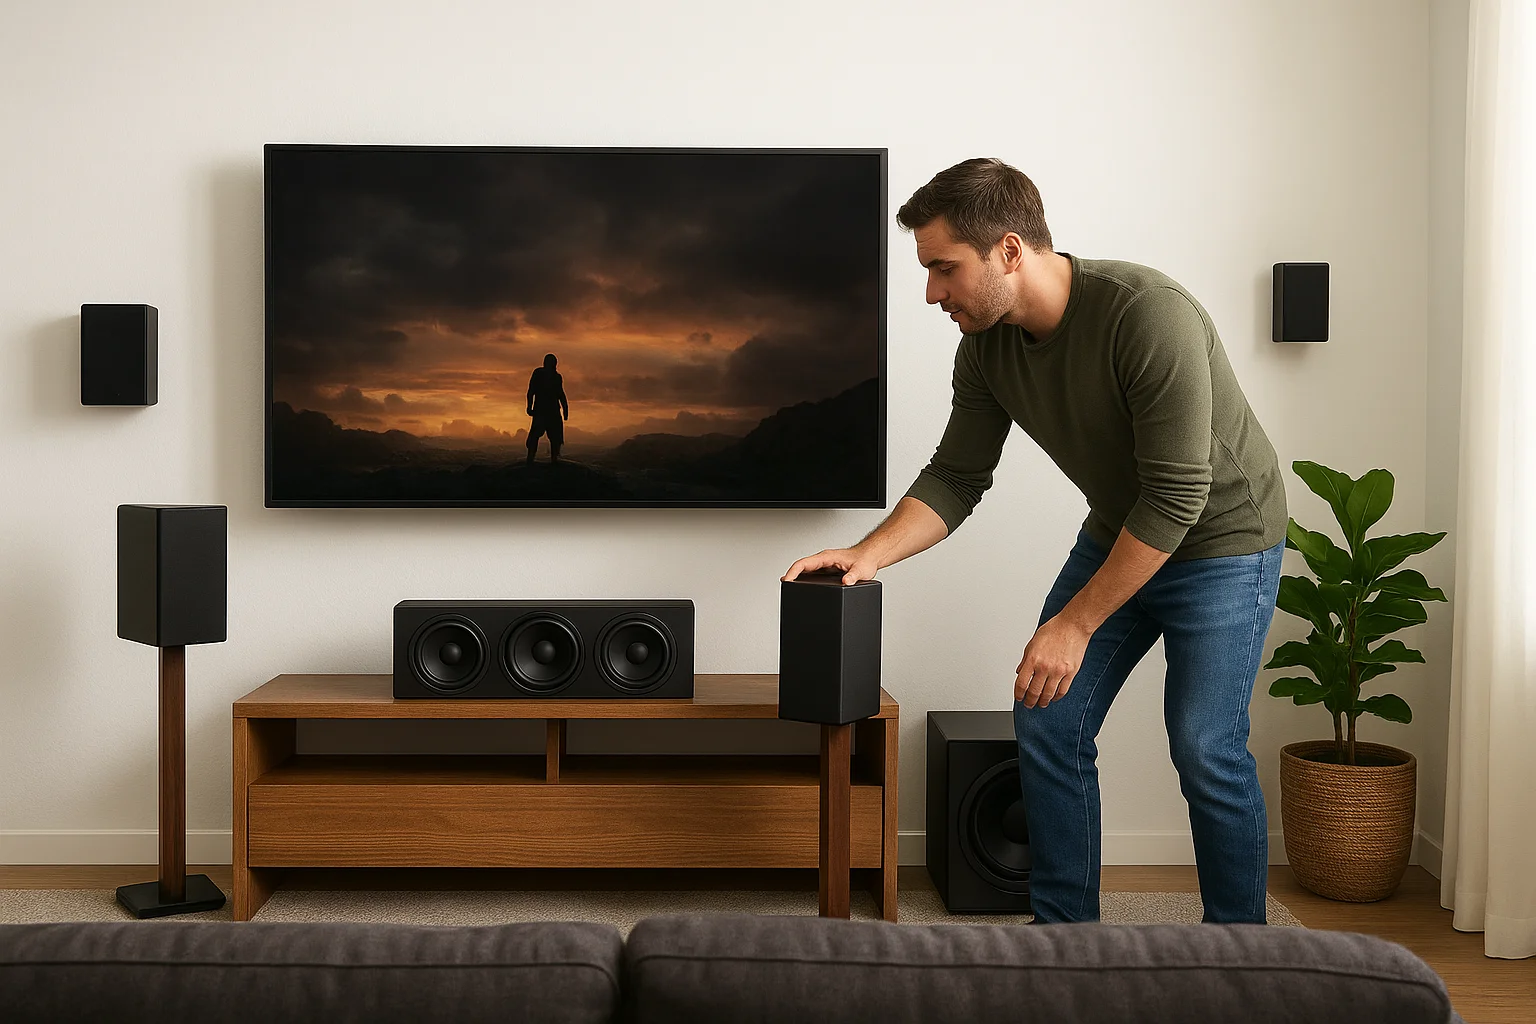
Getting each channel into its correct position matters more than spending extra on premium drivers. Front left and right speakers should sit at ear height when seated, angled slightly toward the main seating row. Rear surrounds go slightly above ear height, positioned behind or beside the seats rather than directly overhead, following the same rules as setting up 5.1 and 7.1 speakers. Subwoofer placement is more flexible, but corners tend to boost bass unevenly, so test a few spots before you drill anything into place.
Wired versus wireless rear speakers
Now, deciding between wired and wireless rear channels comes down to how finished your walls already are. Wired connections deliver better reliability and no dropped signal during an intense scene, but running cable to the back of the room means fishing wire through walls or ceilings. Top wireless surround options skip that labor entirely, trading a small amount of signal reliability for a much faster home theater installation diy afternoon. If your walls are already closed up and you're not ready to open them, wireless rears are the practical choice for now.
Step 4. Control lighting and acoustics
Once your screen and speakers are picked, the room itself becomes the next variable you need to manage. Light and sound behave unpredictably in untreated rooms, and a home movie theater installation with a great projector and speakers can still look washed out or sound harsh if the walls, windows, and ceiling aren't accounted for. This step is often skipped by first-time DIYers, and it's usually the reason a finished theater doesn't quite match the demo video that sold them on the gear.
Block out ambient light
Even a small amount of stray light kills contrast on a projector screen, so start with the windows. Blackout curtains or cellular shades rated for full light block run $50 to $200 per window and pay for themselves the first movie night, and motorized shades make that light control automatic. If your room has a door with a gap at the bottom, a simple draft stopper keeps hallway light from creeping across the floor. Paint matters too: flat, dark colors on walls and ceiling absorb light bounce, while glossy or light-colored surfaces reflect it back onto your screen and soften the image.
A dark room does more for picture quality than any upgrade you can make to the projector itself.
Treat the room's acoustics
Hard, parallel walls cause echo and muddy dialogue, which is why acoustic treatment matters even in a modest home theater room installation. You don't need a recording studio, but a few targeted additions go a long way:
- Acoustic foam panels ($100-$400 for a starter set) on the wall behind the seating row, where sound reflects back toward the listener
- A thick rug or carpet to absorb floor-level reflections and reduce footstep noise
- Bookshelves or fabric wall hangings on side walls to break up flat, reflective surfaces
- A heavy curtain behind the screen wall if that surface is bare drywall
These fixes cost far less than professional acoustic panels and noticeably tighten up dialogue clarity.
Add lighting scenes for movie mode
Finally, set up lighting that shifts with a single command instead of fumbling for switches in the dark. Smart bulbs or a smart dimmer switch, paired with a hub or voice assistant, let you create a "movie mode" scene that dims everything to a low amber glow without going pitch black, one of several ways smart control makes a theater room easier to live with. This is one of the simpler upgrades in a home theater installation diy project, and it's also one of the fastest ways to make the room feel intentional rather than improvised.
Step 5. Choose seating and accessories
With the screen, sound, and room treatments settled, seating is where a home theater room installation starts to feel like an actual theater instead of a rearranged living room. Comfort matters, but so does sightline: every seat should have a clear, unobstructed view of the screen with nobody's head blocking the row behind them. This is also where the little accessories, cupholders, blackout switches, cable management, start adding up in your budget, so plan for them now rather than as an afterthought.
Pick the right seating layout
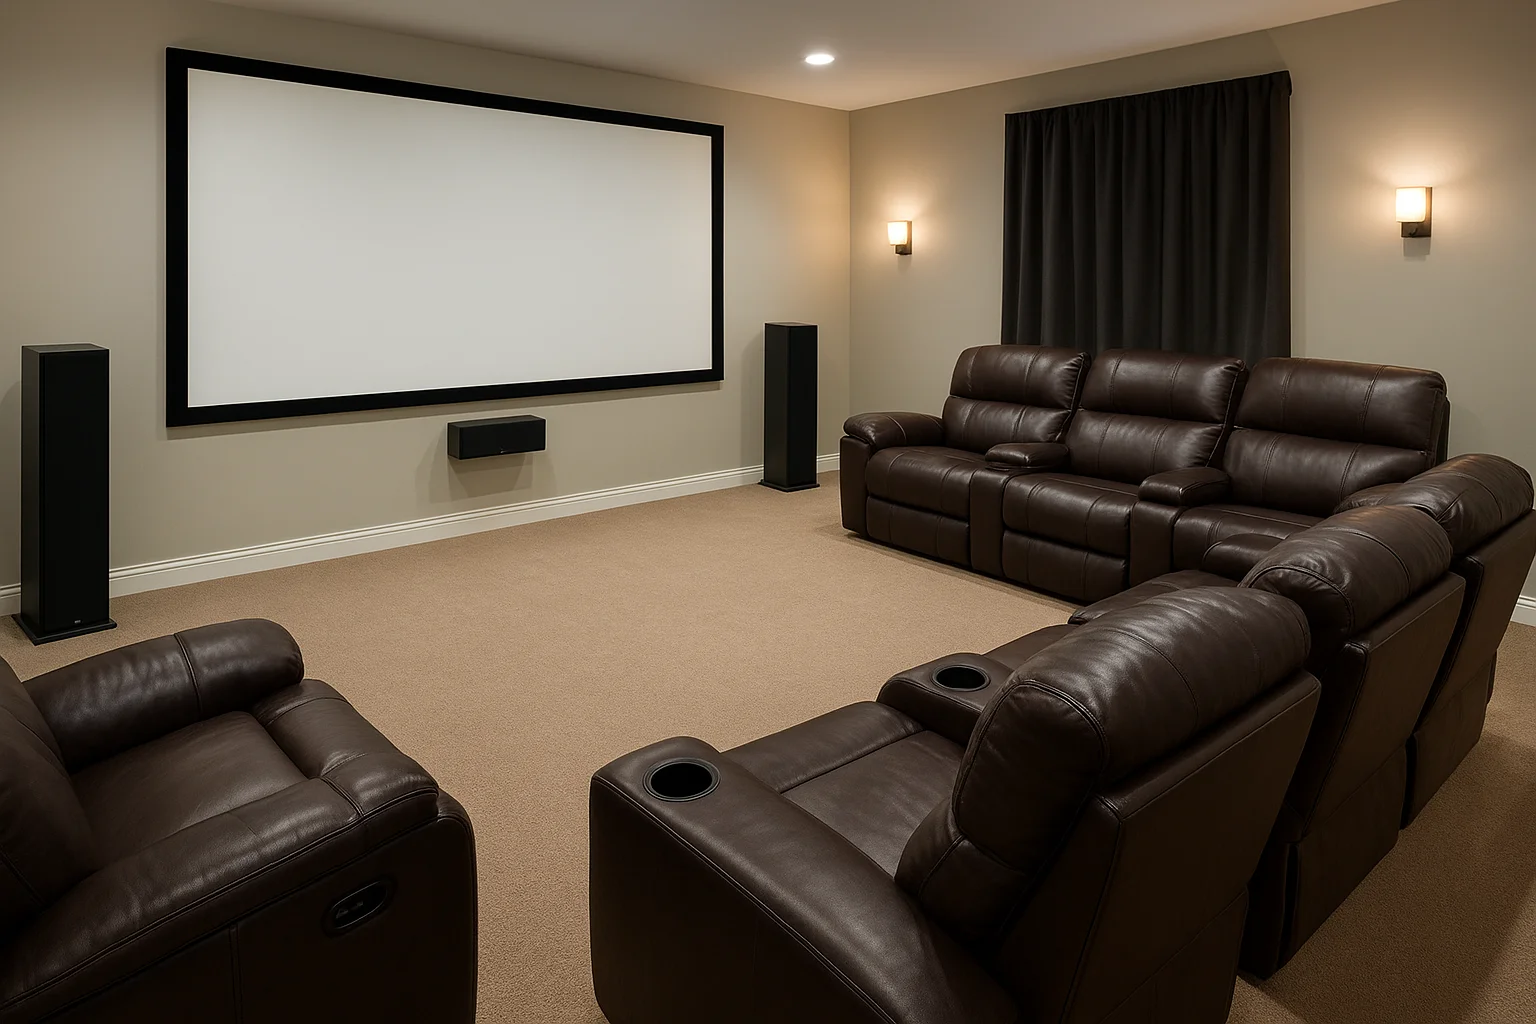
Seating choice depends on your room's width and how many people you're regularly hosting. A single row of a reclining sofa or theater seats works fine for rooms under 12 feet wide, while wider or longer rooms benefit from tiered rows so everyone gets a clean sightline over the seats in front. Here's how the common options compare:
| Seating Type | Best For | Approx. Cost |
|---|---|---|
| Sectional/sofa | Casual multipurpose rooms | $800-$2,500 |
| Theater recliners (2-4 seats) | Dedicated single-row theaters | $1,500-$4,000 |
| Tiered riser + recliners | Larger rooms, 6+ seats | $4,000-$10,000+ |
Comfortable seating with a bad sightline still ruins the movie, no matter how good the screen looks.
Get seating distance and rows right
Distance from the screen determines how immersive the picture feels, and it ties directly back to the screen size chart from Step 1. For a 100-inch screen, aim for seating between 10 and 13 feet back; sit closer and you'll see pixelation or screen door effect, sit farther and the image loses impact. If you're building a tiered second row, raise it 6 to 8 inches above the front row so heads don't block the screen, and keep at least 3 feet of walking space behind the back row for safe access during a dark movie.
Round out the room with accessories
Rounding out the space, a handful of accessories make the difference between a room that works and one that feels finished:
- Blackout curtain remote or smart switch so you're not fumbling with cords mid-movie
- In-arm cupholders and USB charging ports built into theater recliners
- A soft-close cable raceway to hide speaker and power wiring along the baseboards
- Dimmable sconces or step lights along the aisle for safe movement without ruining contrast
None of these are essential to a working home movie theater setup, but skipping them is usually the first regret homeowners mention once the big-ticket gear is installed.
Step 6. Wire and calibrate your system
Now that every component has a place, the last step is making it all talk to each other cleanly. This is the stage where a home theater room installation either looks professional or turns into a nest of visible cables running across the baseboards. Plan your wire runs before you mount anything permanently, since fishing cable through a finished wall after the projector is bolted up is a much harder job, and our complete home theater install guide covers the order to work in.
Run wiring the right way
Start by mapping every cable path: HDMI from your source components to the projector or TV, speaker wire to each channel, and power to anything not battery-powered. In-wall rated cable is required by code in most areas if wire is running inside a wall cavity, so don't substitute standard cable to save a few dollars, and the same logic applies to quality network cabling for streaming. Use the right gauge for the distance involved:
| Speaker Wire Run | Recommended Gauge |
|---|---|
| Under 50 ft | 16 AWG |
| 50-100 ft | 14 AWG |
| Over 100 ft | 12 AWG |
Wiring is the one part of a home theater nobody sees, and the one part that ruins everything if it's done wrong.
Label every cable at both ends as you run it. It sounds excessive until you're troubleshooting a silent rear speaker six months later and can't remember which wire goes where.
Calibrate your audio and video
Once everything is connected, calibration is what makes a $3,000 system sound and look like a $3,000 system instead of an average one. Most AV receivers include a built-in room correction tool, like Audyssey or Dirac, that uses an included microphone to measure your room and adjust speaker levels and timing automatically, once you've handled connecting the receiver step by step. Run it after furniture and seating are in their final position, since moving a couch afterward throws off the measurements.
For video, a diy home theater installation benefits from a few basic calibration steps even without professional gear:
- Set your display or projector to its cinema or filmmaker picture mode as a baseline
- Adjust brightness using a dark scene until black levels look natural, not gray or crushed
- Fine-tune sharpness down slightly if edges look artificially outlined
- Test with a familiar movie you know well, since your eyes catch inconsistencies faster on familiar content
Getting this last 10% right is where a lot of ambitious home theater installation diy projects stall out. If your receiver's calibration mic gives inconsistent readings or your projector's color still looks off after adjustments, that's the point to find a local installer who calibrates systems for a living rather than guessing at settings for another weekend.
DIY vs. professional installation costs
Money is usually the deciding factor between doing this yourself and calling in a pro, but the real comparison isn't just labor rates. It's what happens when something goes wrong six months in. A home theater installation diy project can save you 30% to 50% on labor costs, but that savings assumes nothing gets damaged, no wire gets miswired, and your calibration actually holds up over time, so compare it against real installation price ranges and estimates.
What DIY actually saves you
Going the DIY route mainly saves you on labor, since equipment costs stay roughly the same whether you or a technician installs it. You'll spend time instead of money: expect 15 to 30 hours across wiring, mounting, and calibration for a mid-range room. Tool costs add up too, fish tape, a stud finder, a good crimper, and a multimeter easily run $150 to $300 if you don't already own them. The tradeoff is real: a botched in-wall wire run or an incorrectly mounted projector can cost more to fix than a professional install would have cost in the first place.
Saving on labor only pays off if the DIY work actually holds up, otherwise you're paying twice.
Where professional installation pays for itself
Bringing in a professional shifts the math toward reliability instead of raw savings. A home theater room installation handled by an experienced installer typically adds 15% to 25% to your total budget, but what an installation service actually includes is proper in-wall wiring, code-compliant cable, and calibration done with commercial-grade equipment instead of a phone app.
| Task | DIY Cost | Professional Cost |
|---|---|---|
| Wiring (per room) | $150-$400 (tools + materials) | $600-$1,200 |
| Projector/TV mounting | $50-$150 (mount only) | $300-$600 |
| Audio calibration | Free (built-in receiver tool) | $200-$500 |
| Full custom design + install | Not applicable | $3,000-$10,000+ |
Splitting the difference works for a lot of homeowners. Handle furniture, screen selection, and lighting scenes yourself, then bring in a team for wiring and calibration, the two areas where mistakes are expensive and hard to see until the room is finished. If you've gotten this far in your home movie theater setup and want the wiring and calibration done right the first time, Treasure Valley Solutions handles that exact handoff for homeowners across the Treasure Valley.
Enjoying your new home theater
Getting from an empty room to a finished home movie theater installation takes real planning, but every step in this guide builds on the last for a reason. Room selection sets your limits, screen and sound choices fill the space, and lighting, seating, and wiring turn a pile of gear into an actual theater. Follow the order, and you avoid the expensive redo that comes from rushing straight to the fun parts.
Handle what you're comfortable with yourself, whether that's picking seating or setting up lighting scenes, and don't hesitate to hand off wiring and calibration once the stakes get higher than a weekend project should carry. That's the split that keeps most home theater room installation projects on budget and off your list of regrets.
If you're ready to see what a properly wired, calibrated theater actually looks like before you commit to a design, see our finished home theater builds and picture the room you're planning.
Need Expert Help?
Ready to implement these solutions in your own home or business?
Our Services

Home theater design and installation planned around your room, viewing goals, and equipment scope.
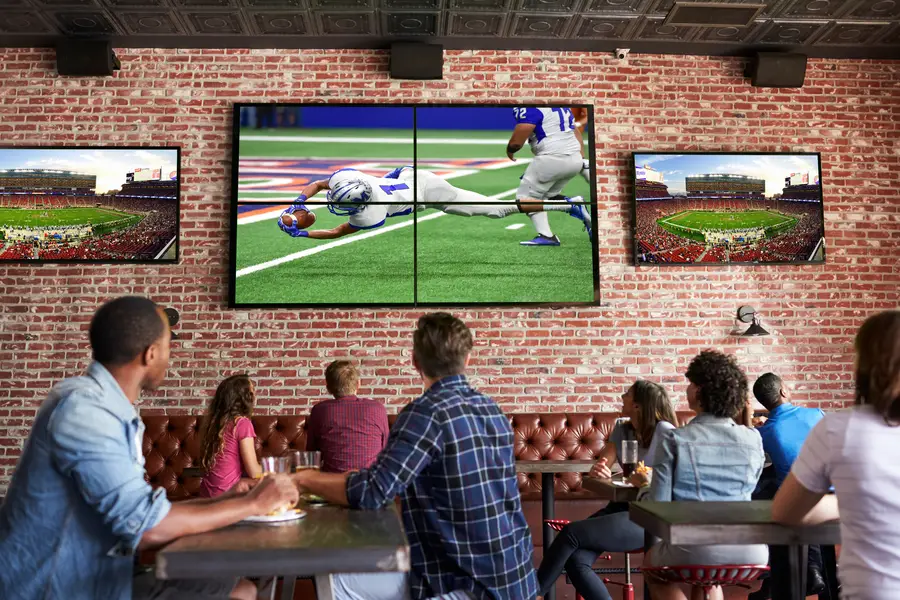
Expert TV Mounting Treasure Valley Homeowners & Businesses Trust
Explore whole-home audio, commercial sound, Sonos setup, and surround sound installation in the Treasure Valley.
Serving the Treasure Valley
Local installation in your city