 (208) 991-3502
 Meridian, ID




Most projector setups fail for the same three reasons: wrong screen distance, speakers that fight the room instead of working with it, and cables run without a plan. If you're staring at a spare room...
Most projector setups fail for the same three reasons: wrong screen distance, speakers that fight the room instead of working with it, and cables run without a plan. If you're staring at a spare room or basement wondering where to start, you're not alone, and you don't need a theater room's budget to get theater room results. When you setup home theater with projector equipment the right way, the difference between a muddy, washed-out picture and a crisp, immersive one comes down to a handful of decisions made before you drill a single hole.
This guide walks through the actual process we use on real installs across the Treasure Valley: measuring throw distance, picking a screen size that matches your room, positioning speakers for real surround sound, and routing your audio-video components so the wiring stays invisible. We'll also cover the light control and mounting details that separate a decent picture from a great one.
Whether you're planning a full home theater setup with projector gear from scratch or troubleshooting a setup that's underwhelming so far, you'll get a clear sequence to follow, including where a projector, screen, receiver, and speakers should sit relative to each other. And if the wiring or calibration gets more complicated than you'd like to handle solo, that's exactly the kind of project our Meridian-based team installs and supports every week.
What you'll need before you start
Before you touch a drill or unbox a projector, get your equipment list and room specs sorted. Rushing this step is the number one reason DIY projector installs end up returned or redone six months later. Gather everything below first, then move through the room evaluation and placement steps with actual numbers in hand instead of guesses.
Core equipment checklist
You need six categories of gear to setup home theater with projector components correctly, and skipping any one of them creates a bottleneck later. Here's what belongs on your shopping list before you start measuring anything:
| Component | What to look for | Typical budget range |
|---|---|---|
| Projector | 2,000+ lumens, 1080p or 4K, low input lag | $600 to $2,500 |
| Screen | Fixed frame or motorized, matched to room width | $200 to $1,200 |
| AV receiver | Enough HDMI inputs, supports surround formats | $400 to $1,500 |
| Speakers (5.1 or 7.1) | Matched front/center/surround set plus subwoofer | $500 to $2,000 |
| Streaming/media sources | Streaming box, gaming console, Blu-ray player | $50 to $400 each |
| Cabling and mounts | In-wall rated HDMI, speaker wire, ceiling mount | $150 to $400 |
The projector and the screen are one system, not two separate purchases, so buy them together or the color and contrast will never match.
Tools and materials for the install
Few things are more frustrating than getting halfway through a ceiling mount and realizing you don't have the right drill bit. Pull these together ahead of time so the actual home theater with projector setup day goes in one pass instead of three trips to the hardware store:
- Stud finder and laser level
- Drill with masonry and wood bits
- Fish tape for pulling cable through walls or ceiling
- In-wall rated HDMI cable (rated CL2 or CL3) in 25 and 50-foot lengths
- 14-gauge speaker wire, enough to reach each speaker location
- Wire strippers and a label maker for cable ends
- A tape measure that reaches your longest wall
- A helper, since mounting a projector solo is awkward at best
Room measurements to bring with you
Grab a notepad and jot down your room's exact dimensions before you shop for a projector or screen, because throw distance and screen size are math problems, not preferences. Measure the distance from your planned screen wall to the farthest seating position, the ceiling height, and the distance from any windows to the screen wall. These three numbers determine which projector models will even work in your space, since a short-throw projector needs a completely different room shape than a long-throw model.
Sketch a rough layout first
Drawing even a basic home theater projector setup diagram on graph paper before buying anything saves you from the classic mistake of a subwoofer wedged behind a couch or a projector mount that clips a ceiling fan. Mark the screen location, projector position, seating row, and each speaker spot, then note the distance between them. This sketch becomes your reference point through every step that follows, and it's the same first move our installers make on every job, whether it's a dedicated theater room or a converted bonus room above a garage.
Step 1. Choose the right room for your home theater
Basements win more often than any other room, and there's a reason for it: they're naturally dark, isolated from the rest of the house, and usually free of the big windows that wash out a projected image. That said, a spare bedroom, a bonus room over the garage, or even a corner of an open living area can work fine if you control the same three variables every good theater room shares: darkness, sound isolation, and enough distance between the screen and your seating.
Darkness beats decor every time
Ambient light is the single biggest enemy of a projected image, more than resolution or brightness specs on the box. A room with two south-facing windows and white walls will wash out a $2,000 projector, while a windowless room with dark walls makes a $700 model look incredible. If your chosen room has windows, plan on blackout curtains or cellular shades from day one, not as an afterthought after the first disappointing movie night.
A dark room with a cheap projector beats a bright room with an expensive one, every single time.
Match the room shape to your screen size
Rectangular rooms work better than square ones for a home theater setup with projector gear because they give you a defined throw path and a natural seating row. As a rough guide, plan for at least 10 to 12 feet between the screen wall and the back row of seating for a 100-inch to 120-inch screen, and add ceiling height of 8 feet or more if you want room for a ceiling mount without the image getting cut off by the mount bracket itself.
| Room Type | Pros | Watch for |
|---|---|---|
| Basement | Dark, isolated, low ambient noise | Ceiling height, moisture/HVAC ducts |
| Spare bedroom | Easy to blackout, flexible layout | Window placement, wall color |
| Bonus room over garage | Good isolation, often large | Ductwork clearance, insulation |
| Open living area | Convenient, no extra room needed | Light control, sound bleed to other spaces |
Check sound isolation before you commit
Surround sound needs walls that don't share space with a nursery, a home office, or a neighbor's bedroom. Concrete or insulated walls contain bass far better than a shared drywall partition, so if your only option backs up to a noise-sensitive room, plan on extra insulation or a lower subwoofer crossover to keep the peace.
Step 2. Pick your projector and screen
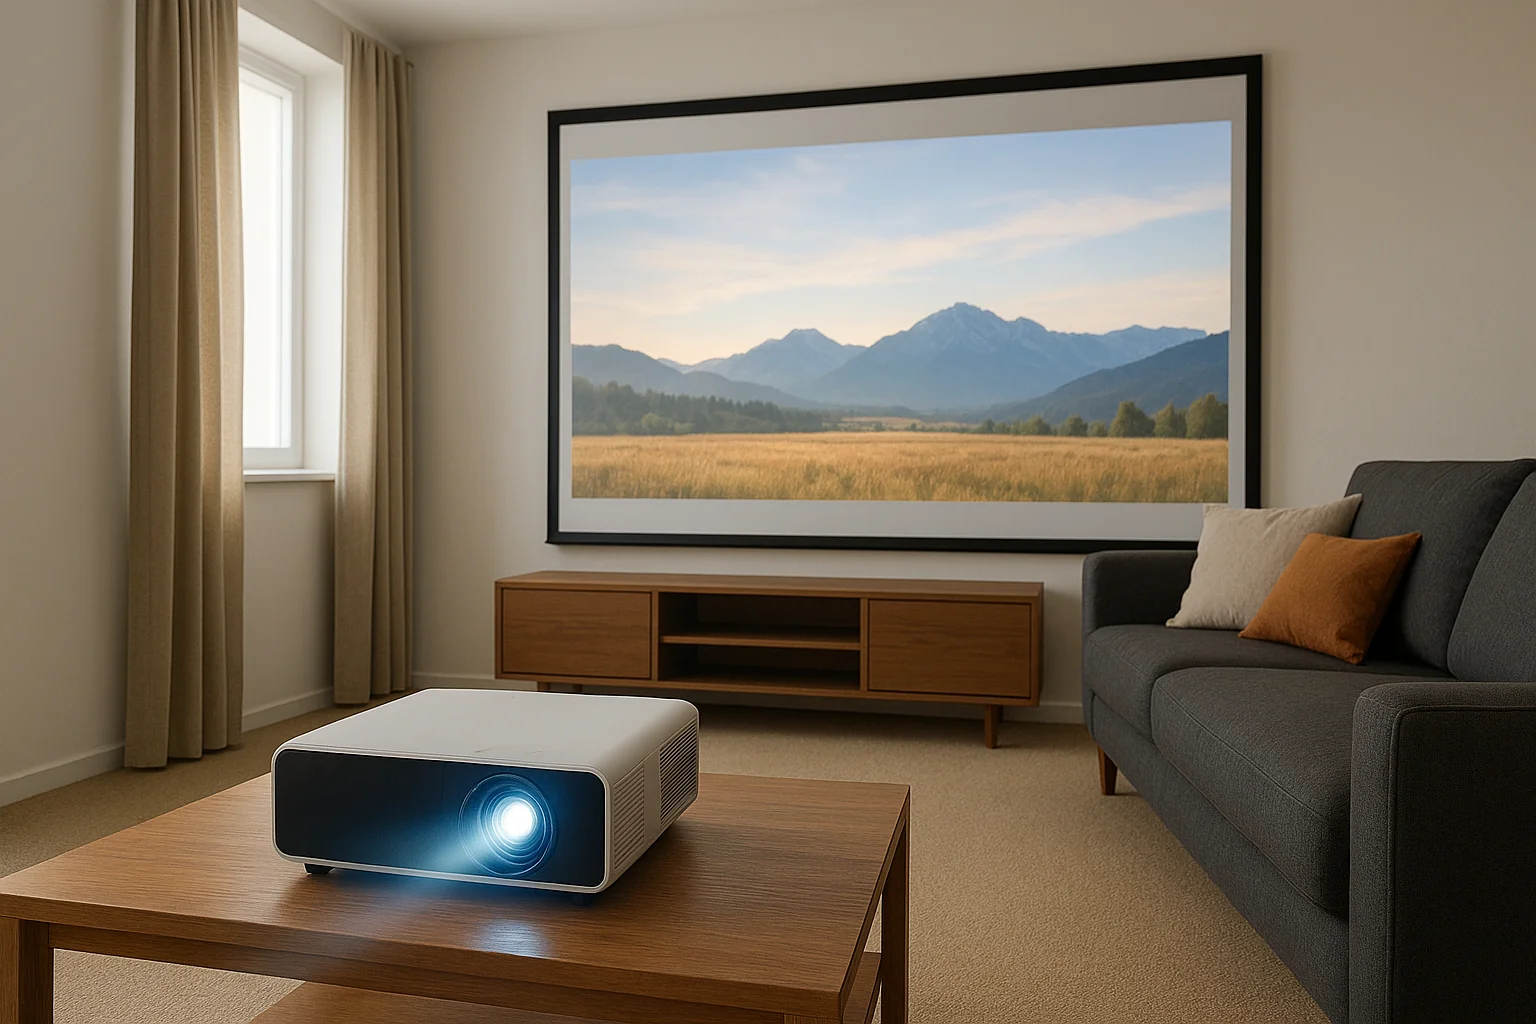
Once your room is locked in, the projector and screen selection gets a lot easier because you already know how much ambient light you're fighting and how far your seating sits from the wall. Buy these two pieces as a matched pair, not separate decisions, since a bright projector paired with a low-gain screen or vice versa wastes money on both ends.
Match brightness to your room's ambient light
Lumens matter more than any other spec when you setup home theater with projector gear in anything other than a pitch-black basement. A fully light-controlled room only needs 1,500 to 2,000 lumens, but a room with some daytime use or lighter wall colors needs 2,500 to 3,000 lumens to keep the image from looking washed out.
| Room Condition | Recommended Lumens | Notes |
|---|---|---|
| Fully dark, dedicated theater | 1,500-2,000 | Best contrast and color accuracy |
| Some ambient light control | 2,500-3,000 | Blackout curtains recommended |
| Multi-use room, daytime viewing | 3,000+ | Consider ALR screen material |
Resolution and contrast tell the real story
Resolution gets the marketing attention, but contrast ratio does more for picture quality on a projected image than raw pixel count. A 1080p projector with strong contrast beats a 4K model with a washed-out black level, especially on a screen over 100 inches where any haze becomes obvious fast. Check the Consumer Technology Association specs and manufacturer contrast numbers rather than trusting marketing copy alone, since real-world contrast rarely matches the box.
A sharp, high-contrast 1080p picture beats a soft, washed-out 4K one every time.
Choose screen material based on your walls
High-gain screens reflect more light back at the viewer, which helps in rooms that aren't fully dark, while matte white screens give the most accurate color in a controlled room. Ambient light rejecting (ALR) material makes sense if your theater room doubles as a living space during the day. Painting a wall instead of buying a screen almost never works as well, since even the flattest paint introduces texture that shows up as grain on a big image.
Size the screen to your seating distance
Sizing follows a simple rule: divide your screen-to-seat distance in inches by 1.5 to 2 for the ideal diagonal screen size. A seating distance of 12 feet, or 144 inches, points you toward a 96 to 120-inch screen, which lines up with the room dimensions covered in Step 1.
Step 3. Plan projector placement and throw distance
Throw distance is the single measurement that decides whether your image looks crisp or stretched, and getting it wrong is the most common mistake we see on DIY installs. Every projector lists a throw ratio, the relationship between lens-to-screen distance and resulting image width, and that number tells you exactly where the unit needs to sit for your chosen screen size. Pull the spec sheet for your specific model before you plan mounting locations, since a mismatch here means either cropping the image by mounting too close or washing it out by sitting too far back.
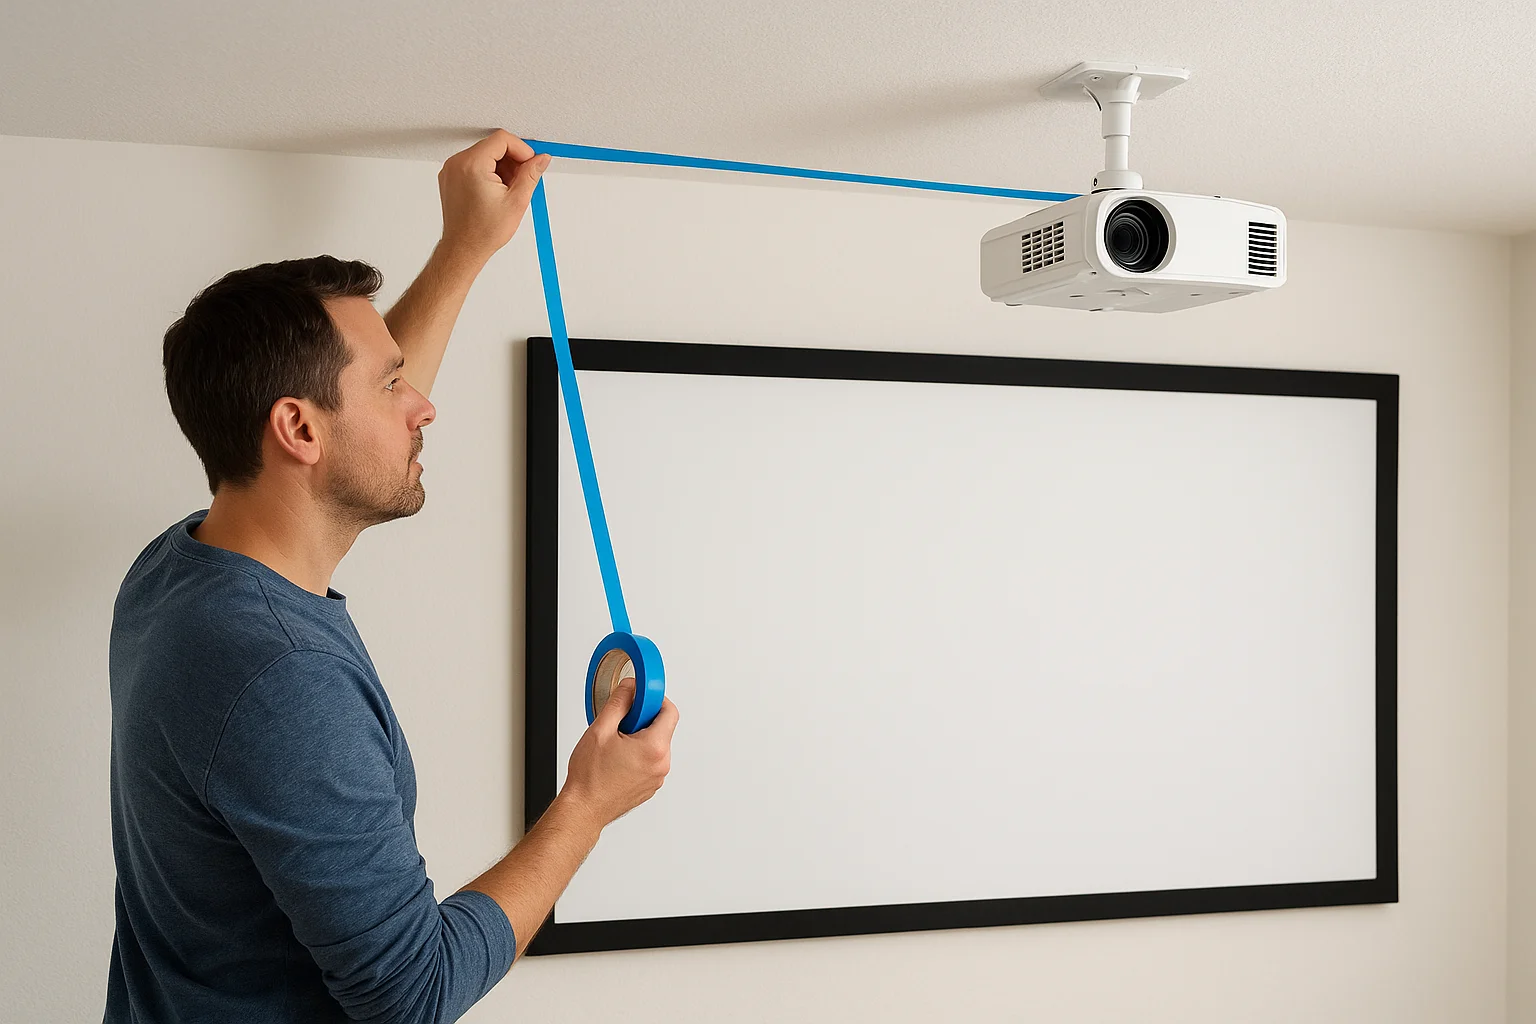
Throw ratio math, not guesswork, decides where your projector goes.
Calculate your exact throw distance
Multiply your screen width by the projector's throw ratio to get the mounting distance in matching units. A projector with a 1.5:1 throw ratio paired with a 100-inch screen (about 87 inches wide) needs to sit roughly 130 inches, or just under 11 feet, from the screen surface. Short-throw models compress that number dramatically, some sitting as close as 3 feet from a 100-inch screen, which matters if your room is shallow.
| Projector Type | Typical Throw Ratio | Distance for 100" Screen |
|---|---|---|
| Short-throw | 0.4:1 to 0.8:1 | 3 to 6.5 feet |
| Standard-throw | 1.2:1 to 1.8:1 | 10.5 to 15.5 feet |
| Long-throw | 2:1 and up | 17+ feet |
Center the lens on the screen
Vertical and horizontal offset matter as much as distance itself. Most projectors need the lens centered horizontally on the screen and positioned within a specific vertical offset range, usually printed as a percentage in the manual, to avoid relying on digital keystone correction, which softens the image. Confirm your model's lens shift range before finalizing a home theater setup projector layout, because a fixed-lens unit with no shift capability locks you into a far narrower placement window than one with motorized lens shift.
Mark the spot before you drill
Use painter's tape to mark the exact ceiling or shelf spot your math points to, then run the projector from that position for a test night before committing to a permanent mount. Testing confirms your calculations match reality, since room quirks like a slightly uneven ceiling or an unexpected duct run can shift your numbers by a few inches, and it's far easier to move a piece of tape than patch a mounting hole in the wrong spot.
Step 4. Mount or position the projector
Once your throw distance and lens offset are confirmed, you're ready to commit to a permanent mounting method. Most rooms call for a ceiling mount, but a rear shelf or credenza placement works fine if your throw distance and lens shift allow it, and it skips the ceiling wiring entirely. Whichever you choose, treat this step as permanent, so double-check your test-night numbers from Step 3 before you drill anything.
Ceiling mount vs. shelf placement
Ceiling mounts keep the projector out of foot traffic and off furniture, but they mean running power and HDMI through the ceiling, which is more work upfront. Shelf or credenza placement is faster to install and easier to service, but it puts the unit at risk from bumps, pets, and dust, and it can throw a shadow if someone walks in front of the beam.
| Mount Type | Best For | Tradeoff |
|---|---|---|
| Ceiling mount | Dedicated theater rooms, longer throw distances | Requires ceiling cable run |
| Rear shelf | Short-throw projectors, rental-friendly setups | Shadow risk, less clean look |
| Credenza/cabinet | Rooms with limited ceiling access | Limited height adjustment |
Run power and cable through the mount
Hollow ceiling mounts let you route the HDMI and power cable straight through the pole, which keeps everything invisible from the seating area. Fish the cable through before you attach the projector head, since threading it afterward is nearly impossible with the unit already in place. Here's the order that keeps a ceiling install from turning into three separate trips up the ladder:
- Mount the ceiling bracket to a stud or use a proper toggle system rated for the projector's weight.
- Fish in-wall rated HDMI and a power cable through the mount pole before attaching the projector head.
- Attach the projector to the mount plate but leave the bolts slightly loose.
- Power on and project a test pattern before final tightening.
- Adjust pitch, roll, and yaw until the image squares up on the screen, then lock everything down.
Level and secure the mount
A laser level on the mount plate catches tilt errors that are nearly invisible to the eye but show up as a trapezoidal image on screen. Small adjustments here save you from leaning on keystone correction later, which softens detail and wastes resolution you already paid for.
A projector mounted slightly out of level costs you image sharpness no software fix can fully recover.
Step 5. Set up your surround sound speakers
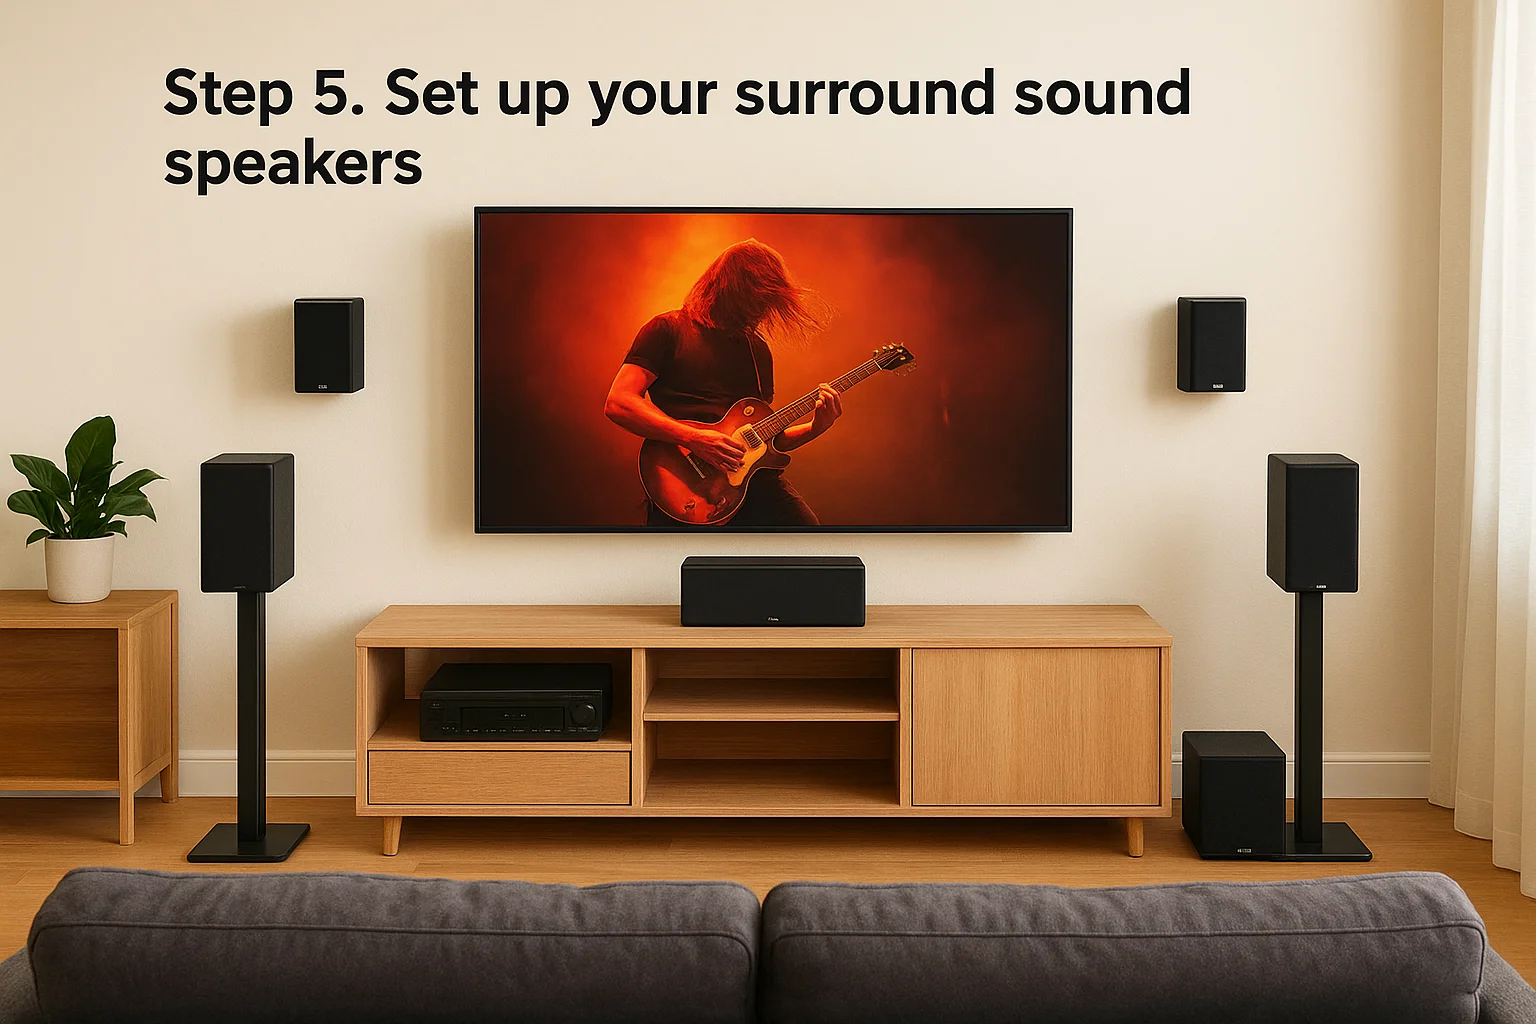
A great picture with flat sound feels like half a theater, so don't treat speaker placement as an afterthought once the projector is mounted. Surround sound speakers work as a system, and where you put each one determines whether dialogue stays clear, effects pan smoothly, and bass hits without rattling the windows. Use the sketch from your equipment checklist to mark exact spots before you drill any brackets.
Lay out a standard 5.1 or 7.1 configuration
A 5.1 setup covers most rooms well, while 7.1 adds rear surrounds for larger spaces or rows of seating deeper than 14 feet. Front left and right speakers should flank the screen at ear height when seated, angled slightly toward the main listening position, and the center channel sits directly above or below the screen since it carries most movie dialogue.
| Speaker | Placement | Height |
|---|---|---|
| Front left/right | Flanking screen, 22-30 degrees off center | Ear height, seated |
| Center | Above or below screen, centered | Just above/below screen |
| Surround left/right | Beside or slightly behind seating | 2 feet above ear height |
| Rear surrounds (7.1) | Behind seating row | 2 feet above ear height |
| Subwoofer | Front third of room, off-corner | Floor level |
Position the subwoofer for even bass
Subwoofers behave differently than every other speaker in the room because bass is non-directional but still reacts to room shape. Corners boost output but create uneven, boomy bass, so start by placing the subwoofer along the front wall, a few feet off the corner, and walk the room during playback to find a spot where bass sounds tight rather than muddy.
Bass placement matters more than bass power. A well-placed budget subwoofer beats a premium one shoved in the wrong corner.
Run and hide the speaker wire
Wiring gets messy fast if you don't plan the path before pulling cable. In-wall rated 14-gauge speaker wire keeps runs clean and code-compliant when fished through walls or ceiling joists, and labeling each end as you go saves confusion later at the receiver.
- Run wire behind drywall or through conduit where possible, not exposed along baseboards
- Label each cable at both ends with the speaker location
- Keep speaker wire runs separated from power cable to avoid hum
- Leave a few extra feet of slack at both ends for future adjustments
Once every speaker is wired and positioned, you're ready to bring the whole system together at the receiver, which is exactly where the next step picks up.
Step 6. Connect your audio and video sources
With the projector mounted and speakers wired, it's time to bring every device into one system through the AV receiver. Your receiver acts as the traffic controller for the whole home theater setup with projector gear, switching between sources and sending both audio and video where they belong. Every source, whether it's a streaming box, gaming console, or Blu-ray player, plugs into the receiver first, never directly into the projector.
Route video through the receiver, not around it
Send the HDMI output from the receiver to the projector, and feed every source device into a separate HDMI input on the receiver itself. This setup lets the receiver switch sources with one remote and keeps audio formats intact, since most projectors can't decode surround sound on their own. Use in-wall rated HDMI cable for the long run to the projector, and keep source cables short since they're already close to the rack.
The receiver is the hub of the system. Every source and every signal passes through it before reaching the screen or the speakers.
Match ports to the right sources
Label each HDMI input as you connect it so future troubleshooting doesn't turn into a guessing game behind the rack.
| Receiver Input | Typical Source |
|---|---|
| HDMI 1 | Streaming box (Apple TV, Roku, Fire TV) |
| HDMI 2 | Gaming console |
| HDMI 3 | Blu-ray or 4K disc player |
| HDMI 4 | Cable box or antenna tuner |
| HDMI Out | Projector |
Check for HDMI ARC or eARC support
If your setup includes a soundbar or a TV acting as a switching hub alongside the projector, confirm whether your receiver supports HDMI ARC or eARC, since these standards send audio back through a single cable instead of running a separate optical line. The HDMI Licensing Administrator publishes the current spec details if you want to confirm your gear's exact capabilities before buying adapters you don't need.
Power up and test one source at a time
Before wiring everything permanently, connect one source, confirm picture and sound both work, then move to the next. Testing in sequence catches a bad cable or wrong input setting immediately instead of after every device is buried in the rack. Once every source passes the test, tidy the cable runs with velcro ties and move on to dialing in the picture itself.
Step 7. Align, focus, and calibrate the image
With every source wired and tested, the picture itself needs fine-tuning before movie night. Getting this step right is what separates a home theater setup with projector gear that looks professionally installed from one that just looks like a projector pointed at a wall. Work through alignment first, then focus, then color calibration, in that order, since fixing focus on a crooked image wastes time you'll repeat once the geometry is corrected.
Square up the image before touching focus
Project a grid or crosshatch test pattern, available free from most projector manufacturers or built into the unit's menu, and check that every line runs perfectly parallel to the screen edges. Adjust the mount's pitch, roll, and yaw physically rather than reaching for digital keystone correction, since keystone stretches pixels unevenly and softens detail across the image. If the projector sits even slightly off-axis from the screen center, small mount adjustments now save you from a permanently soft corner later.
Fix geometry with the mount, not the menu. Every keystone correction you apply costs sharpness you already paid for.
Fine-tune focus at the lens, not in software
Zoom into the center of the test pattern and adjust the physical focus ring until fine lines are crisp, then check all four corners since lens quality varies across the field on many budget and mid-range projectors. Some units have a slight focus falloff toward the edges that no amount of ring adjustment fully corrects, and that's a spec worth checking before you buy rather than after you mount.
Run calibration with a test pattern or meter
Color and brightness calibration turns a technically correct image into one that actually looks good. Most projectors ship with a preset mode labeled "Cinema" or "Movie" that's closer to accurate than the default "Vivid" or "Dynamic" setting, so start there rather than eyeballing sliders from scratch.
- Switch to the cinema or movie preset as your baseline.
- Use a free test pattern disc or streaming app to set brightness and contrast against reference black and white bars.
- Adjust color temperature toward warm rather than the cooler factory default, which tends to push blues.
- Check skin tones on a familiar scene, since eyes catch inaccurate skin tones faster than any test pattern.
- Save the calibrated settings as a custom profile if your projector allows it.
A basic colorimeter gets you closer to reference accuracy than eyeballing alone, and it's worth borrowing or renting one if you're chasing a truly accurate picture rather than just a good one.
Step 8. Control lighting and finish the room
With the picture calibrated, the last stretch is making the room feel like a finished theater instead of a spare room with a screen bolted to the wall. Lighting control affects your picture quality just as much as any projector spec, so don't skip this step because the technical work is done. A few smart decisions here also make the space more comfortable for actual movie nights, not just test patterns.
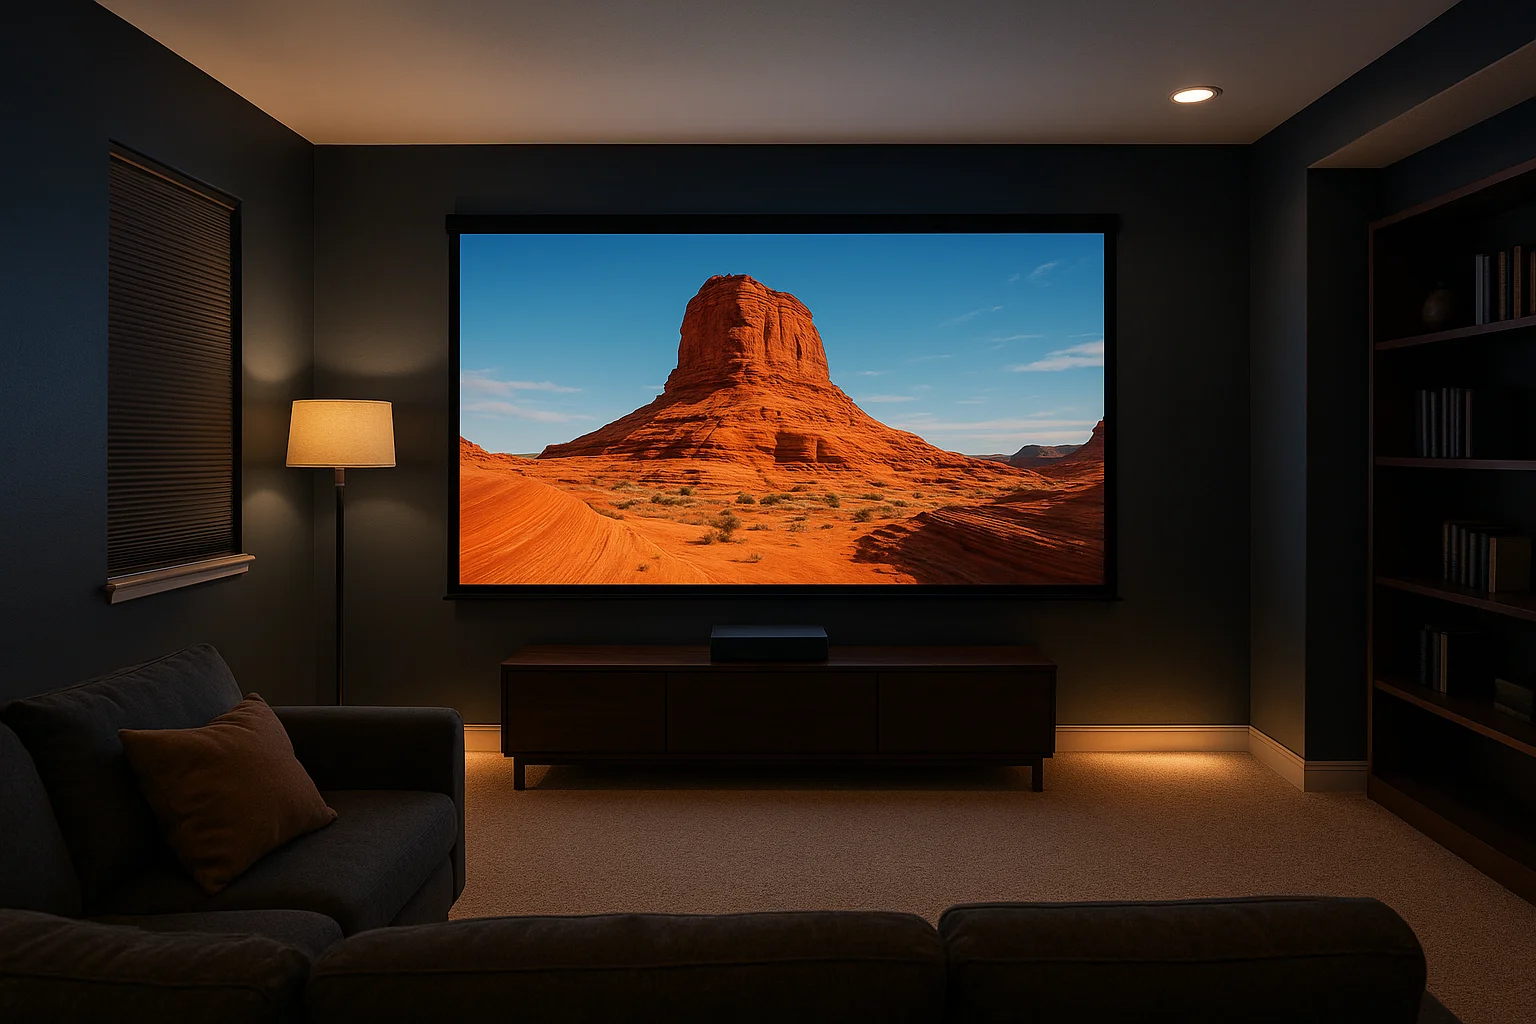
Block ambient light for good
Go back to the window assessment from Step 1 and finish the job now that you know exactly where the screen sits and how the light falls on it. Blackout cellular shades or motorized blinds beat curtains for consistency, since curtains sag and let light leak around the edges after a few months of use. If your room has a door that opens to a lit hallway, a simple door sweep or weatherstripping keeps hallway light from spilling onto the lower half of the screen during a late-night viewing.
Add layered, dimmable lighting
Home theaters need light for walking in, finding the remote, and cleaning up popcorn, but none of it should compete with the screen during playback. Layer three light types instead of relying on a single overhead fixture:
- Task lighting near the seating for finding remotes or snacks, on a separate switch
- Accent lighting along the floor or behind the screen wall, dim and indirect, to reduce eye strain without hitting the screen
- Overhead lighting on a dimmer for cleanup, fully off during playback
Smart dimmers or a scene-based lighting controller let you drop every light to zero with one button press before the movie starts, which matters more than it sounds once you're used to it.
The best home theater lighting is the lighting you never notice, because it's already off when the movie starts.
Handle acoustics and final touches
Hard surfaces bounce sound and add echo that muddies dialogue, even with speakers placed perfectly. Acoustic panels on the side walls at ear height, a thick rug over hard flooring, and heavier curtains or drapes (even in a windowless room) all tame reflections without a full acoustic treatment budget. Bookshelves, upholstered furniture, and even a couch against the back wall do double duty as both decor and sound absorption.
Do a final walkthrough
Before you call the room finished, run through this checklist:
- Confirm blackout coverage during peak daylight hours
- Test every lighting scene from full bright to full dark
- Walk the room during a bass-heavy scene to check for rattles
- Sit in every seat to confirm sightlines and speaker balance
- Tidy and label any remaining exposed cable
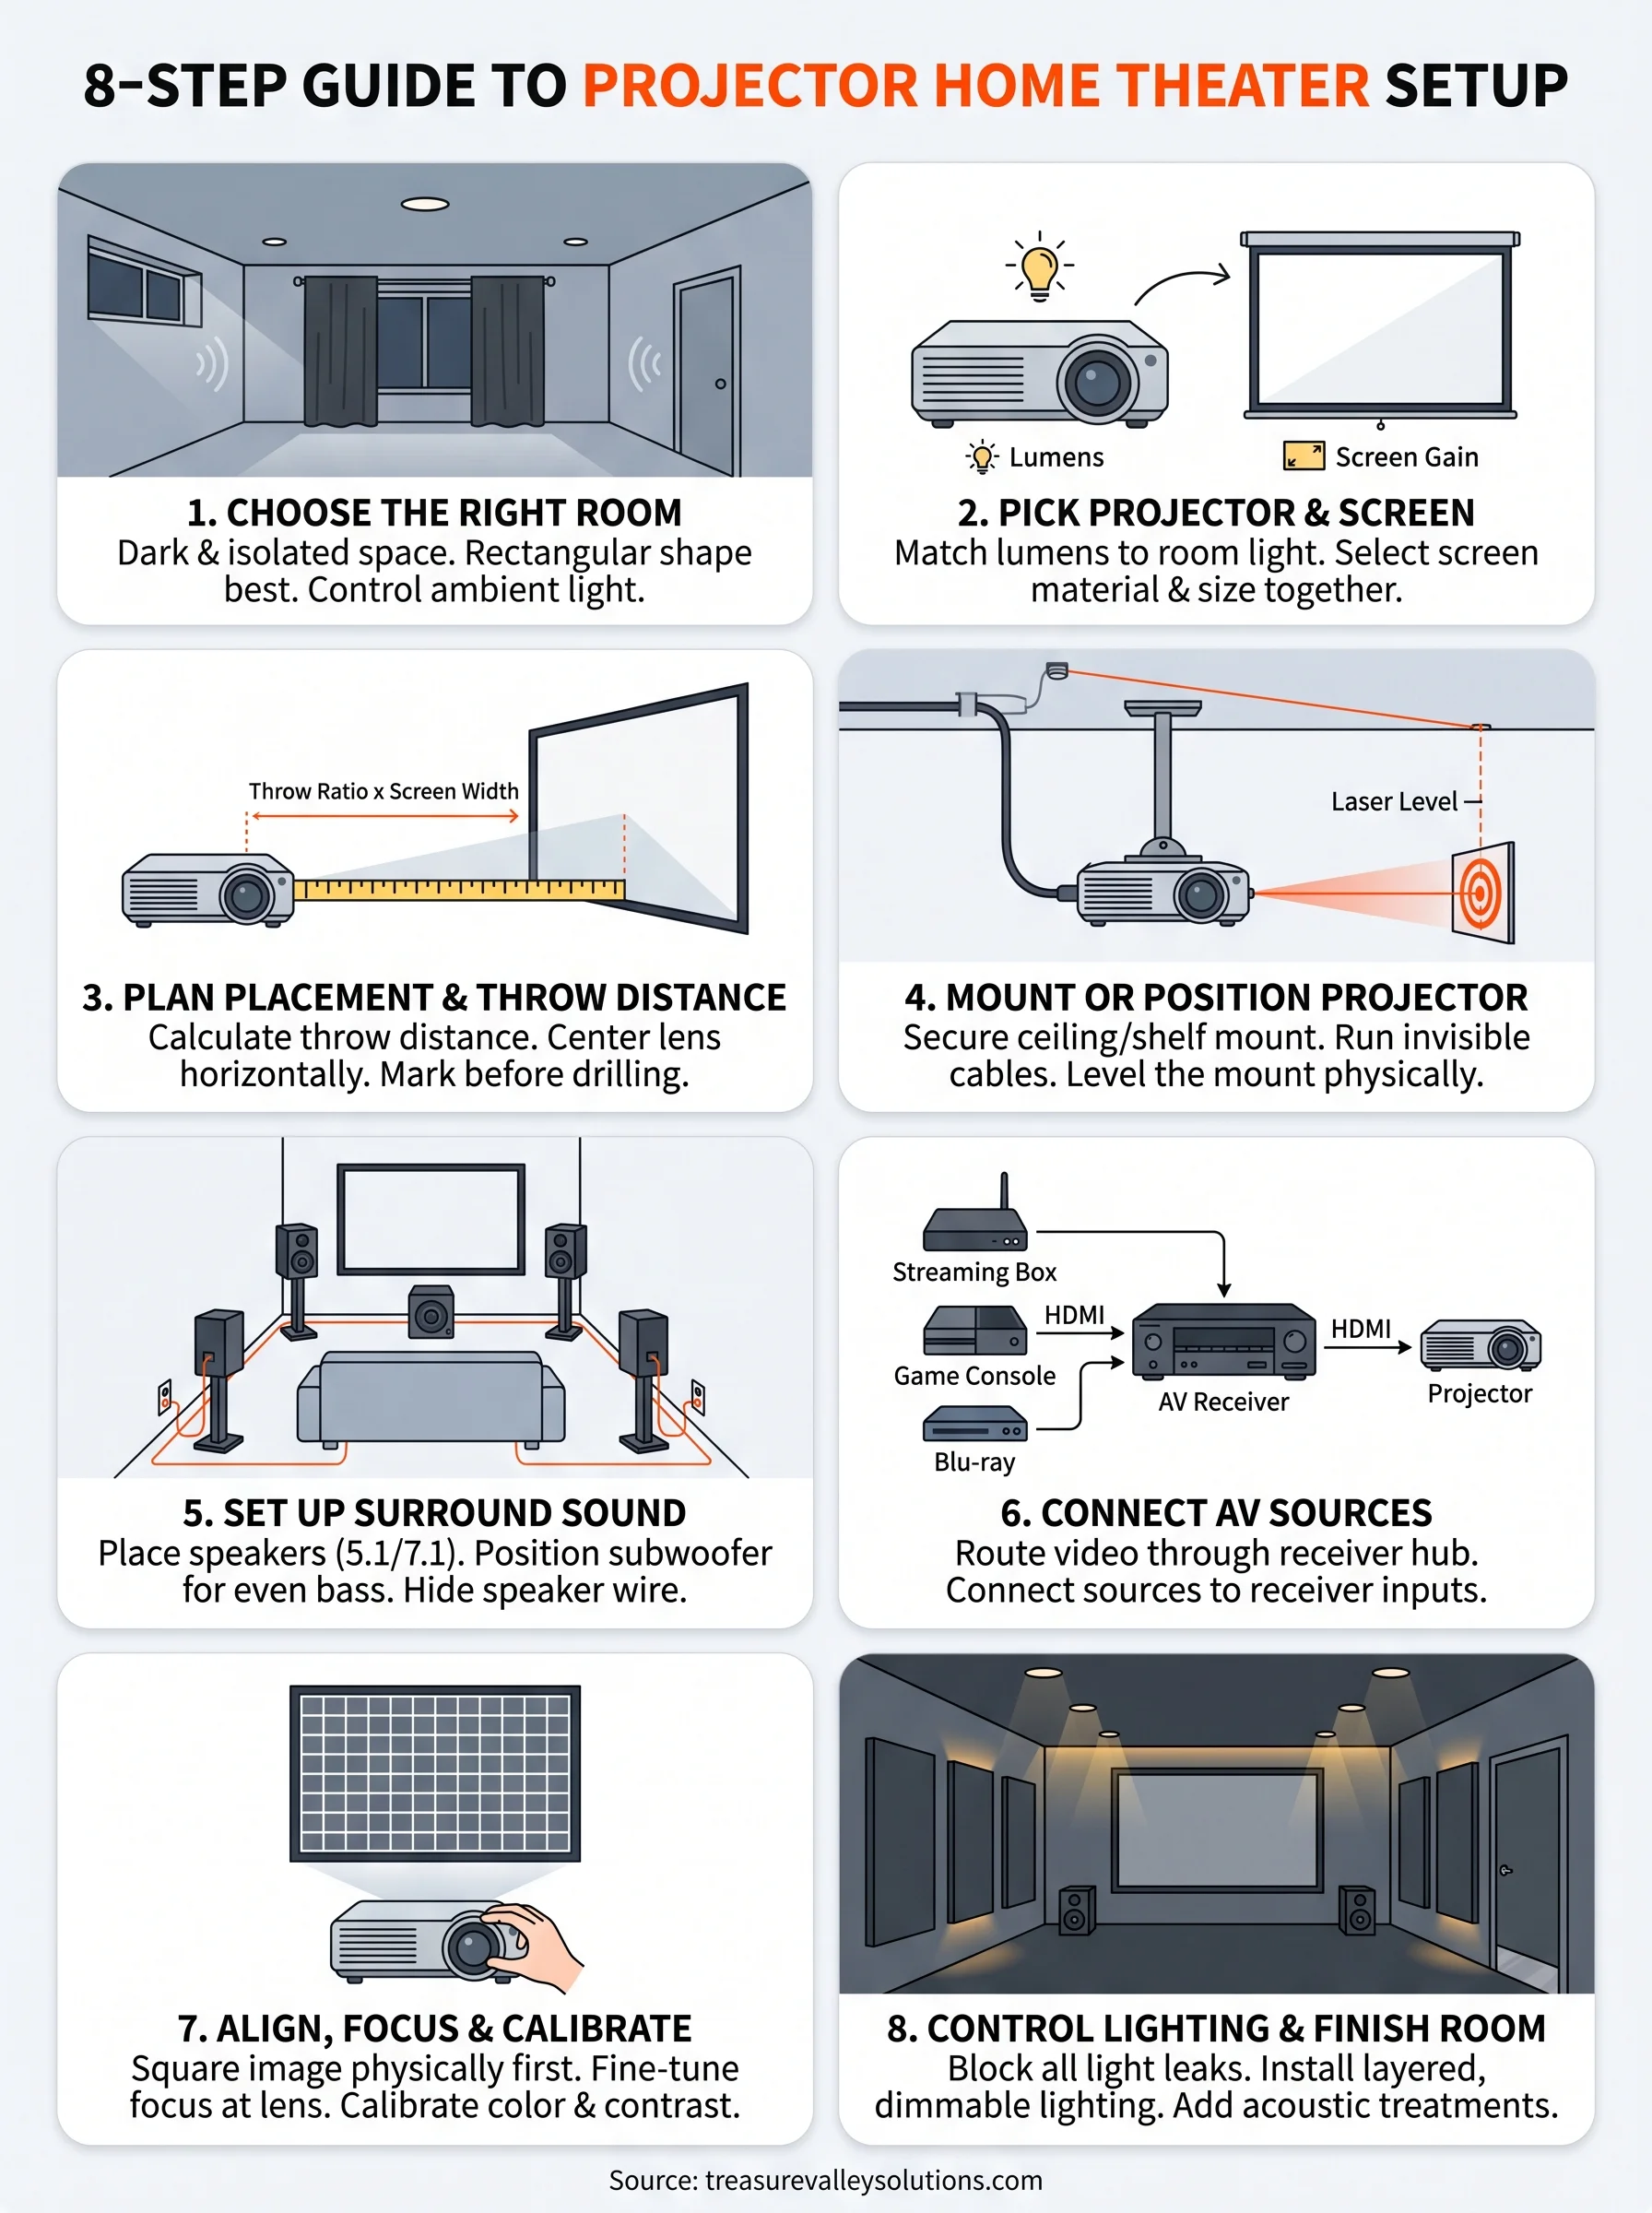
Bringing your home theater to life
Every step in this guide builds on the one before it: room choice sets your light and sound limits, throw distance dictates projector placement, and calibration only matters once the mount is level and the wiring is clean. Skip a step and you'll feel it every time you sit down to watch something. Follow the sequence and you'll end up with a picture and sound system that actually matches what you paid for.
Most of what trips people up isn't the concept, it's the execution: fishing cable through a finished ceiling, dialing in lens shift on a fixed mount, or chasing down a hum in the speaker wire. That's the hands-on work our Meridian team handles every week across the Treasure Valley, from design through final calibration. If you'd rather skip the trial and error and get it right the first time, reach out to our team and we'll help you build the theater you actually pictured.
Need Expert Help?
Ready to implement these solutions in your own home or business?
Our Services

Home theater design and installation planned around your room, viewing goals, and equipment scope.
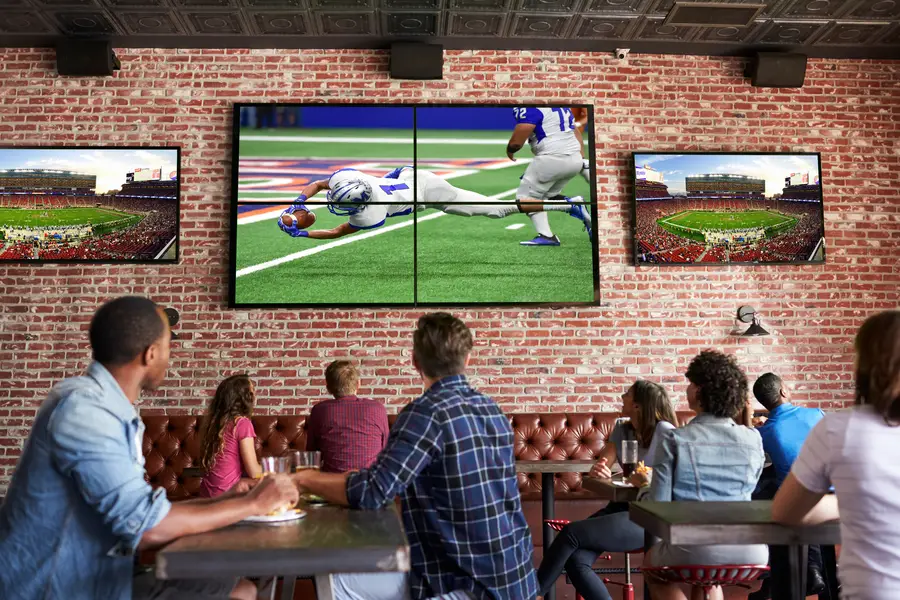
Expert TV Mounting Treasure Valley Homeowners & Businesses Trust
Explore whole-home audio, commercial sound, Sonos setup, and surround sound installation in the Treasure Valley.
Serving the Treasure Valley
Local installation in your city