 (208) 991-3502
 Meridian, ID



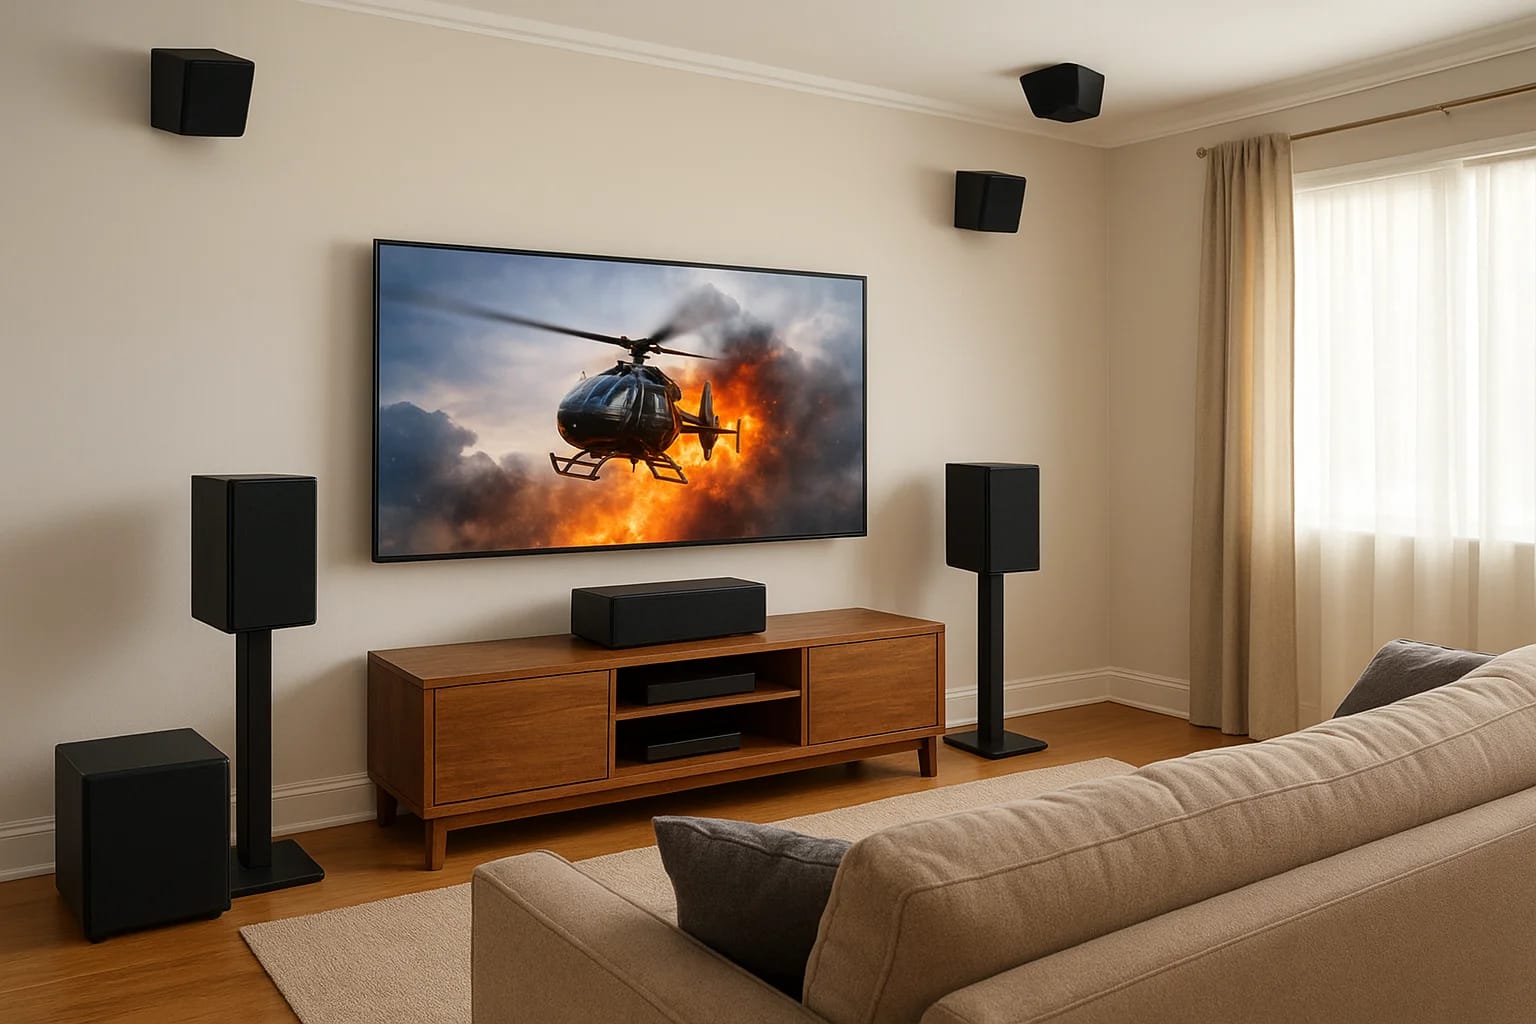

You bought the receiver, the speakers are sitting in boxes, and you're staring at your ceiling wondering where the height channels actually go. A proper home theater dolby atmos setup isn't just about...
You bought the receiver, the speakers are sitting in boxes, and you're staring at your ceiling wondering where the height channels actually go. A proper home theater dolby atmos setup isn't just about buying more speakers, it's about placement, room geometry, and calibration working together. Get any of those wrong and you'll hear a louder room, not a taller, more immersive one.
This guide walks you through the real decisions: choosing between a 5.1.2 configuration and a full 7.1.4 setup, where your overhead or upward-firing speakers actually belong relative to your seating, and how to run room calibration so the system adjusts to your walls, furniture, and ceiling height instead of guessing.
We've installed enough of these systems around Meridian and the Treasure Valley to know where homeowners get stuck, usually height channel placement and level matching. You'll get the same process we use on paid installs: speaker layout, wiring considerations, receiver setup, and the calibration steps that turn a good system into one that actually sounds like Atmos, the same sequence we follow in our full home theater install walkthrough.
Choosing the right Dolby Atmos configuration for your room
Before you drill a single hole, decide what configuration actually fits your space. A home theater dolby atmos setup is described with three numbers, like 5.1.2 or 7.1.4, and each number tells you exactly what to buy and where it goes. Skip this step and you'll end up with height speakers that overshoot your seating or a subwoofer channel that's overkill for a 12x14 room.
What the numbers actually mean
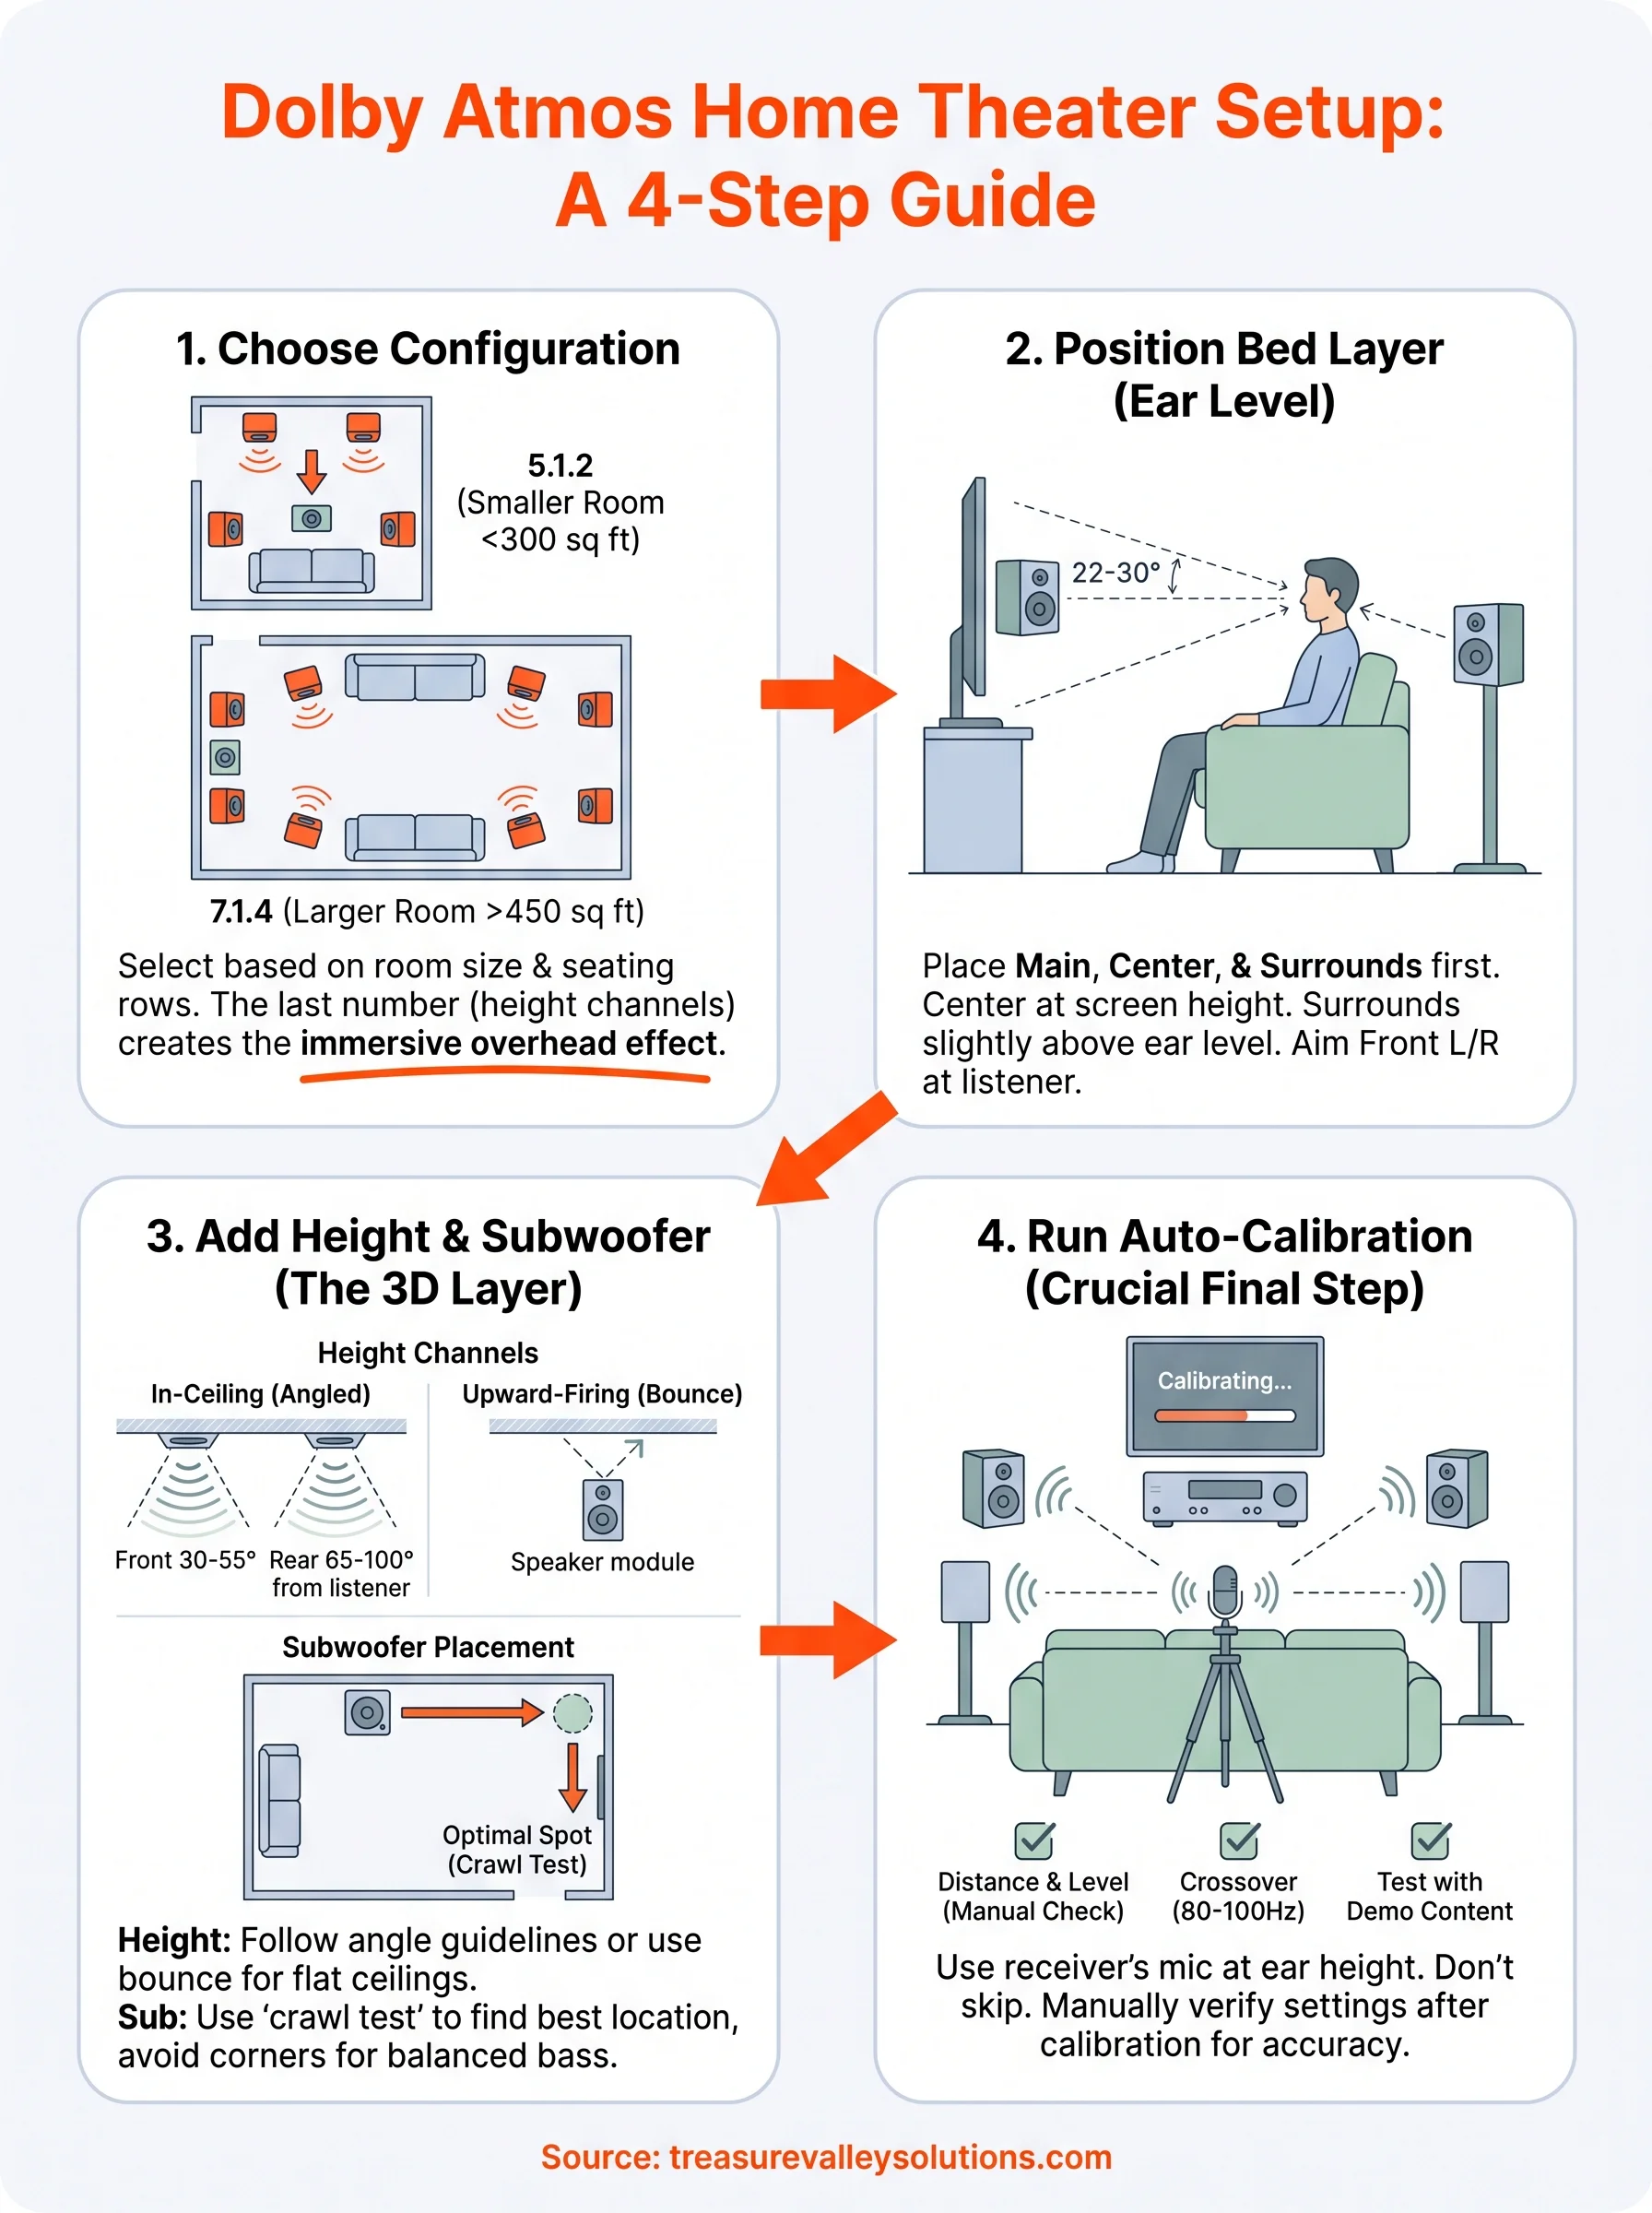
Read the notation left to right. The first number is your bed layer, the main, center, and surround speakers at ear level. The middle number is always your subwoofer count. The last number is your overhead or upward-firing height channels, the ones that carry Dolby's signature rain-falling-on-the-roof effect, and it helps to understand what each surround sound channel actually does before you buy. So a 7.1.4 setup means seven bed speakers, one sub, and four height channels, while a 5.1.2 configuration trims that down to five bed speakers and just two overhead channels.
The height channel count, not the total speaker count, is what actually makes Atmos sound like Atmos.
Most living rooms don't need 7.1.4. A 7.1 surround sound system with four height channels is built for wide rooms with two rows of seating, where the extra rear-height pair keeps the overhead effect from collapsing toward the front row. If you've got a single couch and a room under 300 square feet, 5.1.2 will sound just as immersive and cost considerably less to wire, and there are plenty of surround sound picks built for small rooms that fit that footprint.
Matching configuration to your room
Here's how we scope these on real installs around Meridian and Boise:
| Configuration | Best room size | Seating rows | Speaker count |
|---|---|---|---|
| 5.1.2 | Under 300 sq ft | 1 row | 8 total |
| 7.1.2 | 300-450 sq ft | 1-2 rows | 10 total |
| 5.1.4 | Under 300 sq ft, high ceilings | 1 row | 10 total |
| 7.1.4 | 450+ sq ft | 2 rows | 12 total |
Notice that 5.1.4 and 7.1.2 both land at 10 speakers total, but they solve different problems. Choose 5.1.4 when your ceiling is tall enough to give overhead effects real separation from the bed layer. Pick 7.1.2 instead when your room is wide but your ceiling is low and flat, since the extra rear-surrounds do more for envelopment than a second pair of height channels would in a cramped ceiling.
Don't forget wiring and ceiling access
Getting the count right is only half the job. In-ceiling speaker installation needs conduit or fished cable run before drywall goes up, which is why new construction and remodels are the easiest time to plan this. If your ceiling is already finished, upward-firing modules that sit on top of your front and surround speakers are a legitimate substitute, they bounce sound off the ceiling to simulate the same overhead effect without any cutting.
Getting this decision wrong is the single most common reason a dolby atmos home theater setup underwhelms. Homeowners buy 7.1.4 because it looks impressive on paper, then wonder why the room sounds boomy and unbalanced. If you're not sure which configuration your room supports, our home theater design team in Boise and Meridian walks through room measurements before any equipment gets ordered, which saves you from returning speakers you didn't need.
Step 1. Position your main, center, and surround speakers
Start with the bed layer before you touch a single height speaker. The main, center, and surround speakers form the foundation Atmos builds on top of, and if that foundation is off, no amount of overhead sound will fix a lopsided soundstage, so it's worth reviewing where to position each speaker in your layout first. Your left and right speakers should sit at ear height when seated, angled inward so they cross roughly at your listening position, forming an equilateral triangle with your seat.
Center channel placement matters more than most homeowners assume. Mount it directly above or below your screen, tweeters as close to ear level as your TV mount allows. Tilt it slightly if it sits well above or below your seated ear line, otherwise dialogue will sound like it's coming from the ceiling or the floor instead of the actor's mouth.
Get the bed layer wrong and the height channels have nothing solid to build on.
Surround speakers go beside or slightly behind your seating, not behind your head. Here's the placement math we use on installs:
| Speaker | Height | Angle from listener |
|---|---|---|
| Left/Right main | Ear level | 22-30 degrees off center |
| Center | Screen level | 0 degrees |
| Side surround | 2 ft above ear level | 90-110 degrees |
| Rear surround (7.x setups) | 2 ft above ear level | 135-150 degrees |
Notice the surrounds sit above ear level, not at it. That extra height keeps them from sounding like they're right in your lap while still giving your receiver clean data to blend with the overhead layer during calibration.
Wiring runs the show here as much as placement does. Fish cable through walls before you mount anything permanent, and if you're finishing a basement or new build, run conduit now rather than relying on wireless surround speaker kits later. Wireless works, but it adds latency that a good calibration run has to correct for, and it's one more thing that can drop out mid movie.
Don't skip the toe-in angle on your mains just because your receiver's auto-calibration exists. Software can correct level and delay, but it can't fix a speaker aimed at your bookshelf instead of your couch. Get the physical placement right first, then let calibration handle the fine tuning in Step 4.
Step 2. Add your overhead or height speakers
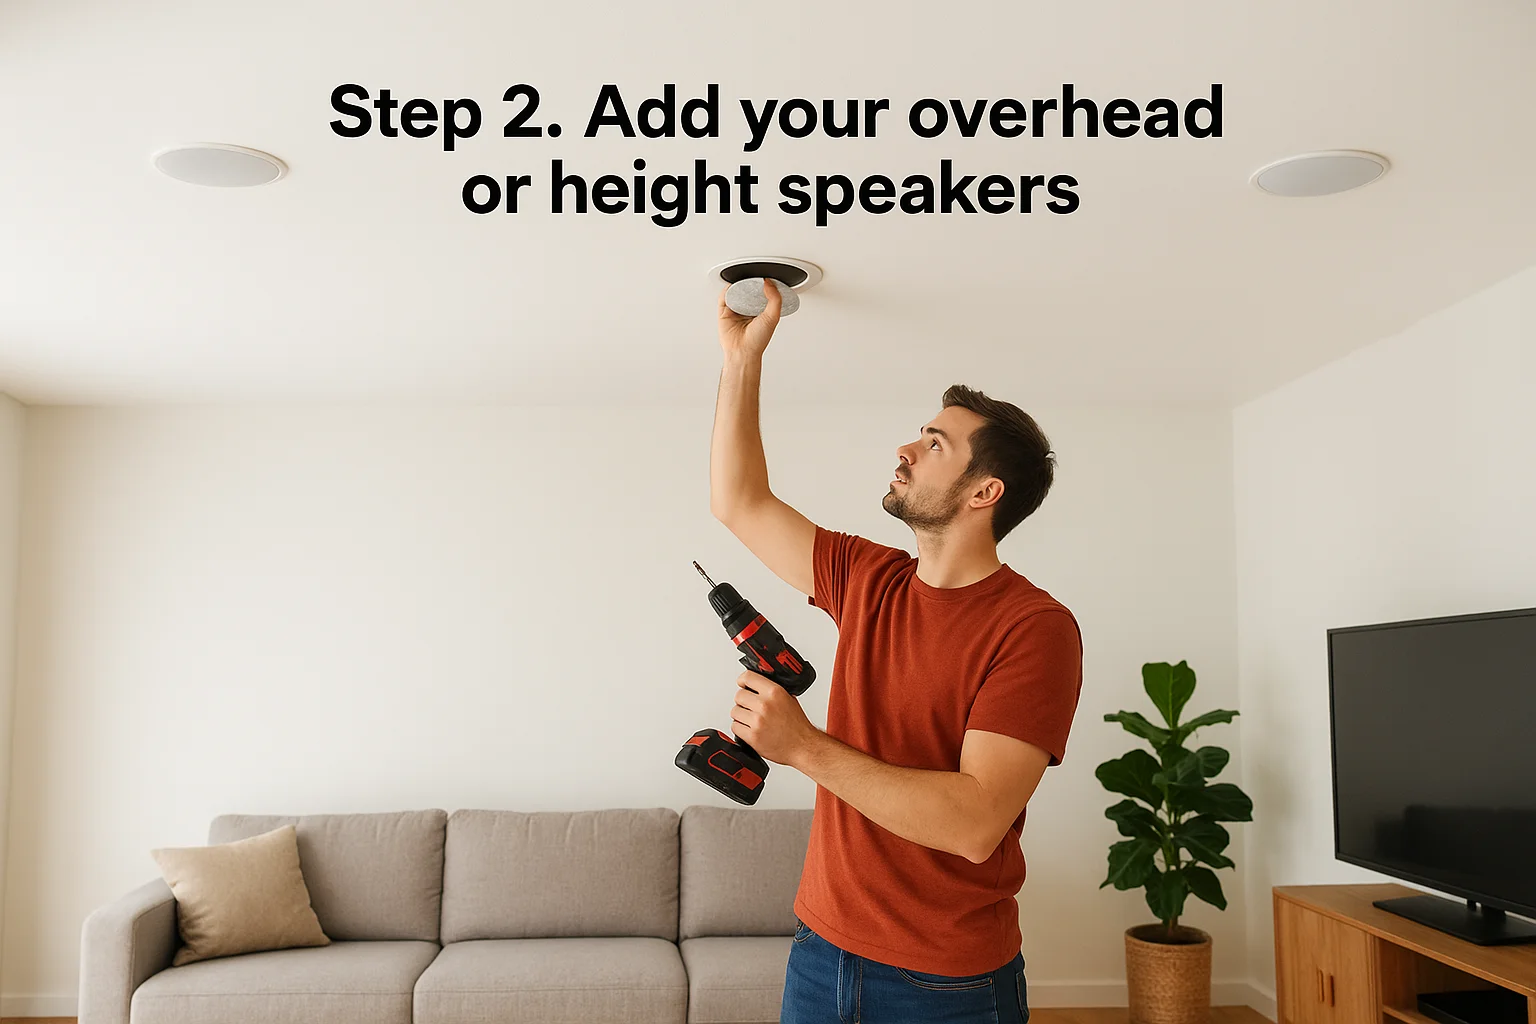
Once your bed layer is locked in, move up. Overhead height speakers are what separate a home theater dolby atmos setup from a regular surround system, and where you place them determines whether rain and helicopters actually sound like they're above you or just louder to your left. Dolby publishes specific angle recommendations for in-ceiling speakers, and following them matters more than eyeballing the middle of your ceiling.
Where in-ceiling speakers actually go
For a 5.1.2 or 7.1.4 layout, Dolby recommends mounting front height speakers between 30 and 55 degrees above your seated ear level, measured from your listening position, and rear height speakers between 65 and 100 degrees. In practice, that means the front pair sits roughly one to two feet in front of your main listening seat, and the rear pair sits slightly behind it, not directly overhead. Splitting the difference and centering everything over the couch is the most common mistake we see, and it flattens the overhead effect instead of creating it.
Height speakers placed straight overhead sound like a ceiling fan, not a storm passing above you.
When upward-firing modules make more sense
If your ceiling is finished and cutting into it isn't an option, upward-firing modules are a real alternative, not a compromise you'll regret. These sit on top of or near your front and surround speakers and bounce sound off a flat, untextured ceiling to simulate the same overhead cues. They need a ceiling height between roughly 7.5 and 14 feet to work correctly, and vaulted or heavily beamed ceilings scatter the reflection, so measure before you buy.
Wiring and mounting checklist
Before you cut drywall or set a module in place, run through this:
- Confirm ceiling joist locations before cutting for in-ceiling models
- Run speaker wire in conduit if this is new construction or an open ceiling
- Keep front height speakers within the 30-55 degree window from your seat
- Angle in-ceiling speakers slightly toward the listening position if the model allows it
- Verify your ceiling material is flat and hard for upward-firing modules, not acoustic tile
Get the angles right here, and calibration in Step 4 has an easy job. Get them wrong, and no amount of software correction will make a mismatched height layer sound convincing.
Step 3. Place and connect your subwoofer
Bass behaves differently than everything else in your home theater dolby atmos setup, so it gets its own rules. Low frequencies aren't directional the way midrange and treble are, but room shape and furniture placement still create dead spots and boomy corners that ruin an otherwise perfect calibration. Placement here isn't about matching a speaker to your ear level, it's about finding where the room itself behaves.
Finding the right spot with the crawl test
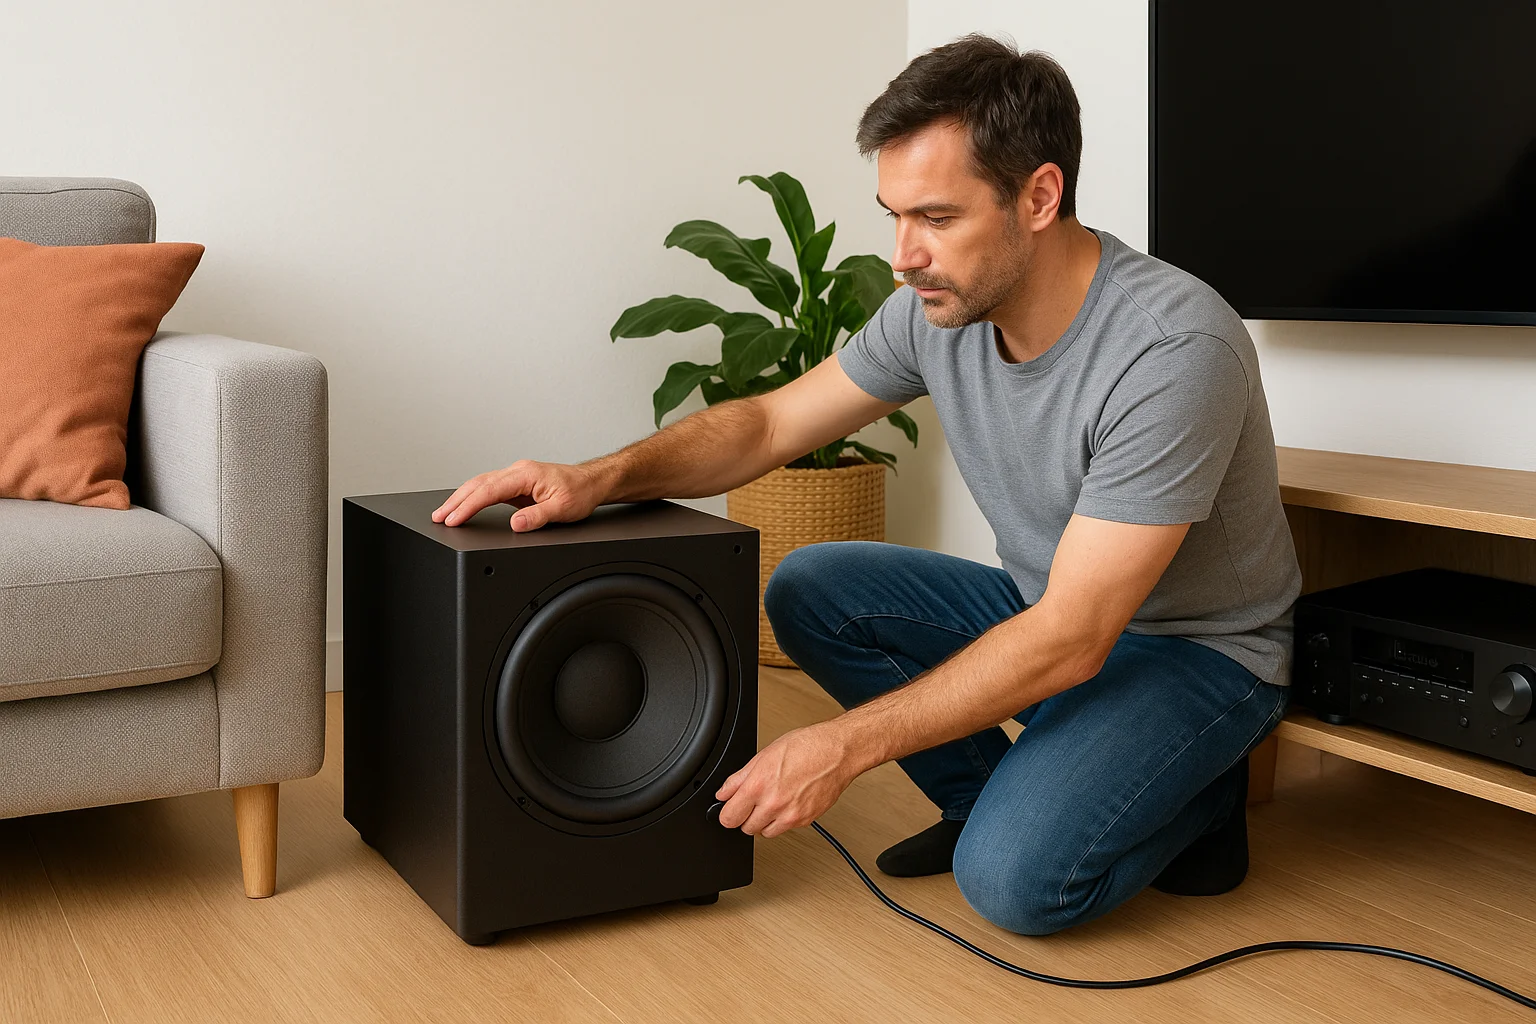
Subwoofer placement is one of the few things you can test without any equipment. Put the sub in your actual listening seat, play a bass-heavy track, then crawl around the room's perimeter at ear height until you find the spot where bass sounds tightest and most even. That's usually where your subwoofer belongs, even if it's not symmetrical with your other speakers.
A subwoofer in the wrong corner will boom in one seat and disappear in another, no calibration fixes that.
Corners reinforce bass but almost always unevenly, so an off-center placement along a side wall, roughly a third of the way down, tends to sound more consistent than jamming it into a corner. If you're running two subwoofers, which we recommend for rooms over 300 square feet, place them on opposite walls or diagonal corners to cancel out standing waves instead of doubling them.
Wiring and connection basics
Most modern subwoofers connect to your AV receiver's dedicated LFE output using a single RCA cable, not speaker wire. Check off these steps before you power anything on:
- Run the subwoofer output from your receiver's LFE or subwoofer pre-out jack
- Set the subwoofer's internal crossover to its highest setting, or bypass mode if available
- Let the receiver's bass management handle crossover frequency during calibration in Step 4
- Keep the sub's volume knob at a moderate midpoint before running automated calibration
Don't set the subwoofer's volume by ear before calibration. Your receiver's automated system needs a baseline reading close to neutral to calculate accurate levels, and a subwoofer cranked too high or too low will throw off every other channel's calibration in the next step.
Step 4. Calibrate your receiver and test the sound
Every speaker is placed and wired into your receiver's inputs and speaker terminals, so now the receiver has to learn your room. Automated room calibration systems like Audyssey on a Denon receiver, Dirac Live, or YPAO use a included microphone to measure distance, level, and frequency response from your listening seat, then apply corrections you could never dial in by ear. Skipping this step is the fastest way to waste everything you just did in Steps 1 through 3.
Running the calibration microphone
Set the microphone at seated ear height, exactly where your head sits during a movie, and run the test in a quiet room with no fans or HVAC noise. Most receivers ask you to move the mic to two or three additional seats to average the room, so don't skip those extra positions even if you mostly watch alone. The receiver sends test tones through every channel, including your height speakers, and measures how long the sound takes to reach the microphone and how loud it arrives.
A calibration mic tells you the truth about your room, not what you assumed the layout would sound like.
What to check after auto-calibration finishes
Once the process completes, don't just trust the results blindly. Pull up the receiver's speaker configuration menu and confirm these manually:
- Distance readings match your actual room measurements within a foot
- Crossover frequency lands between 80-100Hz for small satellite or in-ceiling speakers
- Height channels show as active and correctly assigned, not mistaken for surrounds
- No channel level sits more than 3dB off from the others
Running this check catches the rare cases where a reflective surface or open window skewed the microphone reading.
Testing with real content
Numbers on a screen don't tell you how a dolby atmos home theater setup actually sounds. Play a certified Atmos demo scene, something with rain, wind, or an object moving overhead, and listen for whether the effect tracks smoothly from front to back instead of jumping between speakers. If it sounds patchy, revisit your height speaker angles from Step 2 before touching the receiver settings again.
Enjoying true cinematic sound at home
Getting a home theater dolby atmos setup right comes down to sequence. Configuration decides your speaker count, placement decides whether the bed layer and height channels actually work together, and calibration ties it all to your room's actual dimensions instead of a factory guess. Skip a step or rush the angles, and you end up with an expensive system that just sounds loud.
Homeowners who follow this order, room first, then bed layer, then height channels, then calibration, consistently end up with systems that sound like the demo room at the store, not a compromise. That's true whether you're running 5.1.2 in a den or full 7.1.4 in a dedicated theater room.
If you'd rather skip the trial and error, or you're building a new theater room from scratch, see the Atmos theaters we've built around the Treasure Valley and get a sense of what's possible in a space like yours.
Need Expert Help?
Ready to implement these solutions in your own home or business?
Our Services

Home theater design and installation planned around your room, viewing goals, and equipment scope.
Expert TV Mounting Treasure Valley Homeowners & Businesses Trust

Explore whole-home audio, commercial sound, Sonos setup, and surround sound installation in the Treasure Valley.
Serving the Treasure Valley
Local installation in your city