You've invested in a golf simulator setup, the launch monitor, the impact screen, the enclosure. But the projector? That's where most DIY builds run into problems. Golf simulator projector mounting is...
Golf Simulator Projector Mounting: Placement, Height, Gear
You've invested in a golf simulator setup, the launch monitor, the impact screen, the enclosure. But the projector? That's where most DIY builds run into problems. Golf simulator projector mounting isn't just about bolting hardware to a ceiling and calling it done. Get the placement wrong, and you'll deal with shadows blocking your swing data, a washed-out image, or a projector that sits right where your backswing wants to go.
The difference between a frustrating setup and one that actually works comes down to three things: where the projector sits in relation to the screen, how high and how far back it's mounted, and what hardware holds it all in place. These details matter more than most people realize, and they're hard to fix after the fact.
At Treasure Valley Solutions, we handle projector installations and AV integration across the Treasure Valley, including dedicated golf simulator rooms. This guide covers everything you need to get your projector mounted correctly the first time: placement options, height calculations, throw distance, shadow elimination, and the mounting gear that actually holds up.
What to plan before you mount anything
Before you touch a drill bit, you need to gather the right information. Golf simulator projector mounting requires more upfront planning than a typical home theater install because the projector sits in an active swing space. You're swinging a club in that room, which means clearance, throw distance, and cable protection all need to work together before any hardware goes up.
Know your room dimensions first
Your room dimensions control nearly every decision that follows. Ceiling height and room depth are the two numbers that determine where the projector can physically sit. Measure from the floor to the ceiling, wall to wall, and from your impact screen's surface to the back wall. Write these numbers down before you look at a single projector spec.
Here's a quick measurement template to fill out before you go any further:
| Measurement | Your Value |
|---|---|
| Room width | ___ ft |
| Room depth (screen surface to back wall) | ___ ft |
| Ceiling height | ___ ft |
| Screen width | ___ ft |
| Screen height | ___ ft |
| Target projector position (distance from screen) | ___ ft |
Getting your room dimensions wrong at this stage is the most common reason projector mounts end up in the wrong position.
Understand your projector specs before mounting
Your projector's throw ratio tells you exactly how far back the unit needs to sit to fill your screen. The math is straightforward: throw distance equals throw ratio multiplied by screen width. A projector with a 1.2:1 throw ratio and a 10-foot-wide screen needs to sit 12 feet from the screen surface. Standard projectors typically carry throw ratios between 1.2:1 and 2.0:1, while short-throw models run below 0.8:1.
Pull the throw ratio directly from your projector's spec sheet before planning anything else. You'll also want to note the lens offset percentage, which tells you how far above or below the lens center the image projects. This number directly affects where you set your mount height relative to the top edge of your screen, so don't skip it.
Plan your cable runs before you drill
Most people think about cables last. Do it first. Power, HDMI, and any audio cables need a planned path from the projector to your source equipment before you lock in the final mount location. Routing cables through conduit or along the wall after the mount is already set is significantly harder than planning the path upfront.
Decide now whether you'll run cables through the ceiling cavity, along the wall inside a raceway, or exposed along the frame. Each option requires different prep, and running cables through the ceiling may require access before ceiling panels go up.
Step 1. Pick the right mounting style
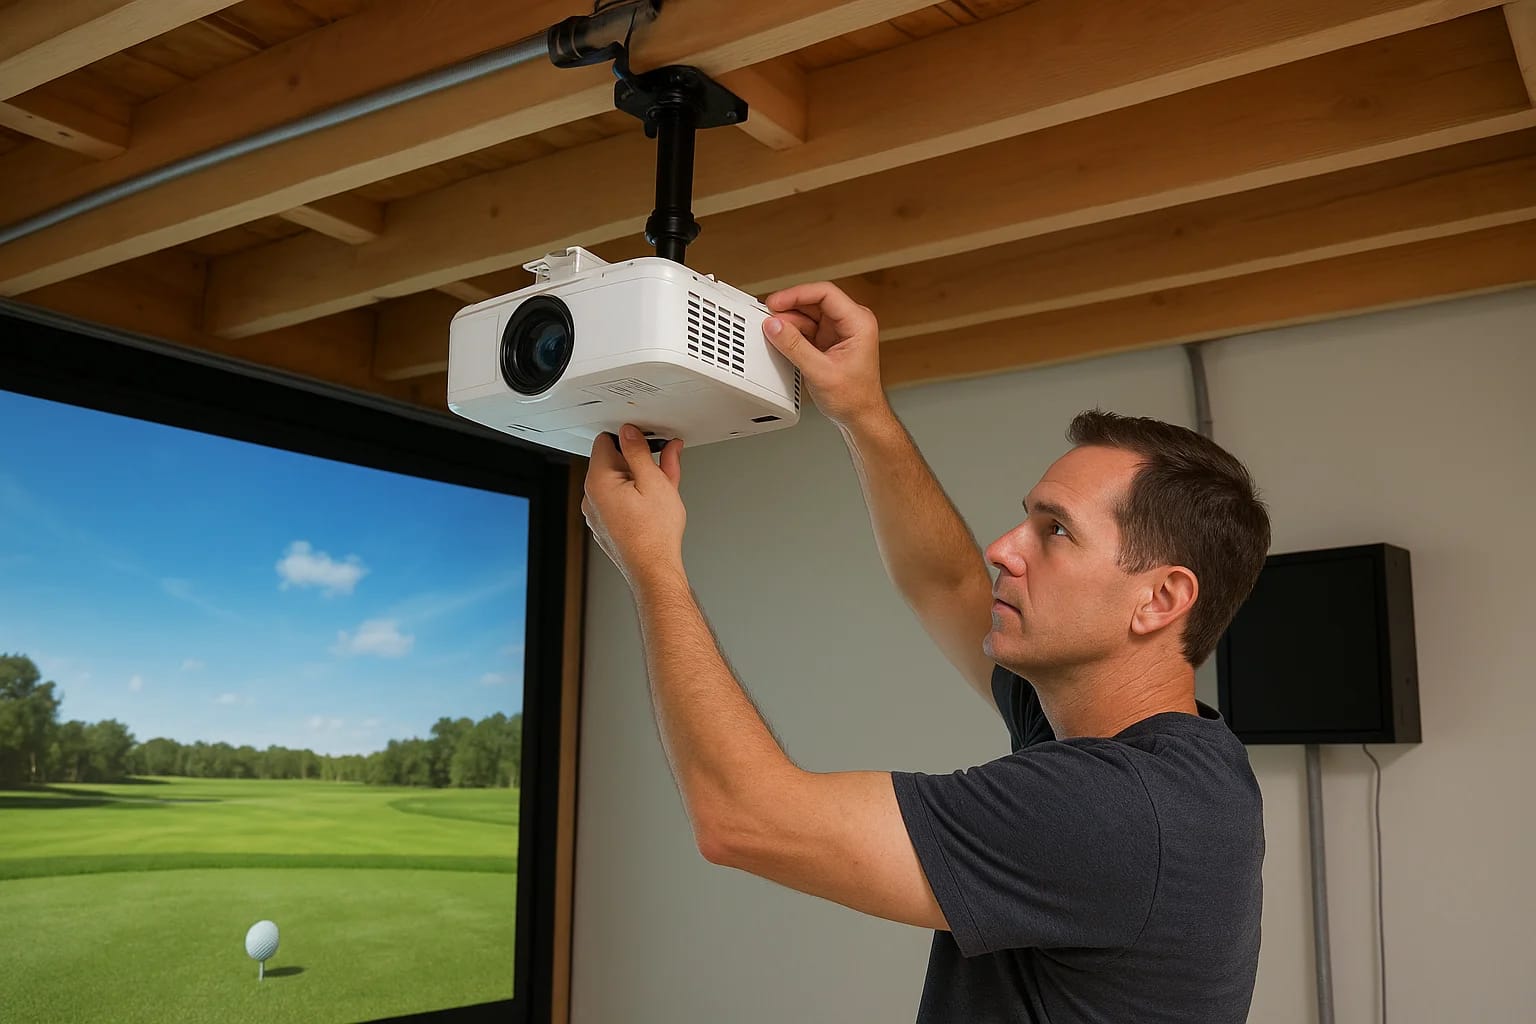
Your mounting style determines every other decision you make in this process. Golf simulator projector mounting breaks down into two main options: ceiling mounting and enclosure or frame mounting. Each one has a specific use case, and choosing the wrong one for your room can create problems that are expensive to fix later.
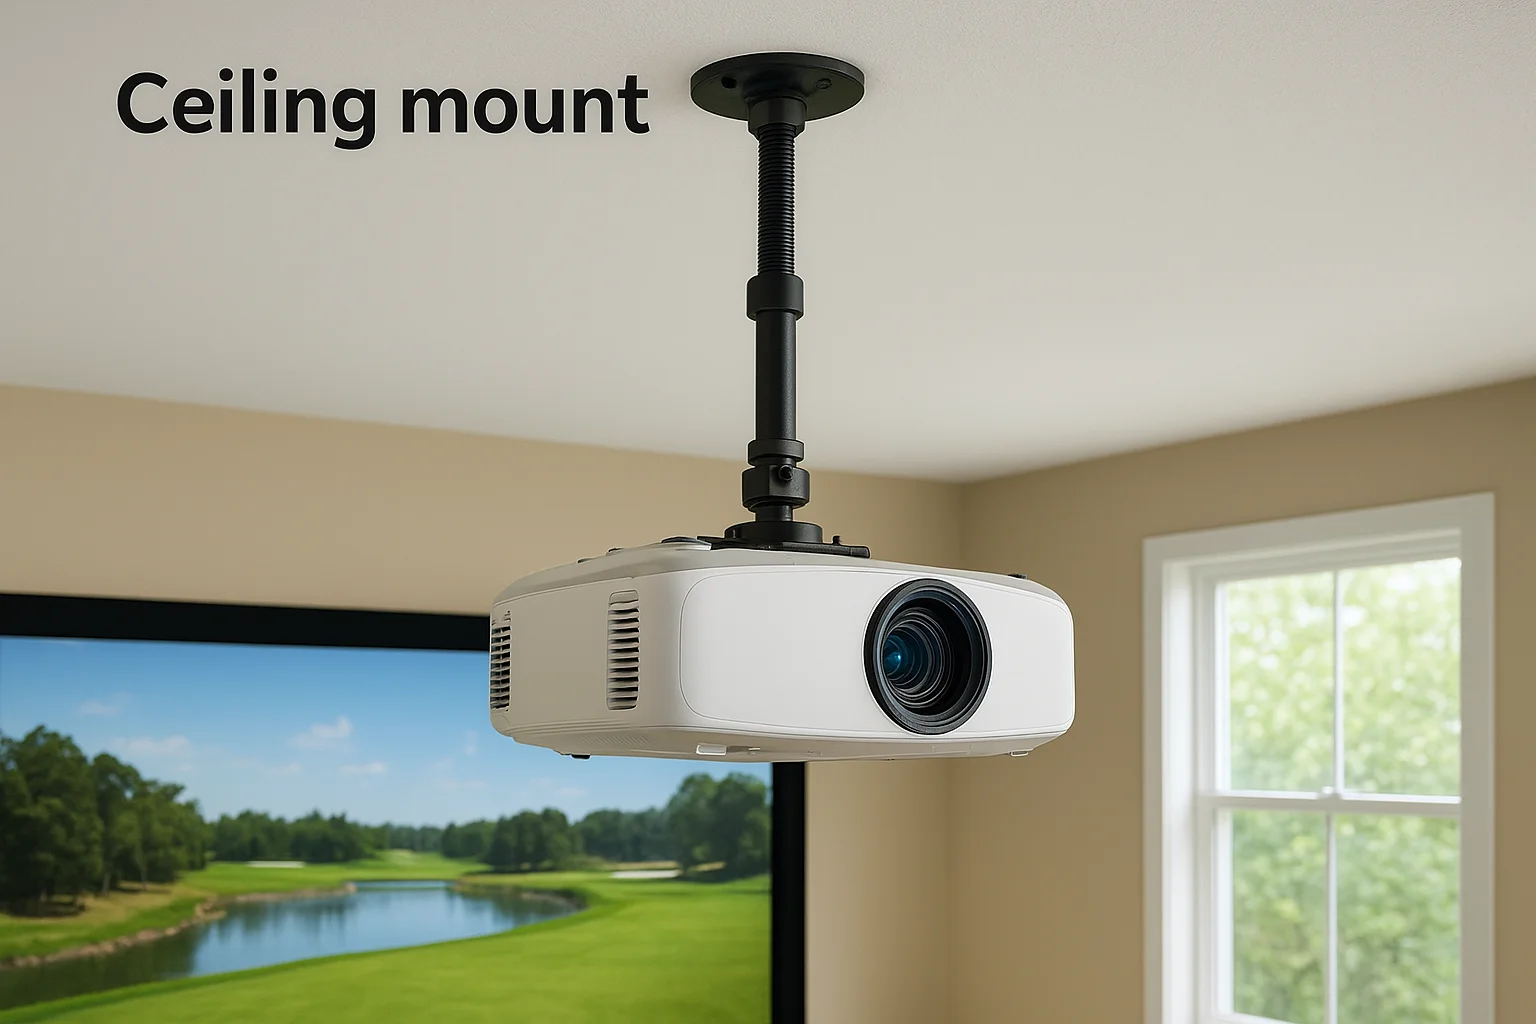
Ceiling mount
A ceiling mount works well when you have a dedicated room with a fixed ceiling height of 9 feet or more and you want the projector completely out of the swing path. Most ceiling mounts use a threaded pole that drops the projector down to the correct height, and many are adjustable by several inches so you can fine-tune positioning after installation.
If your ceiling is lower than 9 feet, a ceiling mount may put the projector directly in your swing path, which creates both safety and image problems.
When you choose a ceiling mount, look for a heavy-duty mount rated for at least 1.5 times your projector's weight. Golf simulator projectors are often on the heavier side, and vibration from swings can slowly loosen hardware that isn't properly spec'd. The Peerless-AV and Chief brand mounts are widely used in AV installs for their adjustability and load ratings.
Enclosure or frame mount
An enclosure mount attaches directly to the top rail of your simulator frame or enclosure structure rather than the ceiling. This option is practical when your ceiling is too low for a safe overhead mount, or when you want the projector to move with a portable enclosure.
You'll typically use a custom bracket or an adjustable arm bolted to the enclosure's top horizontal rail. The tradeoff is that this position often reduces the distance between the projector and screen, which means you'll likely need a short-throw projector to fill the screen properly at a closer distance. Confirm the throw ratio before committing to this style.
Step 2. Calculate throw and lock in placement
Once you've selected your mounting style, you need to calculate the exact position where the projector will sit. Throw distance determines image size, and getting this wrong means either a picture that doesn't fill your screen or one that overshoots the edges. This is the math step of golf simulator projector mounting, and it's worth taking five extra minutes to do it correctly rather than repositioning hardware later.
Use the throw ratio formula
Your projector's throw ratio is the key number here. Multiply the throw ratio by your screen width to get the required throw distance. For example, a projector with a 1.3:1 throw ratio paired with a 10-foot-wide screen needs to sit 13 feet from the screen surface. Check your spec sheet to confirm whether the manufacturer measures throw distance from the lens or from the front of the projector body, since that difference can shift your final mount position by several inches.
Always measure throw distance from the lens to the screen surface, not from the mount bracket to the wall.
Use this table to calculate your throw distance before marking anything:
| Variable | Example Value | Your Value |
|---|---|---|
| Throw ratio | 1.3:1 | ___ |
| Screen width | 10 ft | ___ ft |
| Required throw distance | 13 ft | ___ ft |
Mark the position before drilling
With your throw distance confirmed, measure back from the screen surface and mark the exact position on the ceiling or frame where the projector lens needs to sit. Use tape or a pencil mark at this stage. Don't drill yet.
Hold the projector at that marked point and project a test image onto the screen before committing any hardware. Confirming the image fills the screen correctly at this stage is the only reliable way to avoid filling holes and repositioning mounts after everything is tightened down.
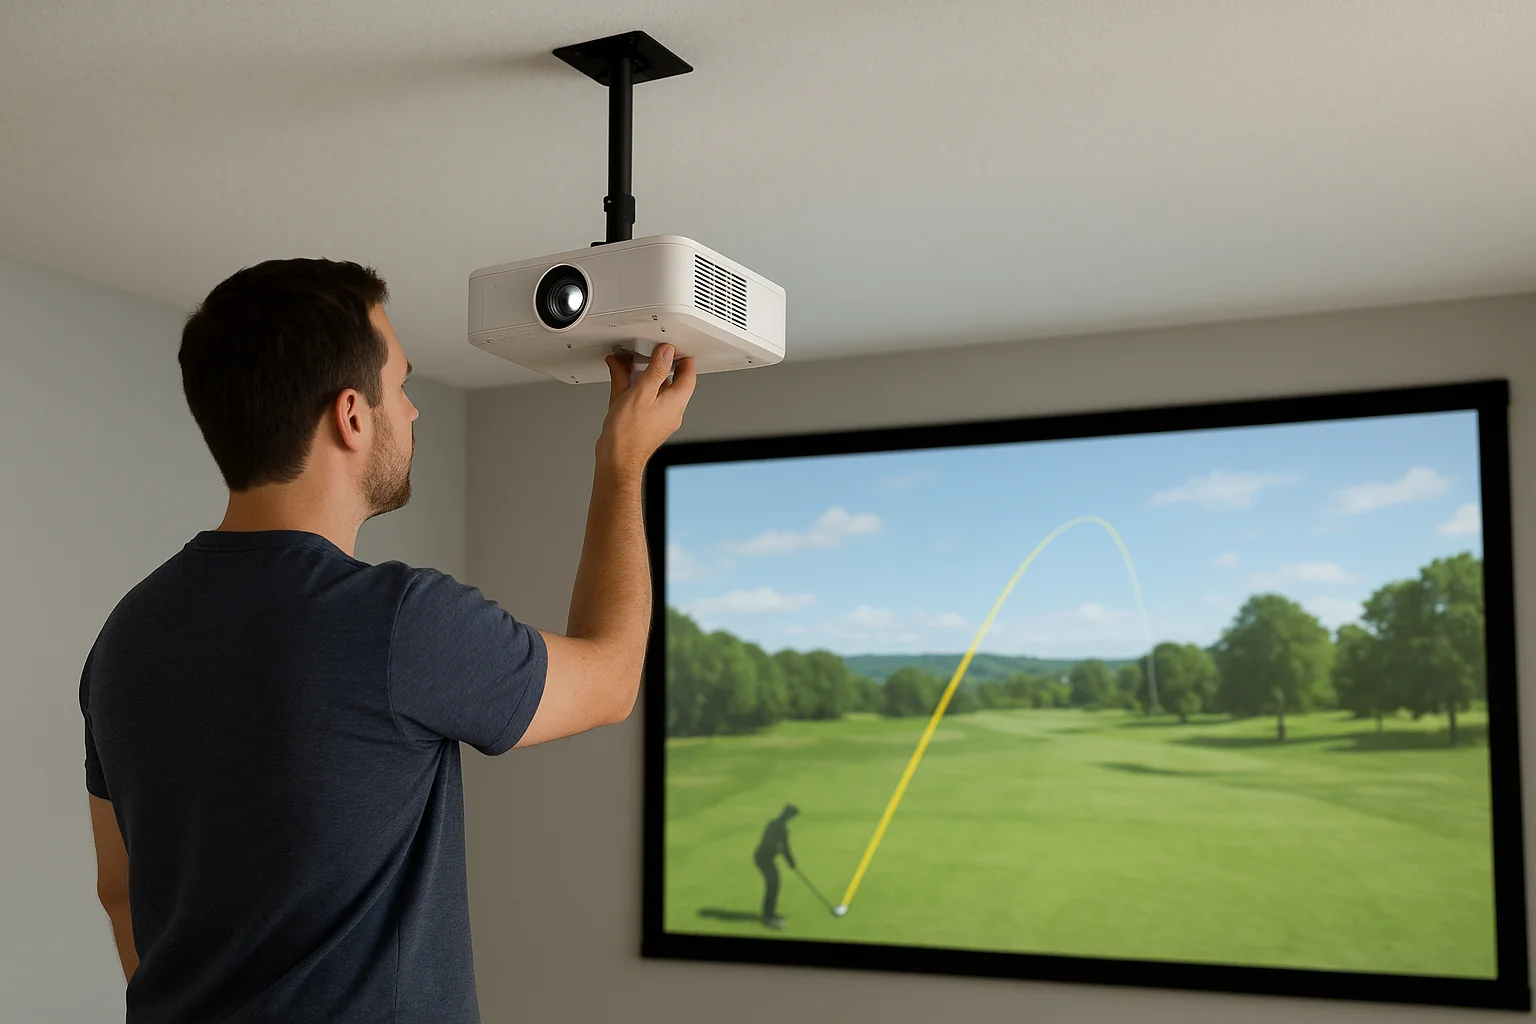
Step 3. Set height and aim to avoid shadows
Height and aim are where most golf simulator projector mounting problems show up during actual use. You can nail the throw distance perfectly and still end up with a shadow cutting across your ball flight data every time you swing. Projector height and lens angle work together, and you need to dial in both before the mount is fully tightened.
Find the right mount height
Your projector's lens offset specification tells you how much the image shifts above or below the lens center. A lens offset of 100% means the entire image projects above the lens center line. Use that number to calculate the height your lens needs to sit so the image lands correctly on the screen without tilting the projector body.
Your lens center should typically sit between 12 and 18 inches above the top edge of your impact screen for a standard overhead ceiling mount.
Use this reference table to find your starting mount height based on screen top-edge height:
| Screen Top Edge Height | Starting Lens Height |
|---|---|
| 8 ft | 8.5 to 9 ft |
| 9 ft | 9.5 to 10 ft |
| 10 ft | 10.5 to 11 ft |
Adjust from there based on your specific lens offset value, and confirm with a test image before you tighten the mount hardware permanently.
Angle the lens to cut out shadows
Shadows appear when the projector sits too far back or too low, forcing a steep downward angle that puts the beam directly through your swing plane. To eliminate this, move the projector forward toward the screen rather than tilting the body down aggressively. Most quality mounts include fine-tilt adjustment screws that let you shift the image vertically by a few degrees without creating a keystone distortion problem.
Keep the projector body as close to level as possible. A level projector body combined with proper height placement removes shadows without requiring heavy lens correction.
Step 4. Mount, protect, and run cables cleanly
With your position confirmed and your test image filling the screen correctly, you're ready to commit the hardware. Golf simulator projector mounting at this stage is about building something that stays secure under real use conditions. Vibration from swings, foot traffic, and temperature changes in garage or basement rooms all work against loose hardware over time.
Secure the mount hardware properly
Start by locating ceiling joists or structural anchor points before drilling anything. A projector mounted into drywall alone will work itself loose within months. Use a stud finder to confirm solid backing, and if your joist spacing doesn't line up with your target position, install a wood blocking panel between two joists to give yourself a solid anchor at exactly the right spot.
Once you have a confirmed anchor point, use grade-5 or higher bolts with lock washers on every connection point. Hand-tight isn't enough here. Tighten each bolt fully, then come back after 48 hours and check every connection for movement. A mount that feels solid on day one often needs a small adjustment after the hardware settles.
Never mount directly into drywall alone. A failing mount in an active swing space is a serious safety hazard.
Protect the projector and run cables
Cable management is the step most installers rush, and it shows immediately in the finished result. Run your HDMI and power cables through a split loom conduit or cable raceway along the ceiling or wall. This keeps cables away from the swing area and protects them from accidental contact.
Use the checklist below to confirm everything is complete before your first full test session:
- All mount bolts tightened and rechecked after 48 hours
- HDMI cable rated for your run length (18 Gbps minimum for 4K signal)
- Power cable secured away from swing plane
- All cables in conduit or raceway
- Projector body level confirmed with a bubble level

Next steps for a clean, safe setup
A solid golf simulator projector mounting job comes down to planning first and drilling second. When you measure your room, confirm your throw distance, lock in the right height, and secure every bolt to a structural anchor, you end up with a setup that works correctly on day one and holds up through years of real use. Skipping any of these steps is what turns a great simulator investment into a frustrating one.
If you want the installation done right without the trial and error, Treasure Valley Solutions handles projector mounting and full AV integration across the Treasure Valley. From ceiling mounts to complete simulator room builds, our team designs and installs systems that are clean, safe, and built to last. Check out examples of our completed AV and technology projects to see what a professionally installed setup looks like, then reach out when you're ready to get started.