 (208) 991-3502
 Meridian, ID



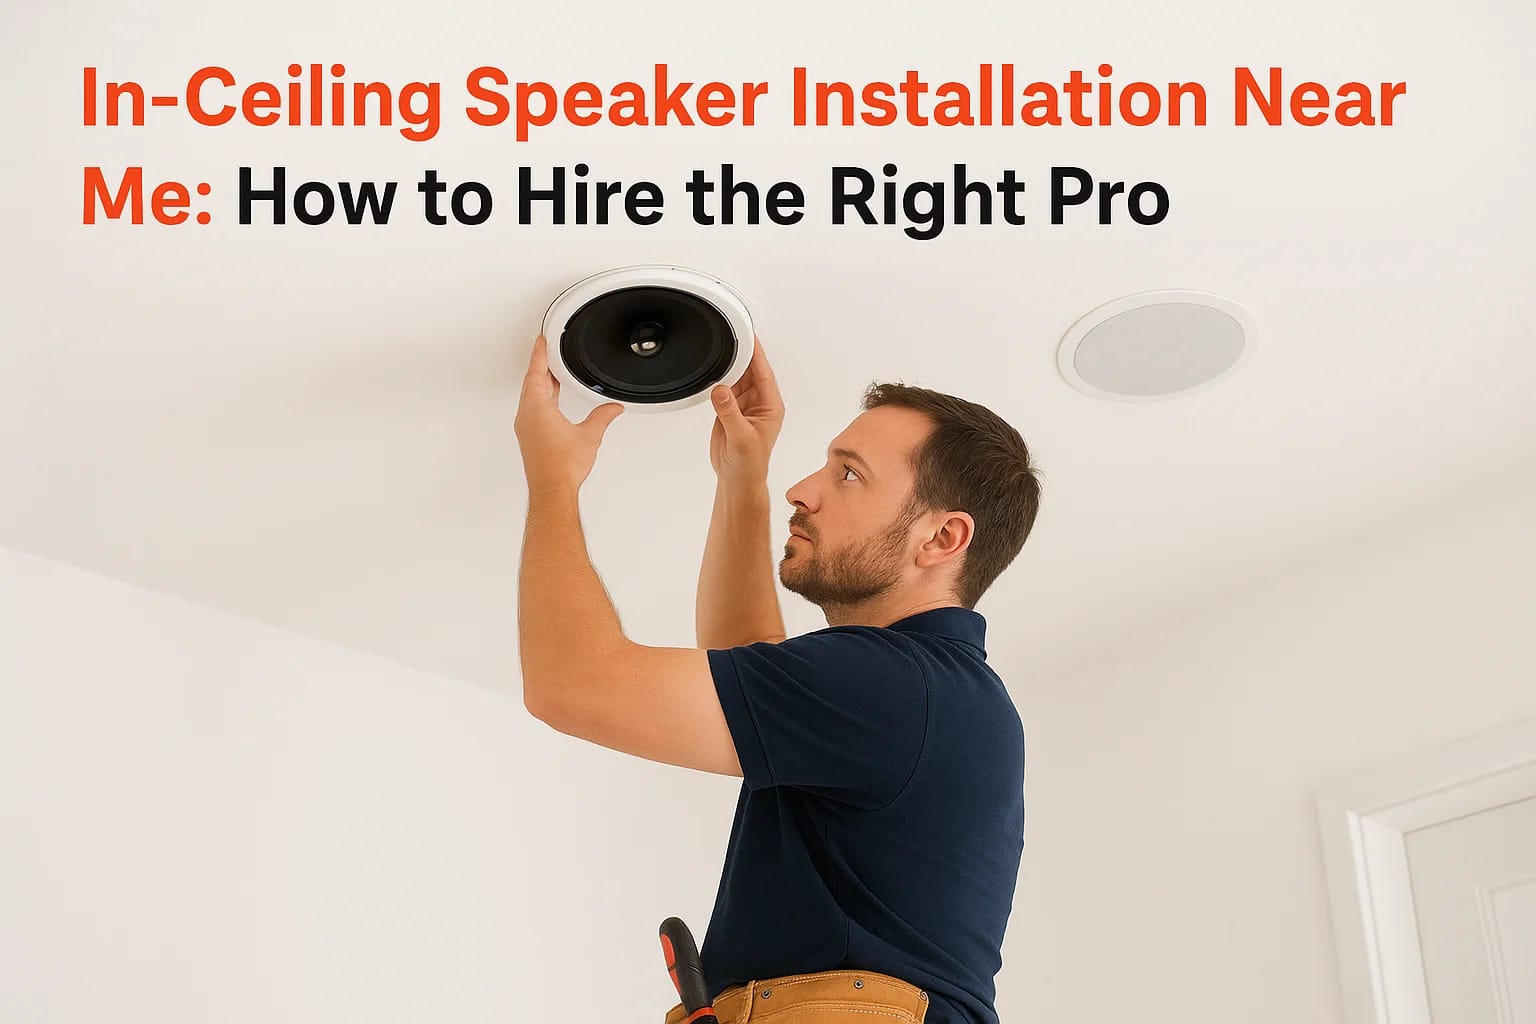

You've decided against another bookshelf speaker cluttering your living room, and now you're searching in ceiling speaker installation near me hoping to find someone who actually knows what they're do...
You've decided against another bookshelf speaker cluttering your living room, and now you're searching in ceiling speaker installation near me hoping to find someone who actually knows what they're doing. That search gets messy fast. Some results are big-box retailers pushing generic packages, others are one-person operations with no reviews, and you're left guessing who can cut clean holes in your ceiling without hitting a joist or a wire you didn't know was there.
Hiring the right installer comes down to a handful of things: checking real credentials, understanding what a fair cost estimate looks like for your room size and speaker count, and knowing which questions separate a professional from a guy with a drill. Skip any of those steps and you risk mismatched speakers, exposed wiring, or a ceiling patch job that looks worse than the hole itself.
This guide walks through exactly how to vet local installers, what licensed technicians should offer that a handyman won't, and how pricing typically breaks down in the Treasure Valley area. By the end, you'll know what to ask, what to expect, and how to spot a company built for long-term support rather than a quick install and disappearing act.
What to know before hiring an in-ceiling speaker installer
Before you call anyone, understand what separates a professional installation from a weekend DIY attempt gone wrong. In-ceiling speakers look simple on the surface: cut a hole, drop in the speaker, connect the wire. In practice, you're dealing with drywall dust in your living room, live electrical runs hidden in the ceiling cavity, and acoustic placement decisions that determine whether your system sounds balanced or muddy. A rushed job means rattling grilles, uneven bass, or a speaker mounted three feet from where it should be for proper stereo imaging.
Why cutting into your ceiling is riskier than it looks
Ceilings hide more than insulation. HVAC ducts, electrical wiring, plumbing vents, and structural joists all run through that space, and a contractor without a stud finder and a plan can nick a wire or block airflow without knowing it. Reputable installers use inspection cameras or joist mapping before they ever pick up a saw. If a company can't explain how they check for obstructions before cutting, that's a warning sign worth taking seriously.
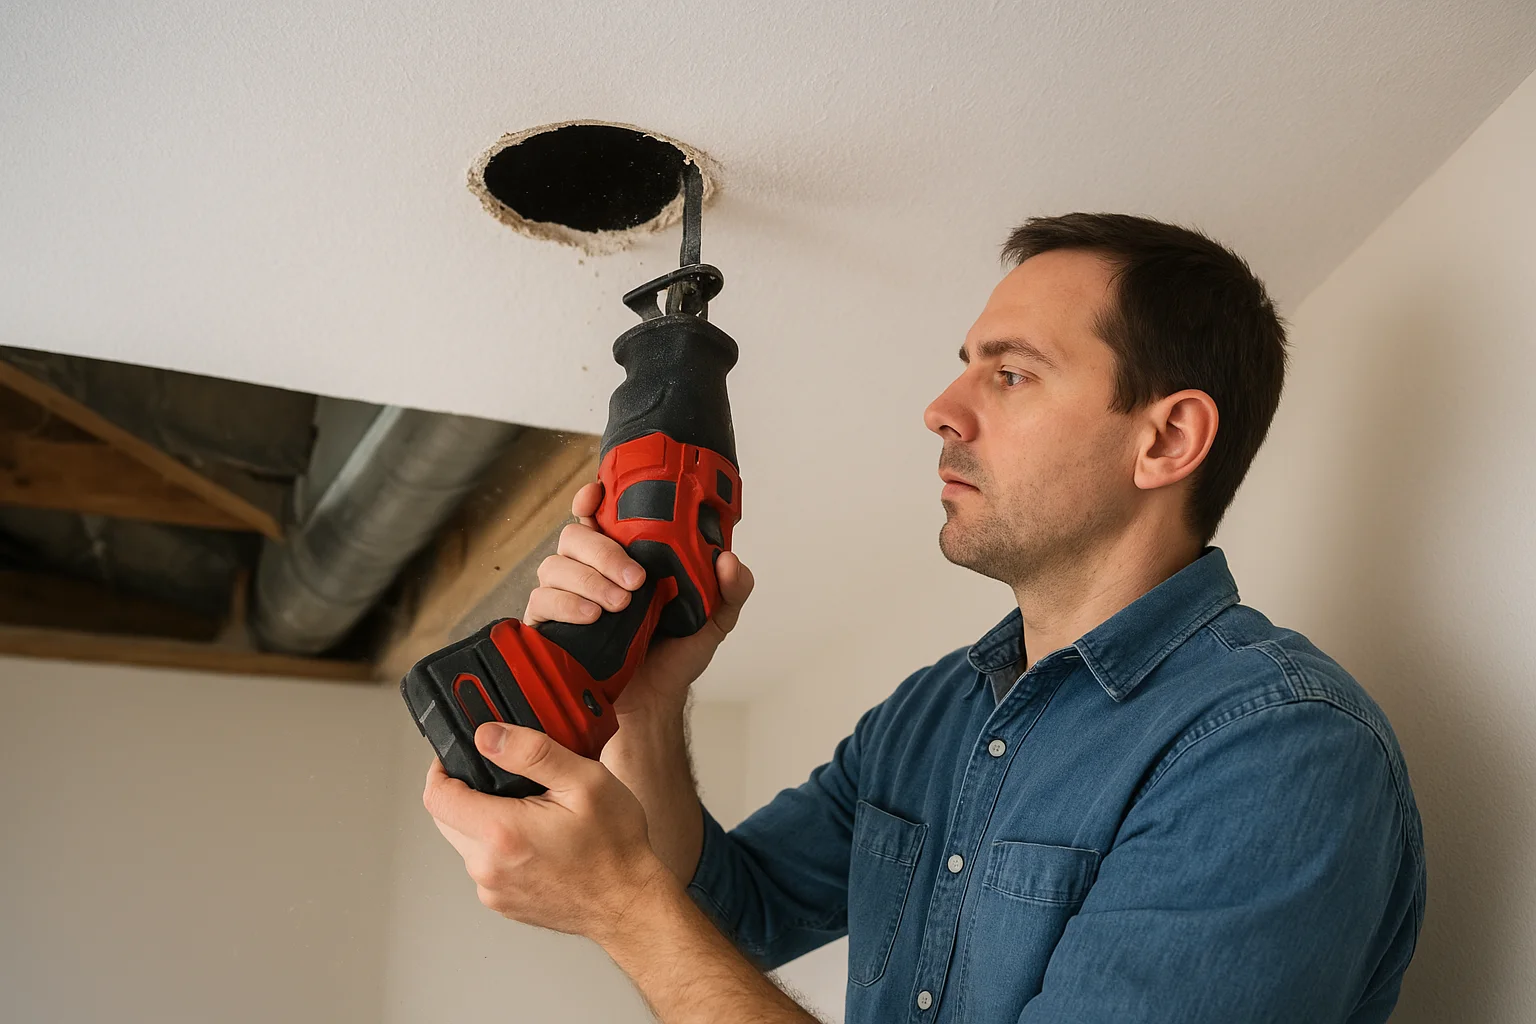
A clean install starts before the first cut, not after the drywall dust settles.
What a licensed technician brings that a handyman doesn't
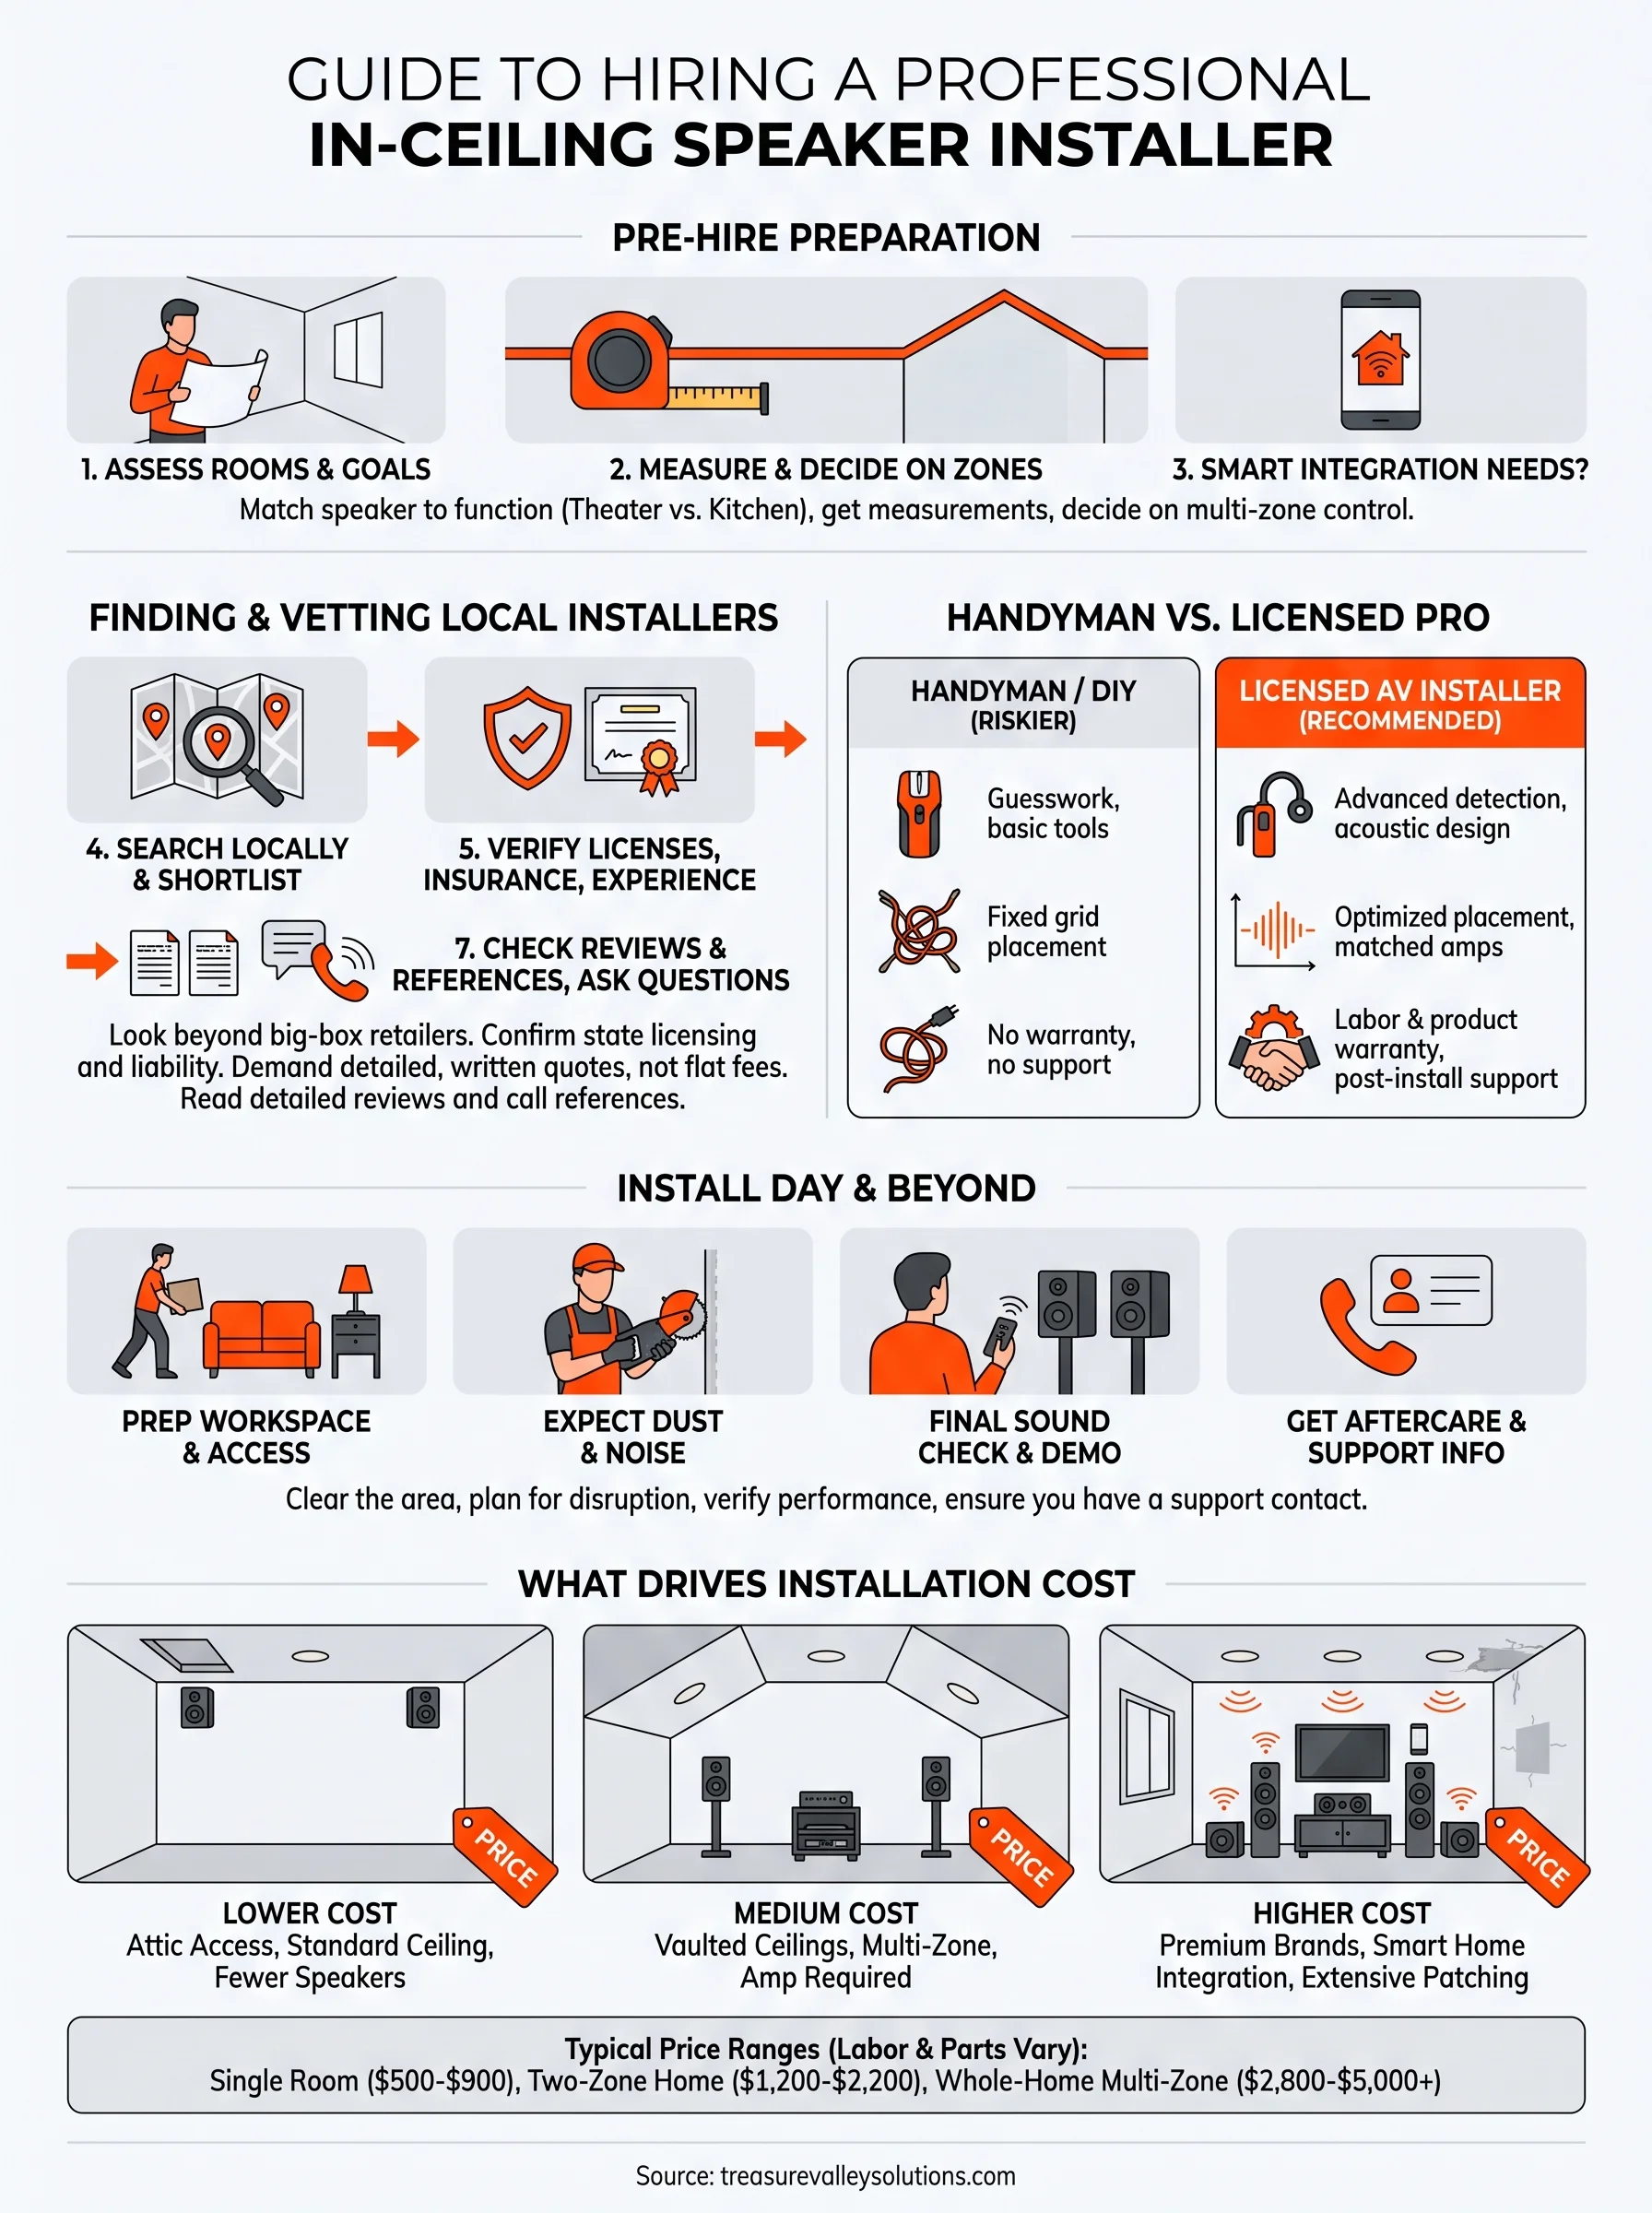
Anyone can buy a pair of speakers online and mount them. A trained technician brings something different: knowledge of impedance matching, amplifier pairing, and room acoustics that actually affects sound quality. Here's the practical difference:
| Factor | Handyman / DIY | Licensed AV Installer |
|---|---|---|
| Wire and stud detection | Guesswork or basic stud finder | Inspection camera, joist mapping |
| Speaker placement | Fixed grid pattern | Calculated for room dimensions and listening zones |
| Amplifier matching | Often skipped | Matched to speaker impedance and power handling |
| Warranty coverage | Rarely offered | Labor and product warranty included |
| Post-install support | None | Programming and troubleshooting available |
That table isn't meant to shame anyone handy with tools. It's meant to show you what you're actually paying for when you hire a specialized installer instead of pulling someone off a general handyman app.
Custom design beats one-size-fits-all packages
Big-box retailers love to sell speaker bundles: same brand, same wattage, same placement pattern regardless of your room. That works fine for a small guest bedroom. It falls apart in an open-concept kitchen and living room combo, where you need different coverage zones and possibly separate volume controls. A good installer walks your space first and designs around it, not the other way around.
Questions to settle before you start calling around
Before you even open a search engine, get clear on a few basics. Knowing these answers ahead of time makes every conversation with an installer faster and more productive:
- Which rooms need speakers, and what's each room used for (background music, home theater, outdoor patio)?
- Do you already own an amplifier or receiver, or does that need to be part of the quote?
- Is this a retrofit into finished drywall, or new construction where pre-wiring is possible?
- What's your rough budget per room, not just per speaker?
- Do you want smart integration, like voice control or a whole-home audio app?
Having these answers ready means you won't waste a technician's time on a walkthrough, and you'll get a more accurate quote on the first visit instead of a vague estimate that changes later. It also signals to the installer that you're a serious client, which tends to get you better attention and more honest pricing from the start.
Step 1. Assess your rooms and sound goals
Walk through your home before you make a single phone call. Every installer you talk to will ask what rooms you're targeting and how you use them, and vague answers like "the living room and maybe the kitchen" lead to vague quotes. Sound goals vary wildly by room: a home theater needs precise placement for dialogue clarity, while a kitchen or patio just needs even background coverage. Spend twenty minutes with a notepad and sketch out which rooms matter most.
Match speaker type to room function
Different spaces call for different speaker configurations, and mixing them up wastes money on features you'll never use. A bedroom doesn't need the same power handling as a media room built around a projector screen. Consider this breakdown when you're thinking through each space:
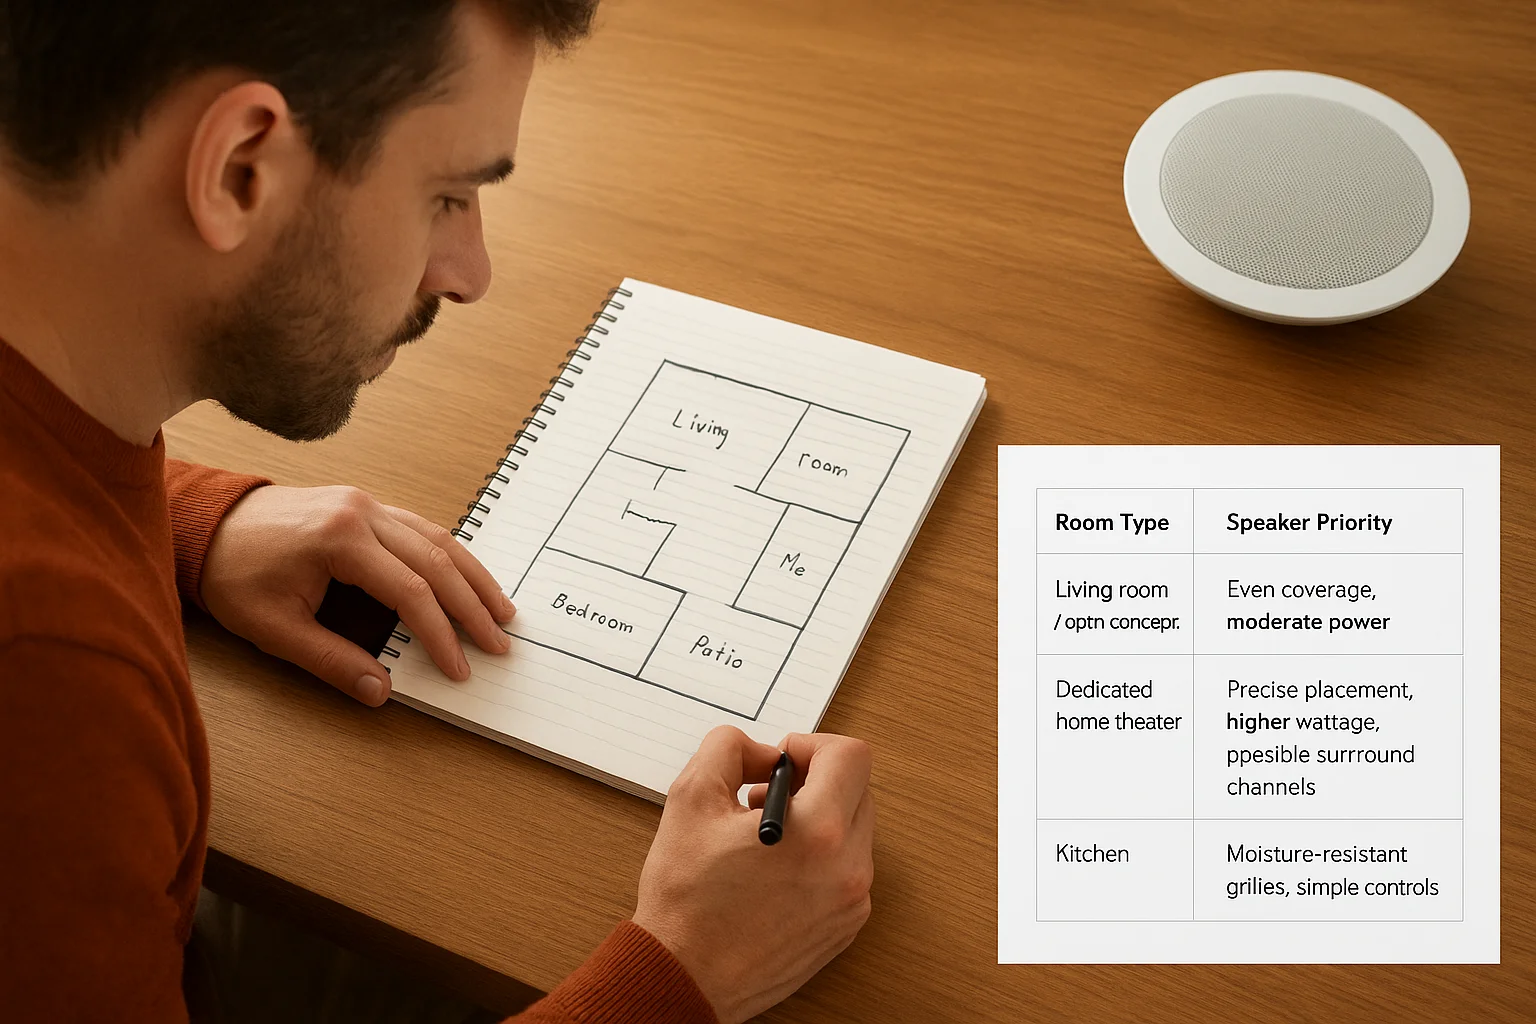
| Room Type | Primary Use | Speaker Priority |
|---|---|---|
| Living room / open concept | Background music, casual TV | Even coverage, moderate power |
| Dedicated home theater | Movies, gaming | Precise placement, higher wattage, possible surround channels |
| Kitchen | Music while cooking | Moisture-resistant grilles, simple controls |
| Outdoor patio (covered) | Ambient audio | Weather-rated in-ceiling models |
| Bedroom | Low-volume relaxation | Smaller speakers, dimmable volume controls |
Measure before you estimate anything
Measuring your ceiling height, room square footage, and any obstructions like beams or vaulted sections gives an installer real numbers to work with instead of a guess over the phone. Rooms with vaulted or angled ceilings often need angled in-ceiling speakers, not standard flush-mount models, and that changes your parts cost before labor even enters the conversation. Take photos of your ceiling from a few angles too. A lot of companies can give you a rough phone estimate off photos alone, which saves you from scheduling a home visit for a project that's clearly out of your budget range.
Know your rooms and your goals before you ask for a quote, and every conversation afterward gets faster and more accurate.
Decide how the system should connect
Think about whether you want each room controlled independently or grouped into zones you can manage from one app or keypad. Independent zone control costs more upfront because it usually requires a multi-zone amplifier, but it means you're not blasting the same volume through the kitchen and the nursery. Zoning decisions affect your speaker installation cost more than people expect, so settle on this before you start collecting quotes, not after.
Step 2. Find local in-ceiling speaker installers
Once you know your rooms and goals, start building a shortlist. Typing in ceiling speaker installation near me into a search engine gets you a mix of national franchises, local integrators, and marketplace listings, and not all of them are worth a phone call. Cast a wide net first, then narrow it down using the criteria below rather than just picking whoever shows up at the top of the results.
Where to actually look
Search engines are only one piece of this. Cross-reference a few sources so you're not relying on ad placement alone:
- Google Business Profiles with recent reviews and photos of completed jobs
- Manufacturer dealer locators for brands like Sonos, Sonance, or Klipsch, since certified dealers get factory training
- Local builder or architect referrals, especially if you're renovating rather than starting from scratch
- Neighborhood Facebook groups or Nextdoor, where people post honest feedback about local techs
- The Better Business Bureau, to check for unresolved complaints before you even pick up the phone
Narrow the list to companies that fit your project
Not every installer handles every job size. Some crews specialize in single-room retrofits, others focus on whole-home builds with commercial clients mixed in. Match the company's typical project scope to yours before you waste time on a walkthrough that goes nowhere.
| Installer Type | Best For | Watch Out For |
|---|---|---|
| National franchise | Standardized packages, fast scheduling | Less flexibility on custom design |
| Local AV integrator | Custom rooms, ongoing support | Fewer reviews if newly established |
| Independent contractor | Small, single-room jobs | Limited warranty, no backup crew |
| Builder-affiliated integrator | New construction pre-wiring | May not handle standalone retrofits |
The right installer isn't the closest one on the map, it's the one whose typical project looks like yours.
Build a shortlist of three to five companies
Don't call the first name you find and stop there. Reach out to three to five companies so you have real numbers to compare later, not just one opinion on what your project should cost. Note how quickly each one responds and whether they ask thoughtful questions about your rooms or just quote a flat rate over the phone. A company that asks about ceiling height, existing wiring, or your amplifier setup before quoting a number is already showing you how they'll handle the actual job.
Step 3. Verify licensing, insurance, and experience
By the time you've narrowed your shortlist, it's tempting to just pick whoever quoted the lowest price. Don't. Licensing and insurance are the two things that separate a legitimate business from someone working out of a truck with no accountability if something goes wrong. A speaker install touches your electrical system, your ceiling structure, and sometimes your home's low-voltage wiring, so you want documentation, not a verbal promise.
Why licensing matters for ceiling work
Requirements vary by state and municipality, but Idaho contractors working on electrical or structural elements of a home often need specific registrations, and some cities require local permits for low-voltage work tied to new construction. Ask for a license number and verify it yourself rather than taking a company's word for it. The Idaho Division of Occupational and Professional Licenses maintains searchable records for contractors operating in the state, and a five-minute check can save you from hiring someone who's been flagged for complaints.
If a company hesitates to give you a license number, treat that hesitation as your answer.
Insurance coverage you should confirm
Ask for proof of both general liability and workers' compensation coverage before anyone sets foot in your home. Liability insurance protects you if a technician damages your flooring, drywall, or furniture during the job. Workers' comp protects you from being held responsible if someone gets hurt on your property. A reputable installer sends over a certificate of insurance without pushback, often within a day of asking.
| Coverage Type | Protects You From |
|---|---|
| General liability | Property damage during installation |
| Workers' compensation | Injury claims on your property |
| Product/labor warranty | Faulty parts or installation errors after the job |
Signs of real experience beyond a license number
A license proves a company meets minimum legal requirements. It doesn't prove they're good at the job. Look for a portfolio of completed installs, ideally with photos of ceiling work in homes similar to yours, and ask how many years the lead technician has spent doing this specific type of installation rather than general handyman work. Companies that have been doing speaker installation near me searches lead them to for years usually have a documented process, from initial walkthrough to final sound check, and they'll walk you through it without being asked twice.
Step 4. Request and compare detailed quotes
Request a written, itemized quote from every company on your shortlist, not a rough number scribbled after a five-minute phone call. A detailed quote breaks down speaker brand and model, per-unit labor cost, wiring materials, drywall patching, and any amplifier or receiver needed to power the system. Without that breakdown, you're comparing guesses, not real bids, and you won't know if one company is cheaper because they're efficient or because they're cutting corners on materials.
What a real quote should spell out
Good installers put everything in writing before you sign anything. Look for these line items specifically:
- Speaker brand, model number, and unit price
- Labor cost per speaker, including cutting, wiring, and finishing
- Amplifier or receiver cost if you don't already own one
- Drywall patching and paint touch-up, if needed
- Estimated project timeline
- Warranty terms on both parts and labor
If a quote skips any of these, ask for a revised version before you compare it against the others.
Red flags in vague pricing
Beware companies that quote a flat number like "$1,200 for the whole job" without explaining what's included. That kind of vague pricing usually means labor and materials aren't itemized, which makes it nearly impossible to spot hidden fees later. Vague pricing also makes it hard to negotiate, since you can't ask to swap a speaker model or drop a room without knowing what each piece actually costs.
A quote you can't break into line items isn't a quote, it's a guess with a dollar sign on it.
Line up quotes side by side
Once you have three to five written quotes, put them in a simple comparison table so the differences jump out immediately.

| Company | Total Cost | Speaker Model | Warranty | Timeline |
|---|---|---|---|---|
| A | $1,850 | Sonance VP66 | 2 years labor | 1 day |
| B | $1,400 | Generic in-ceiling | No labor warranty | 1 day |
| C | $2,100 | Klipsch CDT-3650 | 3 years labor | 2 days |
Seeing the numbers laid out this way makes it obvious when a low bid is missing warranty coverage or using budget speakers that won't hold up. Comparing quotes this way, rather than trusting your memory of separate phone calls, is what actually protects your budget.
Step 5. Check reviews and ask for references
A written quote tells you what a company promises. Reviews and references tell you whether they deliver on it. Before you sign anything, spend thirty minutes reading through what past customers actually said, not just the star rating at the top of the page. A company with a 4.8 average and three vague five-star reviews tells you less than one with a 4.3 average and forty detailed reviews describing real jobs.
Where to find honest feedback
Google reviews are the obvious starting point, but don't stop there. Check the company's Google Business Profile for photos customers uploaded themselves, since those tend to be more honest than the polished shots on a company website. Cross-reference with the Better Business Bureau for any unresolved complaints, and search the company name plus "complaint" or "lawsuit" to catch anything that didn't make it into a formal review. Neighborhood apps like Nextdoor often surface feedback you won't find anywhere else, especially from people in your own area who hired the same crew.
A star rating tells you almost nothing. The written details in the reviews tell you everything.
What to look for in the details
Skim past generic praise like "great service" and look for specifics that match your project. Did the reviewer mention ceiling work specifically, or just a general handyman task? Did they note how the crew handled cleanup, or complain about drywall dust left behind? Pay close attention to how the company responds to negative reviews. A thoughtful, non-defensive response to a bad review often tells you more about a company's character than a dozen glowing ones.
Ask for references and actually call them
Most homeowners skip this step because it feels awkward, but a legitimate installer expects the request and won't hesitate to provide two or three names. When you call, ask questions the online reviews can't answer:
- Did the final cost match the original quote, or were there surprise charges?
- How did the crew handle unexpected issues, like a hidden wire or joist?
- Would you hire this company again for a different room in your house?
- How responsive was the company after the install, if something needed adjusting?
References give you a window into how a company handles the messy parts of a job, the parts that never show up in a five-star review. If a company can't produce even one reference for speaker installation near me work they've completed in the last year, treat that as a real gap, not an oversight.
Step 6. Ask the right questions before you sign
Before any contract gets signed, sit down for a real conversation with your top choice installer, not just a quick confirmation call. This is your last chance to catch a mismatch in expectations before drywall dust starts flying. The right questions reveal whether a company has a repeatable process or is figuring things out room by room, and the answers should feel specific, not rehearsed.
Questions about the install itself
Get clear on how the crew handles the physical work before they show up with tools. Ask them to walk you through their exact process, start to finish, and listen for confidence rather than vague reassurance.
- How do you locate wiring, HVAC ducts, and joists before cutting into the ceiling?
- Will the same technician who does the walkthrough also perform the install?
- How long will the job take from start to finish, including drywall patching?
- What happens if you find an obstruction mid-install that changes the plan?
If an installer can't describe their process step by step, they don't have one worth trusting.
Questions about equipment and compatibility
Equipment questions matter as much as labor questions, since the wrong amplifier pairing can leave you with underpowered sound no matter how clean the install looks. Confirm the exact speaker model and amplifier being quoted, not just a brand name, and ask whether the system will integrate with any smart home platform you already use, like Sonos or a voice assistant.
| Question | Why It Matters |
|---|---|
| What speaker model and impedance rating? | Confirms it matches your amp and won't distort |
| Is the amplifier included or separate? | Avoids surprise costs after install day |
| Does this work with my existing smart home app? | Prevents buying a system that can't integrate |
| Are speakers rated for my ceiling type (vaulted, moisture-prone)? | Wrong rating means premature failure |
Questions about aftercare and support
Ongoing support separates a company built for repeat business from one that disappears after the check clears. Try asking who you call if a speaker rattles or a zone stops responding six months later, and whether that support is included in the original price or billed separately. Companies confident in their work answer this without hesitation, because they expect to hear from you again eventually, just not for the reasons you'd worry about.
Getting straight answers to all of these before you sign protects you from surprises during the job and after it. A company that welcomes this conversation is showing you exactly how they'll treat you once they have your deposit.
Step 7. Prepare your home for installation day
Once you've signed with a company, don't just wait around until install day arrives. A little prep on your end keeps the job moving on schedule and protects your furniture and floors from unnecessary damage. Installation day goes faster when the crew isn't stepping around clutter or waiting for you to move a couch they assumed would already be cleared.
Clear the workspace before the crew arrives
Walk through every room getting speakers and clear a path from the front door to the work area. Ceiling work means ladders, drop cloths, and sometimes a small generator or extra lighting, so give the technicians room to set up without navigating around your bookshelves.
- Move furniture at least three feet from the installation area
- Remove fragile decor, lamps, or electronics directly below the work zone
- Cover nearby furniture with sheets if you don't want to move it entirely
- Clear a path from the entry point to each room on the job list
- Confirm pets have a safe, closed-off space away from open doors and ladders
Handle access and logistics ahead of time
Think through anything that could slow the crew down once they're on-site. If you live in a gated community or an apartment complex with a property manager, confirm parking and access rules a few days ahead rather than the morning of. Let the installer know if there's an attic entry point they'll need, since that sometimes speeds up wire runs compared to fishing cable through finished walls alone.
A cleared room and a confirmed access plan save more time on install day than any tool in the technician's van.
Talk to your household about the day's disruption
Warn everyone in the house that there will be noise, dust, and foot traffic for however many hours the job is scheduled to take. If you work from home, plan to be in a room far from the active work zone, or consider stepping out for part of the day if multiple rooms are getting speakers. Kids and pets tend to be curious around ladders and open ceiling cavities, so keeping them occupied elsewhere isn't just about convenience, it's about safety during the actual cutting and wiring work.
Confirm the final details the day before
Call or text the company the afternoon before to confirm arrival time, crew size, and whether anything changed on their end. This is also your last chance to mention anything you forgot, like a room you decided to add or a piece of furniture that turned out too heavy to move yourself.
Step 8. Know what to expect during and after the install
Installation day itself usually moves faster than homeowners expect once the crew is set up. A typical install for three to five speakers takes a single day, though larger whole-home projects with multiple zones can stretch into a second day for wiring and calibration. Expect some noise from drywall saws, occasional trips to the truck for materials, and a fine layer of dust despite drop cloths, even careful crews can't eliminate that entirely.
What happens while the crew is working
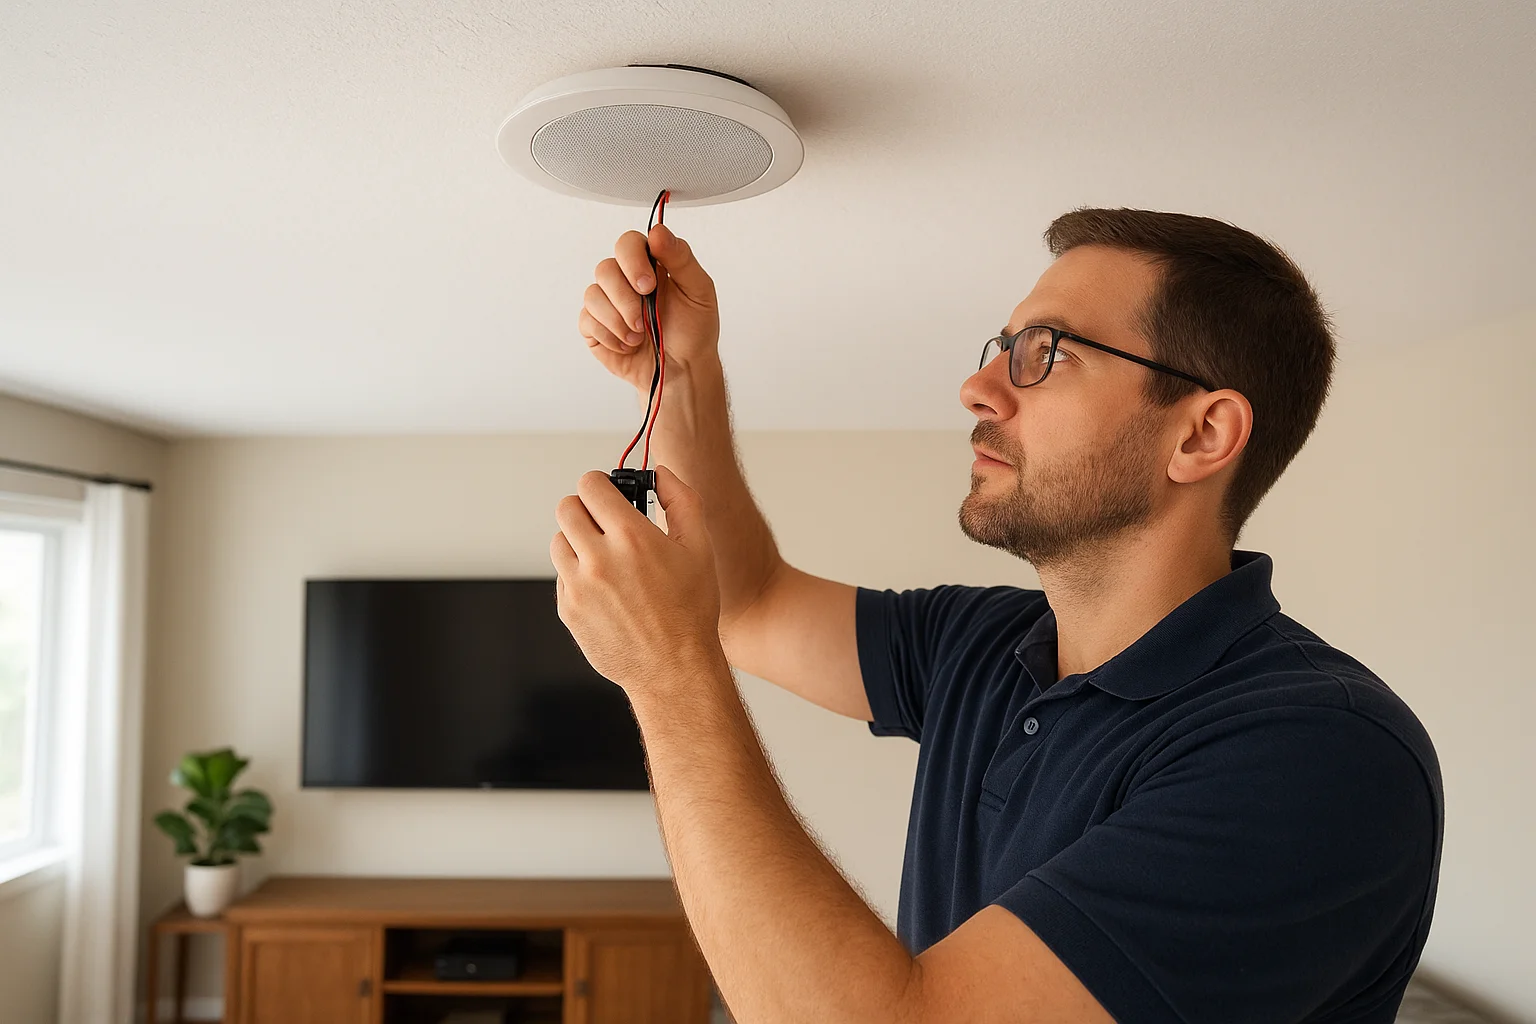
During the actual install, technicians cut the speaker holes, fish wiring through the ceiling cavity or attic, mount the speakers, and connect everything to the amplifier or receiver. Good crews test each speaker individually before moving to the next room, catching a wiring issue in one location instead of discovering it after the whole system is buttoned up. Ask beforehand whether you're expected to stay home the entire time or just for the initial walkthrough and final sign-off, since policies vary by company.
A good installer tests before they move on, not after the whole job is done.
The final walkthrough and sound check
Before the crew packs up, walk every room with them and listen to each speaker at a few different volumes. A proper sound check catches rattling grilles, uneven channel balance, or a speaker wired out of phase, all things that are easy to fix on install day and annoying to fix later. Ask the technician to show you any app or keypad controls right then, while someone who understands the system is standing in front of you.
What good aftercare looks like
Once the crew leaves, aftercare is what separates a company you'll call again from one you won't. Look for these signs in the days and weeks after:
- A written summary of what was installed, including model numbers and warranty terms
- A direct phone number or email for support questions, not just a general contact form
- A follow-up call or message within a week checking that everything still sounds right
- Clear instructions for firmware updates if the system connects to an app
Companies that skip this step tend to disappear the moment the invoice is paid, leaving you to troubleshoot a rattling speaker on your own months later.
What ceiling speaker installation typically costs
Pricing for in ceiling speaker installation varies more than most homeowners expect, and the number you see in an online ad rarely matches what you'll actually pay once wiring, drywall work, and equipment enter the picture. A single-room job with two speakers might run $300 to $600 in labor alone, while a whole-home project with multiple zones, a dedicated amplifier, and speakers in five or six rooms can climb past $3,000 once you add quality hardware. Knowing the range ahead of time keeps you from overpaying for a basic job or panicking at a fair quote for a bigger one.
What drives the price up or down
Several factors push a quote higher or lower, and none of them are hidden if you know what to ask about. Ceiling type matters a lot: cutting into open attic space above finished drywall is faster and cheaper than fishing wire through a vaulted or insulated ceiling with no attic access at all. Speaker brand and quality shift the number too, since a budget pair costs far less than a name-brand model built for even frequency response.
| Cost Factor | Impact on Price |
|---|---|
| Attic access above install area | Lower labor cost |
| Vaulted or angled ceiling | Higher labor cost |
| Number of zones/rooms | Scales cost per additional zone |
| Speaker brand and model | Wide range, budget to premium |
| Amplifier or receiver needed | Adds $200 to $800+ |
| Drywall patching required | Adds $50 to $150 per hole |
The cheapest quote isn't the best deal if it skips the wiring and drywall work another company includes.
Typical price ranges by project size
Seeing rough tiers side by side helps you sanity-check any quote you receive before you commit to a company.
| Project Size | Speaker Count | Typical Total Cost |
|---|---|---|
| Single room | 2 speakers | $500 to $900 |
| Two-zone home | 4 to 6 speakers | $1,200 to $2,200 |
| Whole-home multi-zone | 8+ speakers | $2,800 to $5,000+ |
Add an amplifier upgrade, in-wall keypads, or smart integration and the total climbs further, so treat these ranges as a floor, not a ceiling.
Why local pricing in the Treasure Valley matters
Specific to the Meridian, Boise, Eagle, and Nampa area, competition among local integrators keeps pricing fairly consistent, but travel distance and job scheduling still shift the number slightly between companies. Local installers also tend to know regional building patterns, like which subdivisions have finished attics and which don't, and that familiarity can shave time, and cost, off a job compared to a company unfamiliar with the area.
Finding the right fit for your home
Hiring the right installer isn't about finding the cheapest bid or the first name in your search results. It's about verifying licensing and insurance, comparing itemized quotes side by side, and reading reviews closely enough to catch how a company handles the messy parts of a job. Do that groundwork and you'll end up with a system that sounds right, looks clean, and comes with support after the crew leaves your driveway.
Skip it, and you're gambling on a hole in your ceiling that someone else has to fix later. Treasure Valley homeowners have options, but not every option gives you a custom design, a licensed technician, and a company that answers the phone six months from now.
If you're ready to stop guessing and talk to a local team that does this work every week, get in touch with Treasure Valley Solutions for a straightforward quote on your space.
Need Expert Help?
Ready to implement these solutions in your own home or business?
Our Services

Explore whole-home audio, commercial sound, Sonos setup, and surround sound installation in the Treasure Valley.

Home theater design and installation planned around your room, viewing goals, and equipment scope.
Serving the Treasure Valley
Local installation in your city