 (208) 991-3502
 Meridian, ID



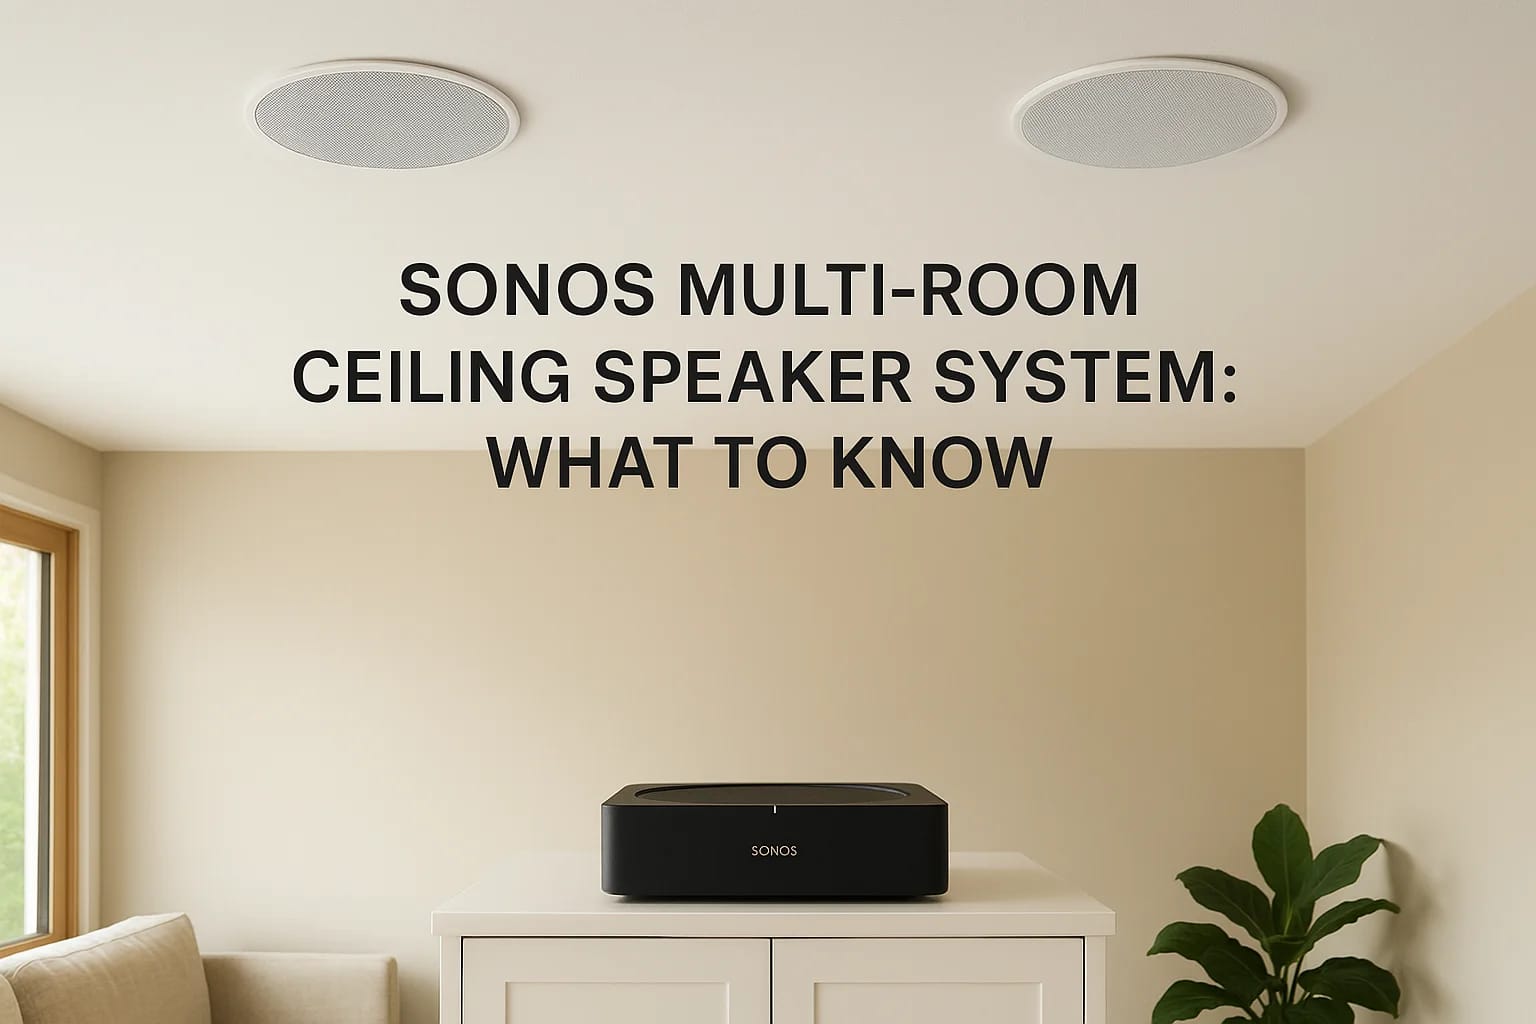

You want music in the kitchen, on the patio, and in the bedroom, all without speaker boxes cluttering your shelves. A sonos multi room ceiling speaker system solves that problem by hiding the hardware...
You want music in the kitchen, on the patio, and in the bedroom, all without speaker boxes cluttering your shelves. A sonos multi room ceiling speaker system solves that problem by hiding the hardware in the architecture while keeping the sound quality and app control Sonos is known for. If you've searched for this setup, you've probably also hit a wall of confusing product names and wiring questions.
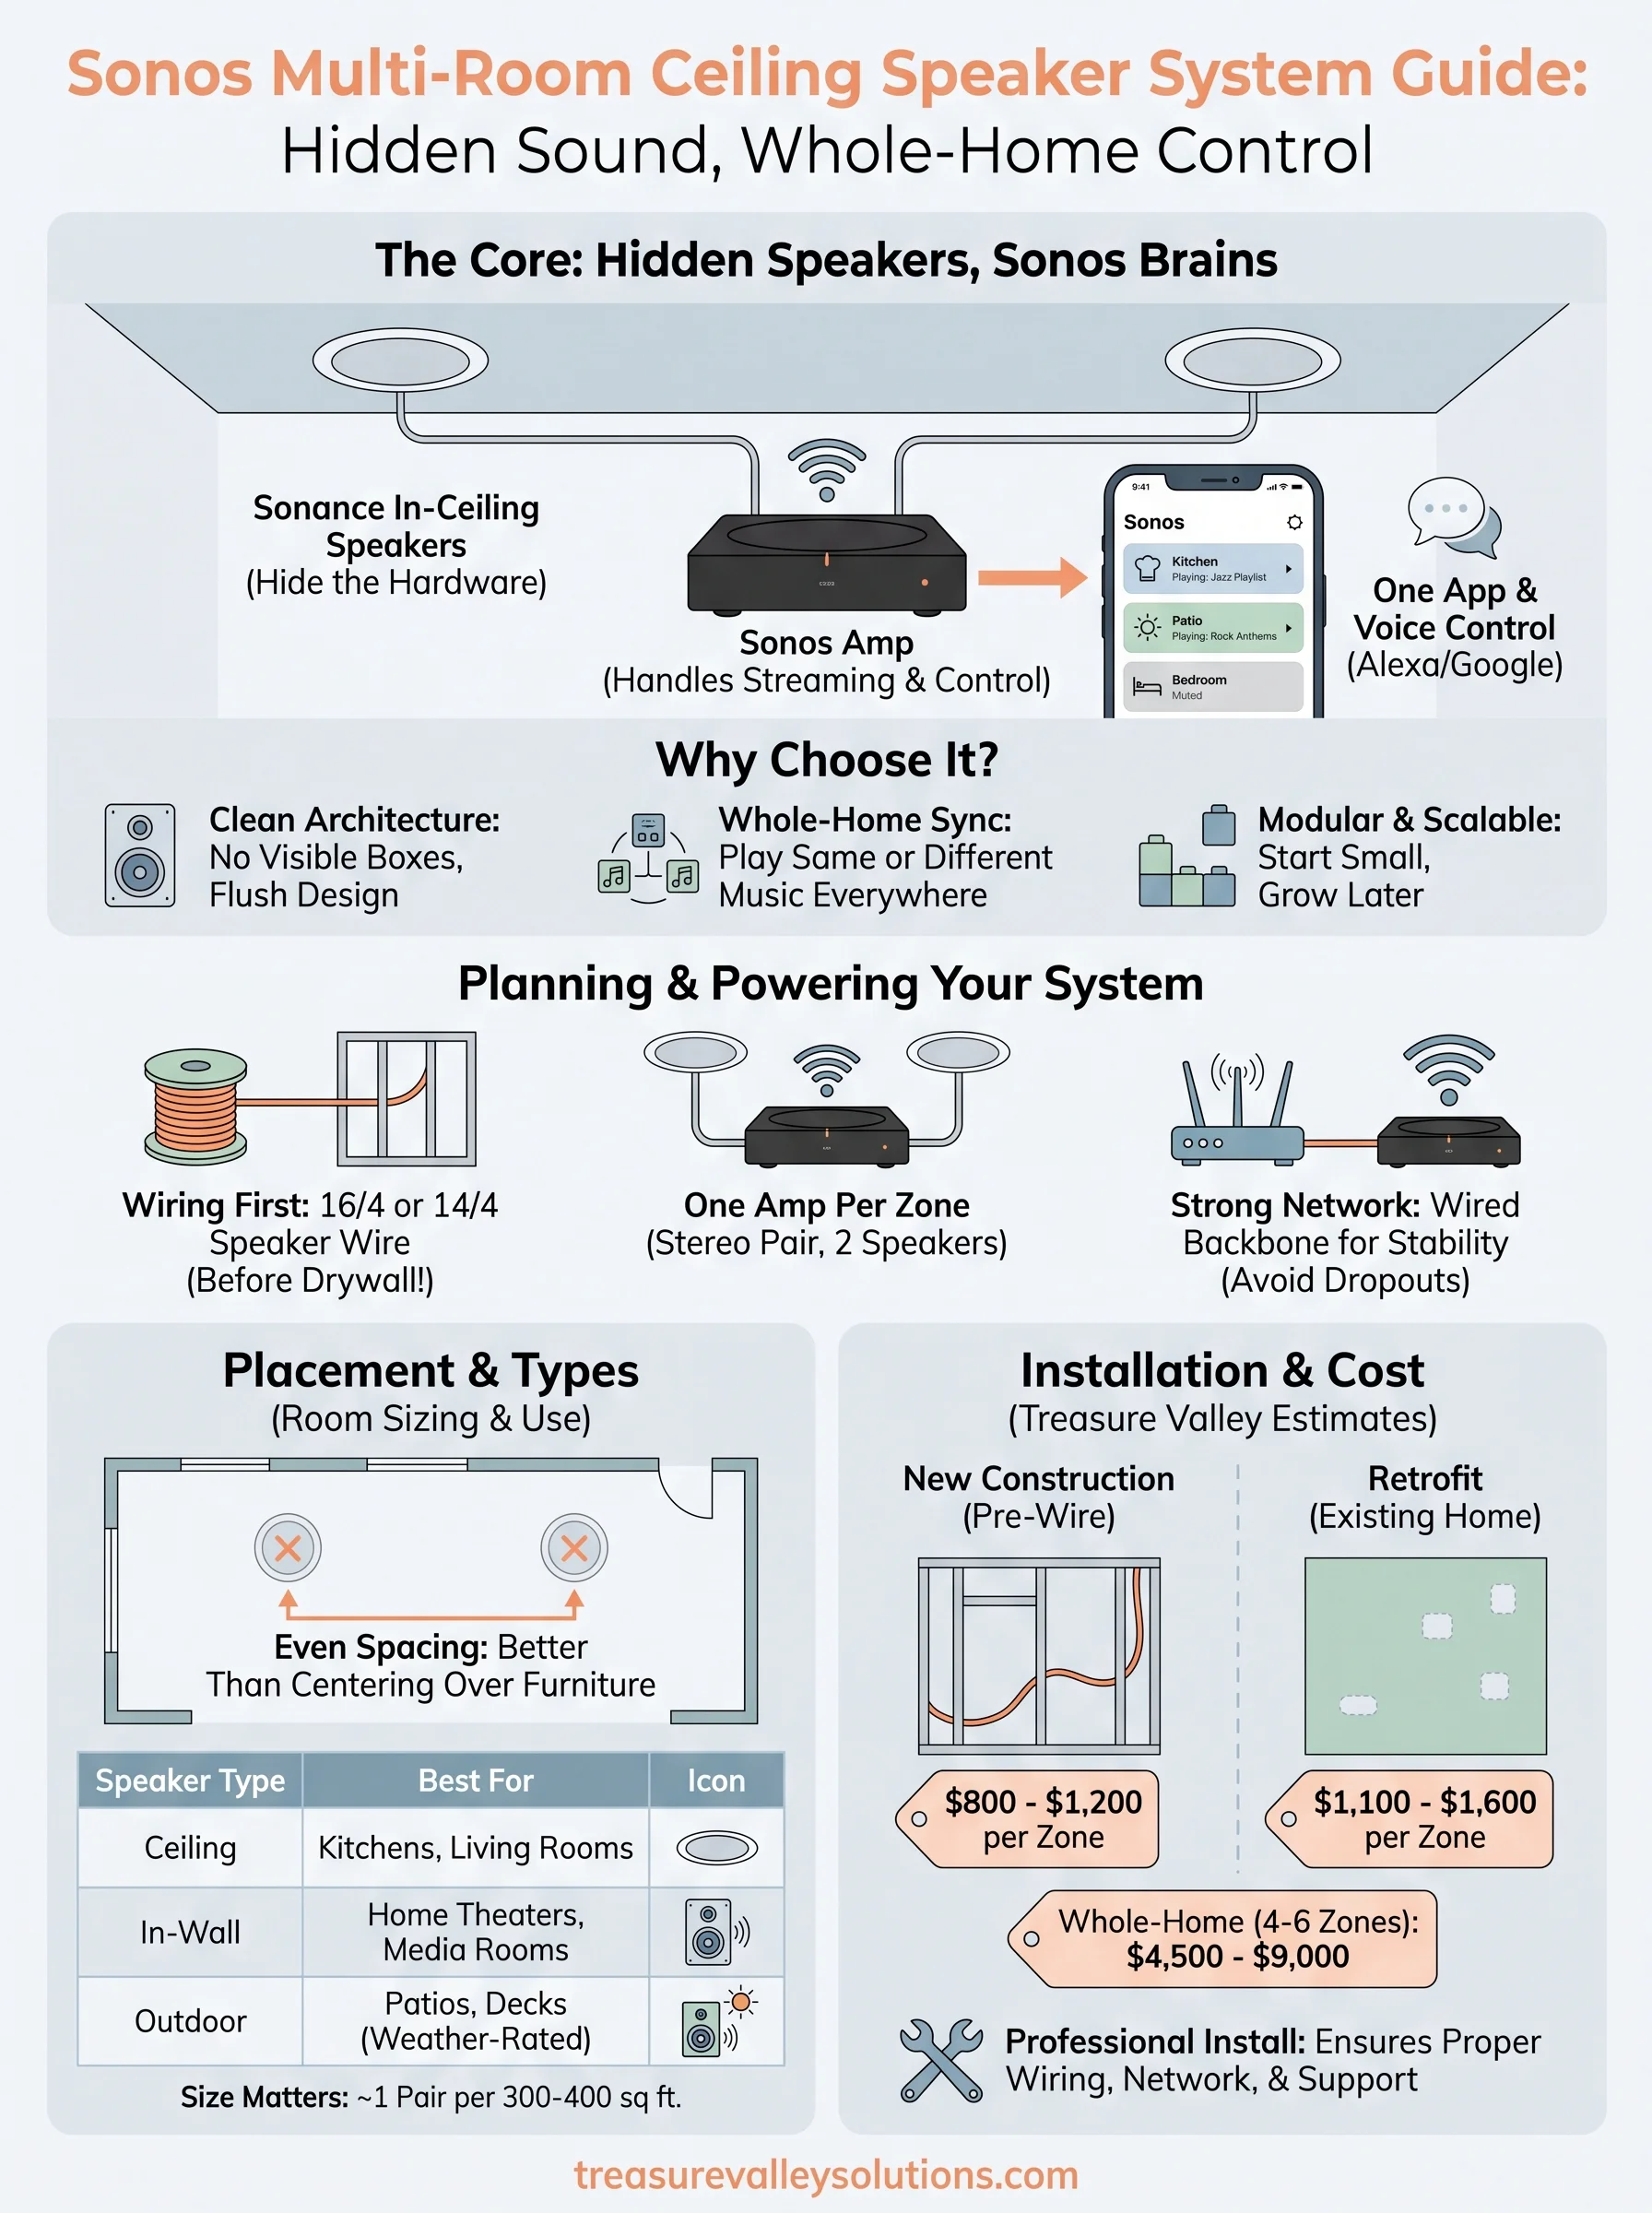
Here's the short answer: Sonos doesn't make its own in-ceiling speakers. Instead, you pair in-ceiling speakers from brands like Sonance with the Sonos Amp, which handles streaming, room grouping, and voice control. That combination is what lets you play a different playlist in every room, or the same song synced perfectly throughout your house.
In this guide, we'll walk through which ceiling speakers work best with Sonos, what a realistic installation budget looks like, and the wiring and space requirements your home needs before a technician shows up. We'll also cover how multiple Amps talk to each other across rooms, so you understand the full picture before committing to a system, whether you're planning a new build or retrofitting a home you already love.
Why choose a Sonos multi-room ceiling speaker system
Clean architecture, no speaker clutter
Most people who look into a sonos multi room ceiling speaker system are tired of speaker wire running along baseboards or bulky cabinets eating up shelf space. In-ceiling speakers from brands like Sonance sit flush with the drywall, covered by a paintable grille that disappears once the room is finished. You get room-filling sound from a kitchen or living room without a single visible box, which matters if you've already spent money on cabinetry, art, or an open floor plan you don't want to interrupt.
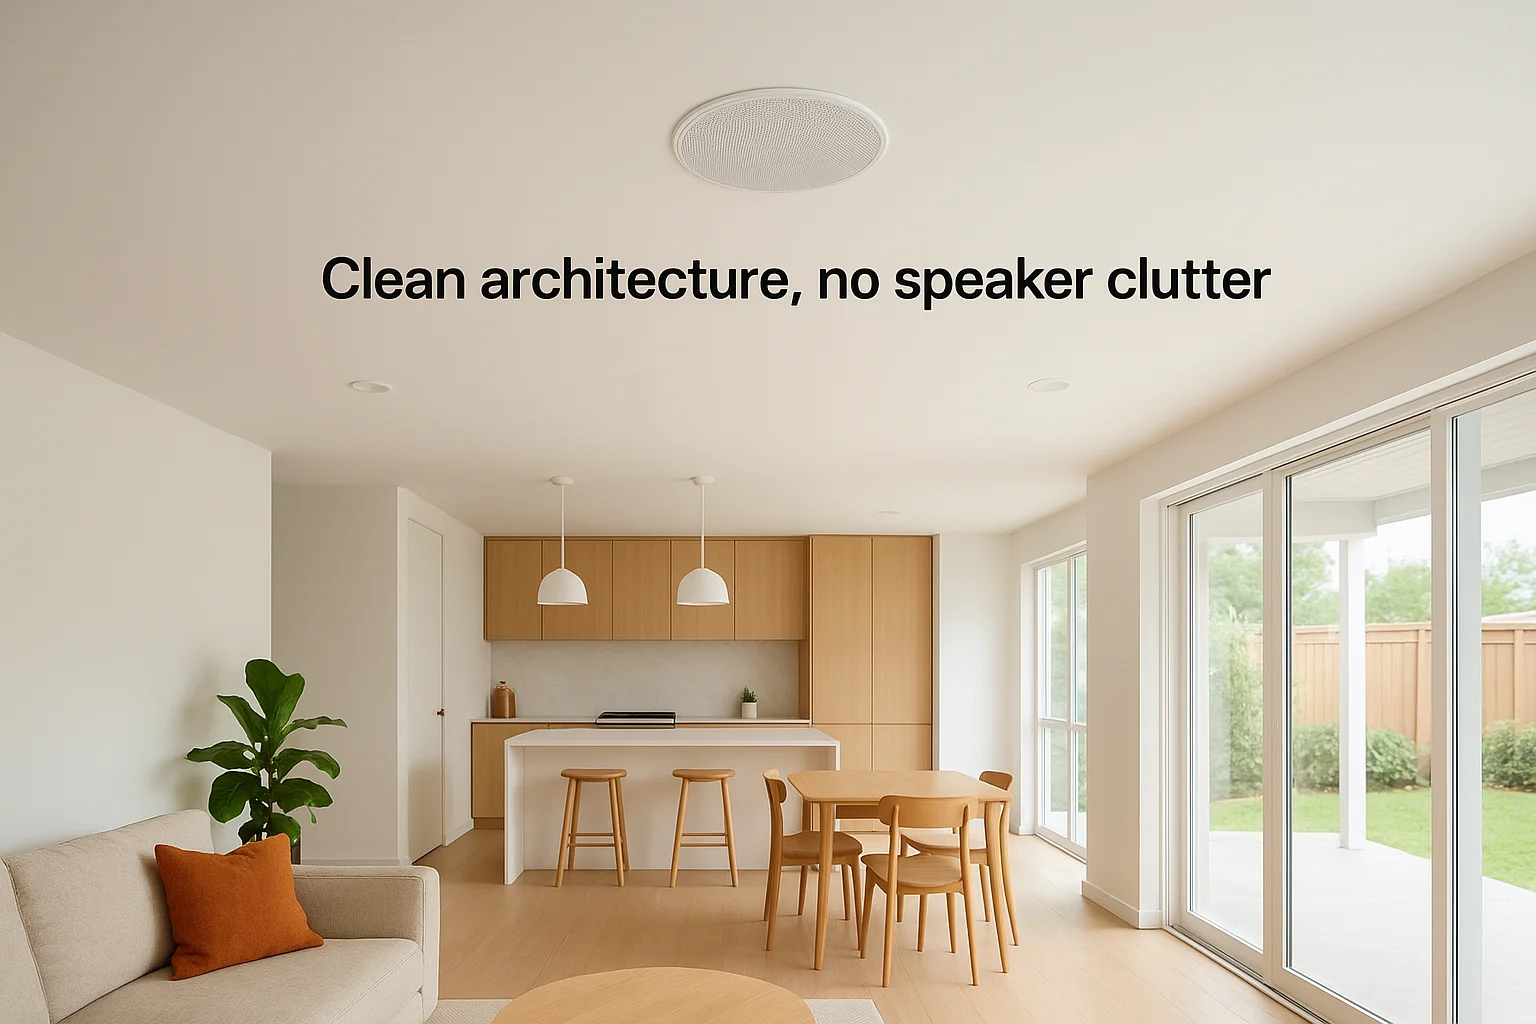
Designers and builders like this approach for the same reason homeowners do: hidden hardware keeps the focus on the space itself. A whole-home audio system built into the ceiling works in rooms where a bookshelf speaker simply doesn't fit, like a walk-in closet, a covered patio, or a bathroom with limited counter space. That flexibility is a big part of why ceiling speakers have become the default choice for anyone renovating or building new rather than retrofitting an old stereo setup.
A ceiling speaker system lets you add whole-home audio without adding a single piece of furniture.
One app, every room, real control
The other reason people choose Sonos over a generic multi-room kit is the software. The Sonos app groups rooms however you want, so you can play a podcast in the office, keep the nursery silent, and blast a playlist on the patio at the same time. Because the system runs on your home's wifi network rather than Bluetooth, you don't lose signal walking between rooms, and you can control everything from a phone, a wall-mounted tablet, or voice commands through Alexa or Google Assistant once you've linked those services.
| Feature | Sonos Ceiling System | Bluetooth Speakers | Basic Multi-Room Kit |
|---|---|---|---|
| Independent room control | Yes | No | Limited |
| Whole-home sync | Yes | No | Sometimes |
| Voice control | Yes (Alexa, Google) | Rare | Rare |
| Visible hardware | None (in-ceiling) | Yes | Usually |
| App-based grouping | Yes | No | Varies |
Built to grow as your needs change
Sonos systems are modular, which means you're not locked into whatever configuration you install on day one. Start with a Sonos Amp powering ceiling speakers in the kitchen and living room, then add a second Amp for the primary bedroom next year, or bring in a Sonos Sub for movie nights without rewiring anything already in place, though it's worth knowing whether Sonos Amp or Amp Multi fits your system before you buy the first one. Because every component talks to the same app and network, expansion doesn't mean replacing gear, it means adding to it. That scalability appeals especially to homeowners renovating in phases, or property managers who want a consistent audio platform across multiple units.
Reliability matters more than people expect until they've lived with a flaky system. Sonos hardware is built for always-on use, and the company has supported products for a decade or longer through free software updates. That's a meaningful difference from cheaper multi-room kits that get abandoned by their manufacturer within a couple of years, leaving you with speakers that no longer sync or update. If you're installing speakers that are literally built into your walls, you want a platform that will still be supported when you're ready to add rooms five years from now.
How to plan and power a Sonos ceiling speaker system
Wiring before the drywall goes up
Planning starts with wire, not speakers. Every ceiling speaker needs a run of 16/4 or 14/4 speaker wire back to a central location, usually a closet, mechanical room, or media rack, where the Sonos Amp lives. New construction and full remodels make this easy, since an electrician or low-voltage technician can fish wire before insulation and drywall go in. Retrofitting an existing home still works, and low voltage wiring in an existing home or remodel is usually possible, but expect the installer to fish wire through attic space or wall cavities, which sometimes means small drywall patches. Either way, this is why planning whole-home audio during new construction saves money compared to opening finished ceilings later.
Get the wiring plan right before drywall goes up, and everything downstream gets easier.
Powering each zone with a Sonos Amp
A single Sonos Amp powers one stereo pair, meaning two ceiling speakers in one room or zone. If you want the kitchen and the living room to play different content, you need two Amps, not one Amp splitting across both spaces. Each Amp needs a standard electrical outlet near its mounting location and enough ventilation to avoid overheating, so cramming four of them into a sealed cabinet isn't a good idea. Builders and property managers running multiple units often centralize Amps in an equipment rack near the electrical panel, which keeps wiring tidy and makes troubleshooting a single zone simple instead of chasing wires through multiple rooms.
Network requirements people forget
Sonos runs on your home wifi network, not Bluetooth, which means how you plan and install your home network matters more than most people expect going in. A weak signal in a detached garage or far bedroom translates directly into dropouts during playback. For anything beyond a small home, a wired backbone, meaning at least one Amp connected directly to your router via ethernet, keeps the rest of the system stable even in larger houses with thick walls. This is one of the details our team checks during a site walk-through before quoting a project, because a beautiful ceiling speaker install still frustrates you if the network underneath it can't keep up. If you're weighing a full professional sound system installation against a single-room upgrade, get a network assessment first; it changes the wiring plan more than most homeowners realize.
How many speakers you need and where to place them
Sizing a room by square footage
Most living rooms and kitchens need just one stereo pair, meaning two ceiling speakers wired to a single Sonos Amp, though it helps to know how many speakers one amplifier can actually power. A pair covers roughly 300 to 400 square feet comfortably, depending on ceiling height and how open the floor plan is. Larger rooms, like a great room that combines kitchen, dining, and living space, often need two pairs on the same Amp or split across zones so volume stays even from one end to the other. Guessing at this stage leads to the most common complaint we hear: one side of the room sounds full while the other feels empty.
| Room Type | Approx. Size | Recommended Speakers |
|---|---|---|
| Bedroom or office | Up to 200 sq ft | 1 pair (2 speakers) |
| Kitchen or living room | 300-400 sq ft | 1 pair (2 speakers) |
| Open great room | 500+ sq ft | 2 pairs (4 speakers) |
| Covered patio | 200-350 sq ft | 1 pair, outdoor-rated |
Placement that avoids dead zones
Evenly spacing speakers matters more than centering them over a couch or island. As a rule, place each speaker so it sits roughly equidistant from the walls and from its paired speaker, rather than clustering both near a single seating area. Ceiling height changes the math too. Speakers mounted in a 9-foot ceiling can sit closer together than ones in a vaulted 14-foot space, where sound has more room to spread and thin out before it reaches your ears.
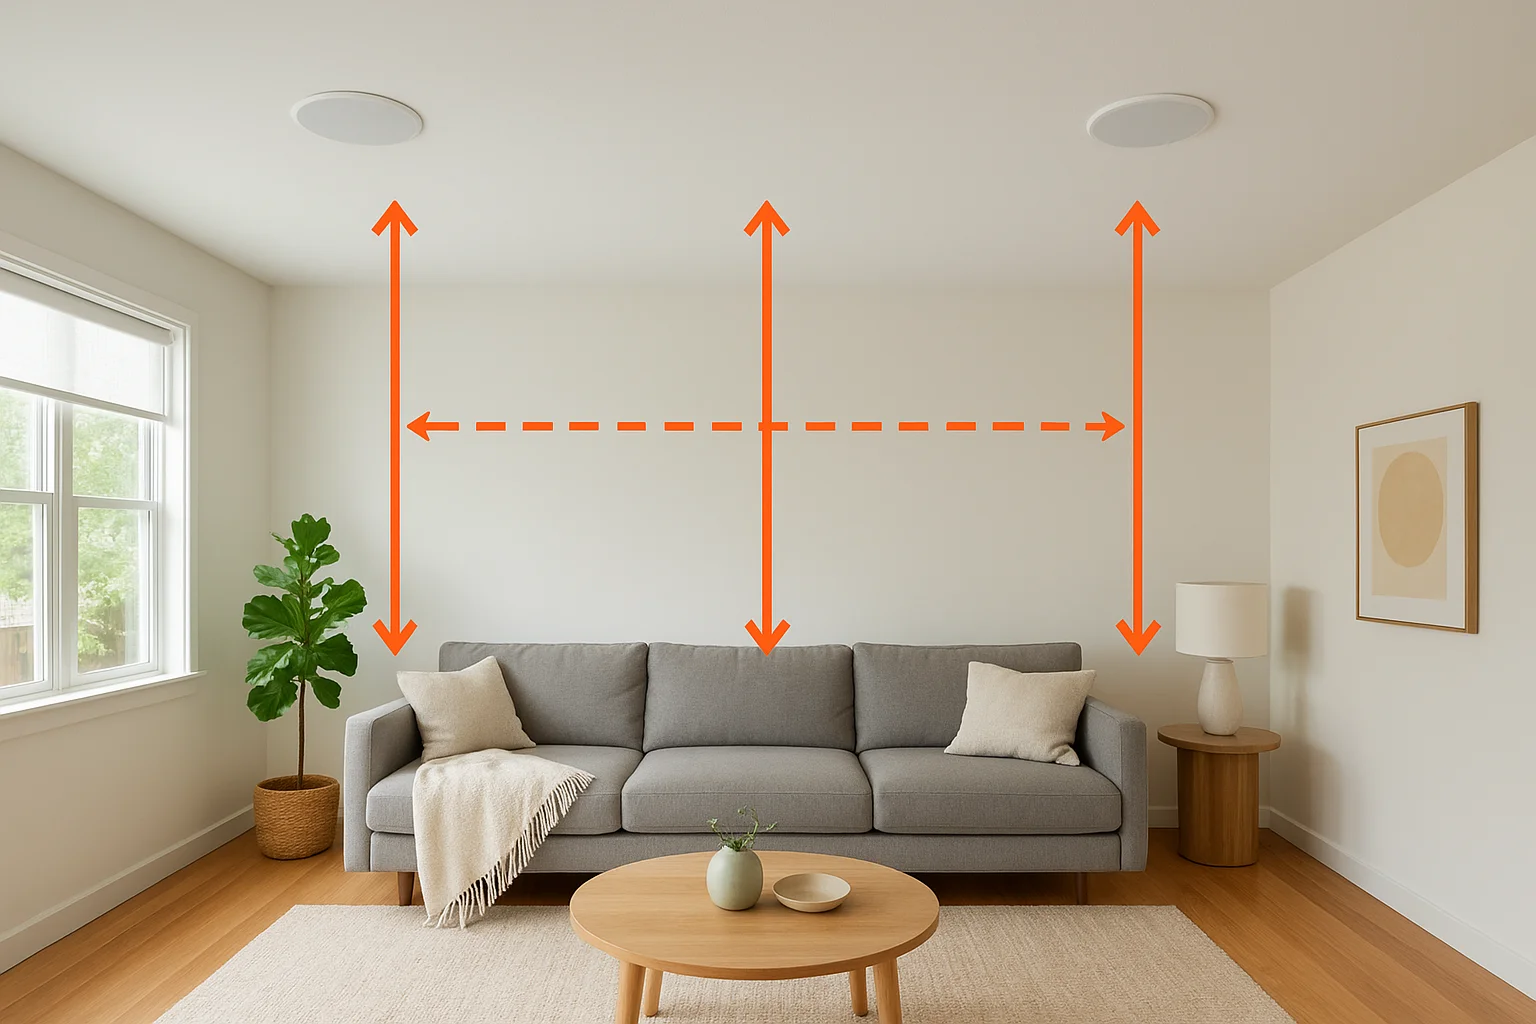
Even spacing beats perfect centering every time; a symmetrical room sounds better than a symmetrical couch placement.
Open kitchens deserve extra thought since hard surfaces like tile and stone cabinets reflect sound differently than a carpeted bedroom does. Our technicians walk each room during the design phase of a whole-home Sonos system, checking joist layout, HVAC ducting, and existing recessed lighting before finalizing exact positions. That step also catches conflicts early, since a joist running through your ideal speaker location means shifting a few inches rather than discovering the problem mid-install. If you're comparing this against a simpler multi-room speaker system with fewer zones, the same placement logic applies, just scaled down to however many rooms you're actually wiring.
Sonos ceiling speakers vs. in-wall and outdoor speakers
Comparing the three main speaker types
Ceiling speakers aren't the only option for a whole-home audio system, and picking the wrong type for a room causes more regret than any other decision in the planning process. In-wall speakers mount vertically inside a wall cavity instead of horizontally in the ceiling, which works well behind a media console or in a room where the ceiling has recessed lighting, ductwork, or structural obstacles that block a clean install. Outdoor patio audio systems, meanwhile, use weatherproof housings and UV-resistant grilles built to survive rain, temperature swings, and direct sun exposure that would ruin an indoor-rated speaker within a season.
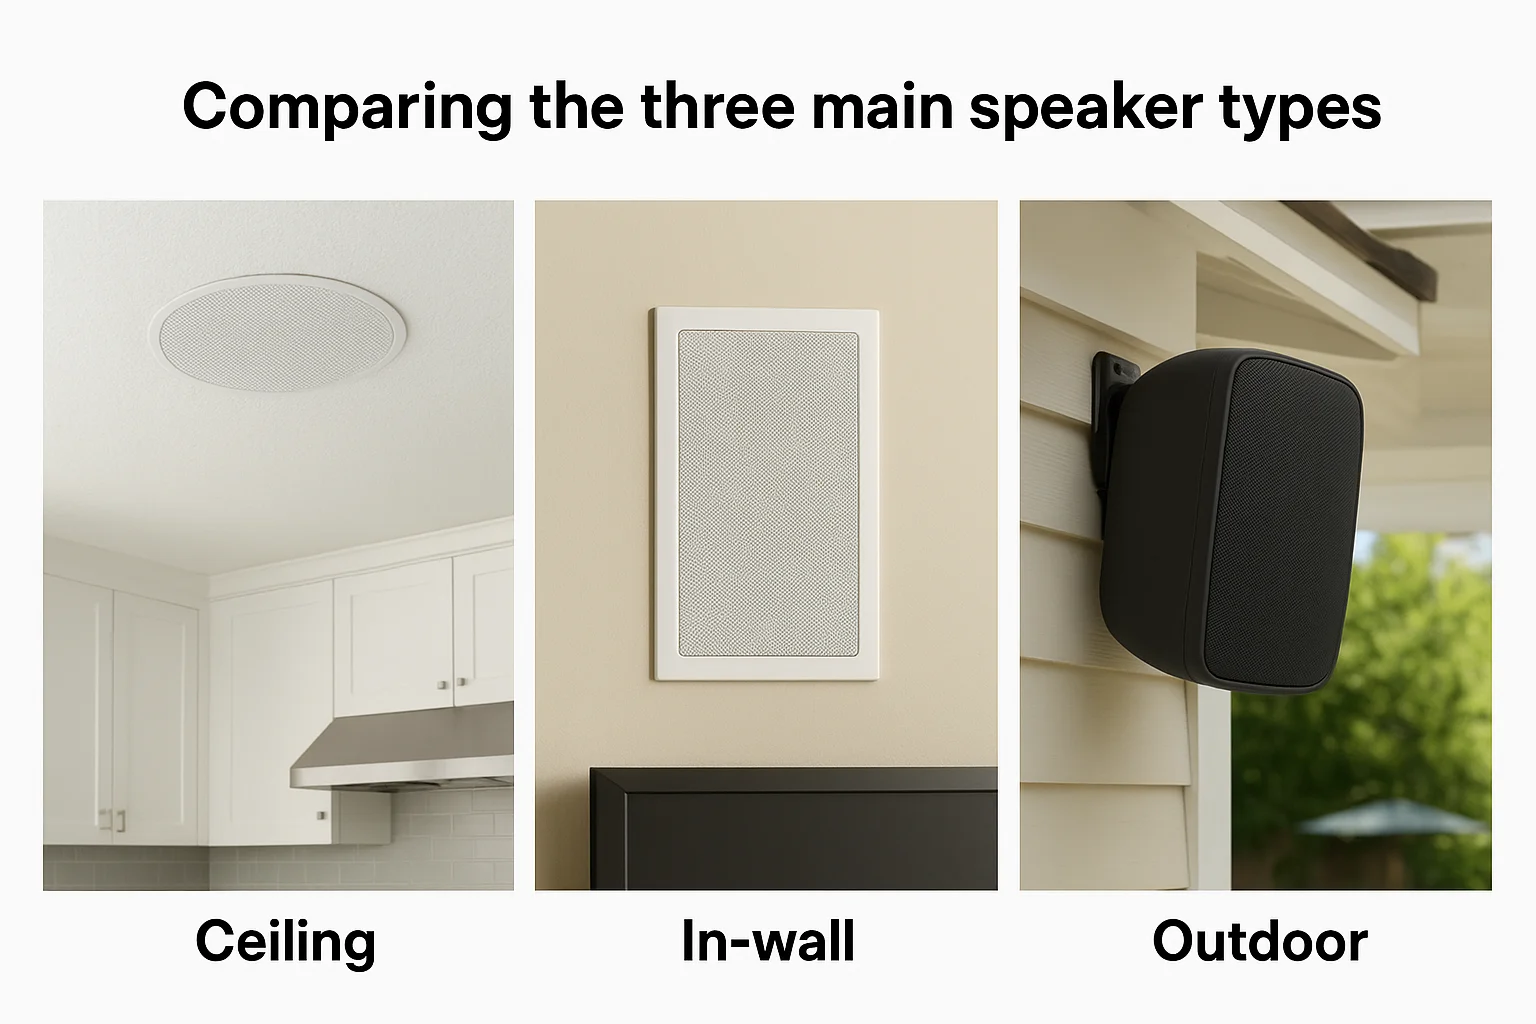
Match the speaker to the environment first, then worry about brand and price.
Where each type actually makes sense
Generally, ceiling speakers win in kitchens, bathrooms, and open living spaces where wall space is already spoken for by cabinets, art, or windows. In-wall speakers make more sense in a home theater, where you want the sound source at ear level rather than overhead, or in a room where ceiling access is limited by a finished attic above. Outdoor speakers are a separate category entirely: even a Sonos Amp paired with indoor ceiling speakers has no business being installed on a covered patio, since humidity and temperature swings will shorten the speaker's life fast.
| Speaker Type | Best For | Weather Rated | Typical Placement | |---|---|---| | Ceiling | Kitchens, living rooms, bathrooms | No (unless rated) | Overhead, evenly spaced | | In-wall | Home theaters, media rooms | No | Wall cavity, ear level | | Outdoor | Patios, decks, pool areas | Yes | Eaves, exterior walls |
Mixing types in one system
Most of the homes we work with end up using a mix, ceiling speakers in the kitchen and bedrooms, in-wall speakers flanking a theater screen, and outdoor-rated pairs under a patio cover, all connected through the same Sonos app and network. Nothing about mixing speaker types complicates the software side, since every zone still runs through its own Amp regardless of what the speaker looks like. The decision comes down to the room, not a preference for one format across the whole house, and a good installer will tell you when a ceiling speaker is the wrong call for a given space rather than defaulting to it because it's the most requested option.
What professional installation involves and costs locally
What a typical install day looks like
Hiring the right in-ceiling speaker pro starts long before a technician cuts into your ceiling. Our team walks the site, confirms wire runs match the design, and checks that each Sonos Amp location has power and ventilation. On install day, technicians cut precise openings, run wire to the media rack, mount speakers, and test every zone through the app before calling the job done. For a retrofit installation, expect extra time for fishing wire through existing walls and patching drywall around each speaker opening.
A clean install is tested in every room before the technician leaves, not after you notice something's wrong.
What it costs around the Treasure Valley
Pricing depends on room count, wire runs, and whether you're building new or retrofitting. New construction runs cheaper per zone since wire goes in before drywall closes up, which is why we partner with builders on pre-wired audio. Retrofits cost more because of patching and attic access, but the finished result looks identical.
| Project Scope | Typical Local Range |
|---|---|
| Single room, 1 pair, new construction | $800-$1,200 |
| Single room, 1 pair, retrofit | $1,100-$1,600 |
| Whole-home, 4-6 zones | $4,500-$9,000 |
| Add-on zone to existing system | $600-$900 |
These figures cover speakers, a Sonos Amp per zone, wiring, and labor from licensed technicians, not a big-box installer working off a generic template. Custom requests, like vaulted ceilings or long attic runs, push costs higher.
Why local support matters after the install
Support doesn't end when the last speaker gets tested. Sonos pushes software updates periodically, and network changes at home, like a new router or a mesh wifi upgrade, can affect how zones sync. Having a local installer who already knows your wiring layout means a service call gets resolved fast instead of starting from scratch with a stranger. Treasure Valley Solutions has handled installs across Meridian, Boise, Eagle, and Nampa since 2014, including a Sonos in-ceiling sound system we installed in Boise, and our smart home audio installation team stands behind every system with ongoing programming and troubleshooting support, not just a one-time invoice.
Getting the most from your whole-home Sonos system
Naming rooms and grouping them right
Setting up a sonos multi room ceiling speaker system properly starts in the app, not the hardware. Name each zone after the actual room, not "Zone 1" or "Speaker A," since you'll be selecting these names daily and vague labels slow you down fast. Group rooms that share a purpose, like a kitchen and dining area that flow together, so one tap starts music across the whole space instead of adjusting each zone separately. Getting this step right during setup saves you from renaming everything a month later once the novelty wears off and you just want the system to work.
Spend ten minutes naming zones correctly now, or spend months fumbling through a confusing app menu later.
Building routines that actually get used
Routines turn a good system into one you forget is even there. Set the patio and kitchen to play a morning playlist automatically at 7 a.m., or link an Alexa routine so saying "good night" fades the whole-home audio system to silence room by room, which is where tying audio into the rest of your smart home pays off. Voice control through Alexa or Google Assistant works well once linked, but don't overlook simple app-based scheduling either, since not every household wants to talk to their speakers first thing in the morning.
- Set volume limits per zone so a bedroom never blasts as loud as the patio
- Create a "whole home" group for parties, then dissolve it back to individual zones after
- Use scheduling for repetitive tasks like a wake-up playlist or evening wind-down
- Keep firmware updates set to automatic so you're never troubleshooting an outdated app
Maintaining performance over time
Over time, your network changes more than your speakers do. Upgrading to a mesh router, adding smart home devices, or moving your internet modem can all shift how zones sync, so it's worth checking connection quality every year or after any major network change. Treating the system as something that needs occasional attention, rather than a one-time purchase, keeps it running the way it did on day one, five years down the road.
Making sound part of your home's design
A sonos multi room ceiling speaker system works best when you stop treating it as an add-on and start treating it as part of the room's design from the beginning. Wire placement, speaker count, and zone planning matter more than any single piece of gear, and getting those right the first time saves you from patched drywall or dead zones later. Design decisions made before drywall goes up cost less and look cleaner than anything retrofitted afterward.
Good sound shouldn't announce itself with visible boxes or tangled wires. It should just be there, filling the kitchen while you cook or following you out to the patio without a second thought. That's the whole point of building it into the ceiling in the first place.
If you're ready to plan a system for your own home, talk through your space with our Treasure Valley team.
Need Expert Help?
Ready to implement these solutions in your own home or business?

Serving the Treasure Valley
Local installation in your city