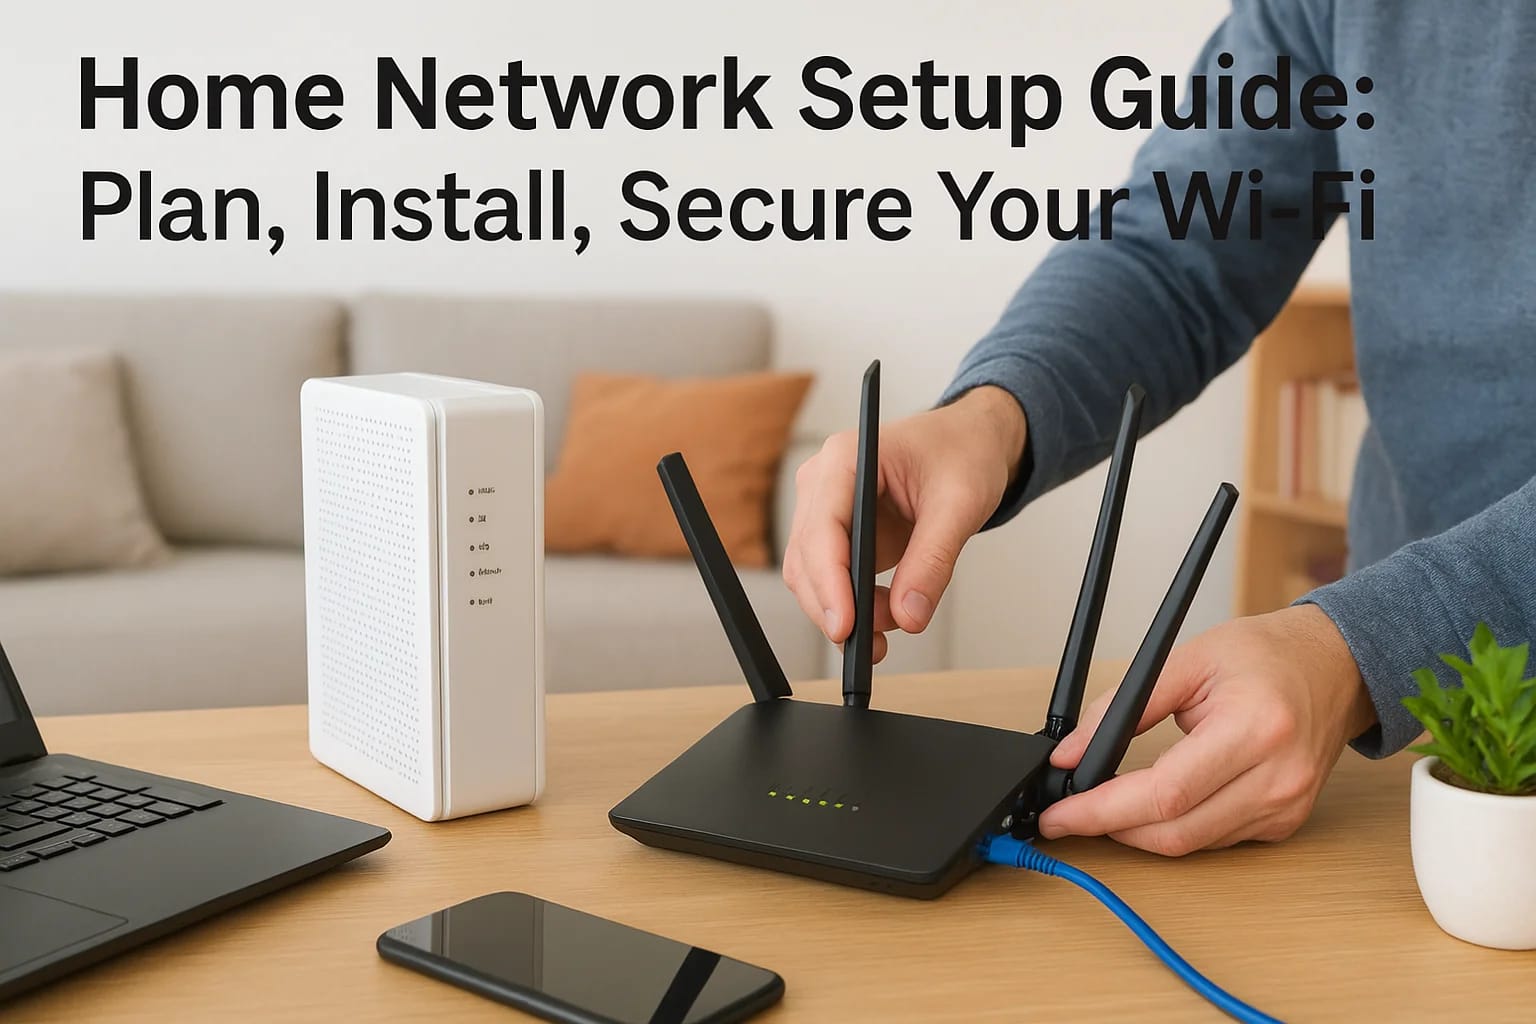
A solid home network setup guide starts with one truth most people learn the hard way: your internet is only as good as the network behind it. You can pay for the fastest plan your ISP offers, but if...
Home Network Setup Guide: Plan, Install, Secure Your Wi-Fi
A solid home network setup guide starts with one truth most people learn the hard way: your internet is only as good as the network behind it. You can pay for the fastest plan your ISP offers, but if your router is outdated, your Wi-Fi placement is wrong, or your network has zero security, you'll still deal with dead zones, buffering, and vulnerabilities that make connected devices unreliable.
Whether you're building a new home in the Treasure Valley, upgrading an older setup, or just tired of rebooting your router every other day, getting your home network right takes some planning. The good news is that it's not as complicated as it seems, once you understand the core components and how they work together. At Treasure Valley Solutions, we design and install smart home systems that depend on strong, well-configured networks, so we've seen firsthand what separates a network that works from one that constantly fights against you.
This guide walks you through the entire process, from choosing the right hardware (modems, routers, switches, and access points) to physically installing everything, configuring your Wi-Fi settings, and locking down your network security. By the end, you'll have a clear plan to build a home network that's fast, stable, and ready to support every smart device, streaming service, and security camera in your house.
Before you start: map needs, layout, and limits
Jumping straight to buying gear is the most common mistake people make when setting up a home network. Before you order anything, you need a clear picture of how many devices you're connecting, what those devices demand from your network, and where your home's physical layout will create obstacles. Skipping this step means you'll likely buy the wrong hardware, place it in the wrong spots, and circle back to square one.
Count your devices and bandwidth needs
Start by writing down every device that connects to your network. Include phones, laptops, tablets, smart TVs, streaming sticks, gaming consoles, security cameras, smart speakers, thermostats, and any other smart home gear. Most households underestimate this number. A family of four in a modern home can easily reach 30 to 50 connected devices when you count everything.
Once you have your list, group devices by what they actually do on the network:
- Heavy users: 4K streaming, video calls, online gaming, large file transfers (need 25+ Mbps each)
- Medium users: HD streaming, general browsing, smart displays (need 5-15 Mbps each)
- Light users: smart plugs, sensors, thermostats, voice assistants (need under 5 Mbps each)
Add up peak usage across your heavy and medium users. That total tells you the minimum download speed you need from your ISP and gives you a baseline for choosing router hardware that can handle simultaneous connections without slowing down.
If you plan to add smart home devices over the next year or two, build in headroom now. A network designed exactly for today will feel crowded by tomorrow.
Map your space and identify coverage gaps
Grab a rough floor plan of your home; even a hand-drawn sketch works fine. Mark where your ISP's line enters the building, then note every spot where you need strong, reliable Wi-Fi: bedrooms, home office, kitchen, garage, and any outdoor areas. Flag walls that contain concrete, brick, or metal studs, because those materials block Wi-Fi signals far more than standard drywall.
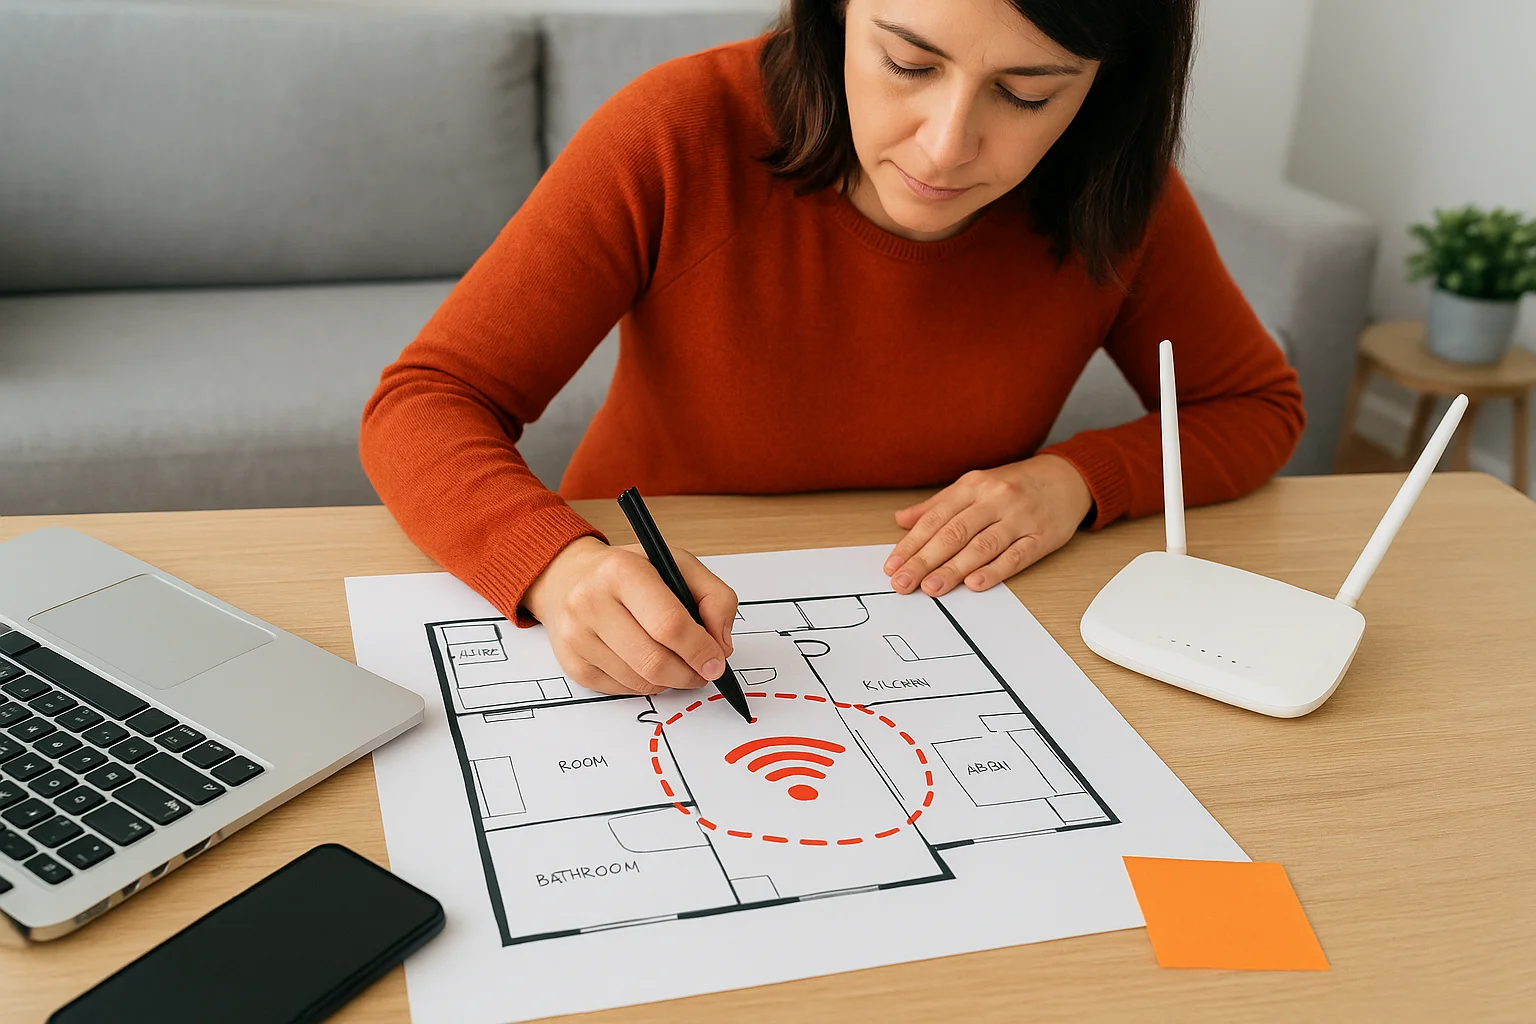
Multi-story homes, long ranch-style layouts, and homes with detached garages or workshops are the hardest to cover with a single router. If your sketch shows more than 1,500 square feet between your router and your farthest device, plan for multiple access points or a mesh system from the start rather than trying to patch coverage problems later.
Know your ISP plan and hardware limits
Check your current ISP plan and confirm the speeds you're actually paying for. Many ISPs provide a rental modem as part of your subscription, but that modem may not support the speeds your plan offers or the Wi-Fi standards your new router needs. Log into your ISP's account portal or call them directly to confirm whether your modem supports DOCSIS 3.1 (for cable internet) or ask if your fiber connection requires their specific ONT hardware before you purchase any separate equipment.
Step 1. Pick your modem, router, and Wi-Fi system
Hardware choices set the ceiling for everything else on your network. No amount of configuration will fix a modem that bottlenecks your ISP speeds or a router that can't handle your device count. This step walks you through picking the right combination for your specific situation.
Modem: buy or rent
Your ISP's rental modem costs you $10 to $15 per month, which adds up to $120 to $180 per year. Buying your own DOCSIS 3.1 modem pays for itself within 12 months and typically delivers better performance. Before purchasing, check your ISP's approved device list; Comcast, Cox, and Spectrum each publish compatible modems directly on their support pages.
If your home runs on fiber internet, your ISP usually owns the ONT (optical network terminal) at the wall, so you'll connect your router directly to that device instead of purchasing a separate modem.
Router vs. mesh system
Standard single routers work well for apartments and homes under 1,500 square feet with a simple floor plan. For larger homes, multi-story layouts, or spaces with signal-blocking materials like concrete and brick, a mesh system gives you more consistent coverage by using multiple nodes that communicate with each other.
Use this table to match your home to the right setup:
| Home Size / Layout | Recommended Setup |
|---|---|
| Under 1,500 sq ft, single floor | Single router (Wi-Fi 6 or 6E) |
| 1,500 to 3,000 sq ft, multi-floor | Dual-band mesh system (2 to 3 nodes) |
| Over 3,000 sq ft or complex layout | Tri-band mesh with wired backhaul |
| Smart home with 40+ devices | Wi-Fi 6E mesh with dedicated IoT band |
When selecting a router or mesh system, look for Wi-Fi 6 (802.11ax) or Wi-Fi 6E as your minimum standard. These handle more simultaneous connections without the slowdowns that older Wi-Fi 5 routers show under heavy load. Every reliable home network setup guide points to future-proofing your router as one of the highest-value decisions you'll make in this entire process.
Step 2. Place gear and run the right connections
Where you put your router matters just as much as which router you buy. Poor placement cuts your Wi-Fi signal strength in half before a single device even connects. This step in any home network setup guide covers the physical side of the build: where to position your gear and when to run ethernet cable instead of relying on Wi-Fi alone.
Position your router or primary node
Place your router or primary mesh node in a central, elevated location in your home, ideally in an open area rather than buried in a cabinet or closet. Walls, furniture, and appliances all absorb or deflect Wi-Fi signals. A router sitting on the floor of a corner closet can lose up to 50% of its effective range compared to the same unit mounted at desk height in a central hallway.
Avoid placing your router near microwaves, cordless phones, or baby monitors, because these devices broadcast on the same 2.4 GHz frequency and create interference that slows down connected devices.
Keep the router away from metal surfaces, fish tanks, and thick concrete walls. If you're using a mesh system with multiple nodes, space each node so it sits within 30 to 40 feet of the previous one, maintaining a strong backhaul connection between them.
Run ethernet where it counts
Wi-Fi is convenient, but a wired ethernet connection is always faster and more stable for devices that stay in one place. Run Cat6 or Cat6a cable to your TV, gaming console, desktop computer, smart home hub, and any network video recorder (NVR) for security cameras. Cat6 handles speeds up to 10 Gbps over 55 meters, which leaves you room for future upgrades without re-running cable.
Use this cable guide when planning your runs:
| Cable Type | Max Speed | Best For |
|---|---|---|
| Cat5e | 1 Gbps | Basic wired connections |
| Cat6 | 10 Gbps (55m) | Most home runs |
| Cat6a | 10 Gbps (100m) | Long runs, future-proofing |
If running cable through walls isn't practical, powerline adapters or MoCA adapters (which use your existing coax cable) give you a wired-quality connection without cutting into drywall.
Step 3. Configure Wi-Fi, LAN settings, and key features
Once your hardware is in place, log into your router's admin panel. Most routers use a default gateway address like 192.168.1.1 or 192.168.0.1, printed on the router's label. This is where every critical setting lives, and taking 20 minutes here saves hours of troubleshooting down the road.
Set your SSID, password, and band settings
Your SSID is the name your devices see when scanning for Wi-Fi. Avoid using your name, address, or your ISP's default network name, since those details help attackers identify your hardware. Choose a neutral, unique SSID and set a WPA3 password of at least 16 characters mixing letters, numbers, and symbols.
If your router supports Wi-Fi 6 or 6E, enable band steering so capable devices automatically connect to the 5 GHz or 6 GHz band, leaving the 2.4 GHz band open for older smart home devices that only support it.
Rename your router's admin login immediately after setup. The default credentials on the label are publicly known and give anyone on your network full admin access.
Configure LAN settings and DHCP reservations
Your router assigns IP addresses automatically through DHCP, which works fine for phones and laptops. Devices like smart home hubs, network video recorders, and printers perform more reliably with a fixed local address. Set a DHCP reservation by linking each device's MAC address to a specific IP inside your router's LAN settings.
| Device | Reserved IP |
|---|---|
| Smart home hub | 192.168.1.10 |
| NVR / camera recorder | 192.168.1.11 |
| Network printer | 192.168.1.12 |
Enable key router features
Every reliable home network setup guide recommends enabling Quality of Service (QoS) so your router prioritizes video calls and streaming over background updates. Turn on automatic firmware updates if your router supports them, or schedule a monthly manual check. Run through these settings when you first log in:
- QoS: Prioritize video, VoIP, and gaming traffic
- Automatic firmware updates: Keep security patches current
- UPnP: Disable unless actively needed; it's a known attack surface
- DNS over HTTPS (DoH): Encrypt DNS queries if your router supports it
Step 4. Secure the network and segment devices
Security is where most home network setup guides stop short. Changing your Wi-Fi password is the minimum, not the finish line. A properly secured network controls who connects, what those devices can reach, and how much damage happens if one device gets compromised. Segmentation, which means splitting your network into separate logical zones, is the most effective tool for containing that risk.
Create network segments with VLANs or guest networks
Your router likely supports a guest network at minimum, and many Wi-Fi 6 routers also support VLANs (virtual local area networks) for more granular control. A guest network keeps visitors and smart home devices off the same subnet as your laptop and phone, so a compromised smart bulb can't reach files on your personal computer.
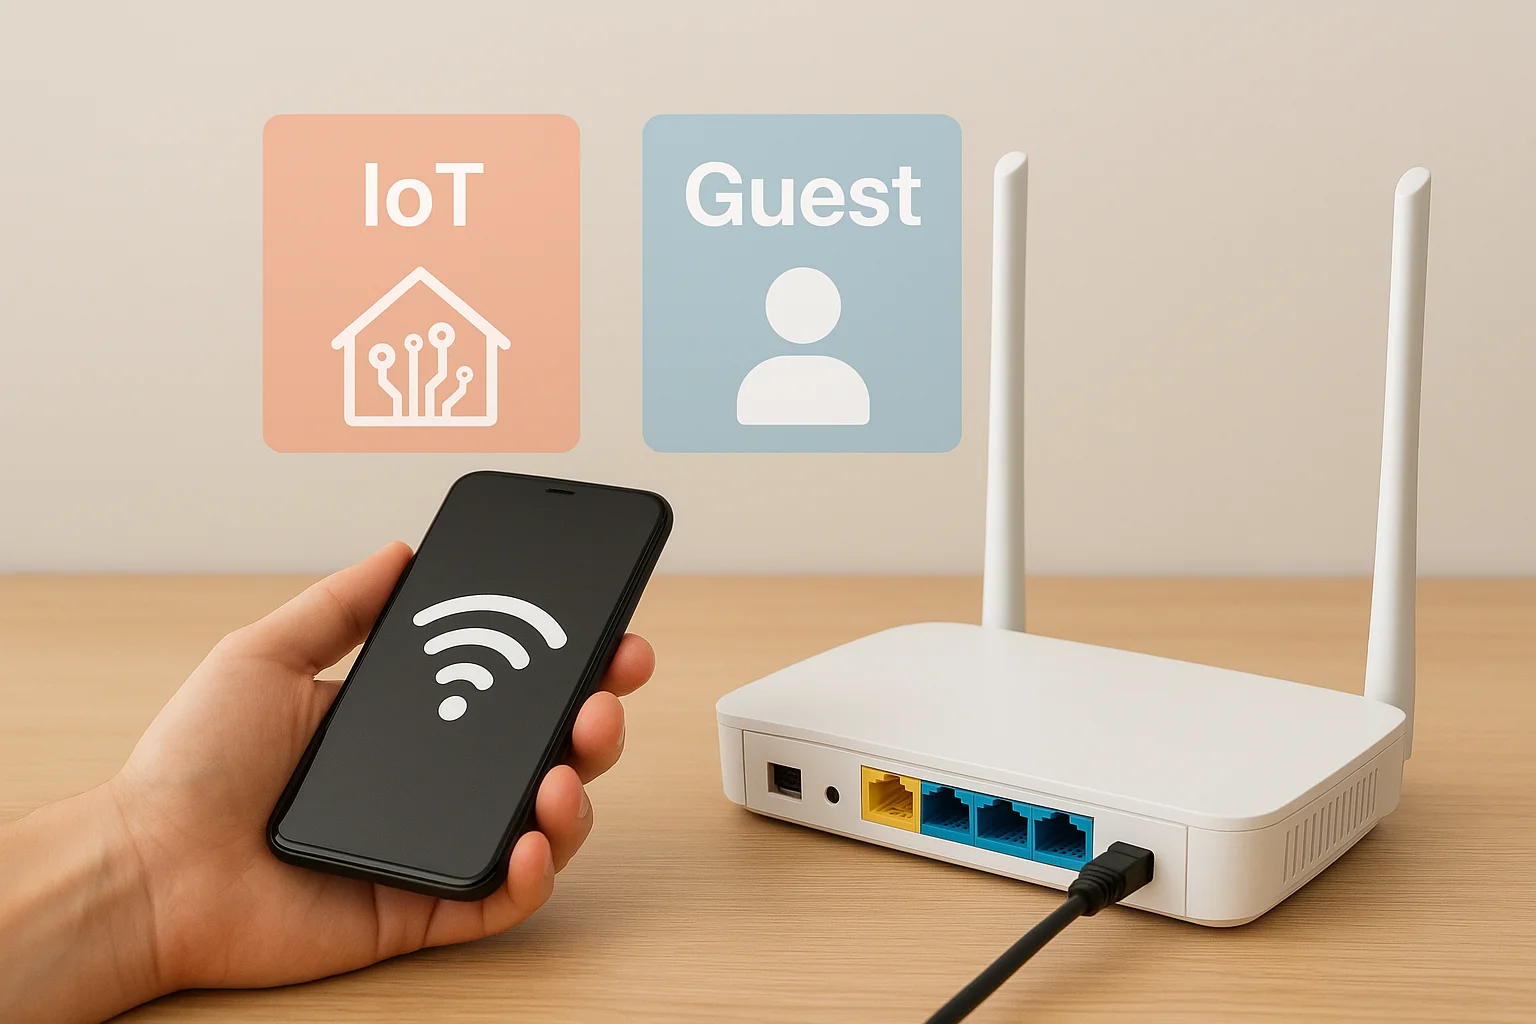
If your router doesn't support VLANs natively, enabling a separate guest network for all IoT devices gives you 80% of the protection with none of the complexity.
Set up at least three network segments using the labels below as a starting point:
| Network | Devices | Access Level |
|---|---|---|
| Primary | Laptops, phones, tablets | Full LAN and internet |
| IoT | Smart home devices, cameras, speakers | Internet only, no LAN access |
| Guest | Visitor devices | Internet only, isolated |
Lock down access and reduce your attack surface
Once your segments are in place, work through your router's firewall and access control settings to harden each zone. Disable remote management unless you actively use it, because leaving it on exposes your admin panel to the open internet. Check your router manufacturer's support page (most major brands like ASUS, Netgear, and TP-Link publish security hardening guides) for model-specific steps.
Run through this security checklist before you consider your network complete:
- Change the default admin username and password
- Enable WPA3 encryption on all SSIDs
- Disable WPS (it's a known brute-force vulnerability)
- Block inter-VLAN routing between IoT and primary networks
- Set up automatic firmware updates or a monthly update reminder
- Review connected device lists monthly and remove unknown devices
Step 5. Test speed, coverage, and reliability
After configuring your router, segments, and security settings, don't assume everything works as planned. Testing is the step that confirms your hardware performs as expected, catches misconfigured settings before they cause problems, and tells you exactly where your coverage falls short. A quick, structured test now saves you from debugging issues at the worst possible time.
Run speed and latency tests
Start at your router with a wired ethernet connection and run a speed test using Google's built-in tool (search "internet speed test" in Chrome). Your wired result should match your ISP plan closely. If it falls more than 20% below your plan speed, your modem, coax line, or ethernet cable is the bottleneck, not your router.
A wired result close to your plan speed confirms your modem and ISP line are healthy; slowdowns from that point on point to Wi-Fi or router configuration issues.
Then move to several rooms throughout your home and test wirelessly. Use this table as your Wi-Fi speed benchmark:
| Location | Target Wi-Fi Speed (% of wired) |
|---|---|
| Same room as router | 80 to 95% |
| Adjacent room | 60 to 80% |
| Far end of home | 40 to 60% |
Check coverage and eliminate dead zones
Walk your home with a phone and a Wi-Fi analyzer app to map signal strength in each room. Look for readings between -30 and -67 dBm, which indicate strong, reliable signal. Any reading below -80 dBm points to a gap that warrants repositioning a node or adding a wired access point.
If you find gaps, try these fixes before buying new hardware:
- Move the nearest mesh node closer to the weak area
- Reorient router antennas vertically if they're adjustable
- Remove large objects blocking line-of-sight between nodes
Verify your network segments are isolated
This final check is the one step most home network setup guides skip entirely. Connect a device to your IoT SSID and attempt to ping a device on your primary network using a terminal app. If the ping returns no response, your VLAN or guest network isolation is working correctly. If it succeeds, go back into your router settings and confirm inter-VLAN routing is blocked between those segments.

Next steps
Following this home network setup guide gives you a working, secure network built on deliberate decisions rather than default settings. You've mapped your space, chosen hardware that matches your actual needs, placed and cabled your gear correctly, configured your router settings, segmented your devices, and verified that everything performs as expected.
The next step depends on your situation. If you're building a new home or planning a major renovation in the Treasure Valley area, the wiring decisions you make now determine what your network can do for the next decade. Structured cabling, pre-wired access point locations, and dedicated network closets are far easier to install during construction than after the walls are closed.
Ready to have a professional handle the design, installation, and configuration? Contact the team at Treasure Valley Solutions to talk through your smart home project and get a custom plan built around your space.