 (208) 991-3502
 Meridian, ID



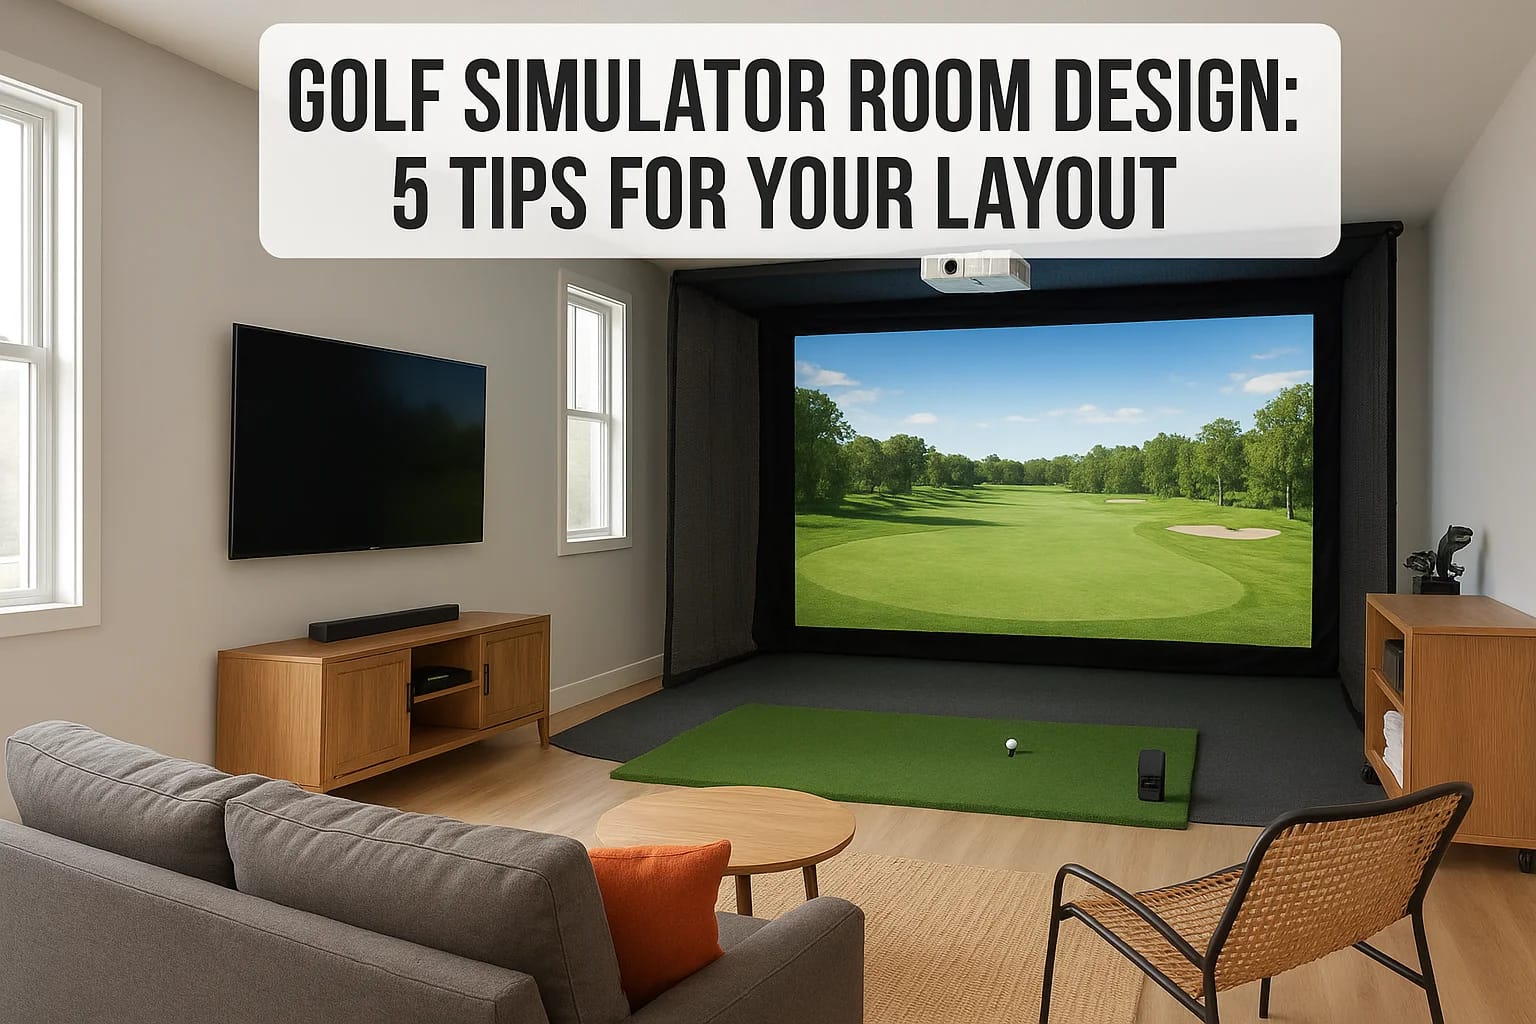

Building a home golf simulator sounds simple until you start measuring your garage or spare room and realize your swing needs more room than you thought. Get the golf simulator room design wrong and y...
Building a home golf simulator sounds simple until you start measuring your garage or spare room and realize your swing needs more room than you thought. Get the golf simulator room design wrong and you end up clipping the ceiling on your driver or watching your launch monitor lose accuracy because it's crammed too close to a wall.
If you're planning this project, you need real numbers and layout decisions before you buy a single piece of equipment. That means knowing your minimum ceiling height, how far back your hitting mat needs to sit from the screen, and where your launch monitor should go so it reads your shots correctly every time.
We've helped Treasure Valley homeowners turn bonus rooms, basements, and garages into simulator setups that actually work day to day, not just look good in photos. This article walks through five practical tips covering room size and layout planning and impact screen placement, so you can design a room that fits your swing, your equipment, and your space without expensive trial and error.
1. Partner with a local smart home integrator
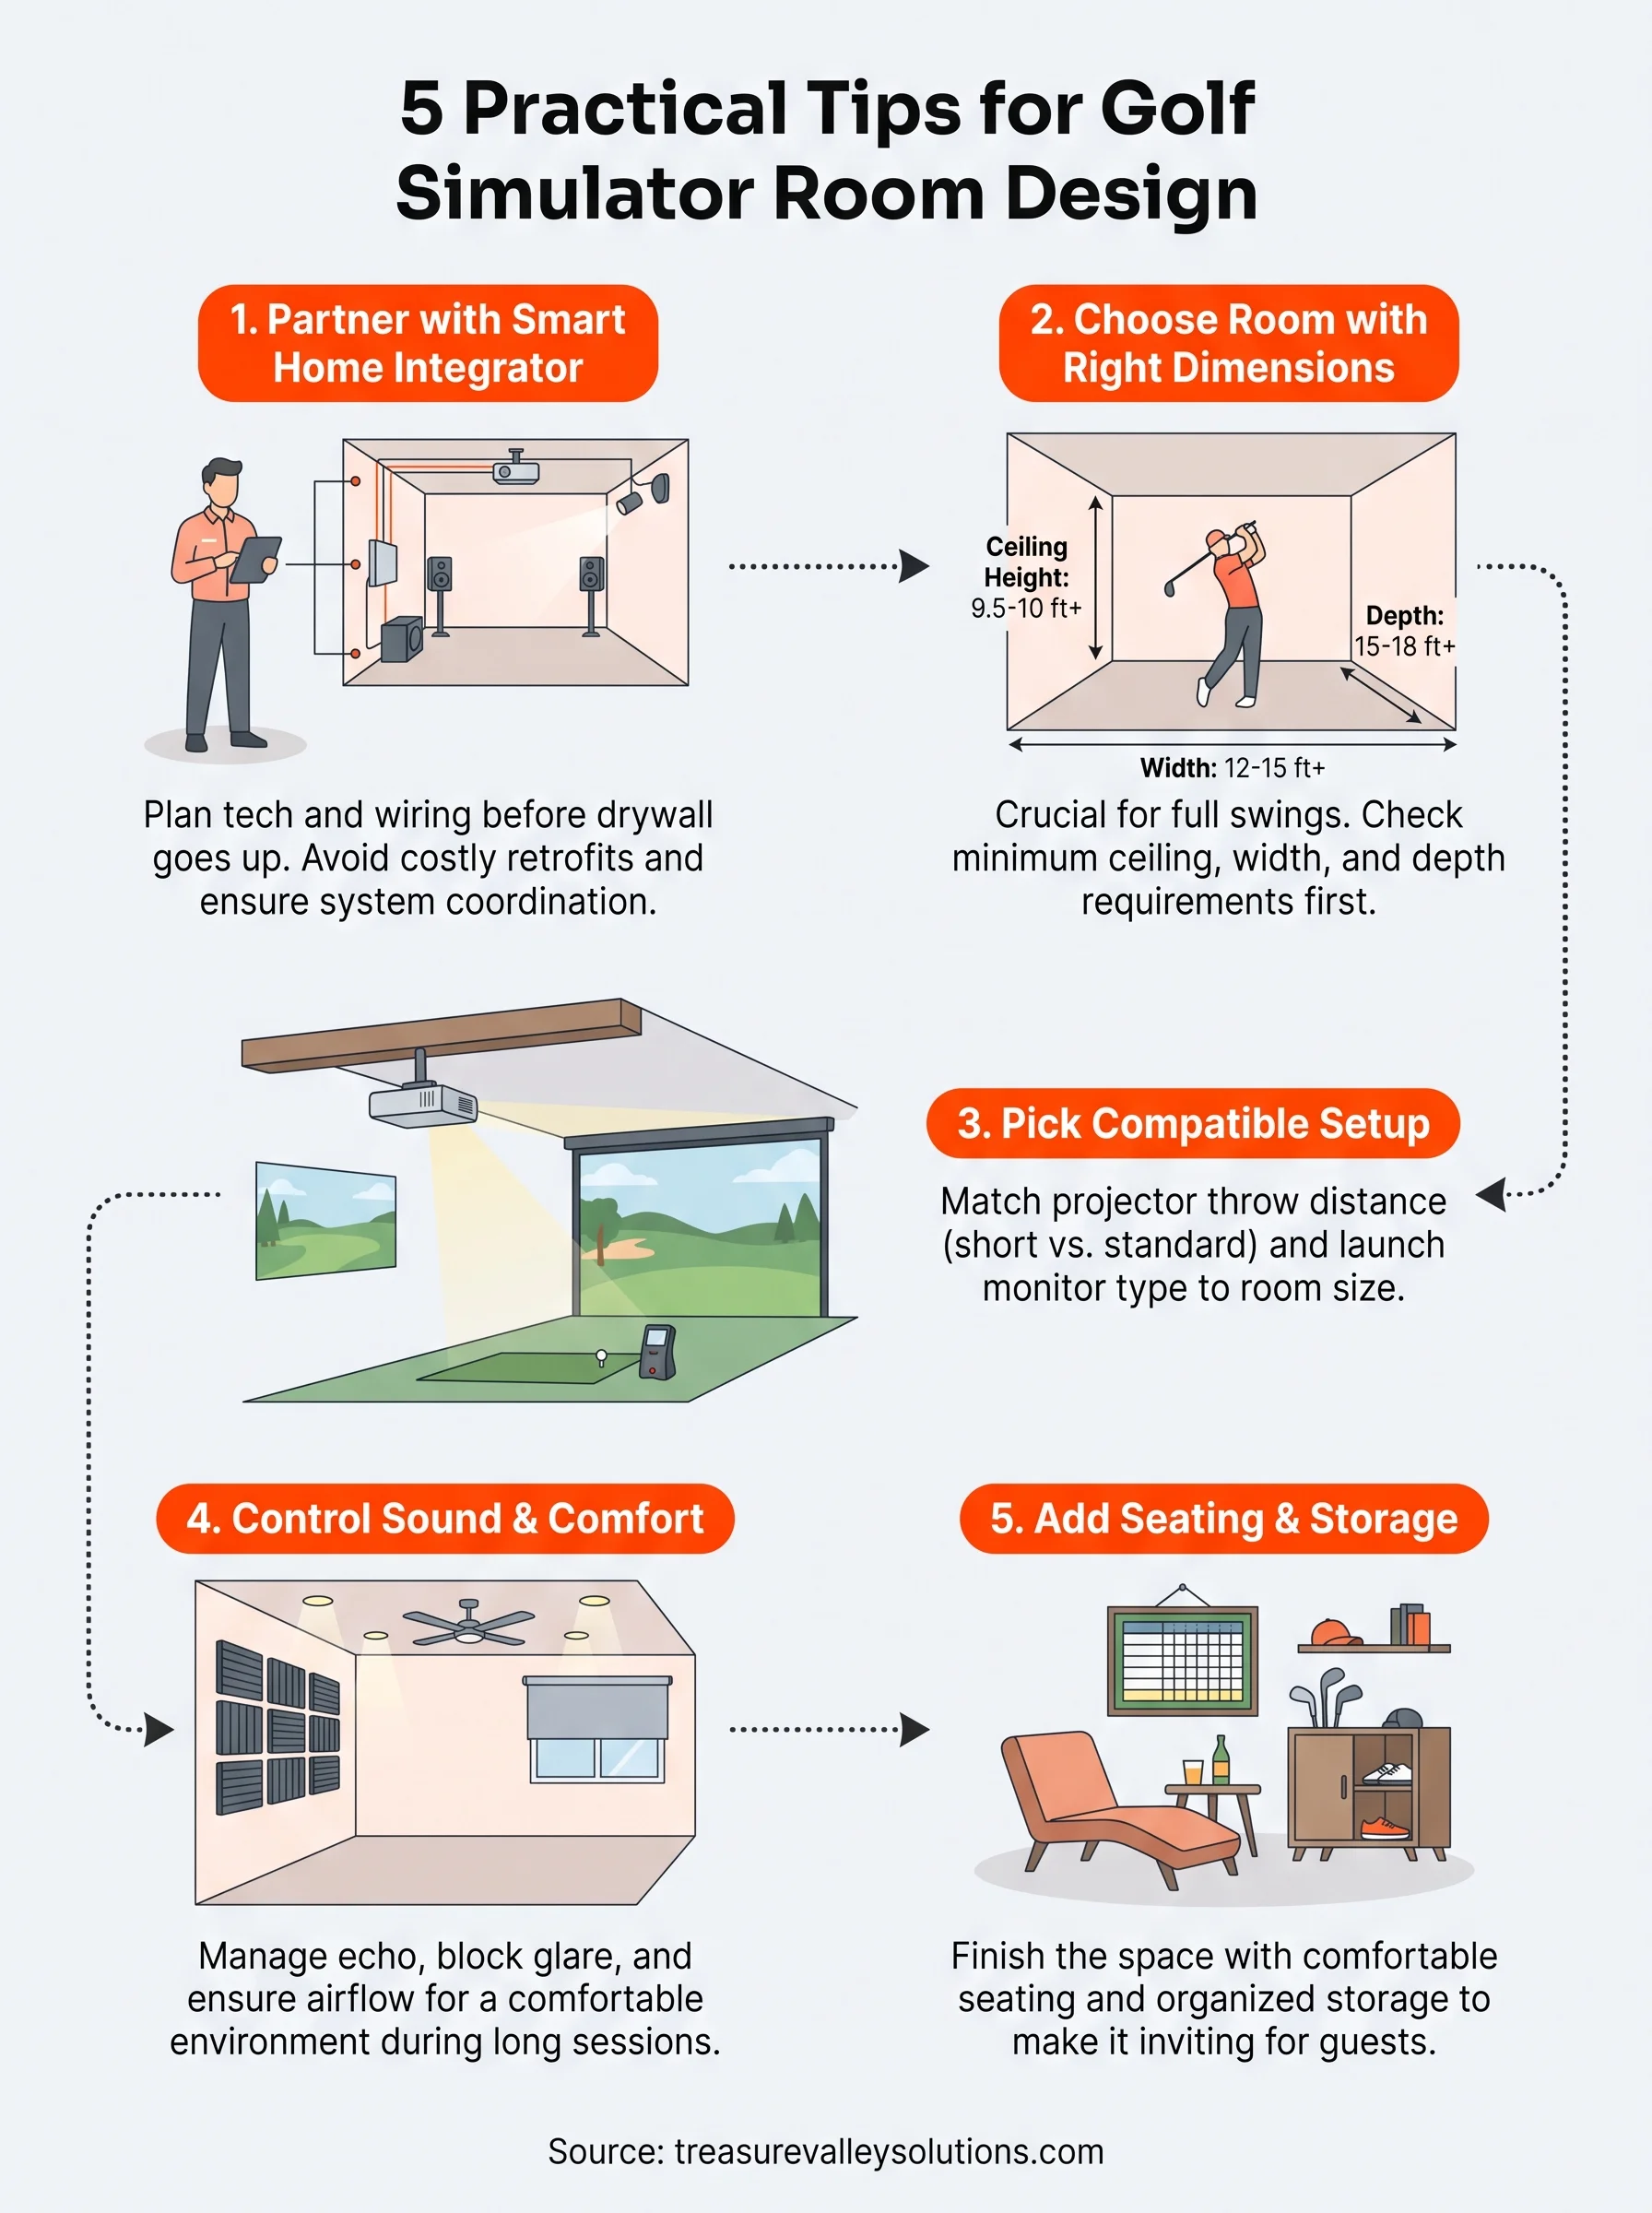
Most golf simulator failures trace back to one decision made too late: trying to handle the tech yourself after the drywall is already up. A golf simulator room isn't just a mat and a screen. It's a coordinated system of projectors, launch monitors, speakers, lighting, and network wiring that all need to talk to each other and hold up to years of ball strikes vibrating through the floor. Working with one of the local golf simulator installers in the Treasure Valley from the planning stage means someone with hands-on experience catches the problems you can't see yet, like a projector mount that will interfere with your backswing or a network drop that's six feet short of where your simulator PC actually needs to sit.
Get your simulator tech planned before the drywall goes up, not after.
Why it matters
Simulator setups depend on precise placement and reliable connectivity, and retrofitting wiring into a finished room costs far more than running it during construction. An integrator who's built these rooms before knows the failure points: underpowered Wi-Fi that drops your launch monitor's connection mid-round, speakers mounted where a stray shot can crack them, or lighting that washes out your screen image. Getting this right the first time saves you a second round of contractor visits and patched walls.
How to do it right
Bring in your integrator before you finalize room dimensions or order equipment. At Treasure Valley Solutions, we walk clients through the same process on every project:
- Assess the room for ceiling height, structural obstacles, and existing wiring
- Map out projector throw distance and screen placement together
- Plan dedicated network drops for your launch monitor and simulator software
- Position speakers and ambient lighting so they don't interfere with sensors or screen visibility
- Test the full system before calling the install finished
That last step matters more than people expect. A room that looks finished isn't the same as a room that plays correctly, and a local team can come back out if something needs adjusting after your first few rounds.
2. Choose a room with the right dimensions
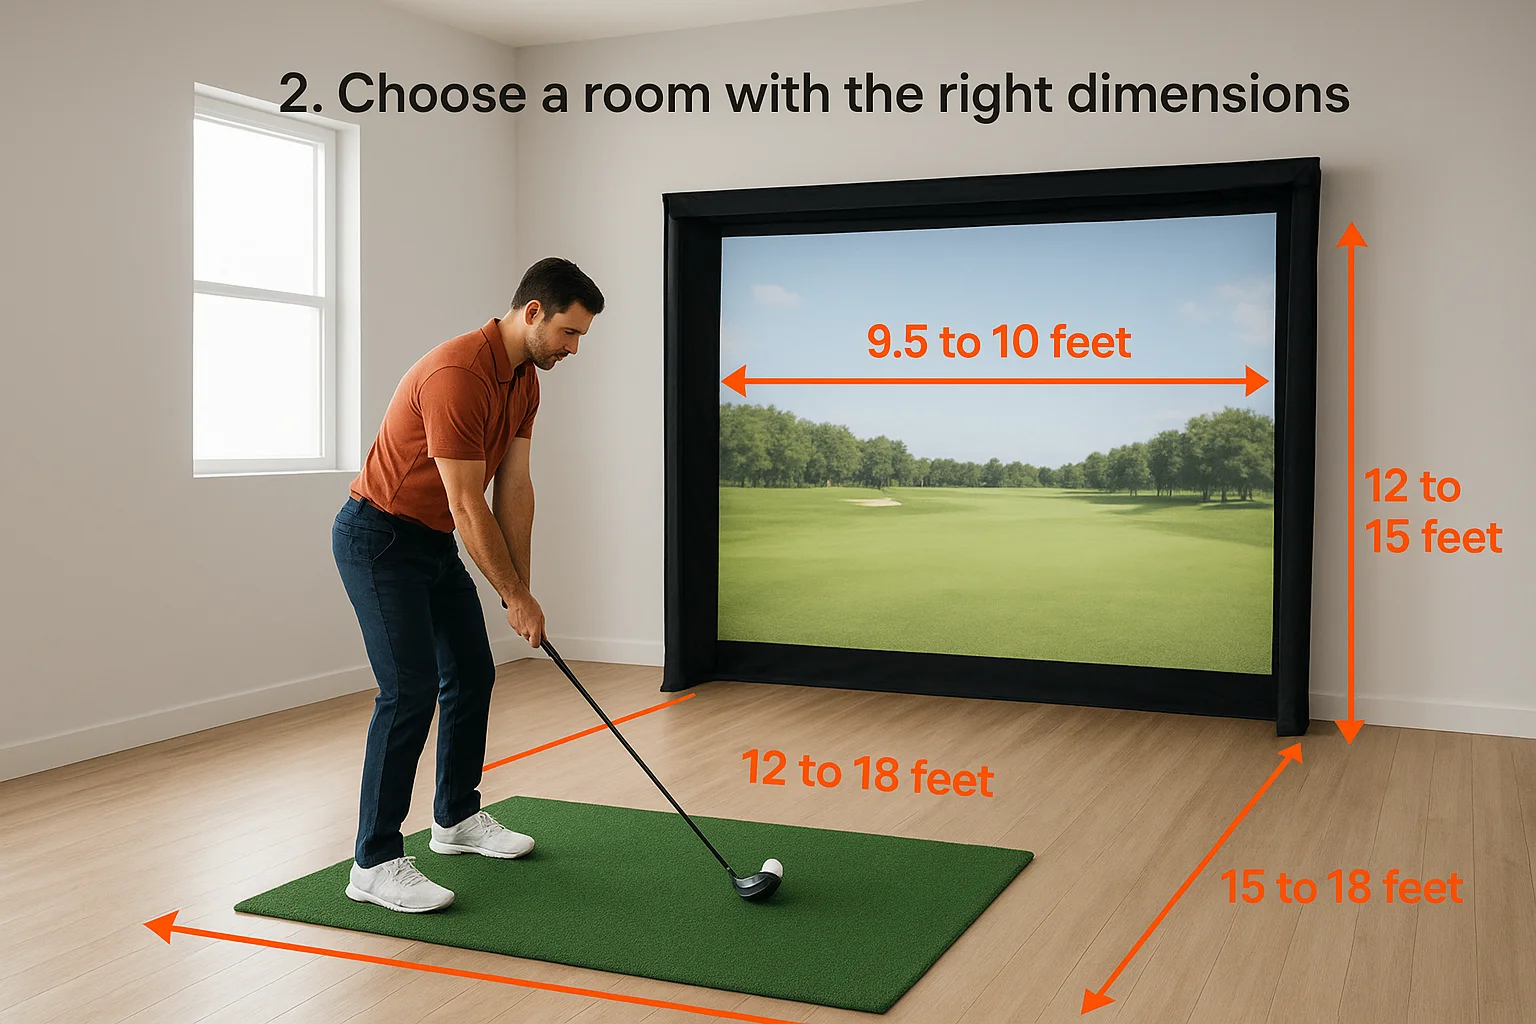
Before you fall in love with a specific launch monitor or screen package, walk your space with a tape measure. Most golfers underestimate how much room a full swing actually needs, especially with longer clubs like a driver. Golf simulator dimensions drive every other decision in your golf simulator room design, so get this right first.
Why it matters
How much ceiling clearance a simulator needs is the number one reason projects stall. Swing a driver and your club head can reach 8 to 9 feet off the ground at the top of your backswing, so a room under 9 feet often forces you to hit off a mat with a flatter swing plane, which defeats the purpose of practicing your real game.
How to do it right
Use these minimums as your starting point, then add buffer wherever you can:
- Ceiling height: 9.5 to 10 feet for right- and left-handed golfers using the same mat
- Width: 12 to 15 feet to keep your swing clear of side walls
- Depth: 15 to 18 feet, giving proper distance between the hitting mat and impact screen
If your space falls short, an off-center mat position or a shorter throw projector can help you recover a few feet without sacrificing playability.
3. Pick the right simulator, screen, and projector setup
Once your dimensions are locked in, the next decision is which of the best launch monitors for indoor golf and projector combination actually fits the room you have. Camera-based systems like those built for tight garages behave differently than radar-based units that need more room behind the ball, so your space should inform your equipment choice, not the other way around.
Why it matters
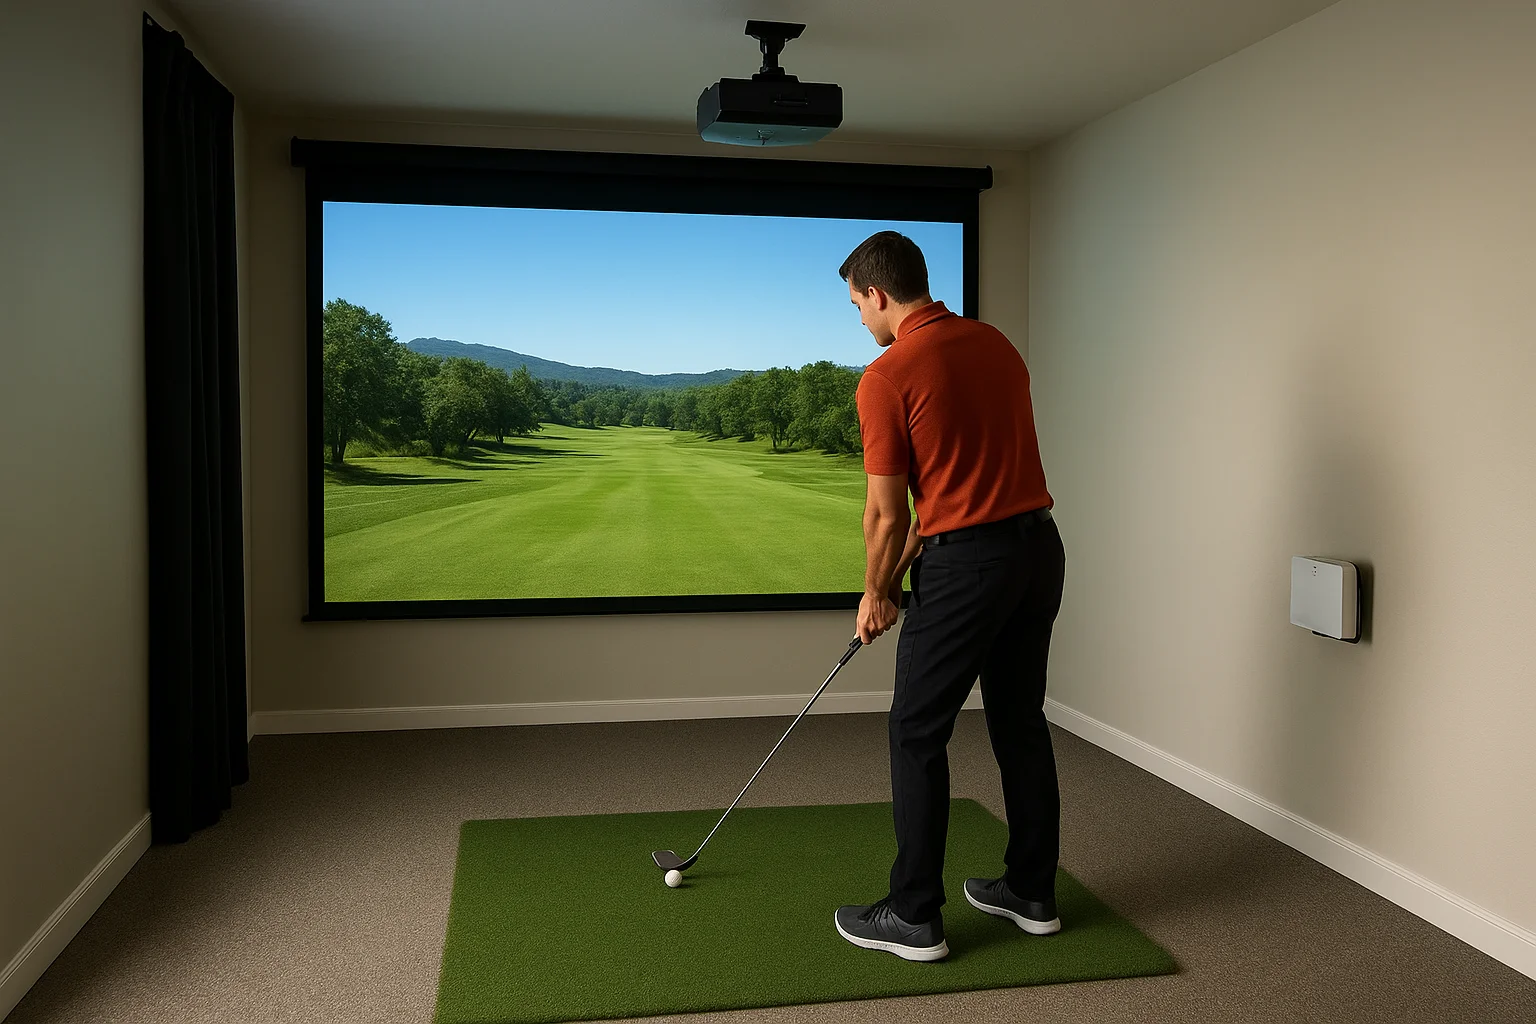
A mismatched projector setup ruins the experience even when your launch monitor is accurate. Mount a standard-throw projector too close to your screen and you get a washed-out, distorted image; mount a short-throw unit too far back and you lose brightness. Golfers who buy equipment before measuring throw distance often end up remounting hardware within the first month.
Match your projector throw distance to your room before you buy anything else.
How to do it right
Work backward from your screen size and room depth:
- Impact screens: size to your width, typically 9 to 12 feet wide
- Short-throw projectors: best for rooms under 16 feet deep, and worth comparing against our top short throw projector picks
- Standard-throw projectors: need 12+ feet of clearance behind the lens
- Launch monitors: confirm mounting height and required clearance before installing
Your integrator can test throw distance on-site before any hardware goes on the wall, which prevents guesswork.
4. Control sound, lighting, and comfort
Once your screen and projector are dialed in, the room still needs to feel good to spend hours in. Acoustics, glare, and temperature affect your golf simulator room design just as much as ceiling height, and they're the details most DIY builds skip. A room that sounds like a racquetball court or bakes you under recessed lights by the third hole won't get much use, no matter how good the launch monitor is.
A simulator room only gets used if it's comfortable to stand in for two hours straight.
Why it matters
Hard, flat surfaces bounce ball strikes into a jarring echo, and bright ceiling lights or sunlight through a window wash out your screen image fast. Get simulator lighting placement wrong and a crisp shot trace turns into a blurry guess, which undercuts the accuracy you paid for in your launch monitor.
How to do it right
Build comfort in with these fixes:
- Add acoustic panels or thick curtains on side walls to cut echo
- Install dimmable, indirect lighting positioned away from the screen
- Block or cover any windows facing the hitting area
- Run a small vent or fan for airflow during long sessions
Your integrator can wire dimmers and vents into the same smart control system running your simulator.
5. Add seating, storage, and decor for the finish
Once the tech works, the room still needs to feel like a place you want to hang out, not just a garage bay with a screen bolted to the wall. Seating and storage are the last layer of golf simulator room design, and they're what turn a functional setup into a space friends actually want to use for a Saturday round. Skip this step and you're stacking clubs in the corner and standing the whole time you wait your turn.
Why it matters
A bare room reads unfinished even when the simulator itself performs great. Comfortable seating keeps guests engaged between shots, and dedicated storage keeps clubs, balls, and cables from cluttering your hitting area, which matters for both safety and sensor accuracy.
The last 10% of a simulator room, seating and storage, is what makes people want to stay.
How to do it right
Finish the room with these additions:
- Low-profile seating or a bar-height counter along the back wall
- A closed cabinet or slat wall for clubs, shoes, and accessories
- Turf or rubber flooring outside the hitting mat for comfort
- Simple wall decor like scorecards or course flags that won't reflect glare onto the screen
Keep decor off the side walls near your swing path so nothing gets clipped mid-round.
Bringing your golf simulator room to life
Getting your golf simulator room design right comes down to sequencing. Dimensions come before equipment, equipment comes before comfort, and comfort is what keeps you and your friends coming back for another round instead of letting the room collect dust after the first month. Skip a step and you end up with expensive gear that doesn't perform the way it should, or a room nobody wants to spend time in.
Every detail we've covered, from ceiling height to projector throw to acoustic panels, works best when it's planned as one system instead of a pile of separate purchases. That's the difference between a room that looks good in photos and one that plays true every time you step up to the mat.
If you're ready to turn your space into a simulator room built around your swing, take a look at photos of our finished golf simulator rooms and let's talk through your layout.