 (208) 991-3502
 Meridian, ID



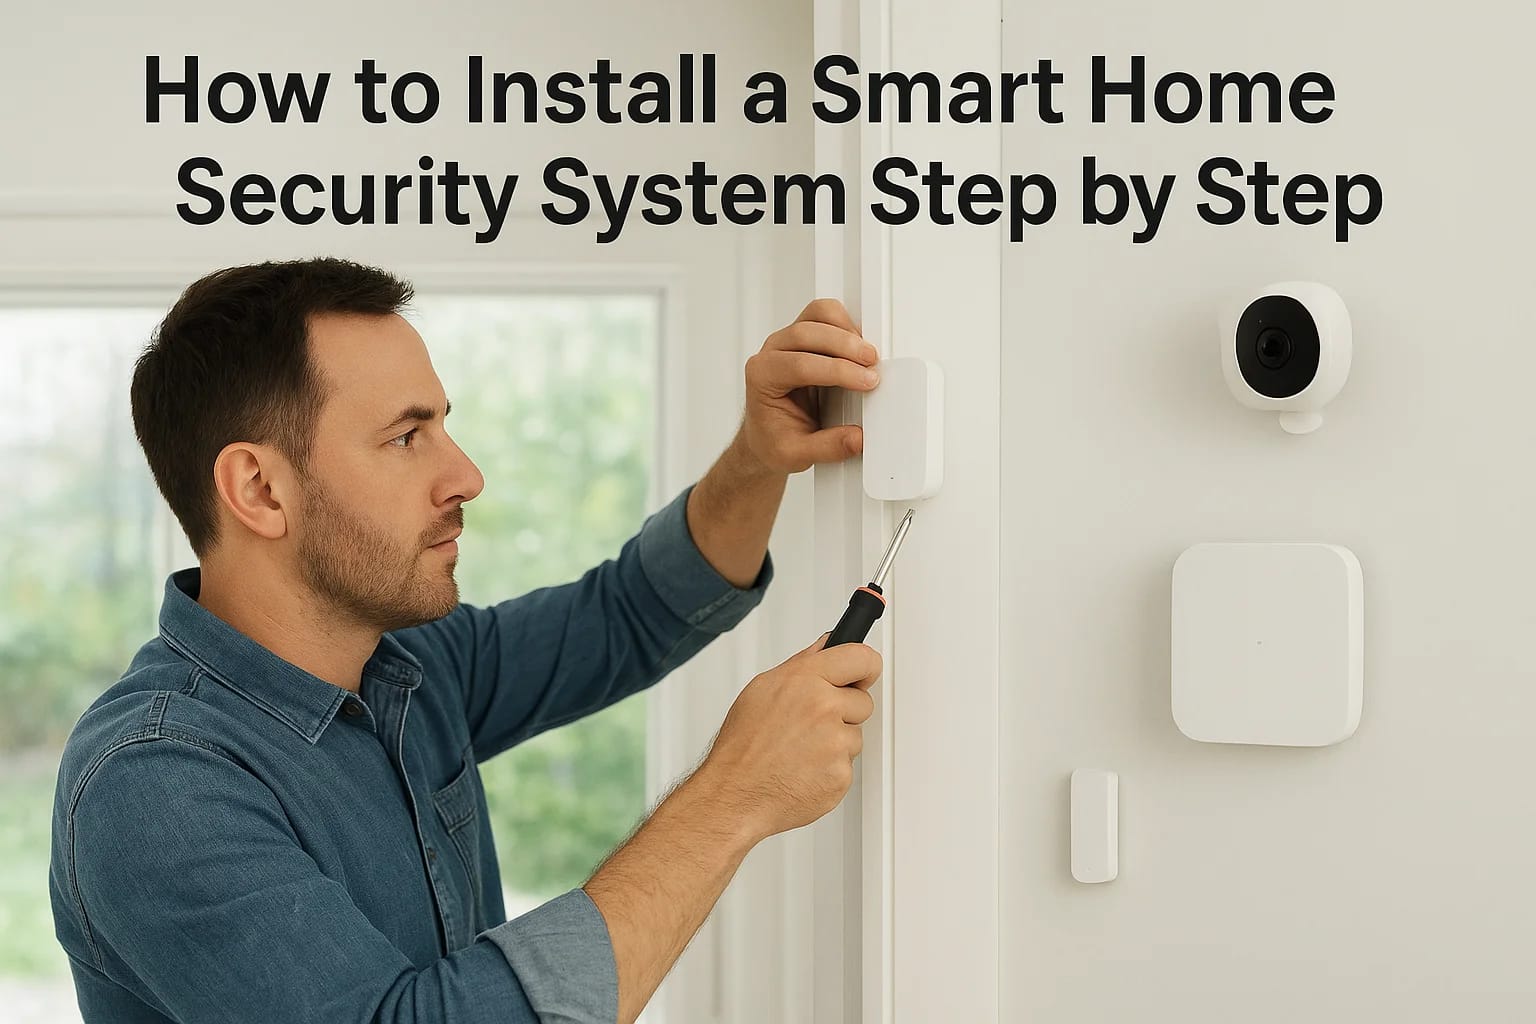

You've decided to get serious about protecting your house, and now you're staring at a pile of cameras, sensors, and a smart lock, wondering where to even start. A smart home security system installat...
You've decided to get serious about protecting your house, and now you're staring at a pile of cameras, sensors, and a smart lock, wondering where to even start. A smart home security system installation looks simple in the marketing videos, but the planning, wiring, and app pairing can turn into a weekend-long headache if you skip the right order of steps.
This guide walks you through the entire process, from mapping your entry points to choosing between hub-based and standalone systems, budgeting for equipment and monthly monitoring fees, and getting your cameras and sensors talking to each other without dead zones or dropped connections. You'll know exactly what to buy, where to place it, and how to test it before you trust it to protect your family.
We've installed hundreds of security systems across Treasure Valley homes, from simple doorbell cameras to full whole-home setups with automated locks and monitored alarms, so we know where DIY installs typically go wrong. Whether you're tackling this yourself or deciding it's worth calling in a pro, this step-by-step breakdown gives you a realistic picture of what's involved before you spend a dollar on equipment.
What to plan before installing a smart security system
Before you order a single camera, walk your property like a burglar would. Look at every door, window, and dark corner where someone could linger without being seen. Most Treasure Valley homeowners we work with underestimate how many entry points they actually have until they start counting sliding doors, basement windows, and side gates. Home security system planning starts with this honest inventory, not with browsing gadgets online.
A security system built without a proper walkthrough leaves gaps that no amount of extra equipment can fix later.
Walk your property and identify vulnerabilities
Grab a notepad or your phone and go room by room, noting anything that needs coverage. This single step prevents the most common installation mistake: buying cameras first and figuring out placement second.
- Count every exterior door, including garage service doors
- Note ground-floor windows large enough for entry
- Mark blind spots created by fences, sheds, or landscaping
- Identify where your Wi-Fi router sits relative to the farthest sensor location
- List any areas with elderly residents or children that need extra monitoring
Decide who does the installation
Once you know what needs coverage, decide whether this is a DIY home security installation or a job for a licensed security system installation service. Simple battery-powered sensors and a doorbell camera are reasonable weekend projects. Wired cameras, in-wall control panels, and anything tied into your electrical system usually go smoother with a professional, especially if you want warranty coverage that survives a botched wiring job.
| Factor | DIY Installation | Professional Installation |
|---|---|---|
| Equipment | Wireless, battery-powered | Wired or hybrid systems |
| Time investment | 4-8 hours per weekend | Scheduled in 1 day |
| Wiring/electrical work | Avoid or hire separately | Included |
| Warranty on install | None | Typically included |
| Best for | Small homes, apartments | Full-home coverage, new construction |
Set a realistic budget
Money matters here more than most guides admit. A basic DIY kit with a hub, two cameras, and a few door sensors runs somewhere between $200 and $500. A full whole-home system with professional installation, wired cameras, and a monitored alarm can climb past $2,000 once you add labor and ongoing monitoring fees, which typically range from $20 to $60 a month depending on the provider, so it helps to see how security system installation is priced before you commit. Decide now whether you want self-monitoring through an app or a paid monitoring service that dispatches emergency responders, since that choice affects which hardware you buy.
Check your Wi-Fi and network capacity
Every camera and sensor you add pulls bandwidth, and a weak router signal is the number one reason DIY systems fail within the first month. Test your Wi-Fi strength in every location you flagged during your walkthrough, not just near the router. If your signal drops below two bars in the garage or a back bedroom, plan for a mesh extender or a dedicated access point before installation day, not after your cameras start dropping offline, and follow a proper router and Wi-Fi setup process while you're at it. The Federal Trade Commission also recommends securing your home network with a strong, unique password before adding any connected device, since a weak network invites more risk than it solves.
Step 1. Choose the right security devices for your home
Now that you know your gaps, match devices to them instead of buying whatever's trending on a retailer's homepage. A smart security camera setup should cover every entry point you flagged, but not every camera needs the same specs. A front door gets a camera with a wide field of view and package detection, while a side gate might only need motion-triggered notifications. Buying the same expensive 4K camera for every location wastes money you could put toward monitoring or a better lock.
Match each device to the specific risk at that location instead of buying one camera model for the whole house.
Match device types to each vulnerability
Sensors do the quiet work that cameras can't. Door and window sensors catch an entry attempt the moment it happens, often before a camera even finishes recording a clip, and it's worth knowing what each security system component actually does before you order. Glass-break sensors matter for ground-floor windows hidden by landscaping, where a camera's view might already be blocked.
- Entry doors: smart lock plus door sensor
- Windows: contact sensor, glass-break sensor for hidden ones
- Driveways/yards: motion-activated floodlight camera
- Interior common areas: motion sensor tied to the alarm panel
- Garage: door sensor plus a camera aimed at the vehicle bay
Decide between hub-based and standalone systems
Hub-based systems route every device through one central brain, which gives you a single app, one set of automation rules, and easier professional monitoring later. Standalone devices, like a single video doorbell bought off a shelf, work fine on their own but rarely talk to each other, so you lose the ability to trigger lights when a sensor trips or lock the door when you arm the alarm, which is the core difference between a camera setup and a full alarm system.
Owners planning to expand later, adding elderly care features like fall detection or voice-activated help buttons, save time by choosing a hub-based platform from day one instead of patching together brands that don't communicate. We build most Treasure Valley installs around a hub for exactly this reason. If you want help picking hardware that fits your specific layout, our team that installs smart security systems for homes and businesses can walk your property and spec a device list before you spend anything.
Once your device list is locked in, order everything at once rather than piecemeal, so you're not mid-install waiting on a backordered sensor while your ladder sits in the driveway.
Step 2. Map out camera and sensor placement
Grab the notes from your walkthrough and turn each entry point into a specific camera or sensor location before you drill a single hole. A smart home security system installation lives or dies on placement, not on how many megapixels your camera boasts. Mount a camera too high and you lose facial detail; mount it too low and someone can knock it off the wall on their way in, so it pays to know the best camera locations around a house first.
Set camera height and angle correctly
Cameras belong between 8 and 10 feet off the ground, angled slightly downward so you catch faces without staring into the sun or a porch light at dawn and dusk. Backlighting ruins more footage than any other mistake we see on service calls, so check what's behind each planned spot at different times of day before you commit to a mounting bracket.
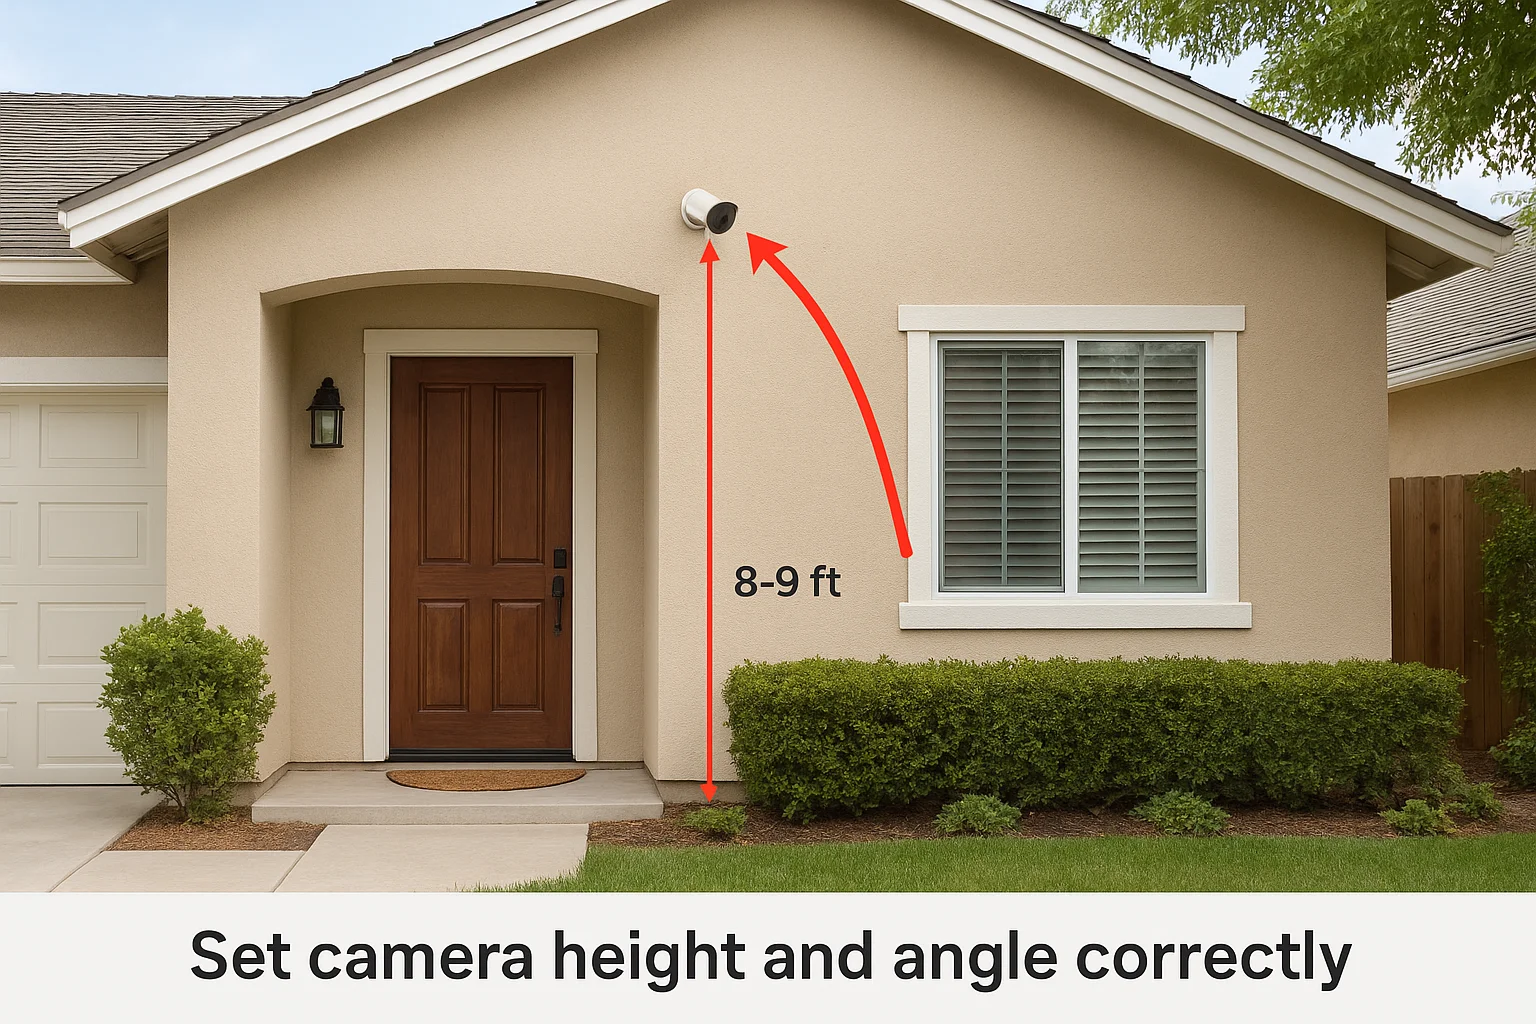
| Camera Location | Mounting Height | Angle |
|---|---|---|
| Front door | 8-9 ft | Slight downward tilt |
| Driveway | 9-10 ft | Wide angle, capture full width |
| Backyard | 8-9 ft | Cover fence line and gate |
| Garage interior | 7-8 ft | Aim at vehicle bay and side door |
Camera placement determines footage quality more than resolution ever will.
Place sensors where they catch entry first
Sensors need to trigger before someone finishes opening a door or window, not after. Door and window sensor placement works best on the frame side that opens first, within an inch of the magnet's partner piece, since gaps wider than that cause false readings or missed triggers entirely.
- Mount door sensors on the hinge-side frame, not the handle side
- Place window sensors on the bottom sash where it meets the frame
- Install glass-break sensors within 20 feet of the glass they're protecting
- Position motion sensors in corners, 6-8 feet high, angled to cover the widest walking path
- Keep interior sensors away from heat vents and direct sunlight, both trigger false alarms
Avoid common placement mistakes
Trees, hanging plants, and seasonal decorations shift over months and slowly block a camera's view without anyone noticing until footage comes back useless. Watch for Wi-Fi dead zones too, since a sensor that loses connection for even a few seconds during an intrusion defeats the entire point of installing it. Walk your placement plan one more time after dark, since shadows and glare change completely once the sun goes down, and that's often when you need coverage the most.
Step 3. Install the control panel and connect your devices
With your devices ordered and placement mapped, it's time to get the brains of the system running. The control panel or hub is what ties every camera, sensor, and lock together into one working smart home security system installation, so getting this step right matters more than any single device you bought. Most hubs need a central spot with strong Wi-Fi and, ideally, access to a power outlet that isn't hidden behind furniture.
Everything downstream depends on a hub that's placed, powered, and connected correctly the first time.
Mount and power the control panel
Pick a central location, a hallway or utility closet works well, since signal strength drops with distance and walls. Avoid mounting it near metal appliances, mirrors, or thick concrete walls that block wireless signals. Plug it into a dedicated outlet rather than a power strip shared with other electronics, and add a battery backup if your model supports one, since a power outage is exactly when you need the system armed.
Pair each device to the hub
Go device by device instead of trying to add everything at once, which is where most DIY installs stall out with unpaired sensors. Follow this order for the smoothest setup:
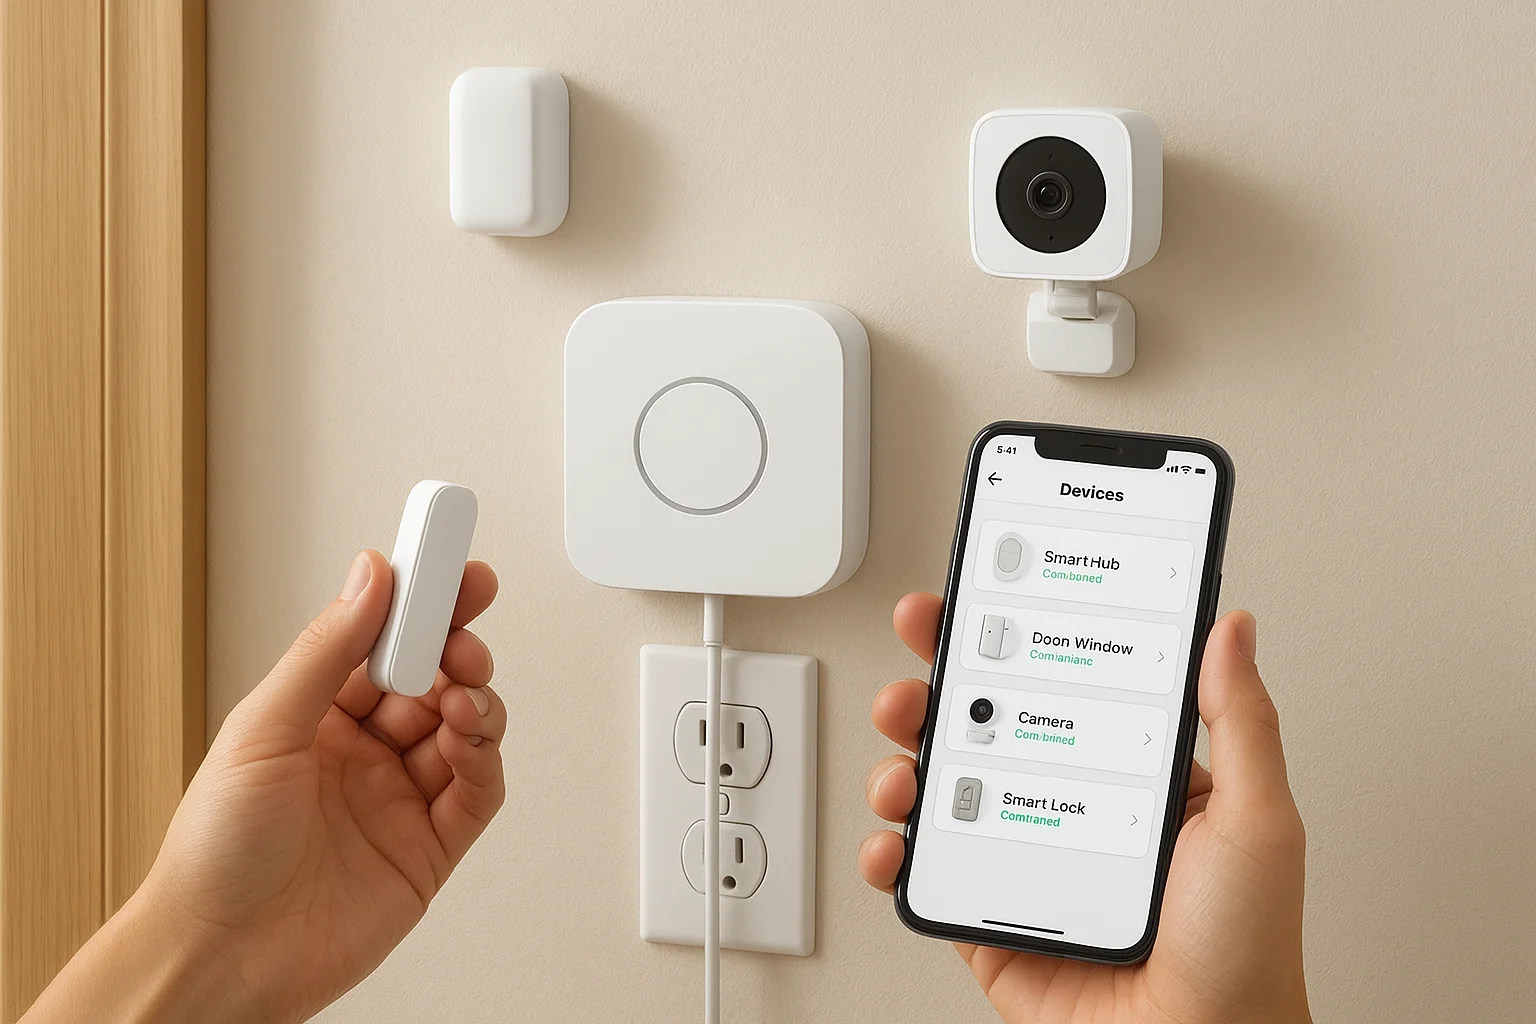
- Power on the hub and complete its app registration first
- Add door and window sensors one at a time, labeling each by location
- Pair cameras next, confirming live video before moving to the next one
- Add the smart lock last, since it often needs a firmware update before pairing (here's how smart locks connect over Wi-Fi and Bluetooth)
- Rename every device in the app immediately, not after installing ten more
Skipping the labeling step feels harmless until you're troubleshooting an alert at 2 a.m. and every sensor is just named "Sensor 4."
Secure your network settings
Before you walk away from installation day, lock down the network side of things. Change default passwords on the hub itself, not just your router, and enable two-factor authentication in the app if it's offered, working through a step-by-step home network security checklist as you go. Update firmware on every device before you consider the install finished, since outdated firmware is a common entry point for exploits on connected hardware. Verify each camera and sensor shows as "connected" in the app, not just "paired," since those two statuses aren't always the same thing.
Step 4. Test, automate, and fine-tune your system
Installing every device doesn't mean your system actually works yet. Testing your security system before you trust it means walking through every scenario a real intrusion might trigger, not just checking that the app shows green lights. Open each door and window you wired, wave in front of every motion sensor, and confirm the alert reaches your phone within a few seconds, not a few minutes.
A system that hasn't been tested under real conditions is just an expensive guess about what will happen during a break-in.
Run a full walkthrough test
Set aside an hour to trigger every device on purpose. Skipping this step is how homeowners discover a dead sensor three months later, right after a package goes missing from the porch.
- Open and close every door and window sensor, confirm the alert timing
- Walk through each motion sensor's coverage area at normal speed
- Trigger the smart lock remotely and confirm it actually engages
- Check camera footage quality at different times of day, especially dusk and dawn
- Test the alarm's siren volume from outside the house, not just inside
Build automations that make sense for your life
Once every device checks out, layer in automation rules that match how your household actually moves through the day. Home automation settings work best when they're simple: lock the door at 10 p.m. if it's still unlocked, turn on porch lights when the driveway camera detects motion after sunset, or disarm the system automatically when the garage door sensor sees your car pull in, and there are plenty of other automation ideas for a safer, easier home worth borrowing. Avoid stacking too many conditional rules at once, since a system with twenty overlapping automations becomes harder to troubleshoot than one with five reliable ones.
Fine-tune sensitivity to cut false alarms
False alarms are the fastest way to make a household stop trusting its own security system. Adjust motion sensor sensitivity down in rooms with pets or ceiling fans, and set camera notification zones so a passing car doesn't trigger an alert every ten minutes. Give the system a full week of real use before locking in final settings, since patterns you notice on day seven, like a mail carrier's regular visit, often need their own automation rule rather than a blanket sensitivity change.
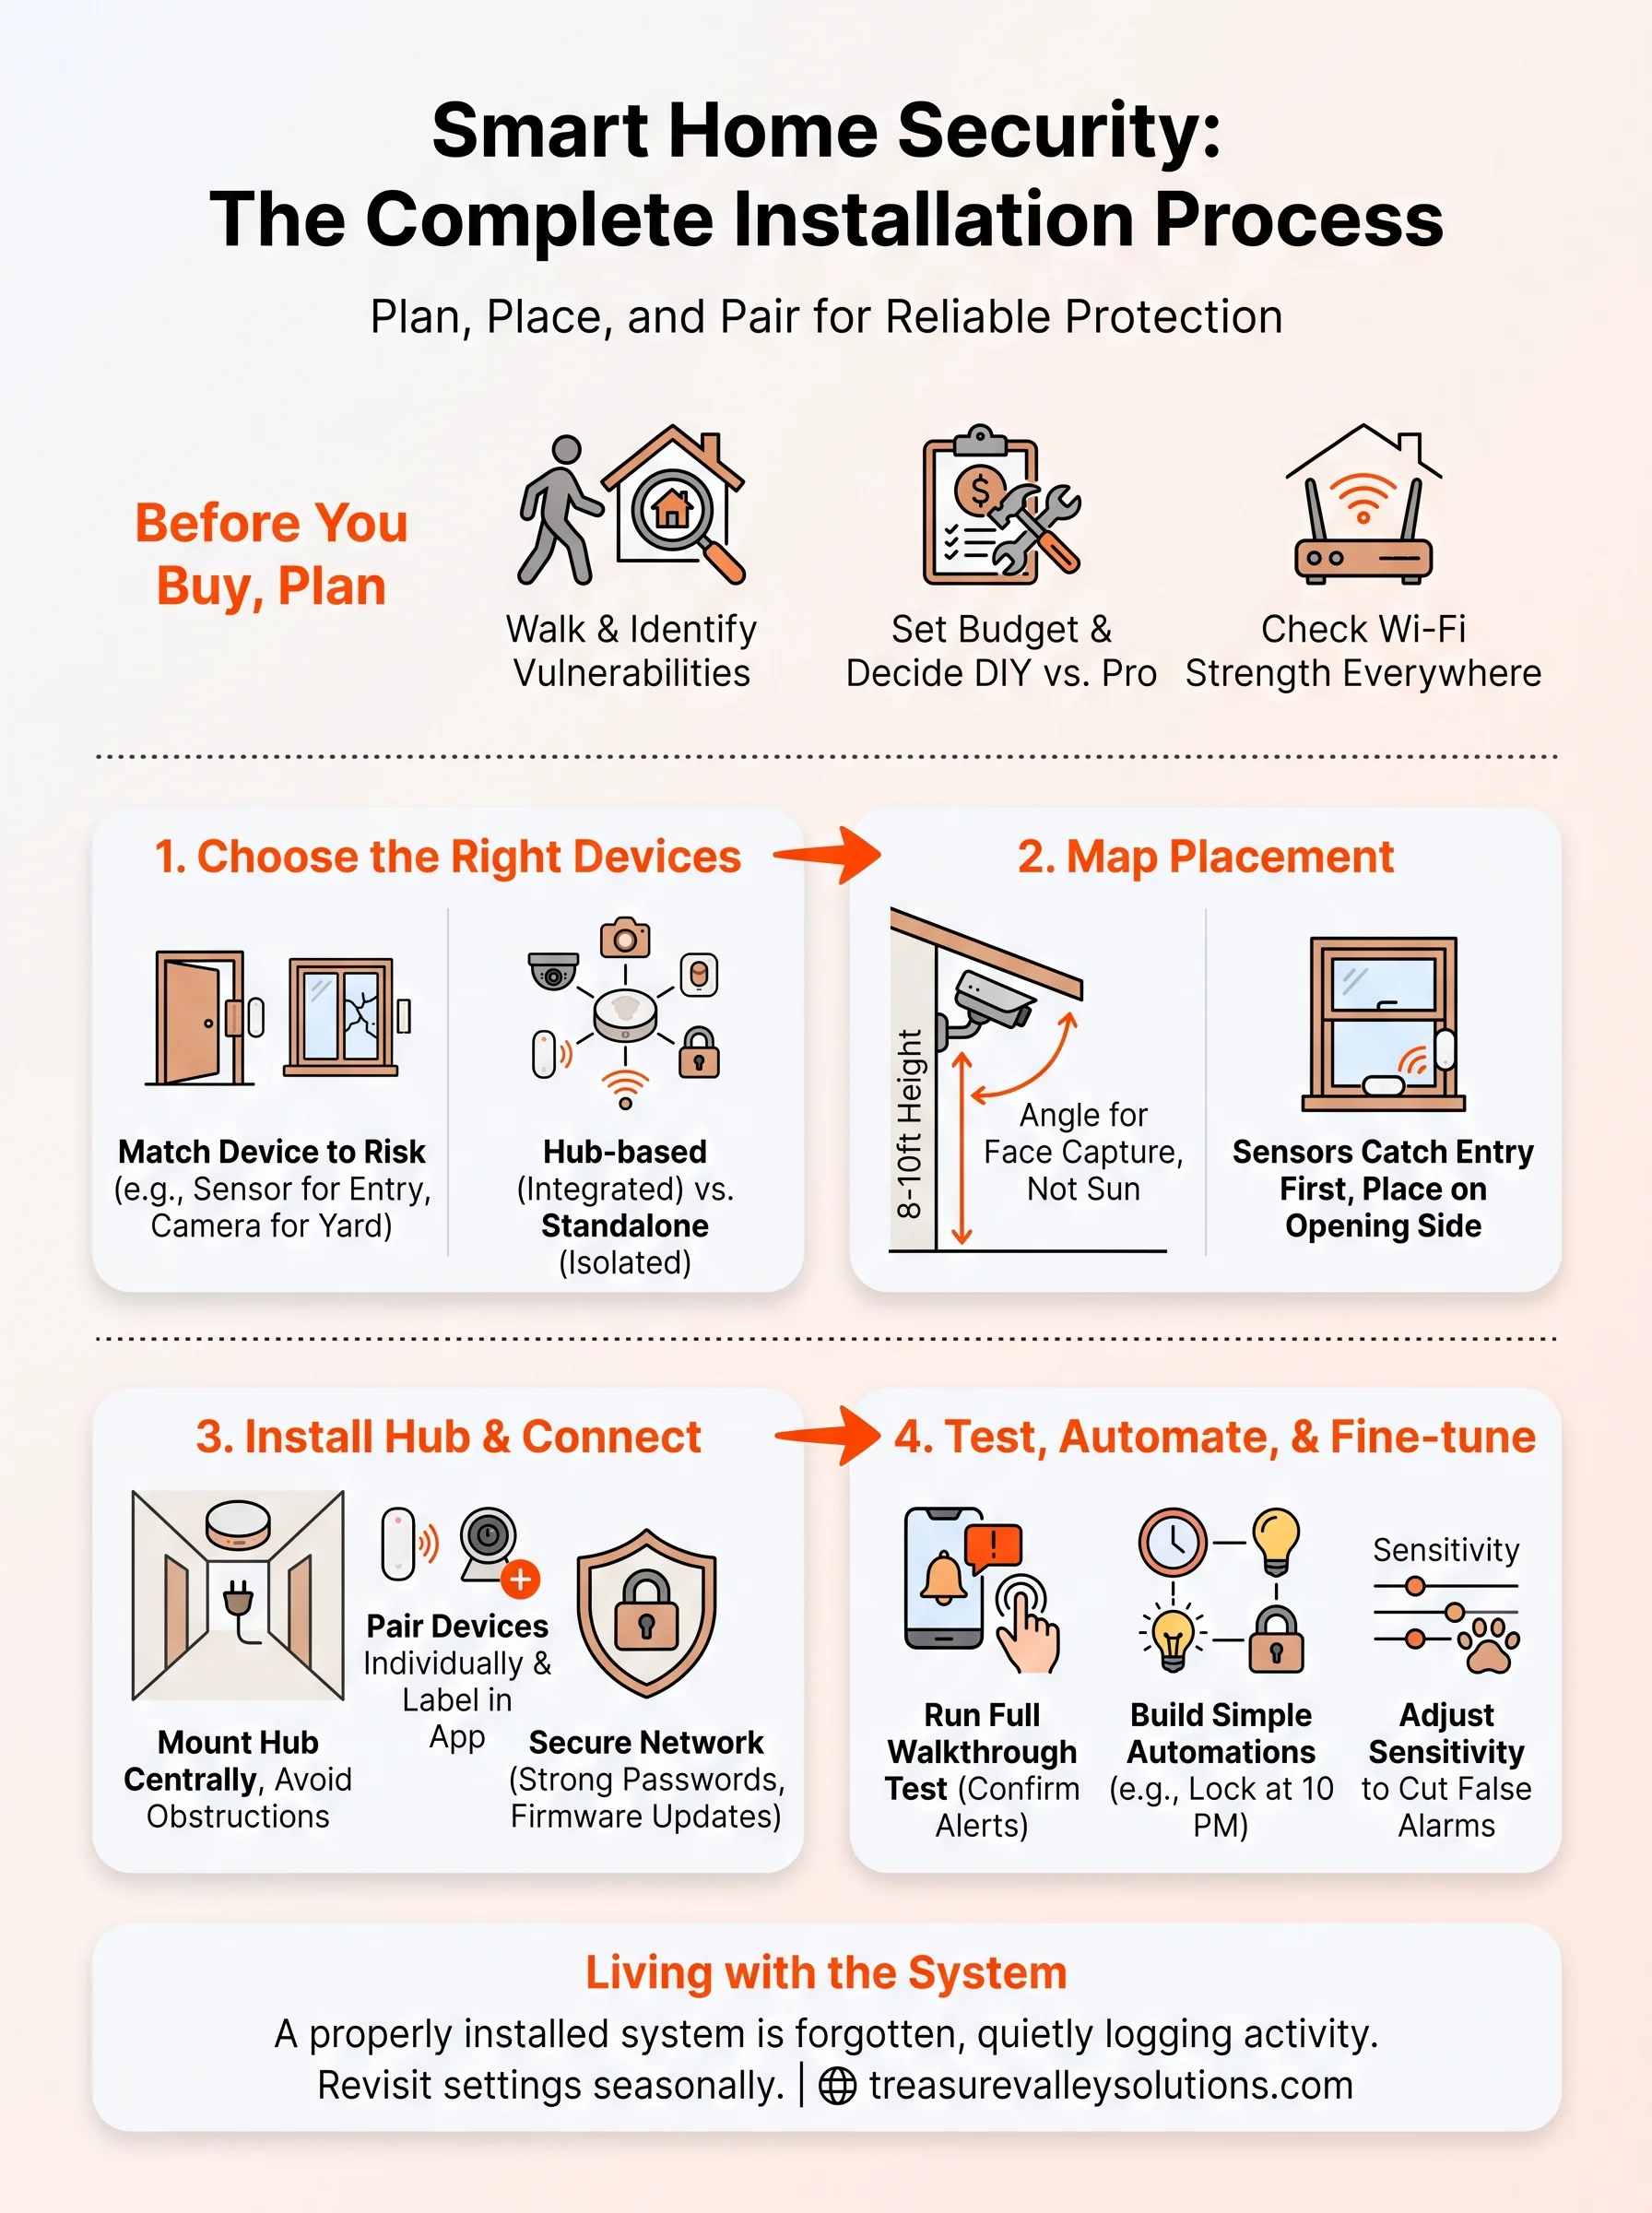
Living with your new smart security system
A properly installed system fades into the background of daily life. You stop thinking about the cameras and sensors because they just work, quietly logging entries, arming themselves on schedule, and sending you the occasional alert that actually matters instead of a flood of false triggers. That's the real payoff of doing the planning and placement work upfront instead of rushing to plug in devices the day they arrive.
Revisit your settings every few months, especially after seasonal changes shift lighting or foliage around your cameras. Firmware updates, battery swaps, and the occasional sensor recalibration keep a DIY security setup running years past its first install date.
If you'd rather skip the ladder and the troubleshooting altogether, request a free estimate from our Treasure Valley installers and we'll handle the design, install, and support for you.
Keep learning
Your next step
Compare Cameras and Complete Security SystemsReady for professional help? Request an estimateOur Services

Complete home automation and control.

Intelligent lighting control and automation.
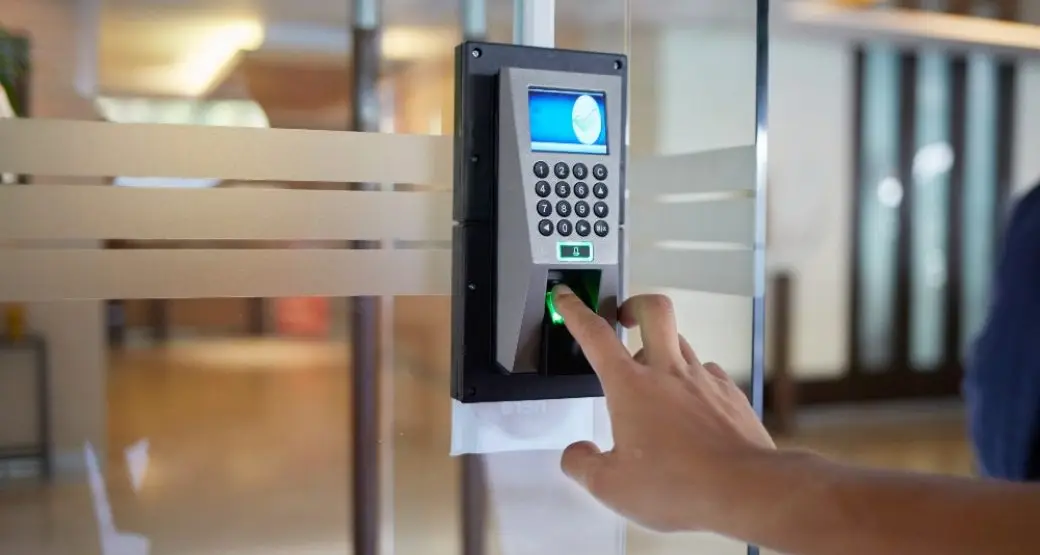
Comprehensive security solutions for home and business.
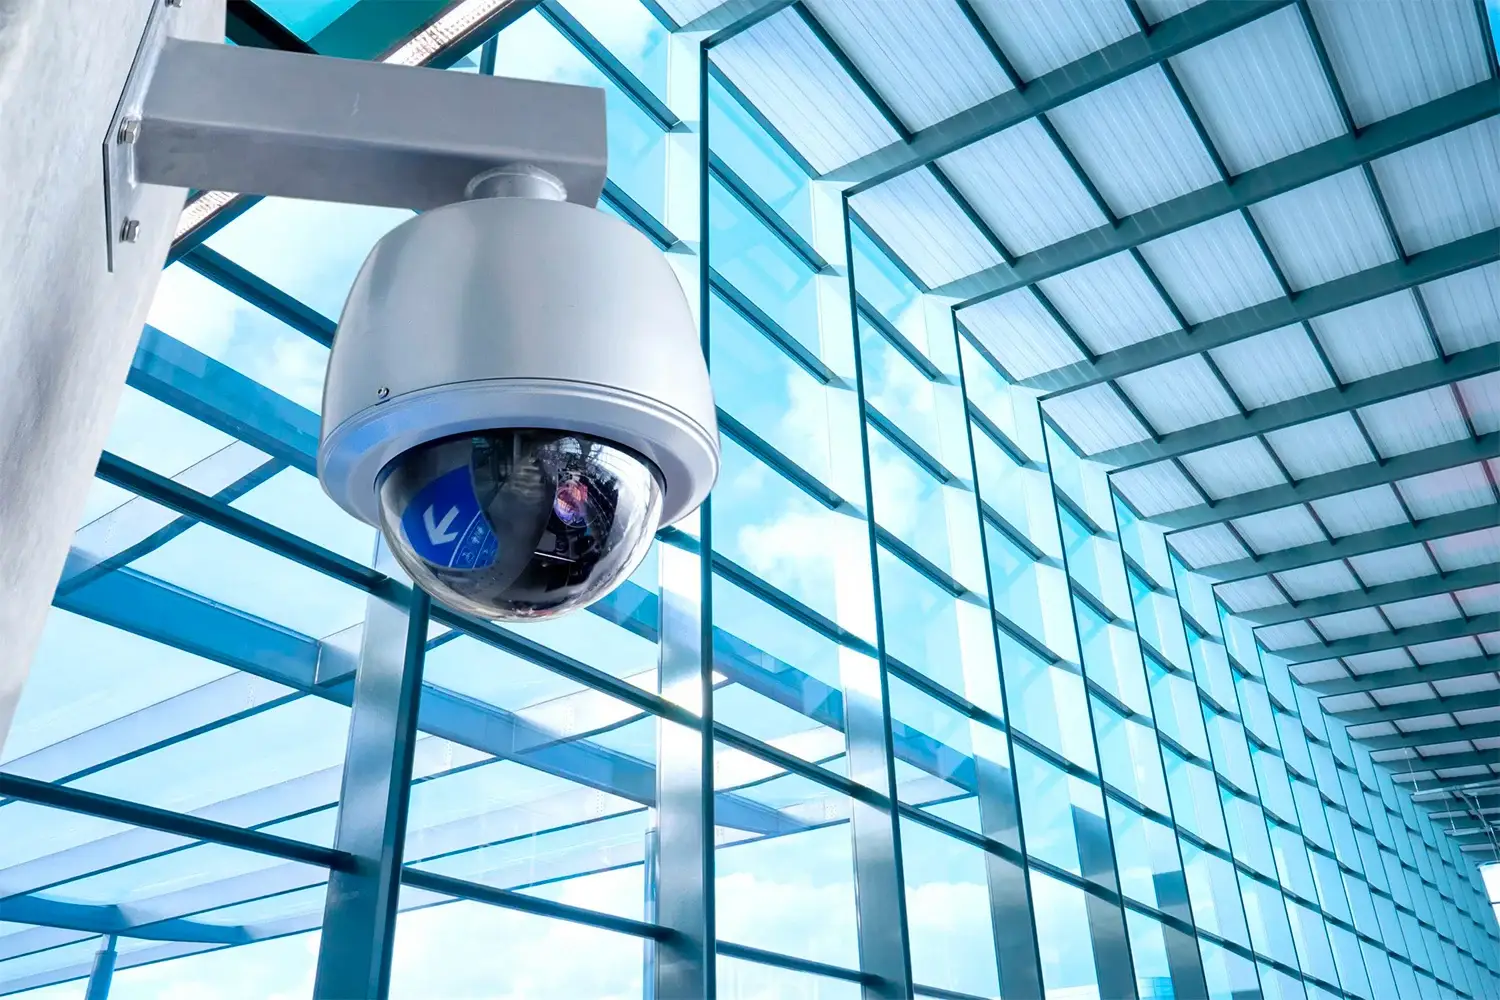
High-definition surveillance for peace of mind.
Serving the Treasure Valley
Local installation in your city