 (208) 991-3502
 Meridian, ID



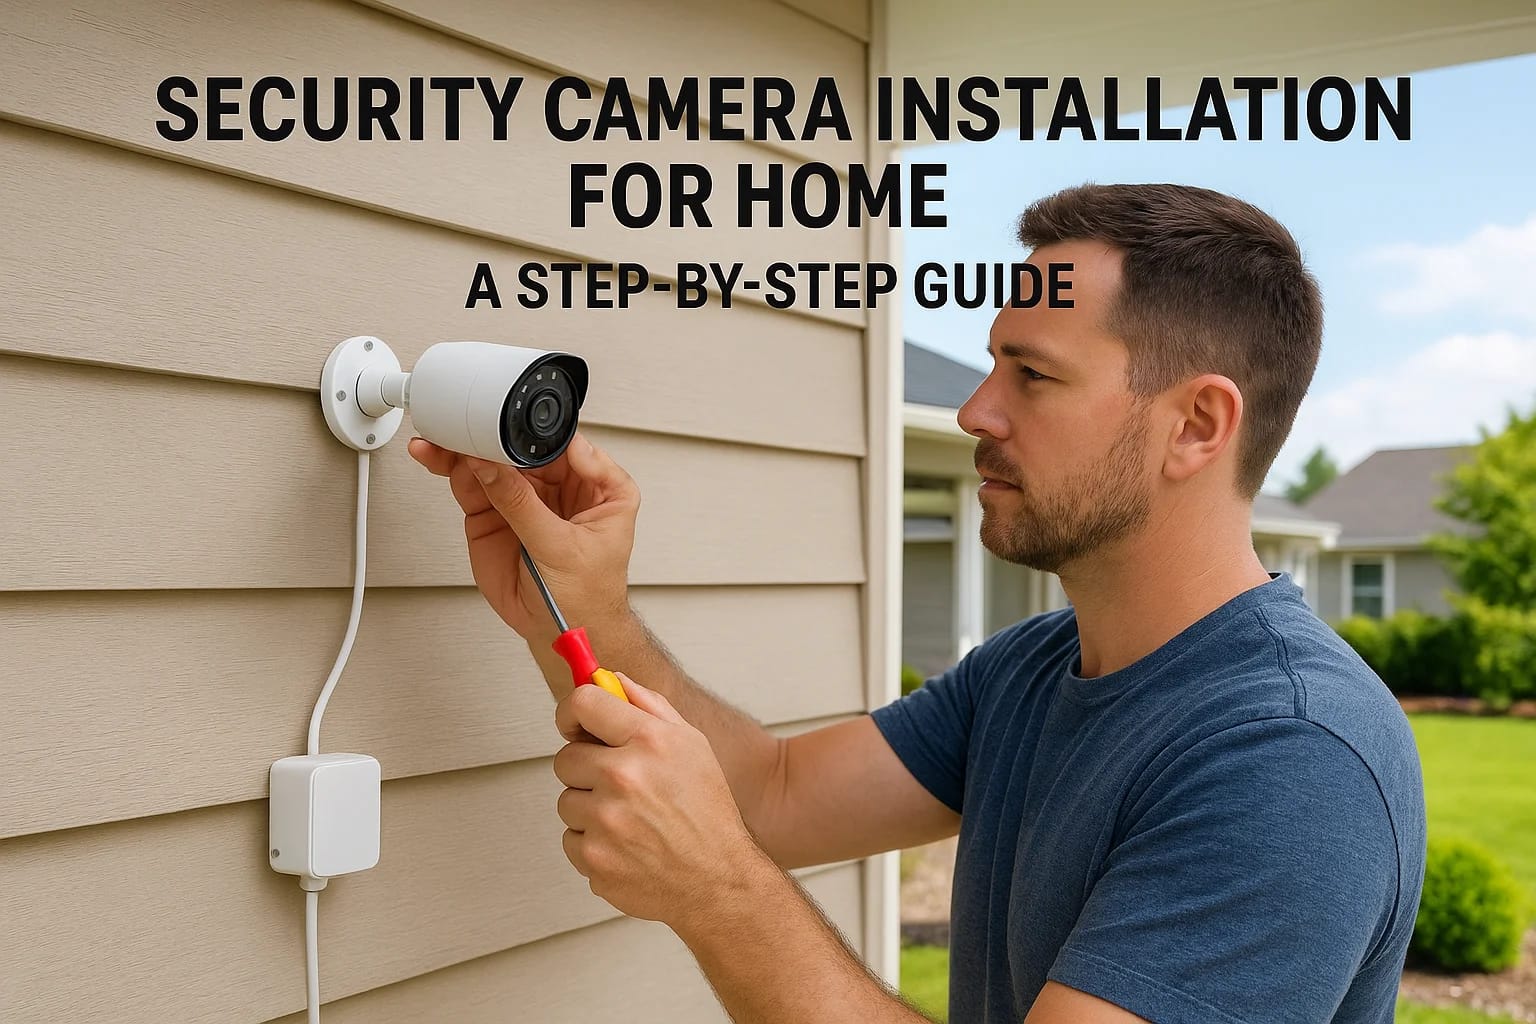

You bought a set of cameras, and now you're staring at a box wondering where to even start. Security camera installation for home projects trip up a lot of homeowners not because the hardware is compl...
You bought a set of cameras, and now you're staring at a box wondering where to even start. Security camera installation for home projects trip up a lot of homeowners not because the hardware is complicated, but because placement, wiring, and network setup all need to work together, and most guides skip straight past the details that actually matter.
This guide walks you through the real process: where to mount cameras for the best coverage, how to decide between wired and wireless setups, camera pricing for Treasure Valley homes once you factor in cables, mounts, and storage, and how to avoid blind spots that make expensive cameras useless. You'll also get practical surveillance camera installation tips on running cable through walls, weatherproofing outdoor units, and connecting everything to your Wi-Fi without tanking your bandwidth.
We've installed enough systems here in the Treasure Valley to know where DIY jobs go sideways, and where a security camera system installation actually saves you money by doing it right the first time. If your project turns out bigger than expected, our Meridian camera installers are a call away.
What to know before installing a home security camera system
Before you drill a single hole, spend twenty minutes on planning. A rushed security camera installation for home setups almost always ends with a camera aimed at a tree instead of your driveway, or a system that eats your entire home Wi-Fi bandwidth by 9pm. Getting the groundwork right saves you from remounting hardware later.
Check local rules and neighbor etiquette
Idaho doesn't require a permit for exterior residential cameras, but many HOAs in the Treasure Valley do have rules about camera placement, especially anything pointed at a shared driveway or a neighbor's yard. Audio recording adds another layer: Idaho is a one-party consent state, so you can record conversations you're part of, but a camera that captures audio from a neighbor's porch conversation without their knowledge can create real legal exposure. Point cameras at your own property line, not past it, and you'll avoid most disputes before they start.
A camera pointed at your neighbor's window causes more problems than the burglar you're trying to catch.
Decide between wired, wireless, and hybrid systems
This is the decision that shapes everything else in your home security camera system installation, so it's worth comparing wired and wireless cameras side by side first. Wired PoE (Power over Ethernet) cameras run one cable for both power and data, give you the most reliable footage, and never drop frames during a Wi-Fi hiccup. Wireless cameras install faster and work well for renters or anyone who doesn't want to run cable through finished walls, but they depend entirely on your router's range and battery life.
| Factor | Wired (PoE) | Wireless (Wi-Fi) |
|---|---|---|
| Reliability | Very high, no dropped connections | Depends on signal strength |
| Install difficulty | Higher, needs cable runs | Lower, mostly plug and mount |
| Power source | Single Ethernet cable | Battery or plug-in adapter |
| Best for | New builds, permanent installs | Renters, quick upgrades |
| Ongoing cost | Lower (no subscription needed) | Often requires cloud subscription |
Plan your storage before you buy anything
Every camera you install needs somewhere to send footage. Cloud storage costs $3 to $15 per camera per month depending on the brand and how many days of history you keep. Local storage, either an SD card in the camera or a network video recorder (NVR) at your router, has no monthly fee but means you're responsible for the hardware and for backing it up if a drive fails. If you're installing more than four cameras, an NVR usually pays for itself within a year compared to stacking cloud subscriptions.
Check your network capacity
Each 1080p camera streaming continuously uses roughly 1 to 2 Mbps of upload bandwidth, and a 4K camera can use four times that. Add up your planned camera count before you commit to a plan, and check your internet provider's upload speed, not just download, since that's the number that matters for cameras sending footage out. A cheap fix that a lot of installers skip: put your cameras on their own Wi-Fi network or VLAN so a firmware hiccup on one device doesn't slow down your laptop or your kids' video calls.
Gather your tools and materials
Have these ready before you start mounting anything:
- Drill with masonry and wood bits
- Stud finder
- Cable fish tape (for wired runs)
- Weatherproof cable connectors for outdoor runs
- Ladder rated for your eave height
- Silicone caulk for sealing exterior mounting holes
- Label maker or tape for marking cable runs at both ends
Most DIY installs stall out at the wiring stage, not the mounting stage. If you're already unsure how you'll route cable from the attic to an exterior soffit, that's usually the sign to bring in a surveillance camera installation professional rather than opening walls you can't easily patch.
Step 1. Choose the right cameras for your home
With your network and storage plan settled, the next decision is which cameras actually go on the wall, and it helps to look at the best home security camera systems before you shop. Not every camera on the shelf works for every location, and buying one style for your whole home security camera system installation usually leaves you with either overkill on the porch or a blurry mess covering the driveway. Match the camera to the job it needs to do, and you'll spend less money overall.
Match resolution to distance, not marketing claims
A camera's resolution only matters if it's high enough to identify a face or a license plate at the distance you're actually monitoring. 4K resolution is worth the extra bandwidth for a driveway or street-facing camera where you need to zoom in on plates later, but it's wasted on a camera pointed at your front porch from six feet away.
| Distance to subject | Minimum recommended resolution | Good use case |
|---|---|---|
| Under 15 feet | 1080p | Front door, porch |
| 15 to 40 feet | 2K | Backyard, side yard |
| Over 40 feet | 4K | Driveway, street view |
Buy resolution for the distance you're covering, not for the number on the box.
Pick indoor, outdoor, or weatherproof-rated units correctly
Outdoor cameras need an IP65 rating at minimum to survive Idaho's temperature swings, from summer heat in the garage to freezing overhangs in January, so start with top-rated outdoor cameras for home security. Indoor cameras cost less and often include better microphones since they don't need weatherproof housings, so understand how indoor and outdoor cameras differ and don't pay outdoor prices for a camera watching your living room. Check the operating temperature range too. Some budget cameras stop functioning correctly below 14°F, which matters if you're mounting one on an unheated eave.
Decide which smart features are worth the extra cost
Modern cameras pack in features that sound useful but aren't all worth paying for. Person detection, which distinguishes a human from a swaying tree branch or a passing car, cuts false alerts dramatically and is worth prioritizing over gimmicks like color night vision. Two-way audio is genuinely useful on a front door camera for talking to delivery drivers, but it's rarely needed on a backyard unit. If you're overwhelmed by the options, our team walks Treasure Valley homeowners through custom-designed camera systems built around the cameras your specific layout actually needs, rather than whatever bundle a big-box store is pushing that week.
Once you've settled on camera types, resist the urge to buy identical units for every location. A mixed setup, wide-angle for the backyard and a narrower zoom lens for the driveway, gives you better coverage than five identical cameras spread thin across your property.
Step 2. Map out the best camera placement
Grab a notepad and walk your property before you pick up a drill. Camera placement decides whether your footage actually shows a face at your door or just a blurry shape crossing the yard, and no amount of resolution fixes a bad angle. Walk the perimeter first, then walk the interior, and mark every entry point on a rough sketch of your lot.
Prioritize entry points over open space
Burglars use doors and windows, not the middle of your lawn, so aim your first cameras at the spots that deserve coverage around a Treasure Valley home. Cover the front door, back door, and any garage or side entry before you worry about a wide shot of the whole yard. A driveway camera catches vehicles and delivery activity, which matters for package theft, but it shouldn't come at the expense of a clear shot of your actual entry points.
- Front door and porch
- Back door and any side entrances
- Garage door and driveway
- Ground-floor windows, especially ones hidden by landscaping
- Detached structures like sheds or shops with valuables inside
Get the height and angle right
Mounting height changes what a camera can actually capture, and these proven outdoor camera placement rules keep you from guessing. Too high, and you get a bird's-eye view of the top of someone's head, useless for identification. Too low, and vandals can knock the camera down or spray-paint the lens.
| Location | Recommended height | Angle |
|---|---|---|
| Front door | 8 to 9 feet | Slight downward tilt |
| Driveway | 9 to 10 feet | Angled to catch plates |
| Backyard | 8 to 10 feet | Wide angle, overlapping coverage |
Height without the right angle just gives you a clear picture of nothing useful.
Check for blind spots and glare before you commit
Hold each camera up at its planned mounting spot and check the live preview on your phone before drilling anything permanent. Overlapping coverage between two cameras closes the gaps that a single wide-angle unit always leaves near fences, gates, and corners of the house. Sunlight and porch lights cause glare that washes out night footage, so avoid pointing a lens directly at a light source or into the path of the rising or setting sun. These are the kind of surveillance camera installation tips that separate a system that actually helps you identify someone from one that just records timestamps.
Once your sketch has every camera marked with height, angle, and a rough coverage cone, you're ready to move from planning to mounting.
Step 3. Mount and wire your cameras
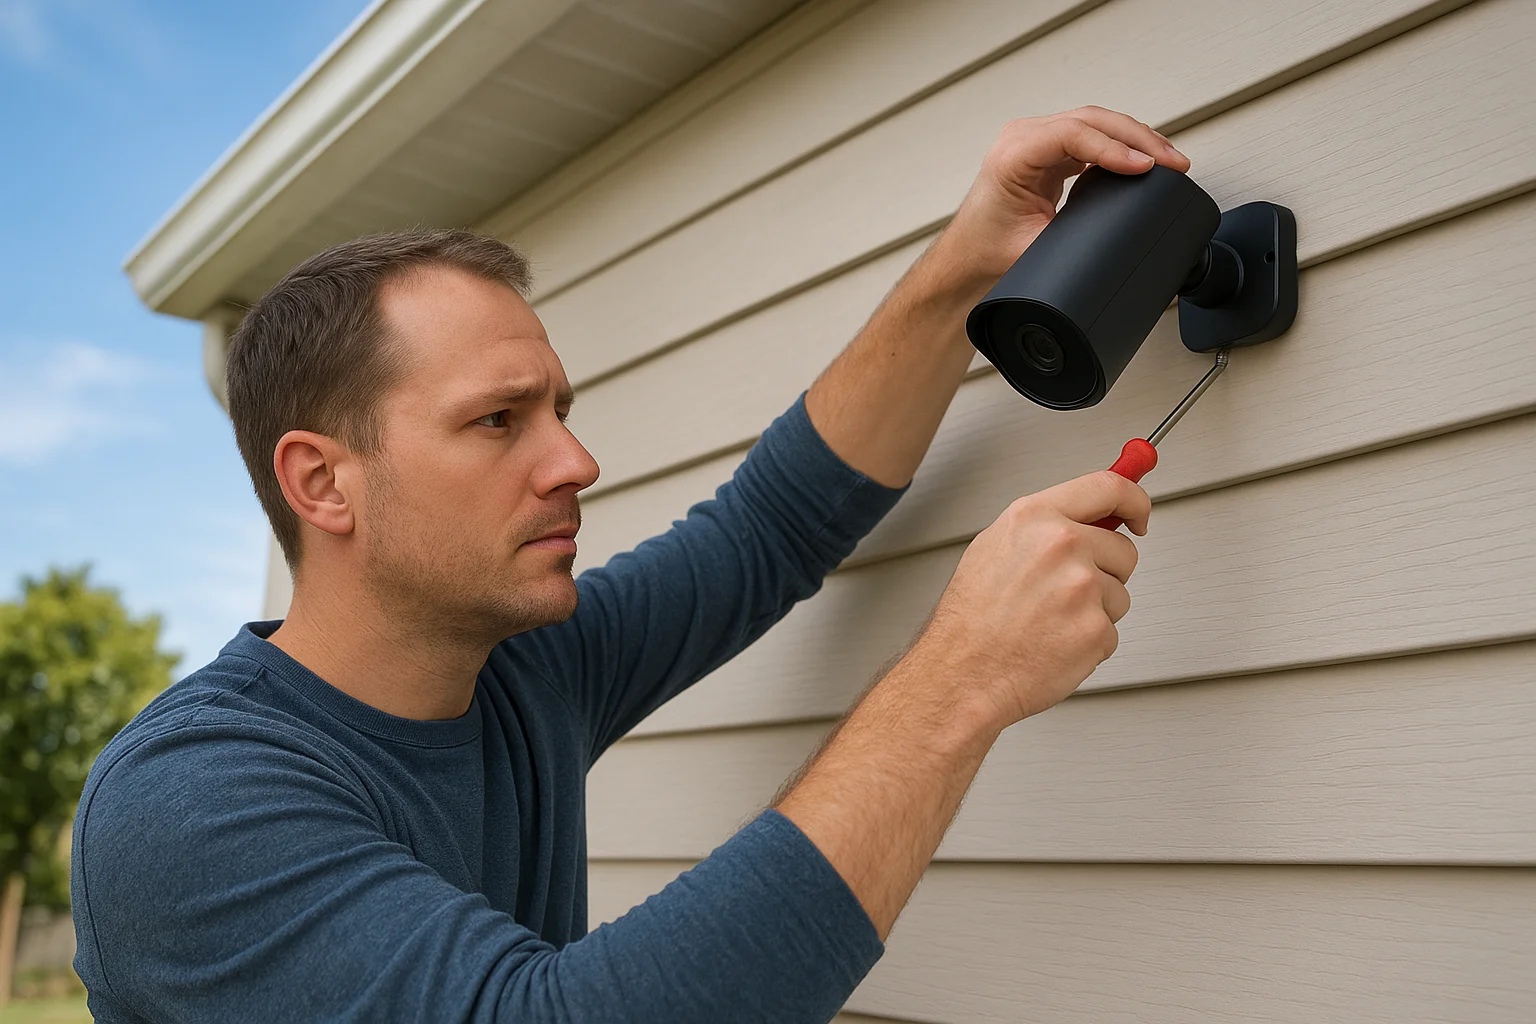
Drilling day arrives once your sketch is done, and this is where camera placement turns into permanent holes in siding or drywall. Start with the mount, not the camera body, since most brackets let you adjust the angle after the base is screwed in, which saves you from redrilling if your first guess is off by a few degrees. Use the stud finder before you commit to a masonry bit, because hitting a stud gives you a far stronger anchor point than a hollow-wall toggle bolt ever will.
Route cable before you seal anything
For a wired security camera system installation, run cable before you finish mounting the camera itself, the same order we use in our full camera install walkthrough. Fish tape works well for pulling Ethernet from an attic down through an exterior wall to a soffit-mounted camera, and feeding a weighted string down first makes threading the actual cable much easier. Leave three to four extra feet of slack at both ends. You'll need it for reterminating connectors if a cable gets nicked or if you relocate a camera later.
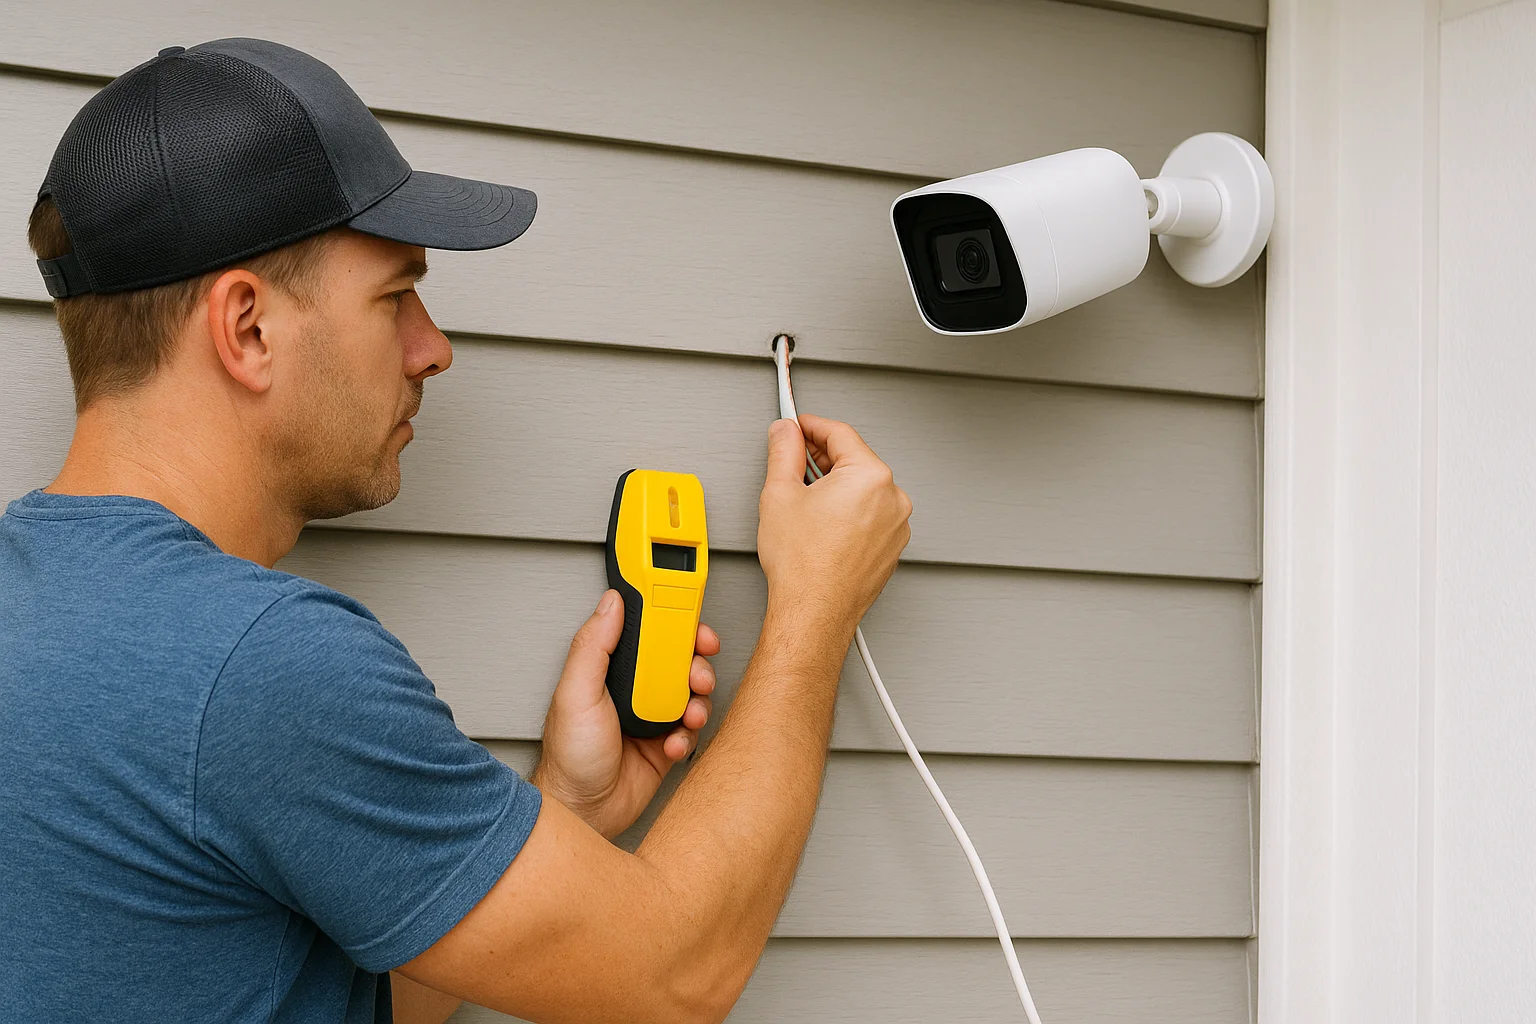
A cable pulled too tight today becomes a cable you're replacing next year.
Weatherproof every outdoor connection
Exterior cable runs fail almost exclusively at the connectors, not along the cable itself. Use weatherproof RJ45 connectors or a purpose-built junction box anywhere a cable exits a wall, and seal every mounting hole with silicone caulk before you attach the camera bracket over it. Skipping this step is the single most common mistake we see on DIY jobs around the Treasure Valley, usually showing up as a dead camera after the first hard freeze once moisture works its way into a connector.
Mount the camera and dress the cable
Once the cable is pulled and sealed, attach the camera body to the bracket and tighten it enough to resist wind without stripping the mounting screws. Dress any exposed cable along the wall with cable clips spaced every 12 to 18 inches so it doesn't sag or flap in wind, which both looks cleaner and prevents strain on the connector over time.
- Confirm the mount is level before final tightening
- Route cable along trim or corners where possible to hide it
- Label both ends of every cable run as you go
- Recheck the camera's field of view once fully mounted, since final tightening sometimes shifts the angle slightly
With hardware physically in place, the next step is getting each camera talking to your network.
Step 4. Connect your cameras to Wi-Fi and the app
Getting a camera physically mounted is only half the job. Now you need it talking to your phone, and this is where a lot of wireless installs stall out because of a weak signal or a router that won't hand off the connection cleanly. Download the manufacturer's app before you power on a single camera, since most setups require you to create an account and scan a QR code during the initial pairing sequence, and it pays to know which camera apps are actually worth using.
Set up a dedicated network for your cameras
Running your cameras on a separate Wi-Fi network or VLAN, rather than the same one as your laptops and phones, keeps a firmware glitch on one device from slowing down everything else in the house, which starts with setting up a home network that can handle cameras. Most modern routers support a guest network or IoT network you can dedicate to security devices. Name it something you'll recognize later, like "Cameras-2.4G," since most camera hardware only connects on the 2.4GHz band anyway, not the faster 5GHz band your other devices use.
Keep your cameras off your main network, and a bad firmware update never becomes a household internet outage.
Pair each camera through the app
Work through cameras one at a time rather than powering on all of them at once, since simultaneous pairing requests confuse some apps and cause failed connections. A typical pairing sequence looks like this:
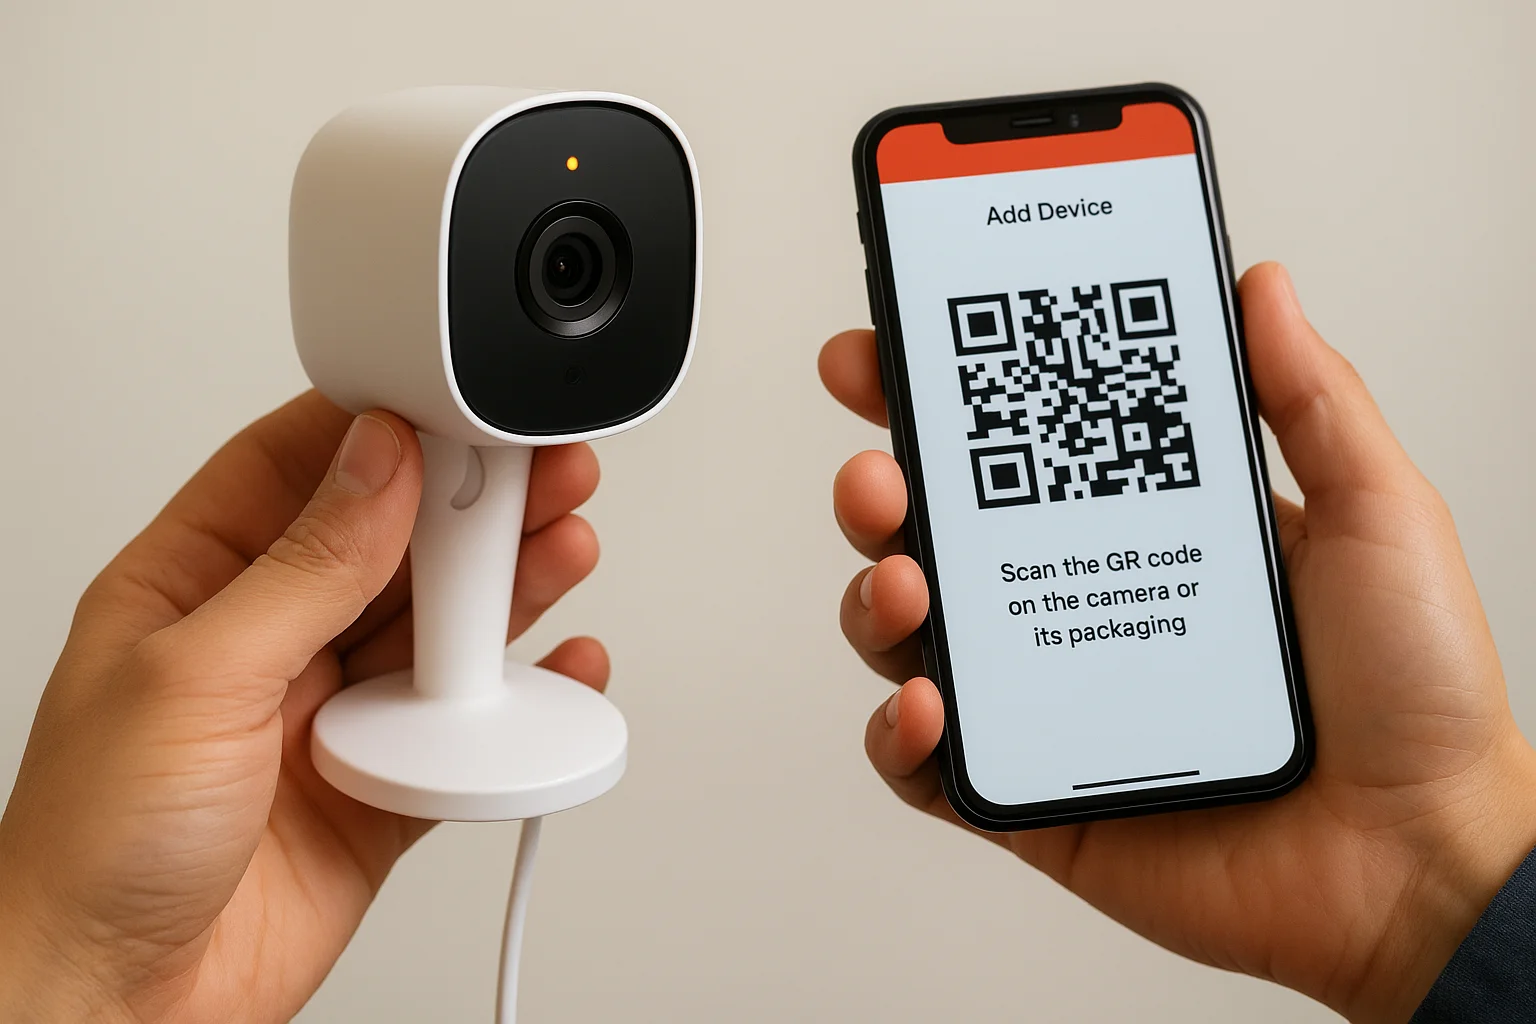
1. Power on the camera and wait for the LED status light to blink
2. Open the app and select "Add Device"
3. Scan the QR code on the camera or its packaging
4. Select your dedicated camera Wi-Fi network and enter the password
5. Wait for the app to confirm a stable connection
6. Rename the camera to match its location (Front Door, Driveway, etc.)
Naming cameras accurately matters more than it sounds. When you're scrubbing through footage at 11pm looking for a specific delivery, you don't want to guess which "Camera 3" covers your porch.
Confirm bandwidth and update firmware immediately
Once every camera connects, check your router's admin panel to confirm upload bandwidth isn't maxed out, especially if you're running four or more cameras at once. Update firmware on every camera right after pairing rather than waiting, since manufacturers regularly patch security vulnerabilities that matter far more on a device watching your front door than on most other smart home gear. Turn on automatic updates in the app if the option exists, so you're not manually checking each device every few weeks.
Step 5. Test, adjust, and maintain your system
Installing the hardware doesn't finish the job. Every security camera installation for home project needs a testing phase where you actually watch the footage under real conditions, not just the demo clip in the app. Walk your property at different times of day, check both the live view and the recorded clips, and confirm every camera captures what you planned for during Step 2.
Test day and night footage separately
Daytime footage almost always looks fine, so the real test happens after dark. Review night vision clips for washout near porch lights and check whether motion triggers actually catch a person walking the full length of your driveway or only a few frames of them. Infrared range varies a lot between budget and mid-range cameras, often 15 to 30 feet, so confirm your camera's spec sheet matches the distance you're actually covering.
A camera that looks great at noon and useless at midnight isn't finished, it's half-installed.
Adjust motion zones and alert sensitivity
Most apps let you draw motion detection zones directly on the camera's field of view, and this single adjustment cuts false alerts more than any other setting. Set zones to exclude the street, a neighbor's driveway, or a tree branch that sways in the wind, and keep the zone tight around your own walkways and entry points. Push notifications that fire every time a car passes on the road get ignored fast, and an ignored alert defeats the entire point of the system.
Build a recurring maintenance schedule
Seasonal changes shift what your cameras see, so plan a quick check every few months rather than assuming a one-time setup holds forever. Growing landscaping blocks lenses gradually, and summer sun angles differ enough from winter that a camera aimed perfectly in June can glare out every afternoon by December.
- Wipe camera lenses every 60 to 90 days, sooner if you're near dust or pollen-heavy trees
- Check firmware updates monthly and apply them promptly
- Re-test night vision each fall as daylight hours shrink
- Trim landscaping that's crept into a camera's field of view
- Verify local or cloud storage still has room and isn't silently overwriting older footage you actually need
Treat this surveillance camera installation as a living system, not a one-day project. A quarter-hour check every few months keeps footage sharp and alerts useful, which is the difference between a system that catches something and one that just sits there recording nothing worth reviewing.
Living with a smarter, safer home
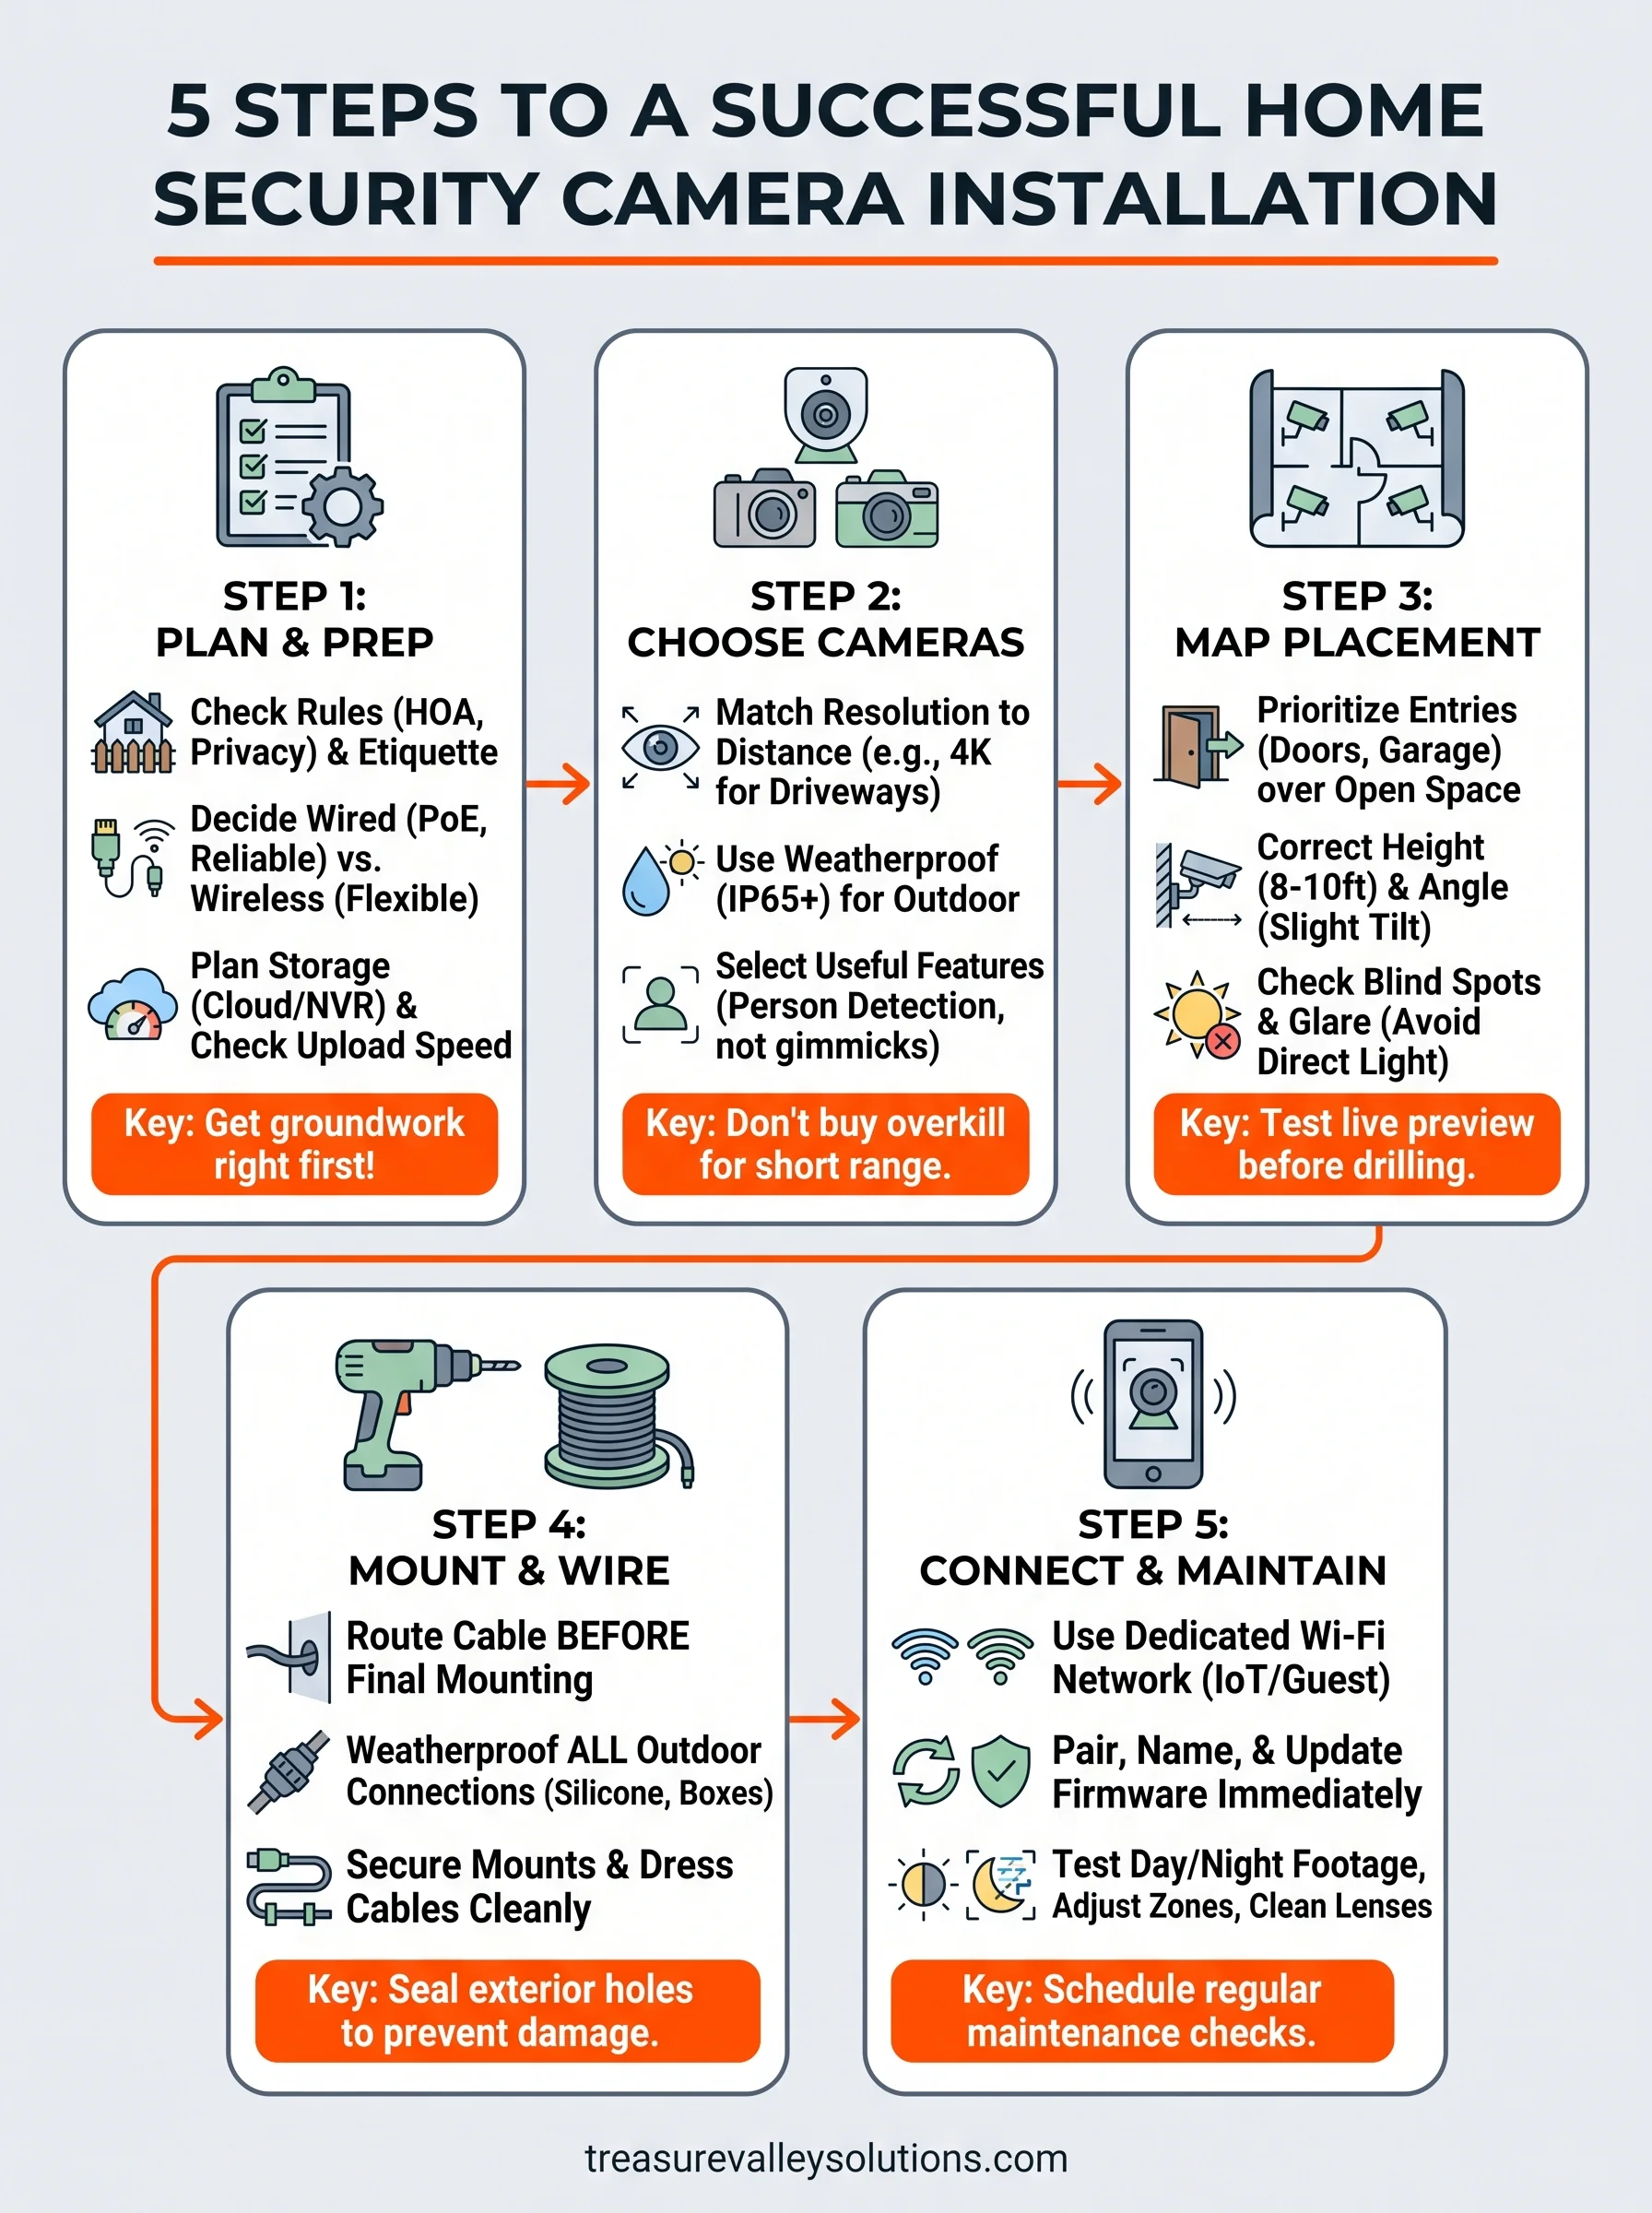
A good security camera installation for home setup comes down to five decisions done in order: pick the right cameras, map placement before you drill, wire and mount cleanly, connect everything to a network built for it, and keep testing long after install day. Skip a step, and you end up with expensive hardware pointed at the wrong tree.
Most DIY installs we see fail at wiring or network setup, not camera selection. If you get partway through your own project and hit a wall, whether that's fishing cable through a finished attic or fighting a router that won't cooperate, you don't have to finish it alone. We've handled enough of these across the Treasure Valley to know exactly where they go wrong, and we'd rather fix it once than watch you patch drywall twice.
Take a look at examples of our work to see what a properly finished system looks like, then get a free estimate from our Treasure Valley installers when you're ready for it done right.
Need Expert Help?
Ready to implement these solutions in your own home or business?
Our Services
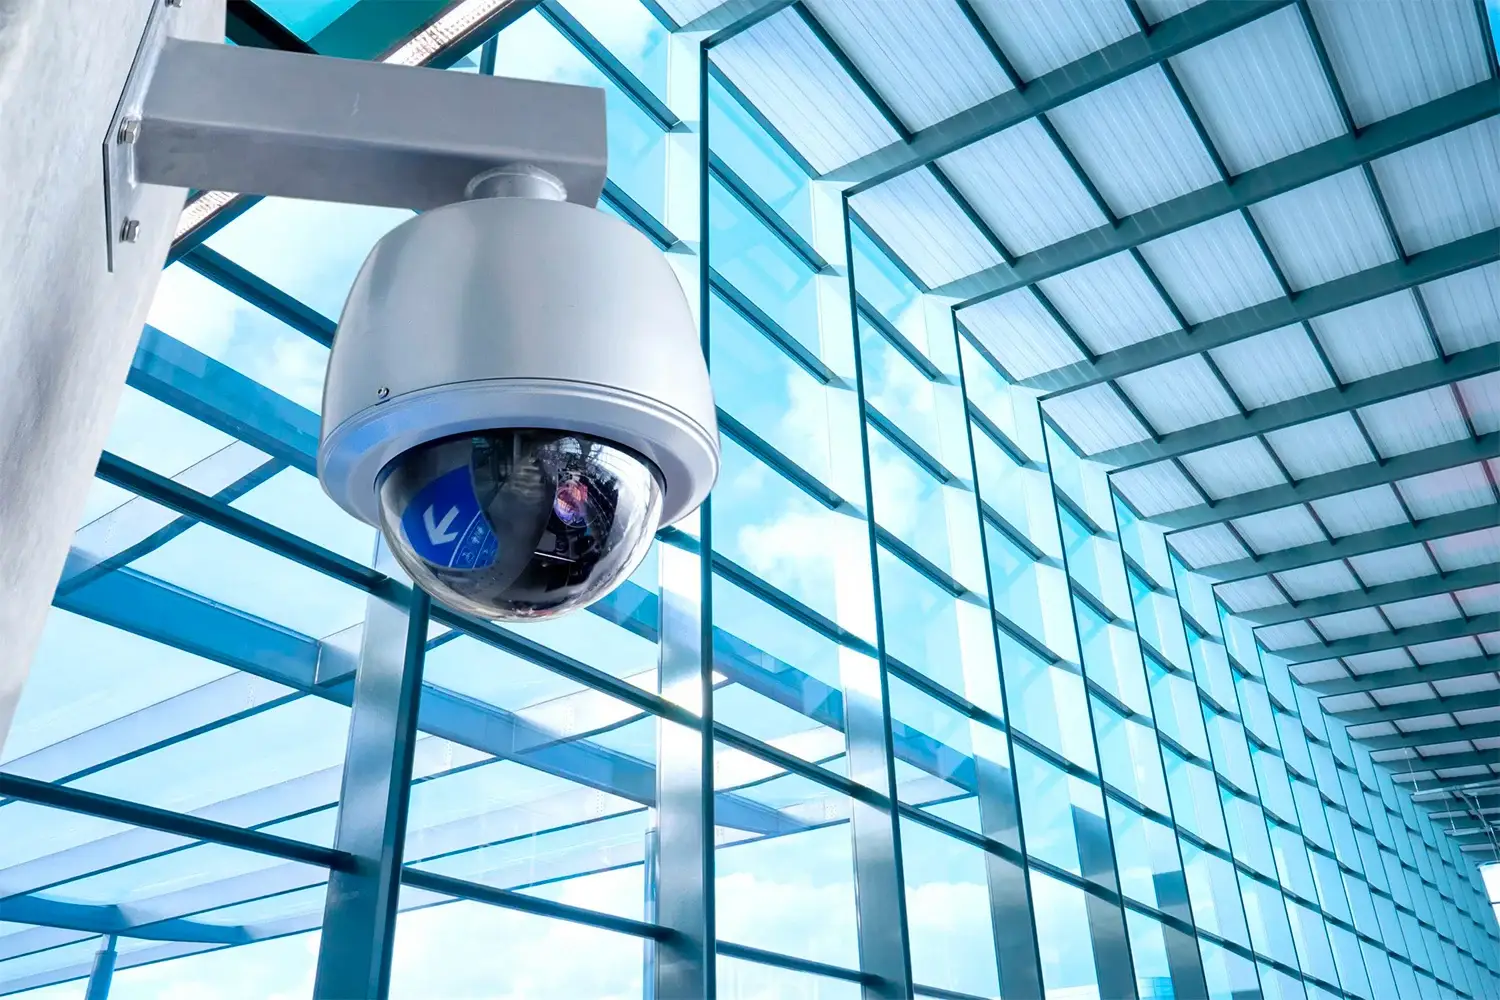
High-definition surveillance for peace of mind.
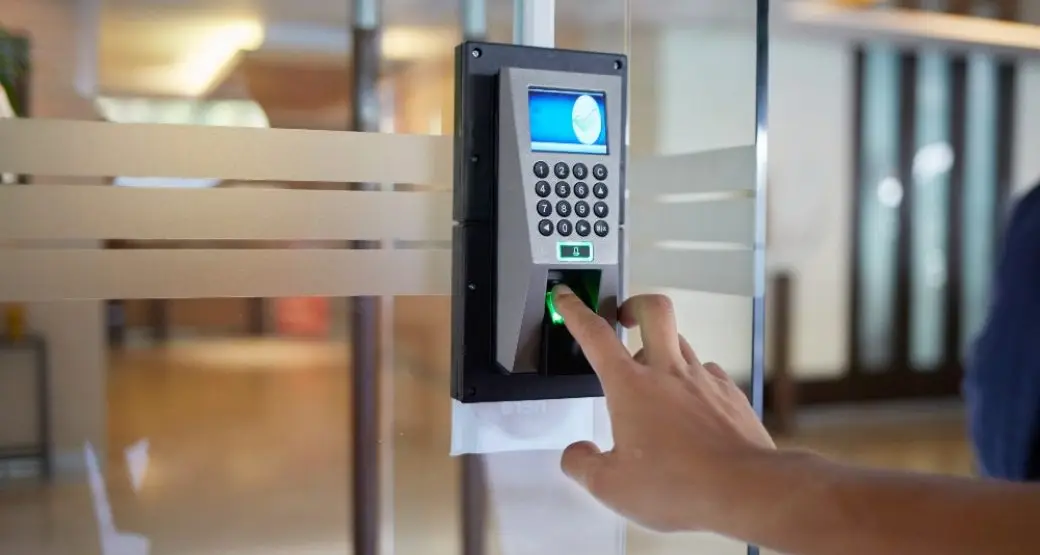
Comprehensive security solutions for home and business.
Serving the Treasure Valley
Local installation in your city