 (208) 991-3502
 Meridian, ID



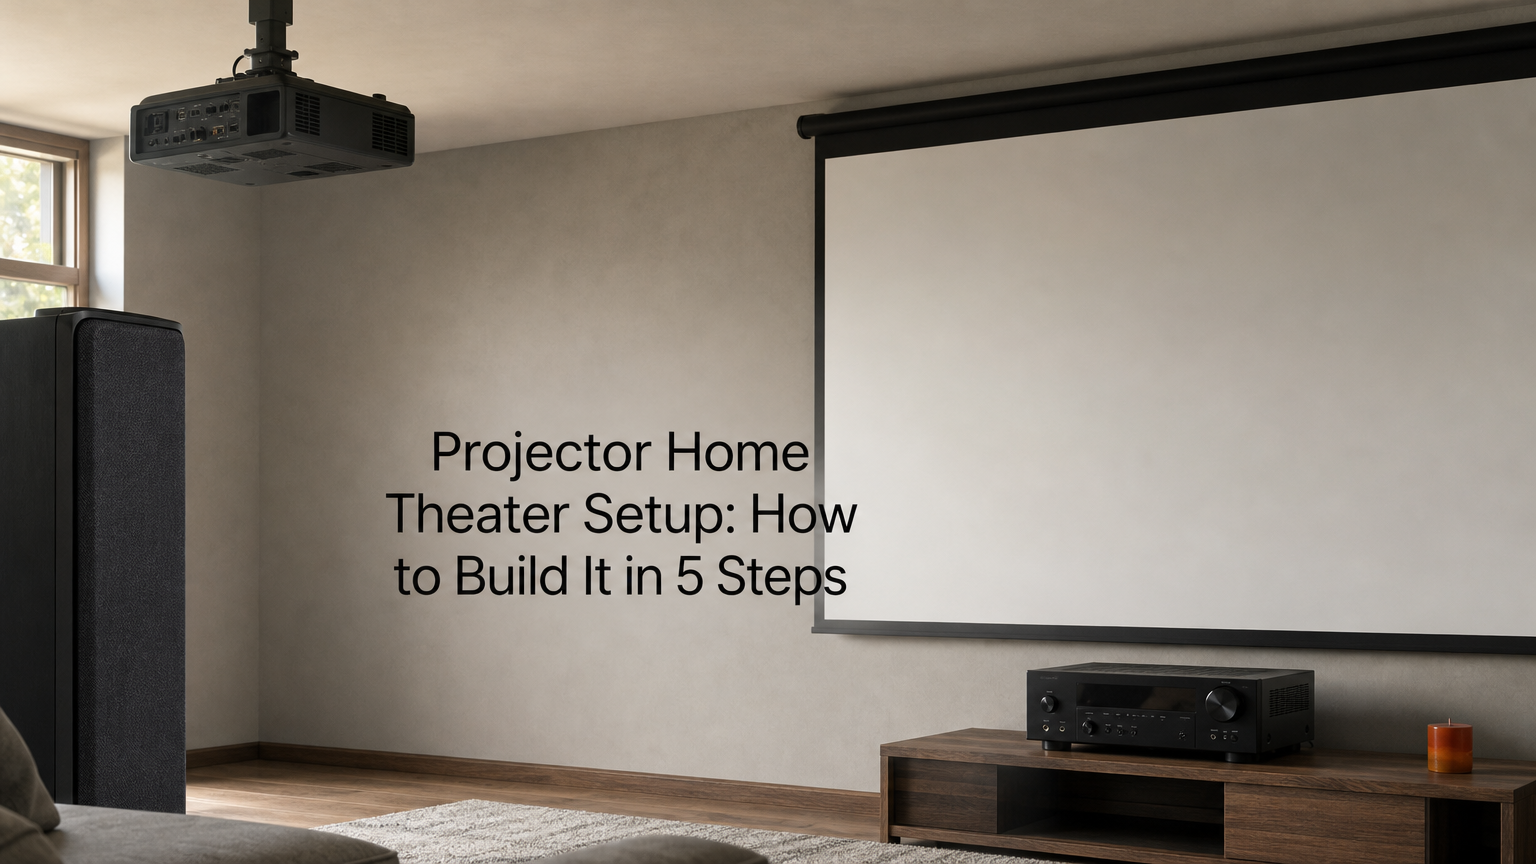

A projector home theater setup works when you do it in the right order. Control the light in the room, pick the screen size from your seating distance, place the projector using its throw ratio, run e...
A projector home theater setup works when you do it in the right order. Control the light in the room, pick the screen size from your seating distance, place the projector using its throw ratio, run every source through one receiver, then add speakers and calibrate. Do it in that order and the projector fits the room. Do it backward and you spend weeks forcing the room to fit the projector.
Most setups go wrong because people start with the projector. They buy it, hang it, and then find the image lands two feet past the screen edge. The blacks look gray from window light. The projector has two HDMI ports for five devices. Each of those problems is cheap to fix on paper and expensive to fix after the ceiling is closed.
This guide covers the whole job in four steps: planning the room, sizing the screen and finding the projector position, mounting and connecting, and adding sound. Treasure Valley Solutions designs, prewires and installs home theaters across Idaho's Treasure Valley. The math works the same in a dedicated basement theater or a bedroom.
Before you buy anything: the parts and the order
A projector theater needs five parts, and you should settle them in a fixed order: room first, then screen, projector, sources and sound. Jumping straight to the projector is the most common mistake, because the projector is the part everyone enjoys shopping for.
The five parts and what each one decides
Every part constrains the next one. The table shows what each part does and the spec that matters most when you choose it.
| Part | Its job | What to check |
|---|---|---|
| Projector | Creates the image | Throw ratio, lens shift, brightness, HDMI inputs |
| Screen | Reflects the image to your seats | Diagonal size, 16:9 shape, surface type |
| Mount or shelf | Holds the projector at the right spot | Structure, power outlet, cable path |
| Receiver or soundbar | Switches sources and drives the audio | HDMI 2.1 inputs, power per channel |
| Speakers | Carry dialogue, effects and bass | Layout, placement, room size |
Can a projector replace a TV?
A projector replaces a TV when you can darken the room and want a picture of 100 inches or more. That is the common size range for home projectors. A TV is still the better tool in a bright room used all day, because a projected black is only as dark as the screen looks under your room lighting.
Many homes keep a TV in the main living space and put the projector in a basement, bonus room or bedroom. Light is easier to control there, and a small room needs less brightness from the projector than a big one.
Why the order matters
Screen size comes from how far your seats sit from the wall. Throw distance comes from the screen width. The projector you can use comes from the throw distance you have. That chain is the reason a home theater projector setup starts with the room and ends with the hardware.
Choose the screen first, then buy the projector that can fill it from where you can actually put it.
Step 1. Plan the room and control the light
Start with a floor sketch and a light plan. The room should be as dark as you can make it, and you should fix the screen wall, seats, projector spot and cable route on paper before anyone drills a hole.
Sketch the layout
Draw the room to scale and place the screen on the wall your main seats face. Then draw a line from the center of the screen straight back to the rear wall. The projector ideally sits somewhere along that line, either on the ceiling or on a shelf behind the seats.
Mark these items on the sketch:
- The screen wall and its centerline
- Every seat position and the number of rows
- The projector location and the nearest power outlet
- Windows, glass doors and any lights that can reach the screen
- Where the receiver and sources will live, and the route from there to the projector
Control the light
Front projection is made for dark rooms, so light control matters more than a brighter projector. Fit blackout shades or drapes on every window. Sunsets in the Treasure Valley run past 9 p.m. in midsummer, so daytime shades earn their cost.
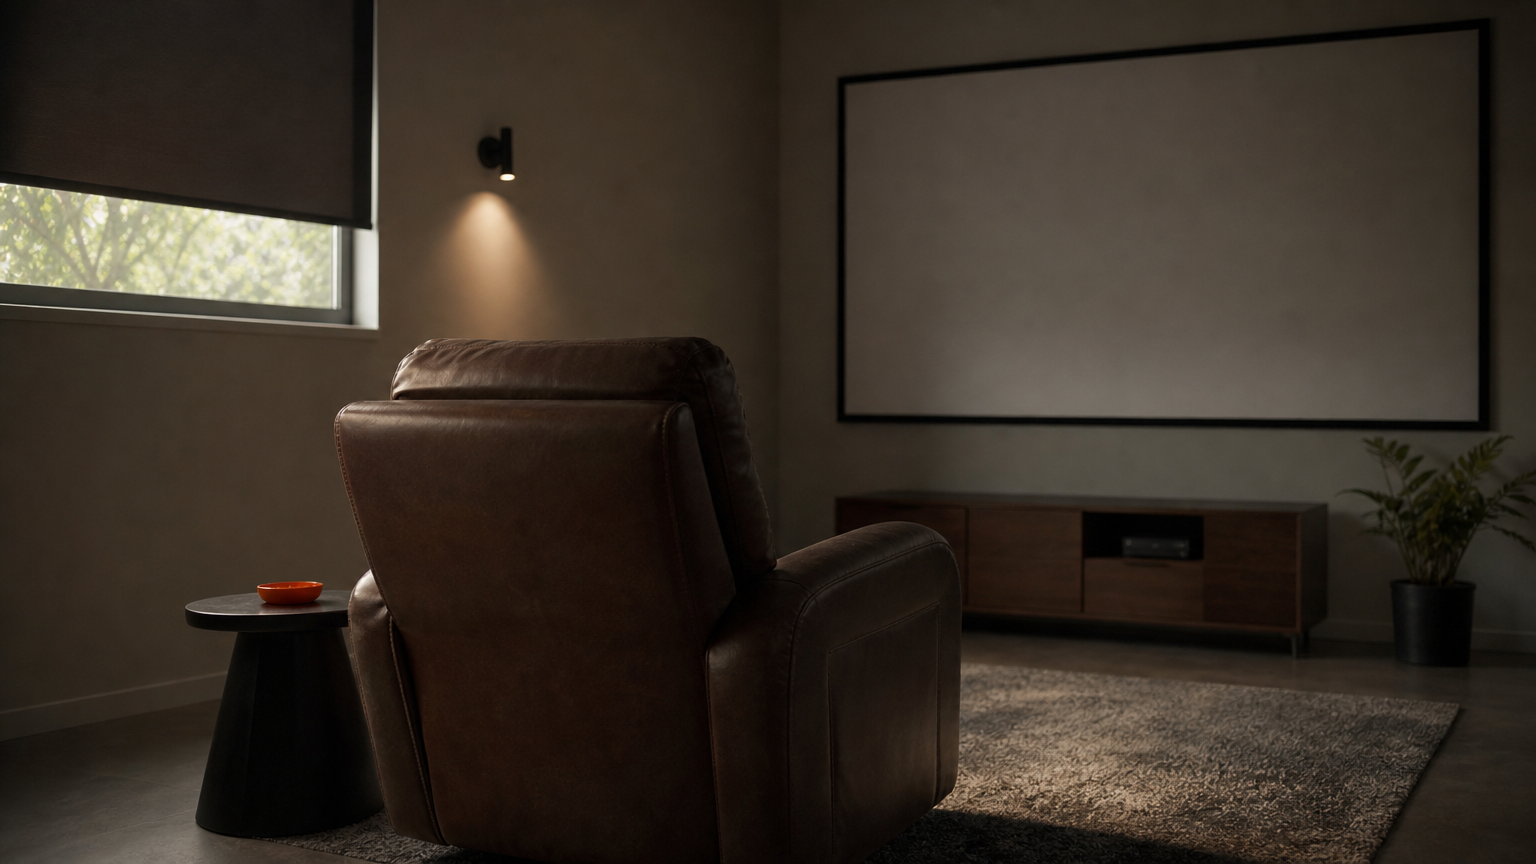
Inside the room, use dimmers and small directional lights along the side walls. Avoid lights at the back of the room or anywhere that can shine on the screen. Test it before you finish: with the projector off, set the lights to your normal movie level. The blacks in the image will only be as black as the screen looks right now.
Walls and ceiling matter too. Light surfaces bounce the bright parts of the picture around the room and wash out the dark parts. Dark paint on the walls and ceiling and a dark floor covering keep the blacks deeper. If you cannot get the room dark, an ambient light rejecting screen can help, but it costs more and works best when the projector position matches what the screen was designed for.
Plan power and cable paths now
If you mount the projector on the ceiling, you need power and a video cable up there, and you need a clear light path to the whole screen. Walls and ceilings are open to easy work only once. This is the moment to run an empty conduit or pull string alongside the HDMI run, so a future cable change does not mean opening drywall. This kind of prewiring is the work our low voltage wiring crews do on new builds and retrofits.
Fix the screen wall, seats, projector spot and cable route on paper before anything gets drilled.
Step 2. Size the screen and find the projector spot
Choose the screen diagonal from your seating distance, then use the screen width and the projector's throw ratio to find where the projector must sit. These two calculations decide which projectors can work in your room.
Choose the screen size
Two rules of thumb give you a range. The THX recommendation for an ideal screen is a diagonal of about 0.84 times the viewing distance. The SMPTE minimum is 0.6 times the viewing distance. Both assume a 16:9 screen, the standard shape for HD and 4K video. Those figures come from the 1080p era, and with a sharp 4K projector many people sit a little closer.
A 12 foot seating distance is 144 inches. At 0.84, that suggests a 121 inch screen, so a 120 inch screen fits. At 0.6, the smallest acceptable screen is 86 inches. Use the table to match a screen to your distance.
| Screen diagonal | Width | Height | THX ideal seat distance | Farthest seat at SMPTE minimum |
|---|---|---|---|---|
| 100 in | 87 in | 49 in | 9.9 ft | 13.9 ft |
| 110 in | 96 in | 54 in | 10.9 ft | 15.3 ft |
| 120 in | 105 in | 59 in | 11.9 ft | 16.7 ft |
| 135 in | 118 in | 66 in | 13.4 ft | 18.8 ft |
| 150 in | 131 in | 74 in | 14.9 ft | 20.8 ft |
You may also see a "4-6-8 rule" quoted for projector screens. It is a presentation guideline that caps how many screen heights back the farthest viewer can sit, depending on how much detail they must read. Movies fall in the most relaxed category, and a home theater sits well inside it.
Calculate the throw distance
Projector distance equals the throw ratio times the screen width. The throw ratio is in the projector's spec sheet, often as a range because of the zoom lens. For a 120 inch screen, 105 inches wide, a projector with a 1.3 to 2.0 zoom range can sit anywhere from about 136 inches (11.3 ft) to 209 inches (17.4 ft) from the screen.
Now work the example backward. A rear shelf sits 12 feet, or 144 inches, from the screen. Divide 144 by 105 and you get a throw ratio of about 1.37, which falls inside that 1.3 to 2.0 range. That projector works. A projector with a fixed 2.0 ratio would need to sit 17 feet back, and it would not.
Most manufacturers offer a throw distance calculator on their website. Run your actual room numbers through it before you buy.
Set the height and the offset
Seat eye level is about 40 inches off the floor. Position the screen so that eye level lands about one third of the way up from the bottom edge. For a 120 inch screen, 59 inches tall, one third is almost 20 inches, so the bottom edge sits about 20 inches above the floor. You can shift this up or down to make room for a center speaker.
Then check the projector's vertical offset. A projector with a 116% offset and no lens shift, mounted on the ceiling, must put the lens center about 16% of the screen height above the top edge. That is 0.16 times 59, or roughly 9.4 inches. A projector with lens shift lets you move the image up, down and sideways without moving the projector, which is why it is worth paying for if your mounting spot is limited.
Distance equals throw ratio times screen width, and that single formula tells you which projectors fit your room.
Step 3. Mount the projector and connect your sources
Mount the projector at the calculated spot, square it to the screen with lens shift instead of keystone correction, then run every source through one receiver so the projector gets a single clean HDMI feed.
Mount and align the projector
Test the position before you drill. Set the projector on a ladder, tripod or stack of boxes at the calculated spot, power it on and confirm that the image fills the screen. Mark the spot only after that check passes.
Then mount it into solid structure with a mount rated for the projector's weight. Our Chief mount installation work starts by surveying the structure, the load and the screen geometry, and that is the right checklist for a DIY install too. After mounting, align the image in this order:
- Level the projector and keep the lens parallel to the screen.
- Set the zoom so the image fills the screen width.
- Use lens shift to center the image vertically and horizontally.
- Focus on small text near the center and then at the corners.
- Skip digital keystone unless there is no other choice.
Digital keystone corrects shape by processing the picture, which costs sharpness and can add artifacts. Fix geometry with the lens, not the menu.
Connect sources through a receiver
Most projectors have only one or two HDMI inputs, which is not enough once you add a streamer, a Blu-ray player and a game console. The clean solution is an AV receiver. Plug every source into the receiver, run one HDMI cable from the receiver output to the projector, and let the receiver switch inputs and drive the speakers. Buy a receiver with HDMI 2.1 inputs. If you game at 4K and 120 frames per second, confirm that the projector's input supports it too.

Cable length is where projector rooms get into trouble. A short passive HDMI cable works for runs up to about 15 feet at 4K. For longer runs to a ceiling or rear shelf, use an active optical HDMI cable or an HDBaseT extender. Anything that goes inside a wall or ceiling should be in-wall rated, CL2 or CL3. Our Vanco AV installation work picks distribution and extension gear by the real source format, cable distance and display, and that is the right way to decide on any long run.
One receiver, one HDMI cable to the projector, and the right cable type for the distance.
Step 4. Add speakers and calibrate the system
Pick a speaker layout that fits the room, place each pair so it forms an equal triangle with the main seat, then calibrate both sound and picture using real content. This step is where a projector room starts to feel like a theater.
Choose a layout and power
A soundbar suits a bedroom or small living space. A receiver with separate speakers suits a dedicated room. Speaker layouts are written as three numbers, such as 5.1.2. The first is ear-level speakers (left, right, center, two surrounds), the second is subwoofers, and the third is height speakers for Dolby Atmos.
Power should match the room. These Dolby figures are a sensible starting range for a receiver:
| Room size | Watts per channel |
|---|---|
| Under 200 sq ft | 50 to 100 |
| 200 to 500 sq ft | 80 to 150 |
| Over 500 sq ft | 100 to 150 minimum |
Place the speakers
The golden rule is that pairs of speakers should form triangles with the listener. Keep each pair equally distant from the main seat. The exact distance is flexible, but the symmetry is not. Put the center speaker directly above or below the screen so dialogue comes from the picture.
Place the surround speakers at the sides of the seats, and mount height speakers on the ceiling or use upward-firing models for Atmos. Put the subwoofer near the front, then play a bass-heavy track and try a few spots until the low end sounds even at your seat. If the room is part of a living area, a Surround Sound Installation can improve it without a full theater build.
Calibrate picture and sound
Run your receiver's automatic room correction with the microphone that comes in the box. It sets speaker distances and levels for you. Then check the picture. Switch the projector to a cinema or filmmaker style picture mode and set the room lights to your normal movie level before judging the blacks.
Finish by playing known test content with Dolby Vision or Dolby Atmos, if your gear supports it, and walk through every seat. Repeat the calibration whenever you move speakers or furniture.
Calibrate with the room lights at movie level and re-run it whenever the furniture moves.
Where to go from here
A good projector home theater setup comes down to a short sequence. Control the light, choose the screen from your seating distance, use throw ratio to place the projector, send every source through a receiver, and calibrate the speakers and picture. The decisions that cost the most to undo are the ceiling cable paths and the projector position, so settle those on paper first.
If you want a second set of eyes before you buy or drill, request a free on-site consultation with Treasure Valley Solutions. We design, prewire, install and calibrate theaters across the Treasure Valley.
Recent Google reviews
Read all reviews →“Great job!!”
“Amazing customer experience. They went above and beyond installing my 2 TVs on the wall and setting up my ring doorbell. Thier price was very very reasonable. Great experience, have used their service twice now.”
“Professional, on time and the team did an outstanding job! 100% would recommend and will use again.”