 (208) 991-3502
 Meridian, ID




A surround sound system test takes about 20 minutes and three kinds of playback. Run your receiver's built-in test tones, play a channel-ID clip over HDMI, then confirm with a real movie scene. At eac...
A surround sound system test takes about 20 minutes and three kinds of playback. Run your receiver's built-in test tones, play a channel-ID clip over HDMI, then confirm with a real movie scene. At each stage you check three things. Every speaker plays when it is named, it plays from the right spot in the room, and it plays at the same volume as the others.
The tricky part is that most shortcuts prove nothing. A browser test page or a laptop usually sends a stereo downmix, so you hear sound everywhere and still miss a swapped surround speaker, a silent center, or a subwoofer that never gets signal. Those faults can sit unnoticed for years. You just assume the movie mix sounds flat.
This guide covers what to prepare, four test steps for 5.1 and 7.1 layouts, and a fix list for each fault you might find. Treasure Valley Solutions designs, installs, and programs surround sound systems for homes in the Treasure Valley. The checks below are the ones that catch real wiring and setup mistakes.
What to set up before you test
Before you play anything, make sure your signal chain can carry more than two channels. A surround test cannot work around a stereo signal.
Why a browser test is not enough
Online 5.1 and 7.1 test pages are fine for a quick look. Browsers and phones typically output a stereo downmix, though, so the "rear" channels are just panned left and right. That cannot tell you whether your rear speakers are wired correctly. For a real check, the path must run source, HDMI, receiver, speakers. While content plays, confirm the receiver display shows Dolby Digital, DTS, or multichannel PCM, not "Stereo" or "PCM 2.0".
A surround test only counts if the receiver is decoding more than two channels.
What you need on hand
Gather a few things first, then sit in your main listening seat for every test, because that is where the system should sound right.
- A receiver or processor with a speaker setup menu and built-in test tone
- A source with HDMI output, such as a streaming box, Blu-ray player, game console, or a PC set to 5.1 output
- A free SPL meter app on your phone, which is approximate but good enough for matching channels
- Paper to note which speaker misbehaves
Know your layout
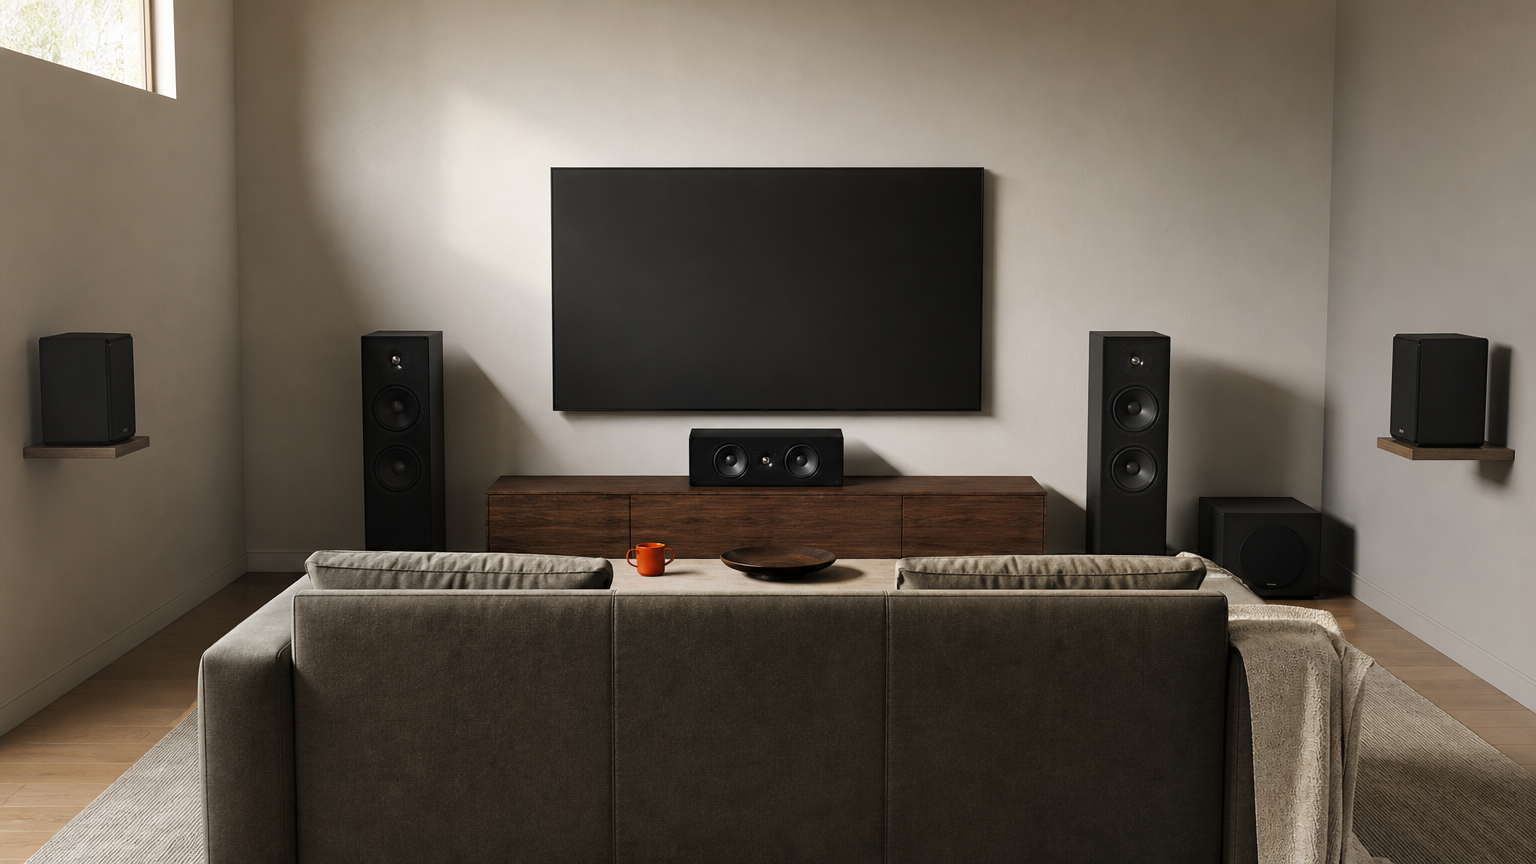
Front left and right speakers should form roughly a 60° angle at your seat, with the center on the screen axis. The table shows where the rest belong.
| Layout | Speakers | Where the surrounds go |
|---|---|---|
| 5.1 | Front left, center, front right, left surround, right surround, subwoofer | Slightly behind and beside the seat, 110-120° |
| 7.1 | The 5.1 set plus two rear surrounds | Sides at about 90°, rears at 135-150° |
Step 1. Run the receiver's built-in test tones
The built-in test tone is the most reliable surround sound test because it bypasses your player, your cables to the TV, and your streaming apps. It tests only the receiver and the speakers.
Cycle through each channel
Open the receiver's speaker setup menu and start the test tone. The name varies by brand, but it is usually "Test Tone" or "Speaker Check". The receiver plays pink noise (a hissing sound) through one speaker at a time, and the display names the active channel. Many receivers cycle in this order, but yours may differ, so trust the display.
| Order | Channel | What you should hear |
|---|---|---|
| 1 | Front left | Noise from the left front speaker only |
| 2 | Center | Noise from the speaker at the screen |
| 3 | Front right | Noise from the right front speaker only |
| 4 | Right surround (or side) | Noise from the right side or rear |
| 5 | Rear speakers (7.1 only) | Back right, then back left |
| 6 | Left surround (or side) | Noise from the left side or rear |
| 7 | Subwoofer | Deep rumble, no hiss |
Write down every mismatch. The display says "Right Surround" but sound comes from the left? You have found a swap.
If the display names one speaker and a different one makes noise, you have found a wiring or assignment fault.
Match the levels
Next, set the levels so every channel is equally loud at your seat. Aim for about 75 dB SPL, C-weighted with slow response if your app offers it. Phone microphones are not precise, but they are good at showing relative differences.
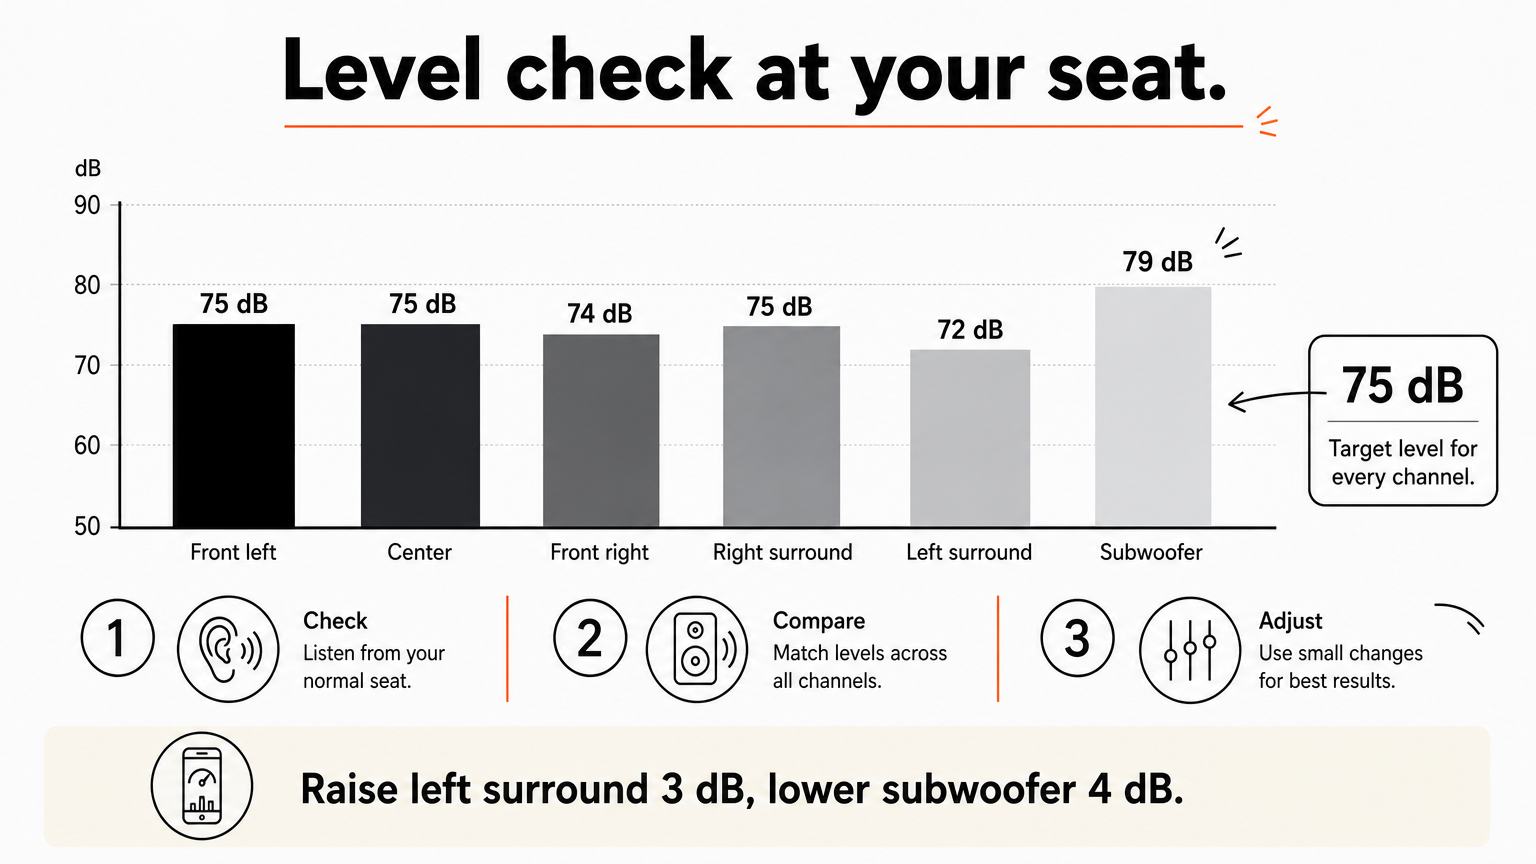
For example, suppose you read front left 75 dB, center 75, front right 74, right surround 75, left surround 72, and subwoofer 79. Raise front right by 1 dB, raise left surround by 3 dB, and lower the subwoofer by 4 dB in the channel level menu. Then run the tone again to confirm. Treat the subwoofer as a starting point, since many people fine-tune it by ear afterward.
Step 2. Play a channel-ID clip or test file
A channel-ID clip tests your whole chain, including the source, the HDMI link, and the decoding. A voice announces each channel, so you hear the problem without reading a display.
Choose a source that keeps 5.1 intact
Look for a clip or file labeled as a 5.1 or 7.1 channel check, ideally in Dolby Digital, DTS, or a lossless format. Avoid anything re-encoded to stereo. Play it from a device wired by HDMI to your receiver, such as a streaming box or Blu-ray player, and set that device's audio output to bitstream or multichannel PCM.
On a Windows PC, open the sound settings for your HDMI output and run the speaker configuration wizard. Choose 5.1 or 7.1, then use its Test button to play a tone from each speaker. The receiver display should show a multichannel format while the clip plays.
A voice that says "front left" must come from the front left speaker, or something in the chain is wrong.
Read the results
Check each of these while the clip plays:
- Each spoken channel name comes from that speaker and no other.
- The center voice sits at the screen, not spread across the front pair.
- Bass tones, often around 60 Hz, come through the subwoofer if your front speakers are small, or through the speakers themselves if they are full range.
- Missing or quiet sound on one channel only points to a speaker or wire problem, not to the file.
For a 7.1 test you need 7.1 content. A 5.1 clip leaves the rear speakers silent unless your receiver upmixes, so silence there is not necessarily a fault.
Step 3. Confirm with movie scenes and music
Test tones prove the plumbing. Real content proves the system sounds right, because a mix uses all channels together and moves sounds between them.
Scenes that expose surround problems
A good test scene has sounds that travel around the room, ambience behind you, and dialogue that stays on screen. The opening of Gravity and the Omaha Beach landing in Saving Private Ryan are common picks, and any action film with a strong surround mix works. Listen for three things. Effects should pass from front to back without a gap at the sides. Dialogue should stay anchored on the screen. Quiet ambient sounds, like wind or crowds, should surround you without calling attention to one speaker.
If a moving sound seems to vanish for a moment at your sides, the surrounds are too quiet or placed too far behind you.
For music, use a track mixed in true 5.1 rather than stereo music in a surround mode. Stereo music in a surround mode proves little about wiring.
Testing Dolby Atmos and height speakers
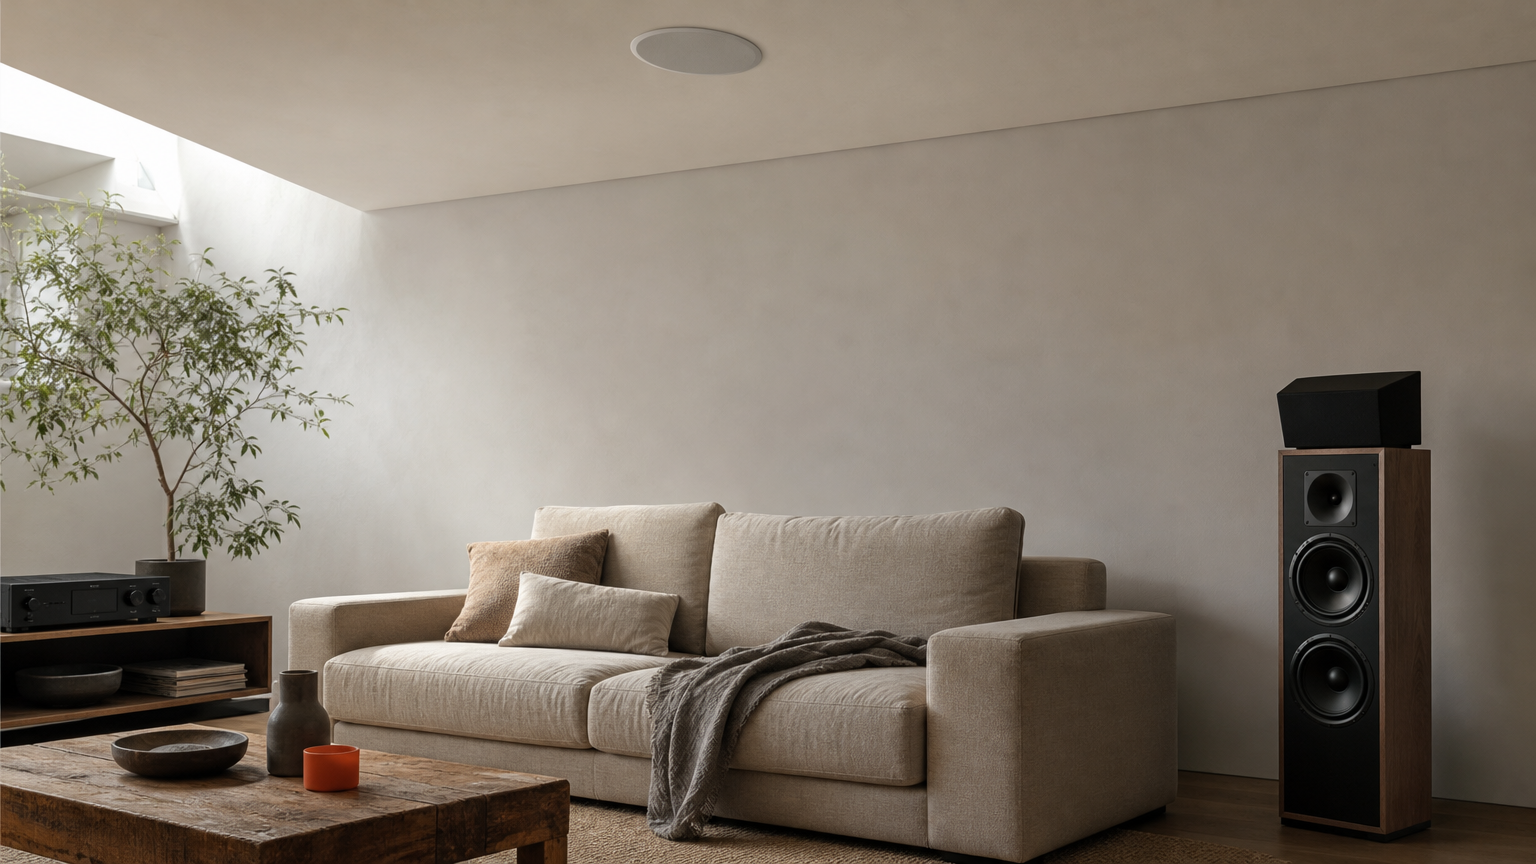
A Dolby Atmos test needs Atmos content, and the receiver display should show Atmos or a Dolby Atmos format while it plays. A 5.1 or 7.1 tone never reaches your ceiling or up-firing speakers. Use a receiver test tone that includes the height pair, then play an Atmos scene with overhead effects, such as rain or a helicopter. You should hear them above you, not at ear level.
Step 4. Fix what the test exposed
Most surround faults come from a short list of causes. Match your note from Steps 1 to 3 against the table.
Common symptoms and fixes
| Symptom | Likely cause | Fix |
|---|---|---|
| No sound from surrounds | Source sending stereo, or surrounds set to "None" | Set output to bitstream or 5.1 PCM; set surrounds to "Small" or "Large" |
| Left and right surrounds swapped | Wires on wrong terminals | Swap the cables at the receiver |
| Center voice comes from front left | Cable on the wrong terminal | Trace and move the cable |
| Center silent | Center set to "None", or loose wire | Check the menu, then the terminals |
| Subwoofer silent or weak | Subwoofer output off, or bad LFE cable | Check power, the cable, and the receiver's subwoofer setting |
| Thin bass, vague imaging | One speaker wired with reversed polarity | Match red to red and black to black at both ends |
| One channel too quiet | Level trim off | Redo the level matching in Step 1 |
Wire each speaker in the same polarity at both ends, because a single reversed pair can ruin imaging and bass.
Fine-tune placement and bass
If levels are right but the sound still feels off, check placement against the angles in the layout table. For bass, try the "subwoofer crawl". Put the subwoofer at your seat, play bass-heavy content, and crawl around the room until the bass sounds best. Place the subwoofer there. Then rerun Steps 1 and 2 to confirm nothing shifted.
Next steps for your surround setup
A good surround sound system test comes down to three passes: the receiver's test tones to confirm wiring and levels, a channel-ID clip to confirm the full signal path, and a real scene to confirm it sounds right. Fix whatever the table points to, then rerun the pass that caught it.
Some faults are beyond a quick fix, such as wiring inside walls or ceilings, or a room where speakers cannot sit at the recommended angles. Treasure Valley Solutions offers surround sound installation for existing living rooms, family rooms, and media rooms. If you want a second set of ears, book a free on-site consultation and we will look at your room and your system together.
Recent Google reviews
Read all reviews →“Great job!!”
“Amazing customer experience. They went above and beyond installing my 2 TVs on the wall and setting up my ring doorbell. Thier price was very very reasonable. Great experience, have used their service twice now.”
“Professional, on time and the team did an outstanding job! 100% would recommend and will use again.”