 (208) 991-3502
 Meridian, ID



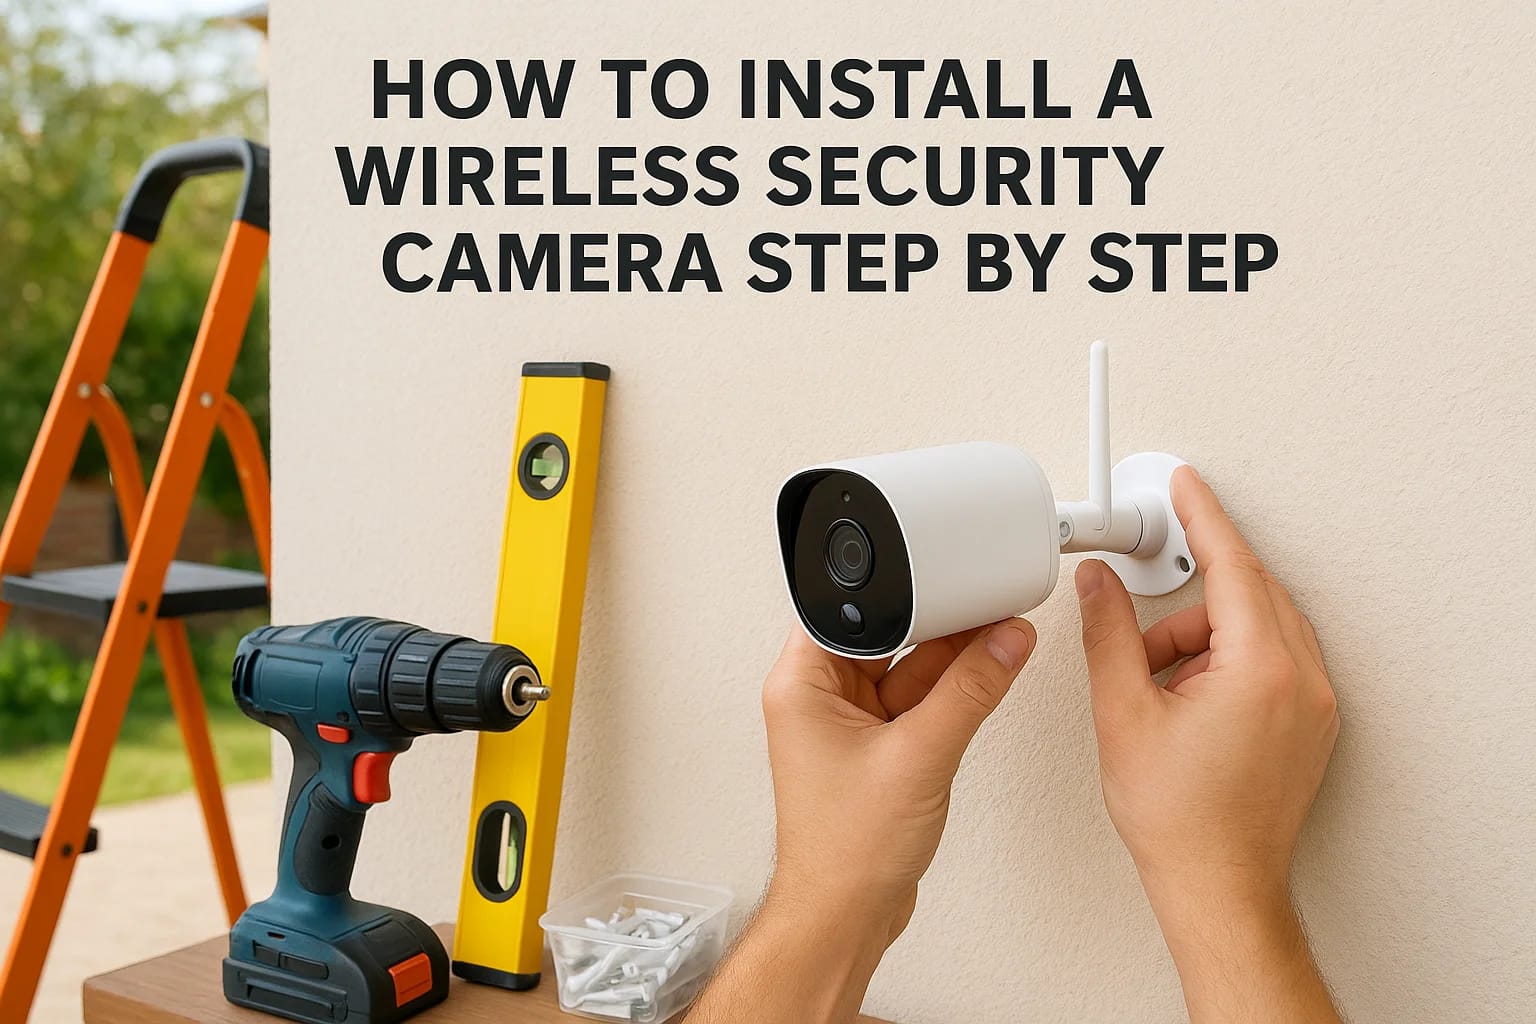

You bought a wireless camera because it promised to be simple. Then you got it home, opened the box, and realized
You bought a wireless camera because it promised to be simple. Then you got it home, opened the box, and realized
What you need before installing a wireless camera
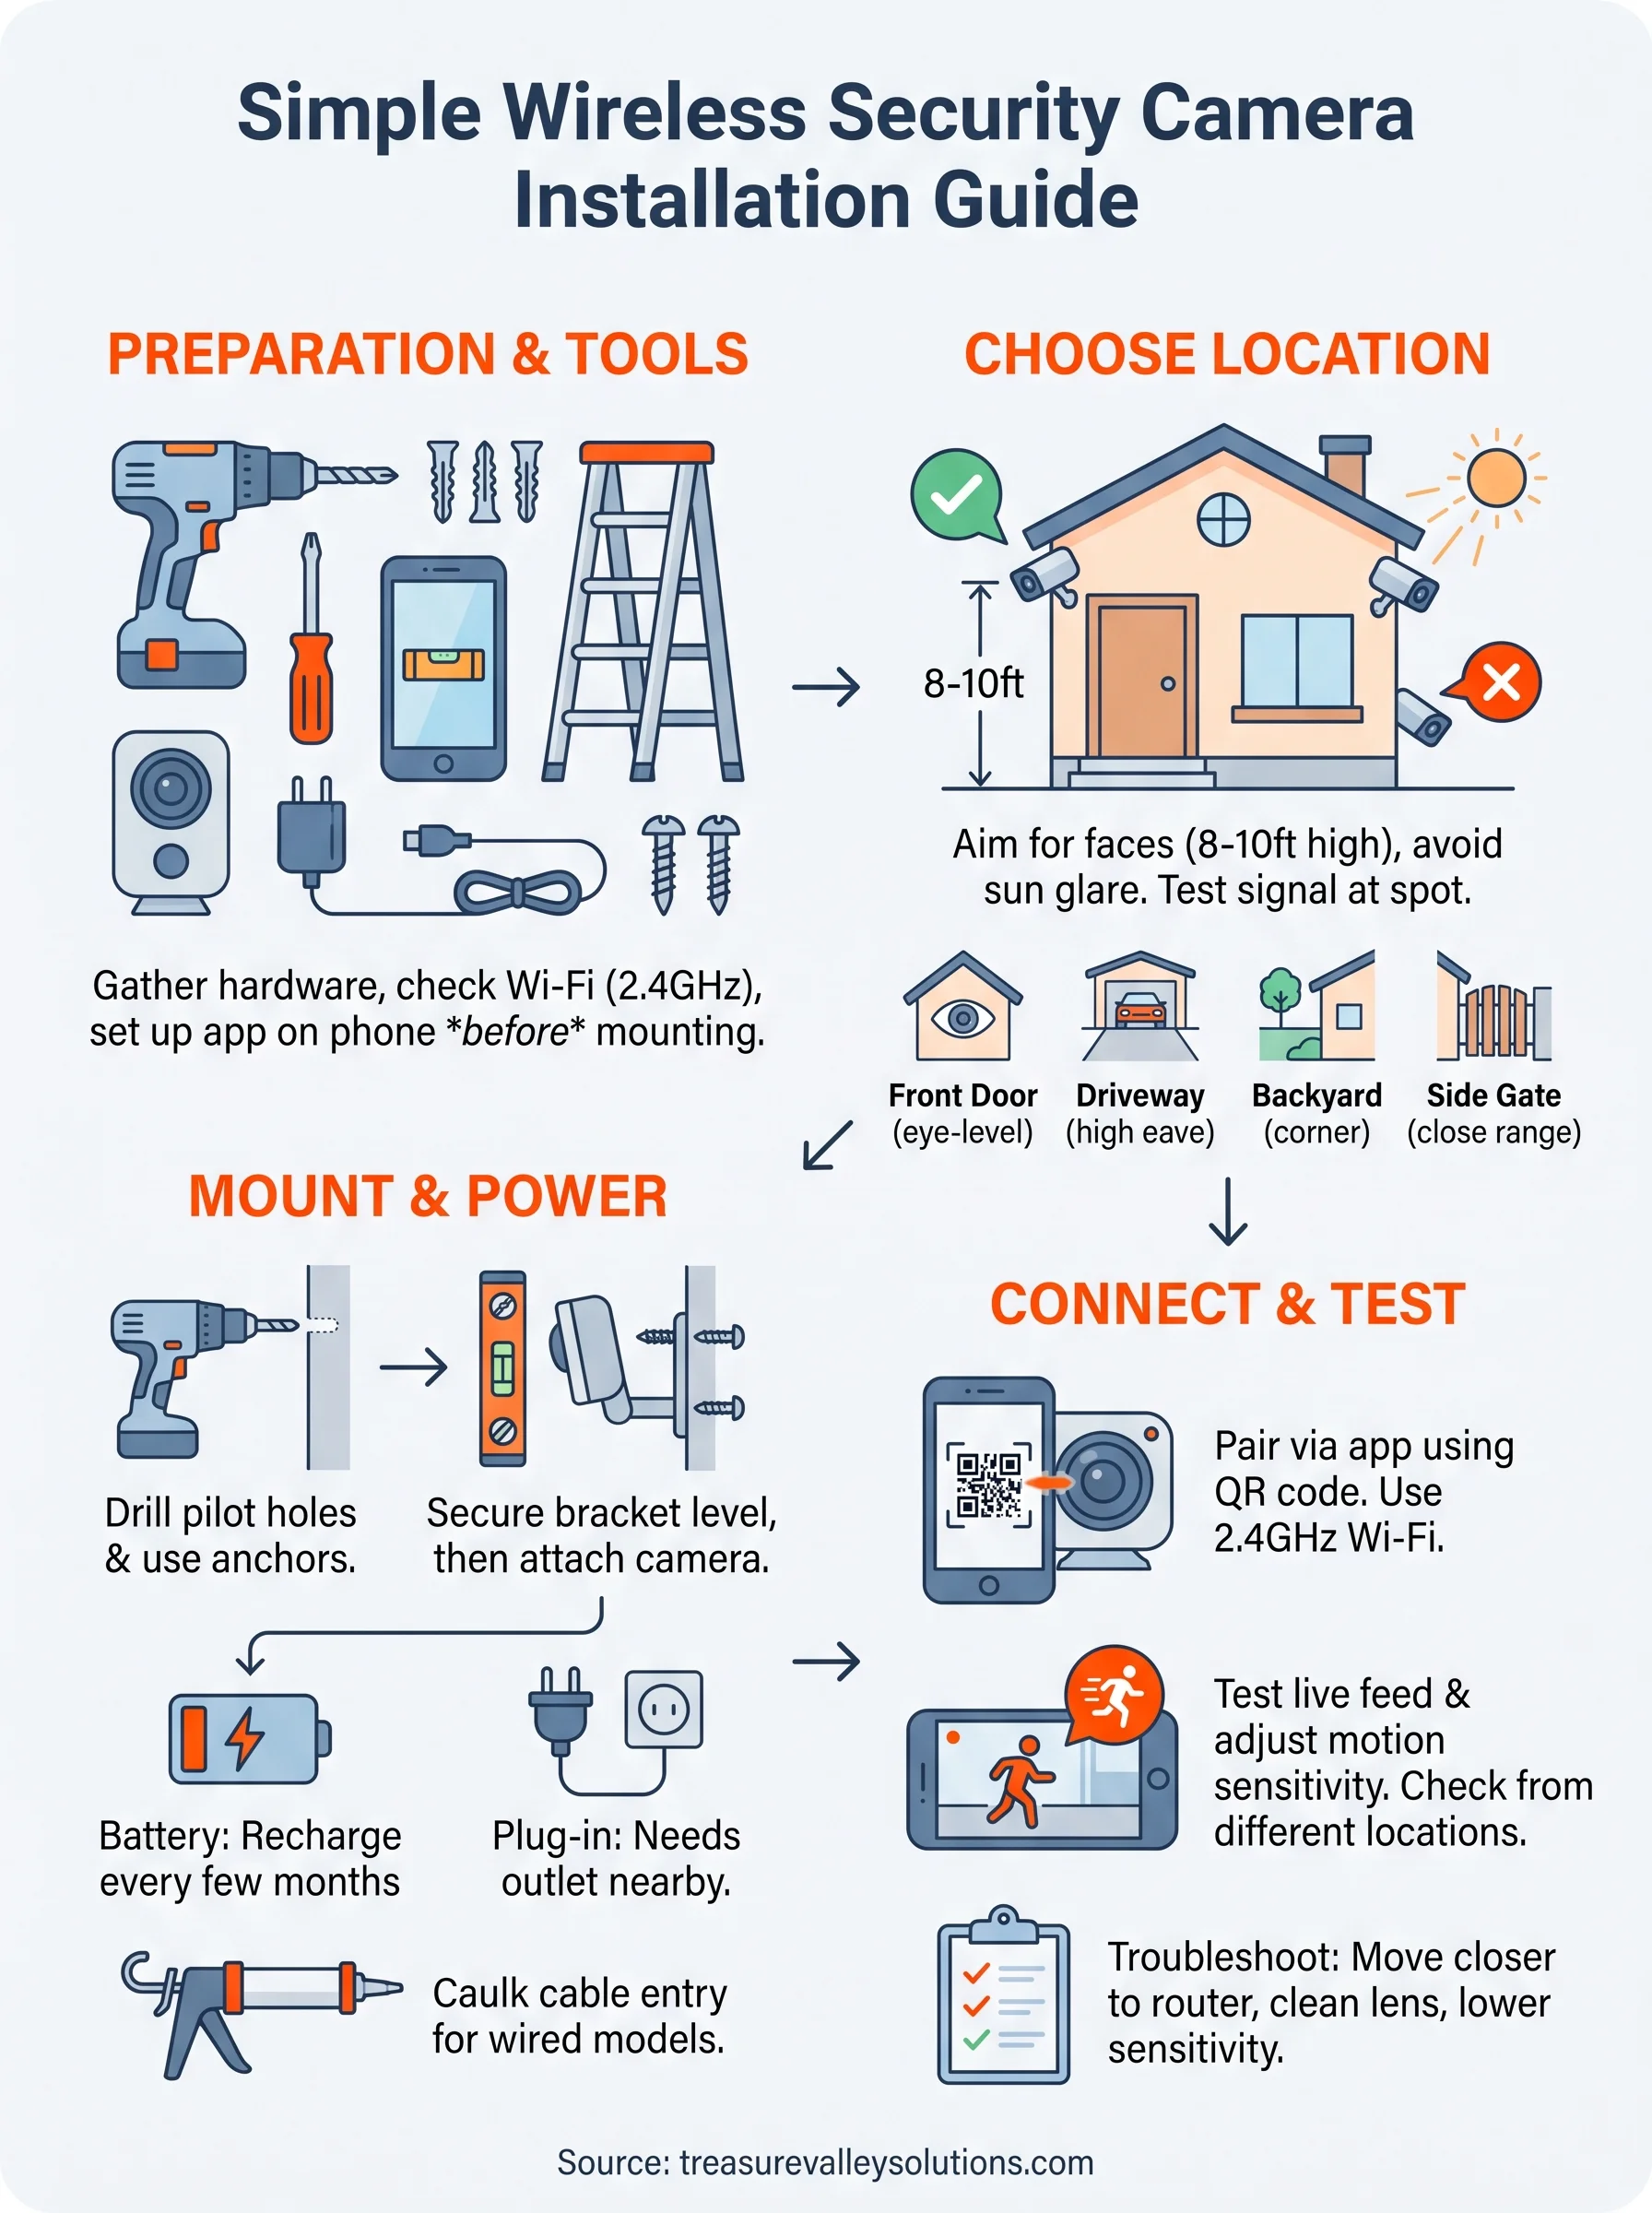
Grabbing the box and heading straight for a ladder is how most wireless security camera installation attempts go sideways. Before you drill a single hole, spend ten minutes gathering hardware, checking your Wi-Fi, and setting up the manufacturer's app on your phone. Doing this prep work upfront turns a frustrating afternoon into a 30-minute job, and it means you won't be climbing back up the ladder twice because you forgot a screwdriver or discovered the signal doesn't reach the garage.
Gather your tools and hardware
Most of the top wireless home security cameras come with a basic mounting kit, but a few extra tools make the job cleaner and faster. Lay everything out before you start so you're not hunting through drawers mid-install.
- Cordless drill with a small bit for pilot holes
- Phillips screwdriver
- Wall anchors (for stucco, brick, or drywall)
- A sturdy ladder rated for your height
- Level, or a phone app that doubles as one
- The camera, mounting bracket, and included screws
- Fully charged batteries or the included power adapter
- Your smartphone with the app already downloaded
Check your Wi-Fi signal and power source
A weak signal is the number one reason wireless cameras drop footage or lag during live viewing, so check coverage at the exact spot you plan to mount the camera, not just inside the house, and learn why Wi-Fi fails in modern homes if your coverage comes up short. Most consumer models run on the 2.4GHz band because it travels farther through walls than 5GHz, so confirm your router broadcasts that band and that the camera isn't more than roughly 50 feet from it without an extender.
A camera is only as reliable as the Wi-Fi signal reaching it, so test the spot before you mount anything.
Power matters just as much as signal strength. Battery-powered units are flexible but need recharging every few months depending on activity, while plug-in models stay powered permanently but limit your mounting options to spots near an outlet, which is the core tradeoff in choosing between wired and wireless cameras.
| Power type | Best for | Maintenance |
|---|---|---|
| Battery | Detached spots, no outlet nearby | Recharge every 1-3 months |
| Plug-in / wired | Entry points, garages, near outlets | None once installed |
| Solar-assisted | Sunny, outdoor spots | Occasional panel cleaning |
Set up the app and account first
Register the camera in its companion security camera app while you're still indoors, near the router. Create your account, name the device, and let it run through any firmware updates before you ever mount it outside. Pairing a camera at ground level, where you can easily reboot the router or restart the app if something hangs, saves you from troubleshooting overhead while balanced on a ladder later.
Step 1. Choose the best camera location
Good placement solves problems before they start, and it costs nothing but a little planning. Walk your property first and note every entry point, blind corner, and package drop zone, then narrow that list down to two or three spots that actually matter instead of covering every square foot of siding.
Aim for coverage that counts
Height and angle decide whether your footage is usable or just a blur. Mount the camera between 8 and 10 feet up, angled slightly downward, so it captures faces and license plates instead of the tops of heads, and review the best placement for outdoor security cameras before you commit to a spot. Skip spots that stare directly into rising or setting sun, since glare and lens flare ruin footage far more often than darkness does.
A camera aimed at the wrong angle records plenty of video and almost nothing useful.
Match the spot to the job
Every location has a different job to do, so pick the spot based on what you actually need to see, the same logic behind where cameras go around a Treasure Valley property:
- Front door: eye-level or slightly above, angled to catch the walkway, not just the porch
- Driveway: mounted high on the garage or eave, wide enough to catch the full width
- Backyard: corner-mounted for a wide field of view across fence lines
- Side gates: close range, motion-triggered, since foot traffic is rare but important
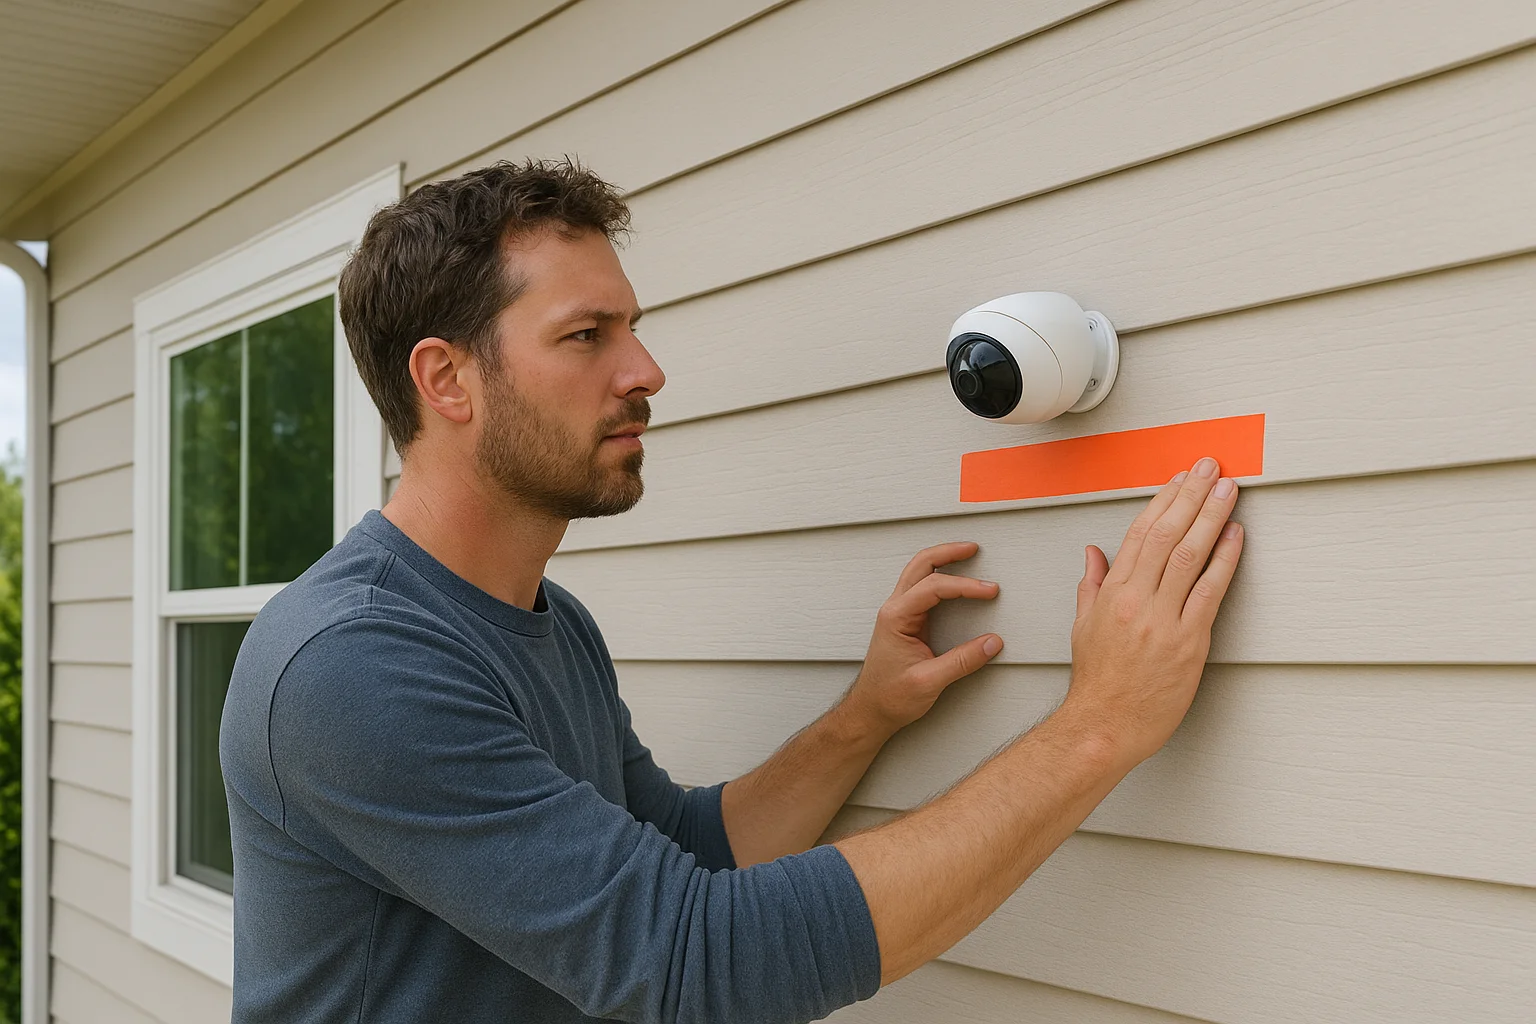
This is also where your earlier Wi-Fi test pays off. If a spot has weak signal or forces awkward wiring, it's not the right spot, no matter how good the sightline looks. Wireless surveillance camera installation works best when signal strength and sightline agree, so cross off any location where they don't. Once you've settled on two or three final spots, mark them with painter's tape before you touch a drill. It's a five-second step that saves you from patching a hole in the wrong place later.
Step 2. Mount and power the camera
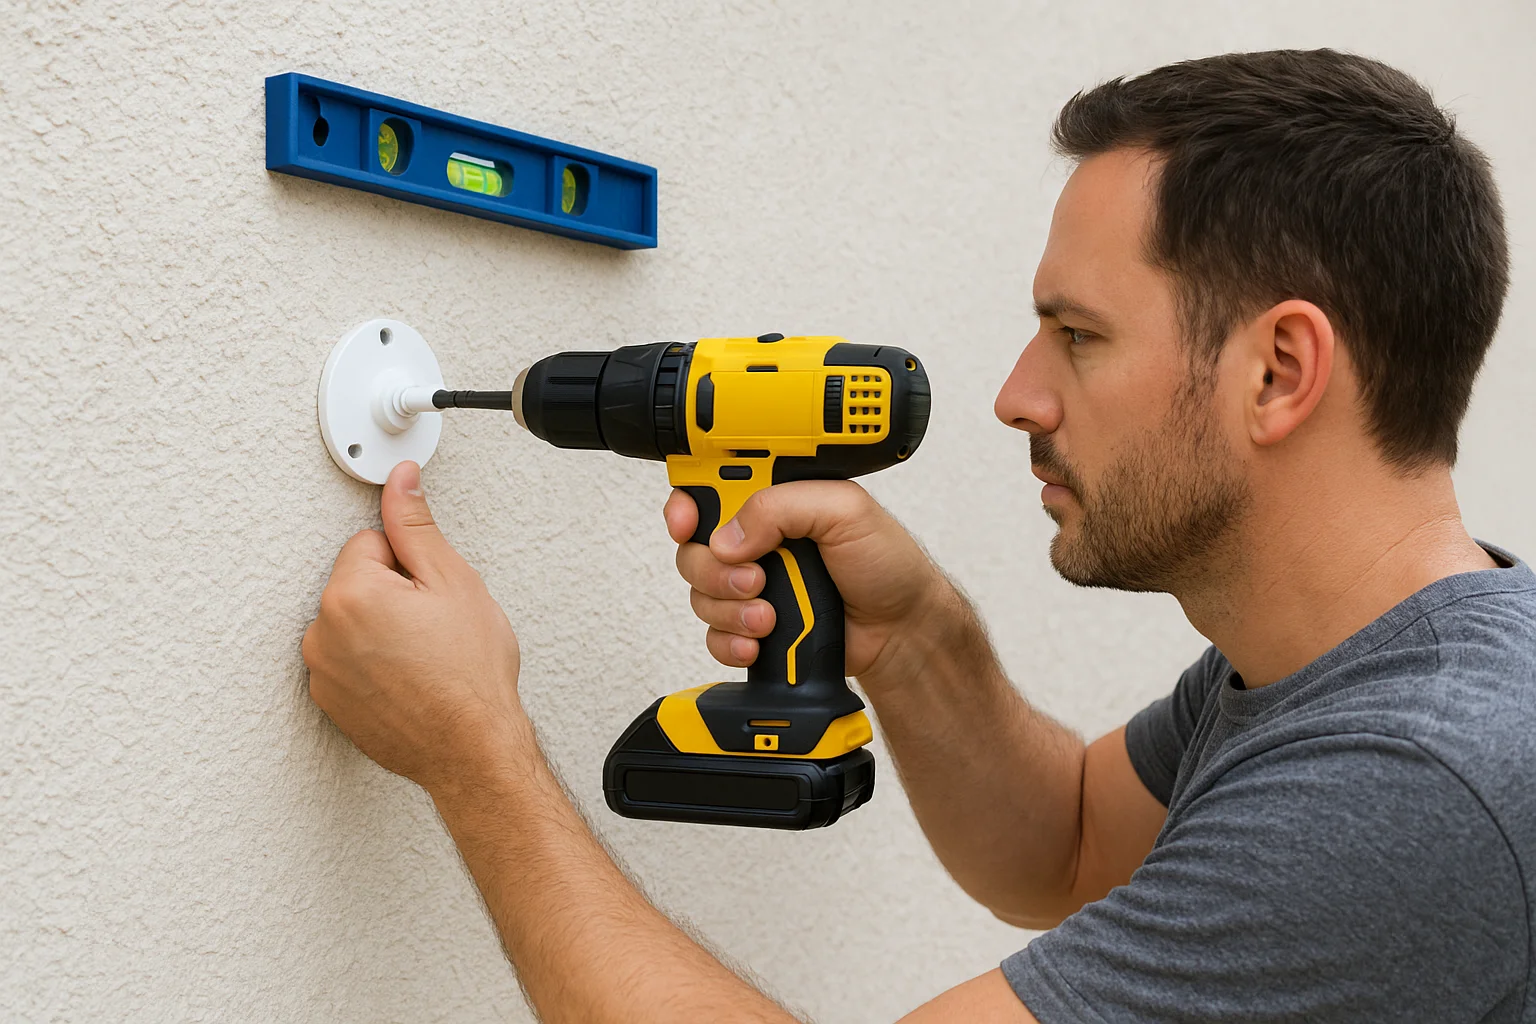
Taping off your spots was the easy part. Now you drill, and a little patience here saves you from crooked brackets and stripped screws later, the same care any home surveillance camera install calls for. Hold the mounting bracket against the wall, use your level to confirm it's straight, then trace the screw holes with a pencil before you touch the drill.
Secure the bracket
Drilling pilot holes first keeps stucco and brick from cracking, and it makes driving the screws far easier than forcing them straight into masonry. Follow this order for a clean mount:
- Drill pilot holes slightly smaller than your screws
- Tap in wall anchors if you're mounting into drywall or siding without a stud
- Screw the bracket flush against the surface, checking level again before final tightening
- Snap or twist the camera housing onto the bracket per the manual
A crooked bracket means a crooked view, so check level twice before you drive a single screw.
Choose your power path
Every camera install runs into the same decision: battery or wired. Battery units mount almost anywhere since there's no cable to route, but you'll pull them down every few months to recharge. Wired models need a path to an outlet, which sometimes means fishing cable through an eave or drilling a small entry hole into the attic, but they never run out of power mid-storm.
Outdoor runs deserve outdoor-rated cable and a weatherproof junction if you're going the wired route. Silicone caulk around any wall penetration keeps water out and protects the wiring for years. Once the camera is physically mounted and powered, resist the urge to walk away. Confirm the status light comes on before moving to the app, since a dark LED at this stage means a power issue, not a Wi-Fi one, and it's far easier to fix from the ladder than after you've packed up your tools.
Step 3. Connect the camera to Wi-Fi and the app
With the bracket secure and the status light glowing, it's time to bring the camera onto your network. Open the app you already set up indoors, select "add device," and follow the on-screen prompts. Most cameras use a QR code displayed on your phone screen that you hold up to the lens, letting the camera scan its own network credentials instead of you typing a password on a tiny keypad.
Pair the camera step by step
Go through the pairing process in order rather than skipping ahead, since each step confirms the last one worked:
- Power on the camera and wait for the LED to blink, signaling pairing mode
- Open the app and choose "add a new camera"
- Select your 2.4GHz network, not the 5GHz one, from the list
- Hold the QR code steady in front of the lens until the app confirms a scan
- Wait for the camera to reboot and reconnect, usually 30-60 seconds
If the camera won't find your network, the problem is almost always the wrong Wi-Fi band, not a broken camera.
Name it and set the basics
Once connected, rename the camera something specific, like "Driveway" or "Back Gate," instead of leaving the factory default. Clear names matter once you've got four or five cameras feeding one app and need to pull footage fast. Adjust motion sensitivity, notification schedules, and recording mode here too, since these settings are far easier to change from your couch than by climbing back up the ladder. Confirming a clean wireless security camera installation at this stage, before you tighten anything permanently, means you catch connection hiccups while the ladder's still standing nearby.
Step 4. Test, adjust, and troubleshoot the setup
Walk away from the ladder and pull up the live feed on your phone from inside the house, then from your car in the driveway, then from a friend's phone on cellular data. Testing from multiple locations catches problems a single glance never will, like a feed that loads fine on Wi-Fi but stalls the moment you switch to mobile data. Check the recorded clip quality too, not just the live view, since some cameras compress stored footage more than the stream you watch in real time.
Trigger the motion detection
Walk through the camera's field of view at a normal pace, then again closer to the edge of the frame, to confirm motion alerts fire when they should and not every time a shadow moves. Adjust sensitivity down if you're getting alerts from passing cars or blowing branches, and up if a person walking past barely registers.
A camera that alerts you to every leaf but misses an actual visitor isn't protecting anything.
Troubleshoot the common issues
Most problems trace back to one of a handful of causes, so work through this list before assuming the camera itself is defective:
- Laggy or freezing feed: move the camera closer to the router or add a Wi-Fi extender
- No connection at all: double-check you paired to the 2.4GHz band, not 5GHz
- Blurry night footage: clean the lens and reposition away from direct light sources
- Frequent false alerts: lower motion sensitivity or set an activity zone in the app
- Battery draining fast: reduce recording length or switch to motion-only capture
Once the feed is stable and alerts feel accurate, tighten the final mounting screws and dab a bit of silicone around any cable entry point before calling the job done.
Your camera, up and watching
Getting a wireless camera mounted, powered, and paired isn't complicated once you've done the prep work first. The steps that trip people up, weak signal, wrong Wi-Fi band, a crooked bracket, all trace back to skipping the groundwork before drilling. Follow the order laid out here and you'll have a working wireless surveillance camera installation in under an hour, with footage worth keeping instead of a laggy feed you end up ignoring.
Some setups still call for more than one camera, though, or coverage across a whole property with multiple blind spots, tricky wiring runs, or a system that needs to integrate with existing security. That's a different job than mounting one unit over your front door, and it's where a second set of hands pays off. If you'd rather have it done right the first time, or you're weighing a full system over a single camera, get a free estimate from our local installers and we'll walk through what your property actually needs.
Need Expert Help?
Ready to implement these solutions in your own home or business?
Our Services
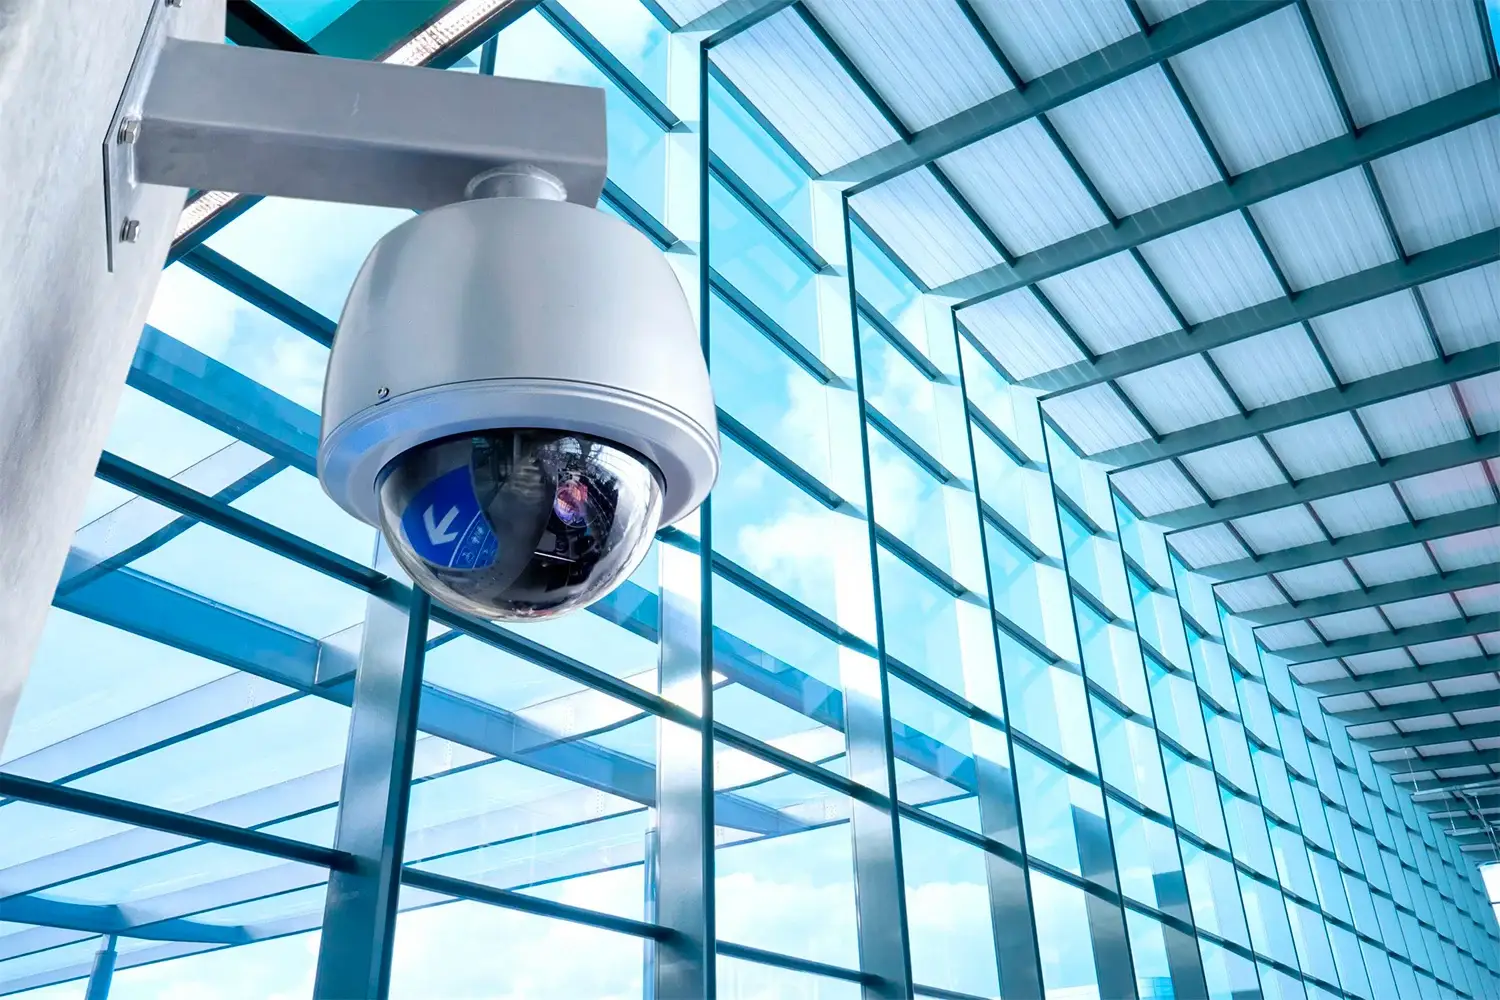
High-definition surveillance for peace of mind.
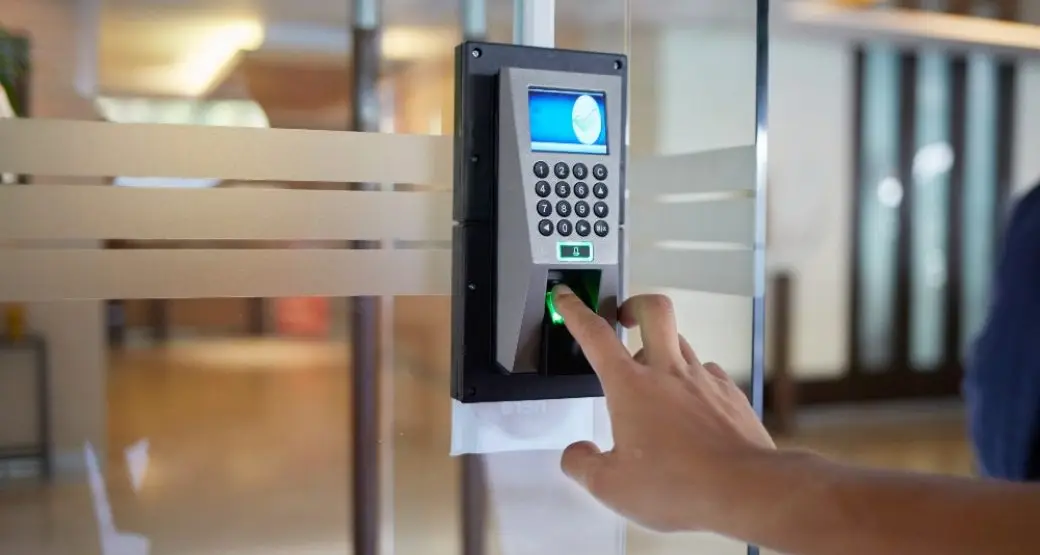
Comprehensive security solutions for home and business.
Serving the Treasure Valley
Local installation in your city