 (208) 991-3502
 Meridian, ID



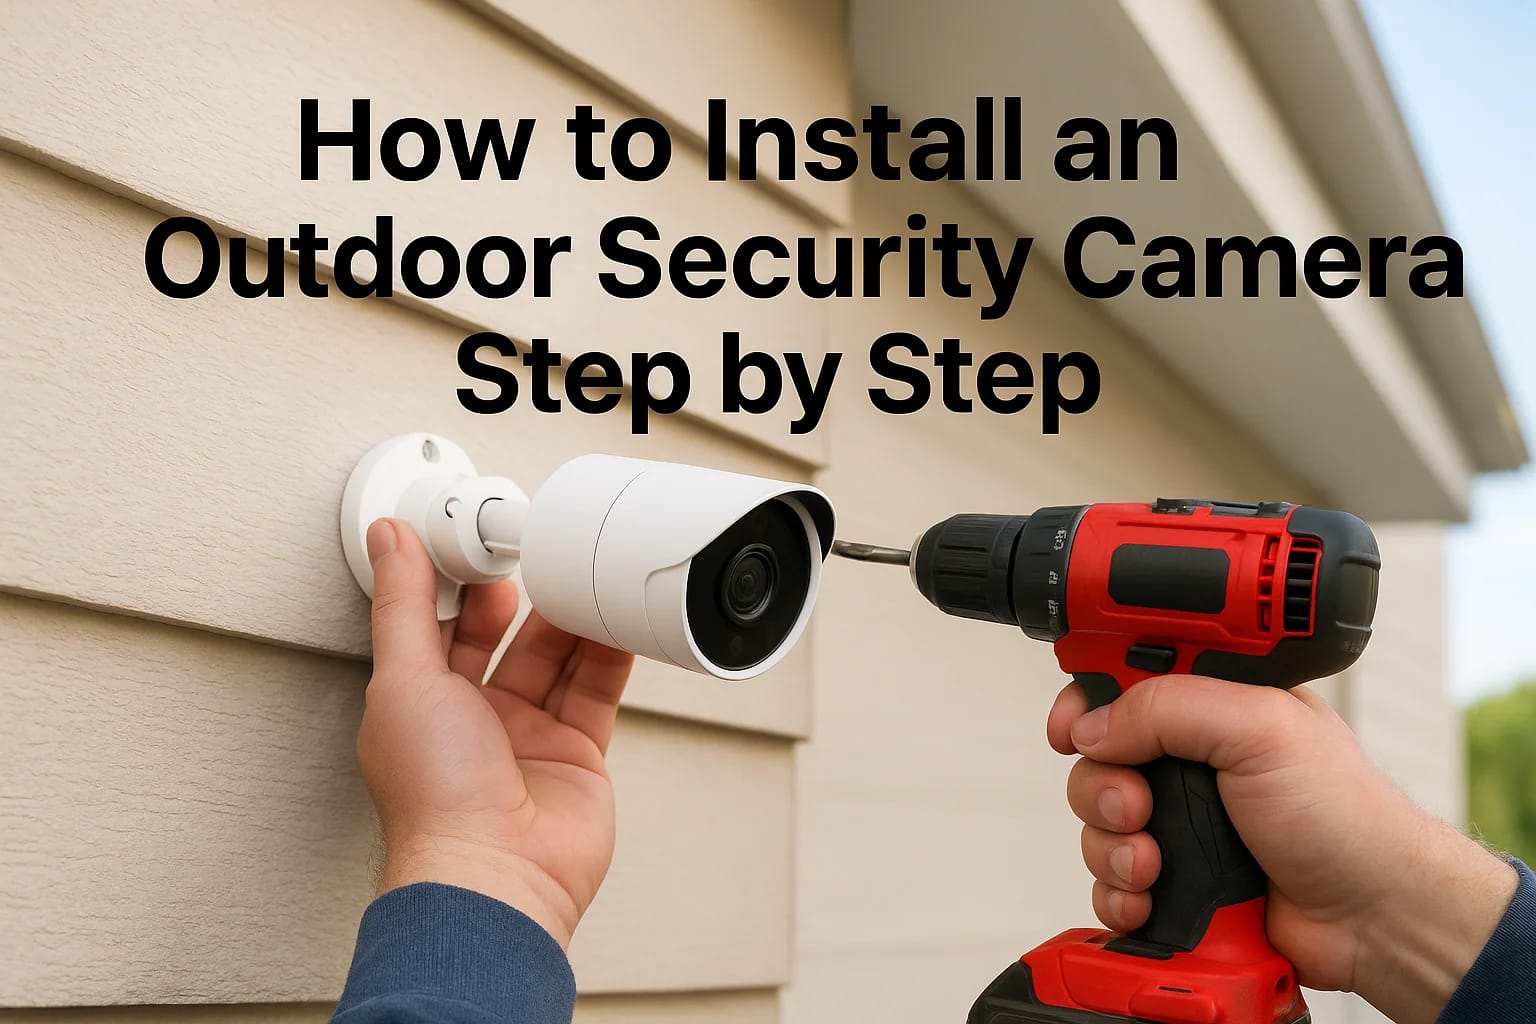

You've probably thought about adding cameras after a package went missing or a car door got dinged in the driveway overnight. Outdoor security camera installation isn't complicated once you know the o...
You've probably thought about adding cameras after a package went missing or a car door got dinged in the driveway overnight. Outdoor security camera installation isn't complicated once you know the order of operations, but skipping a step, like mounting a camera too low or running power the wrong way, creates blind spots and headaches you'll notice the first time you actually need footage. Get it right the first time and you'll have clear, usable video instead of a camera that just looks good on the wall.
This guide gives you the exact steps for a proper exterior security camera installation, from picking hardware rated for Idaho weather to figuring out wiring and power options before you ever drill a hole. We'll cover the placement angles that actually deter porch pirates instead of just recording your own shadow.
By the end, you'll know how to choose the right camera type, mount it securely, run cabling or set up wireless power, and connect everything to an app you'll actually use. We'll also walk through realistic cost estimates, and if the wiring or coverage gets more complex than a single camera, we'll point out where calling a local pro saves you time and rework.
What to know before installing an outdoor camera
Spend fifteen minutes planning before you buy anything, and you'll skip the two mistakes that ruin most DIY setups: picking a camera that can't handle winter on your porch, and mounting it somewhere that leaves your driveway or side gate uncovered. Treasure Valley winters swing from icy mornings to sudden windstorms, and a camera rated for indoor use or a mild climate will fog up, freeze, or die within a season.
Pick the right camera type
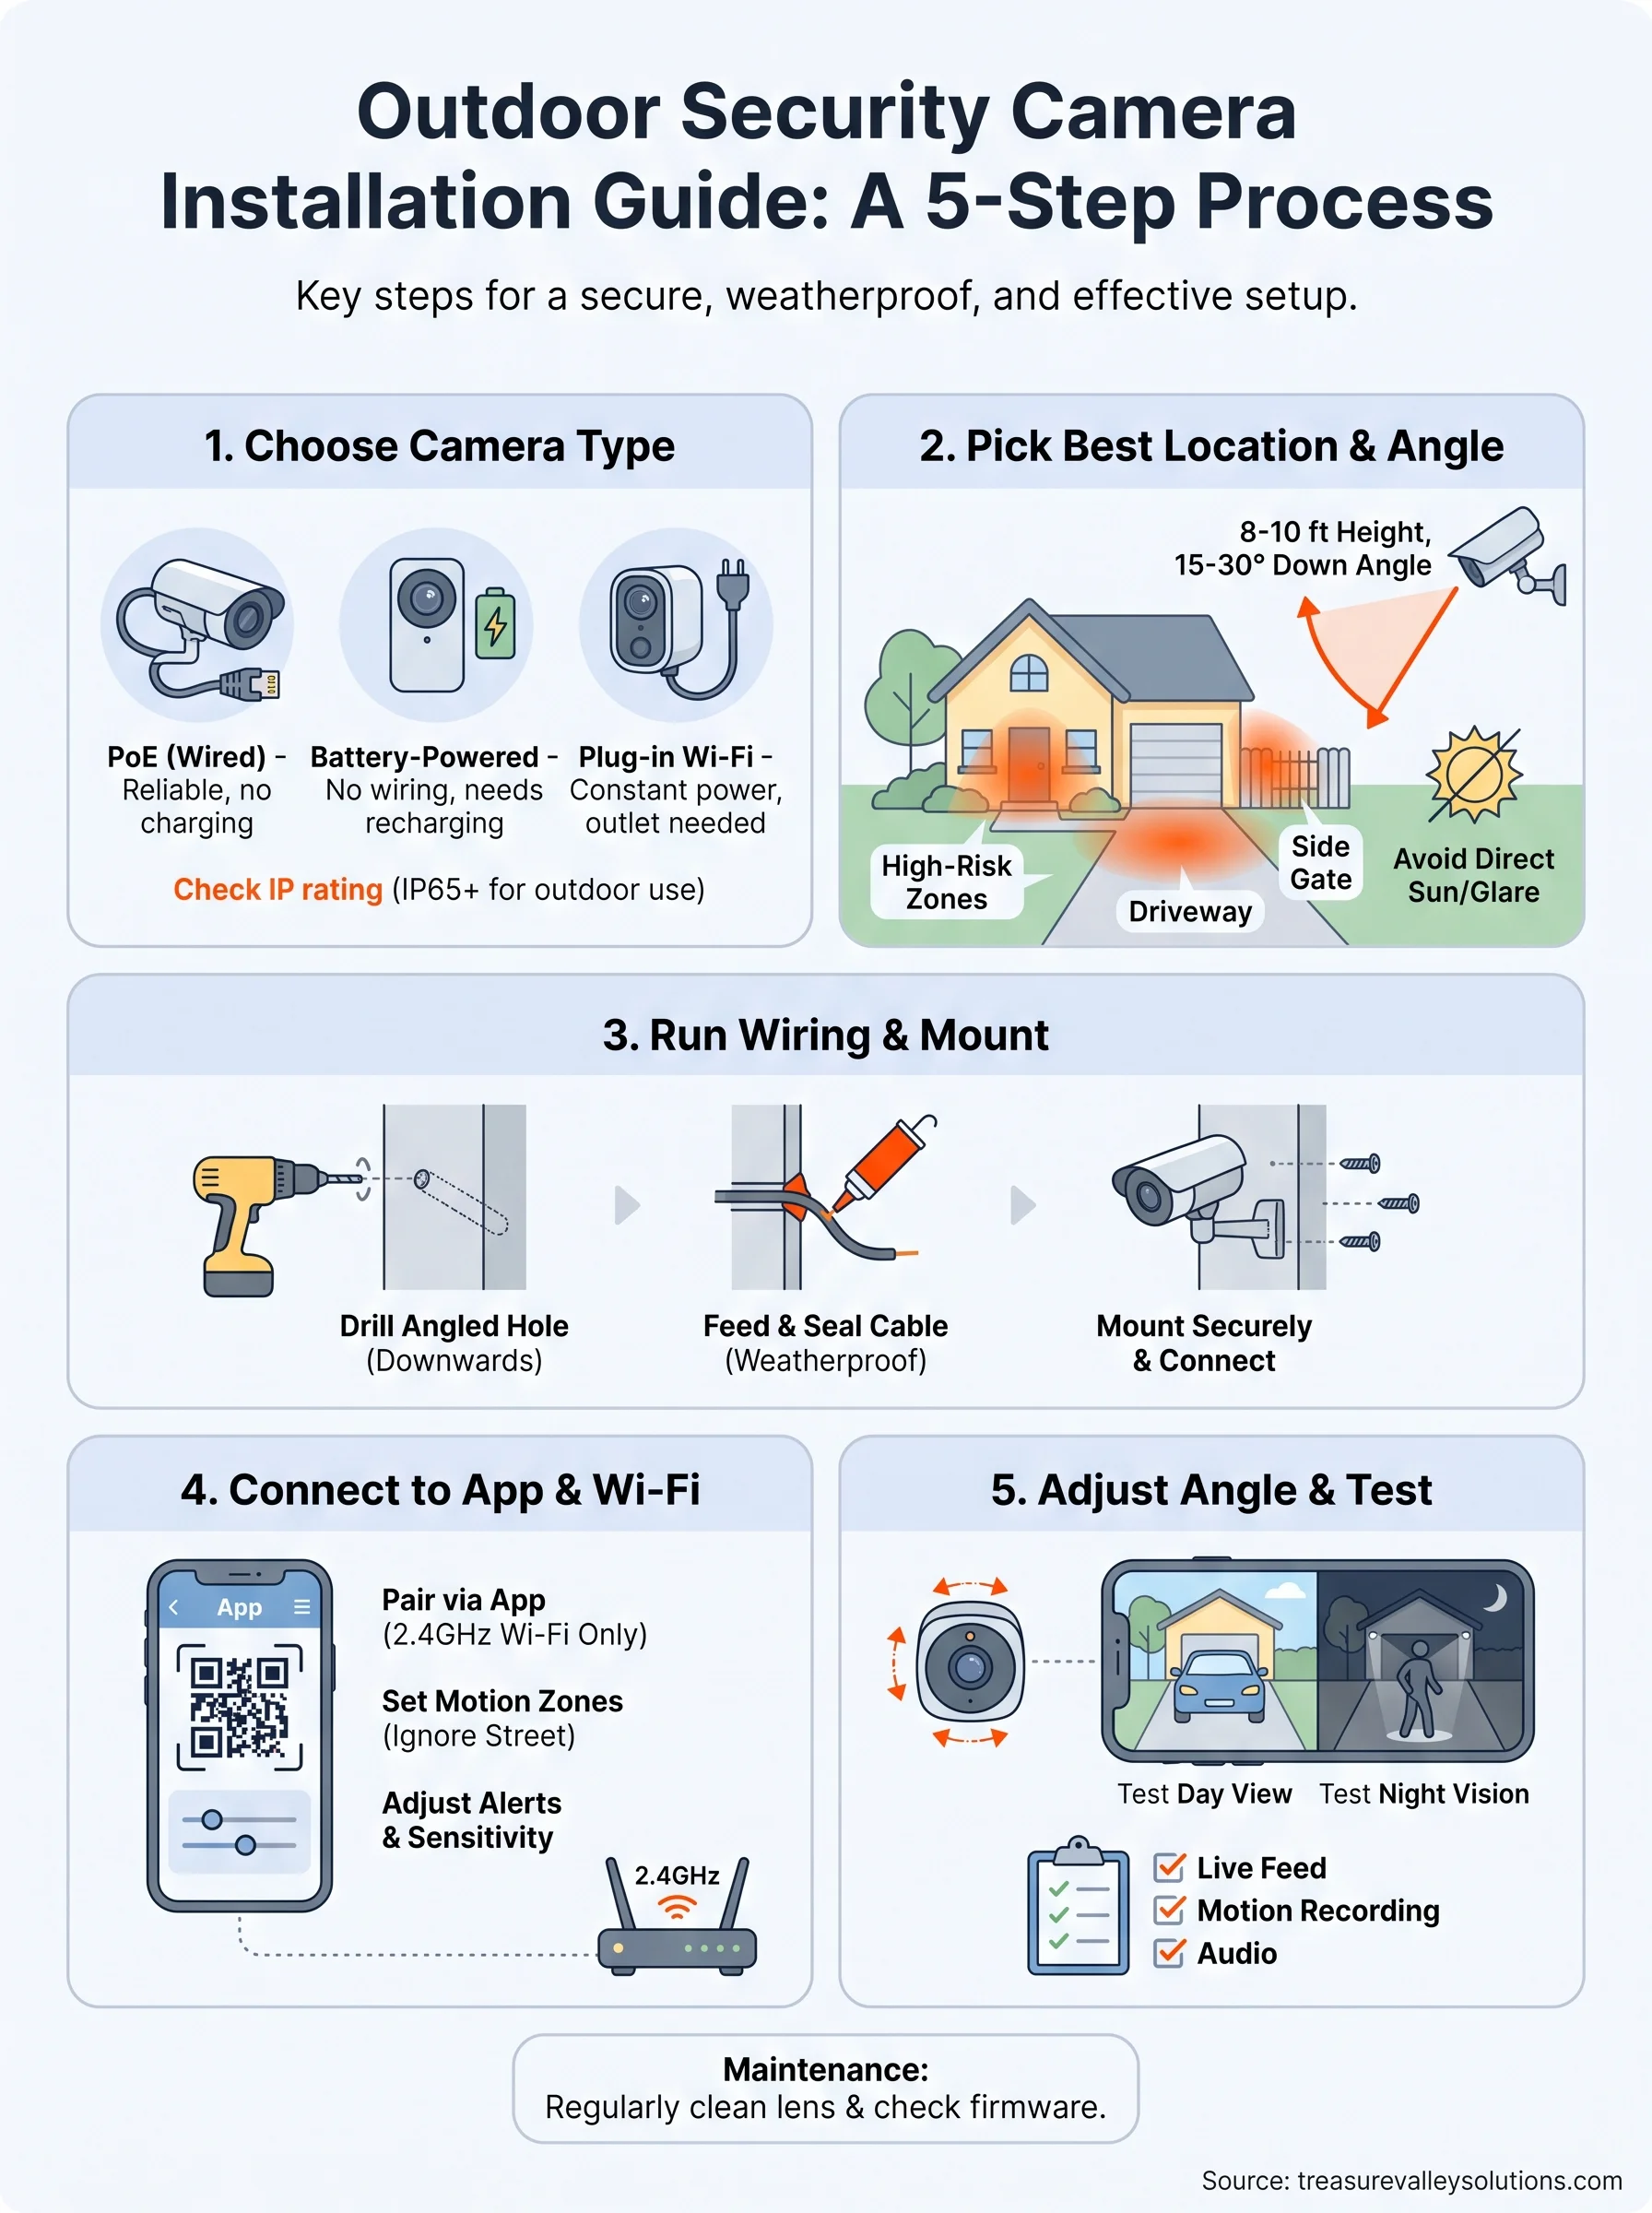
Affordable outdoor cameras generally fall into three categories, and the tradeoffs between a wired and a battery camera change how you'll run this installation. Wired Power over Ethernet (PoE) cameras pull power and data through a single cable, giving you the most reliable feed with no battery to charge. Battery-powered wireless cameras skip the wiring entirely but need recharging every one to three months depending on activity. Plug-in Wi-Fi cameras sit in between: constant power, no cable run, but you're limited to spots near an outlet.
| Camera type | Power source | Wiring needed | Best for |
|---|---|---|---|
| PoE (wired) | Ethernet cable | Yes, drilled runs | Driveways, long-term coverage |
| Battery-powered | Rechargeable battery | None | Rentals, hard-to-wire spots |
| Plug-in Wi-Fi | Household outlet | Minimal | Porches, garages near power |
Match the weather rating to Idaho's climate
Check the IP rating printed on the box before you buy anything. You want at least IP65, and IP66 or IP67 if the camera will take direct wind-driven rain or snow, which is where most of the best outdoor security cameras for home land. This region regularly sees temperature swings of 40 degrees or more in a single day, according to National Weather Service data for the Boise area, so a camera without a real weatherproof rating will fail faster than the marketing suggests.
A camera that isn't rated for real weather will fail before it ever catches the person you installed it for.
Plan your power and wiring approach
Decide now whether you're running a cable or going battery-only, because this determines your tools, your drilling plan, and how much of the wall you'll open up. Running Ethernet through an exterior wall usually means drilling a small hole, feeding a weatherproof grommet, and connecting to a PoE injector or a network switch inside. Skipping the wire means less mess but more app notifications reminding you to charge the unit, especially in freezing weather when batteries drain faster.
Check local rules and neighbor courtesy
Aiming a camera at your own porch is fine, but pointing it directly into a neighbor's window or backyard can create a real dispute and, in some cases, a legal one. The Federal Trade Commission's guidance on smart devices recommends angling cameras to capture your own property lines, not shared or private spaces, and it's worth applying that same rule to any exterior camera you install. If you rent, live in an HOA, or manage a rental property for someone else, confirm there's no restriction on visible cameras or wiring changes before you drill anything.
Once you've settled on a camera type, a power plan, and a placement that respects your neighbors, you're ready to walk the property and mark exact spots. If any of this feels like more coordination than you want to handle solo, that's exactly the kind of planning our security camera installation team handles daily across the Treasure Valley.
Step 1. Choose the best camera location
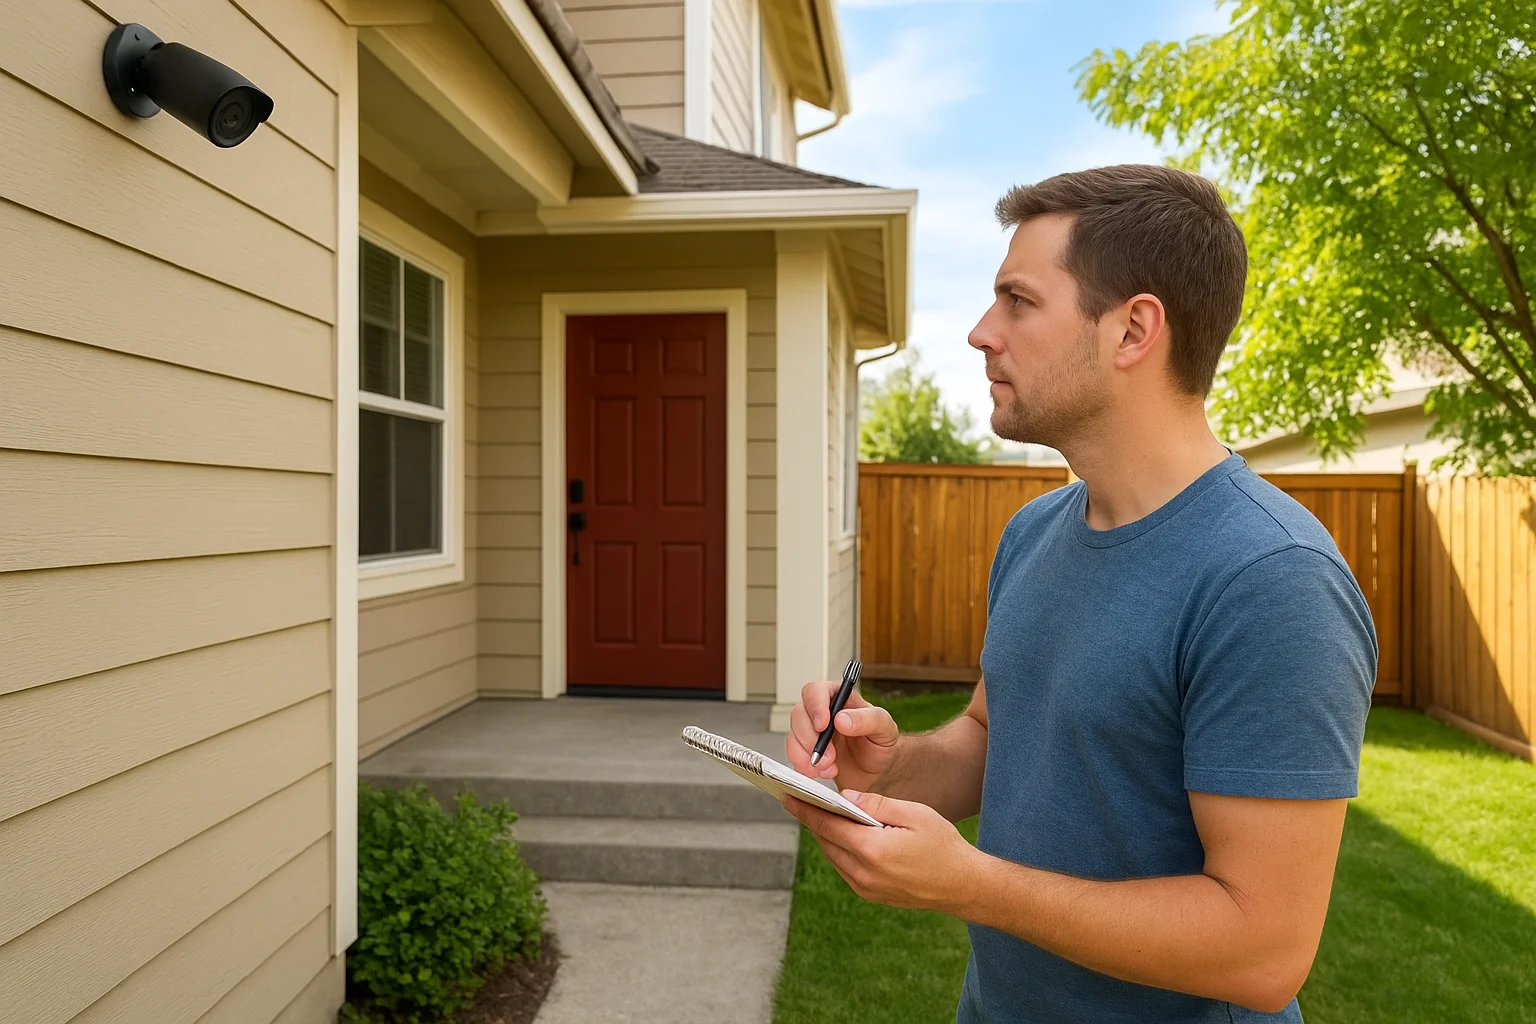
Grab a notepad and walk the outside of your house like a stranger casing the place, because that's essentially the goal. Where you aim an outdoor camera matters more than the brand or resolution you buy, since a $200 camera aimed at a fence panel does less good than a $60 camera pointed straight down your driveway. Before you touch a drill, mark every entry point, blind corner, and dark spot where someone could linger without being seen from the street.
Target the highest-risk zones first
Most break-ins and package thefts happen at a handful of predictable spots around a Treasure Valley home, so start there instead of spreading cameras thin across the whole yard. Focus your first one or two cameras on these areas:
- Front door and porch, angled to catch faces at eye level, not just the tops of heads
- Driveway, wide enough to capture license plates on any vehicle that pulls in
- Side gates or fence access points, especially ones hidden from the street
- Back door or sliding glass door, a common secondary entry point burglars check first
Covering these four spots well beats a scattered eight-camera setup that leaves gaps at the corners.
Get the height and angle right
Mount height changes what you actually capture, and this is where most DIY exterior security camera installation attempts go wrong. Set cameras between 8 and 10 feet up, angled down at roughly 15 to 30 degrees. Go higher than that and you're mostly recording the tops of heads and hats, which is useless for identification later.
If you can't identify a face or a license plate in the footage, the camera didn't do its job, no matter how good the picture looks.
Avoid glare, glass, and obstructions
Skip mounting a camera facing directly into the rising or setting sun, since that glare washes out video for hours every day regardless of how good the lens is. Check for tree branches or hanging plants that will grow into the frame over a season, and avoid pointing the lens through a window or storm door, which creates reflections and infrared bounce-back at night. Once you've walked the property and settled on your final spots, mark each one with painter's tape so you know exactly where to drill and mount in the next step.
Step 2. Gather your tools and prep the mount
Before you touch the wall, lay out everything you'll need so you're not climbing up and down a ladder five times looking for a missing screwdriver. Outdoor security camera installation goes faster and cleaner when the mount is prepped and level before the drill ever comes out. Most of this step happens on a workbench or table, not on the ladder, so get it right here and the actual mounting takes ten minutes.
Build your tool kit
Check your camera's box against this list, since most kits include the mounting plate and screws but skip a few items you'll still need:
- Cordless drill with a masonry bit (for brick or stucco) or a standard bit for wood siding
- Level, either a small torpedo level or your phone's built-in level app
- Stud finder, if you're mounting into siding over a wall cavity
- Silicone caulk or exterior sealant for sealing screw holes and cable entry points
- Wire strippers and a fish tape, only if you're running Ethernet or low-voltage cable
- Ladder rated for your height, plus a second person to hold it if you're working above 8 feet
Skipping the sealant is the fastest way to turn a clean install into a leaky one by next spring.
Prep the mounting plate
Hold the mounting bracket against your marked spot and trace the screw holes with a pencil before you drill anything. Line up the bracket using your level, since even a slight tilt becomes obvious in the recorded footage once you're panning across a driveway. Mark where the cable, if you're running one, will enter the wall relative to the bracket, keeping it centered so the camera housing hides the entry point once installed.
Test fit before you commit
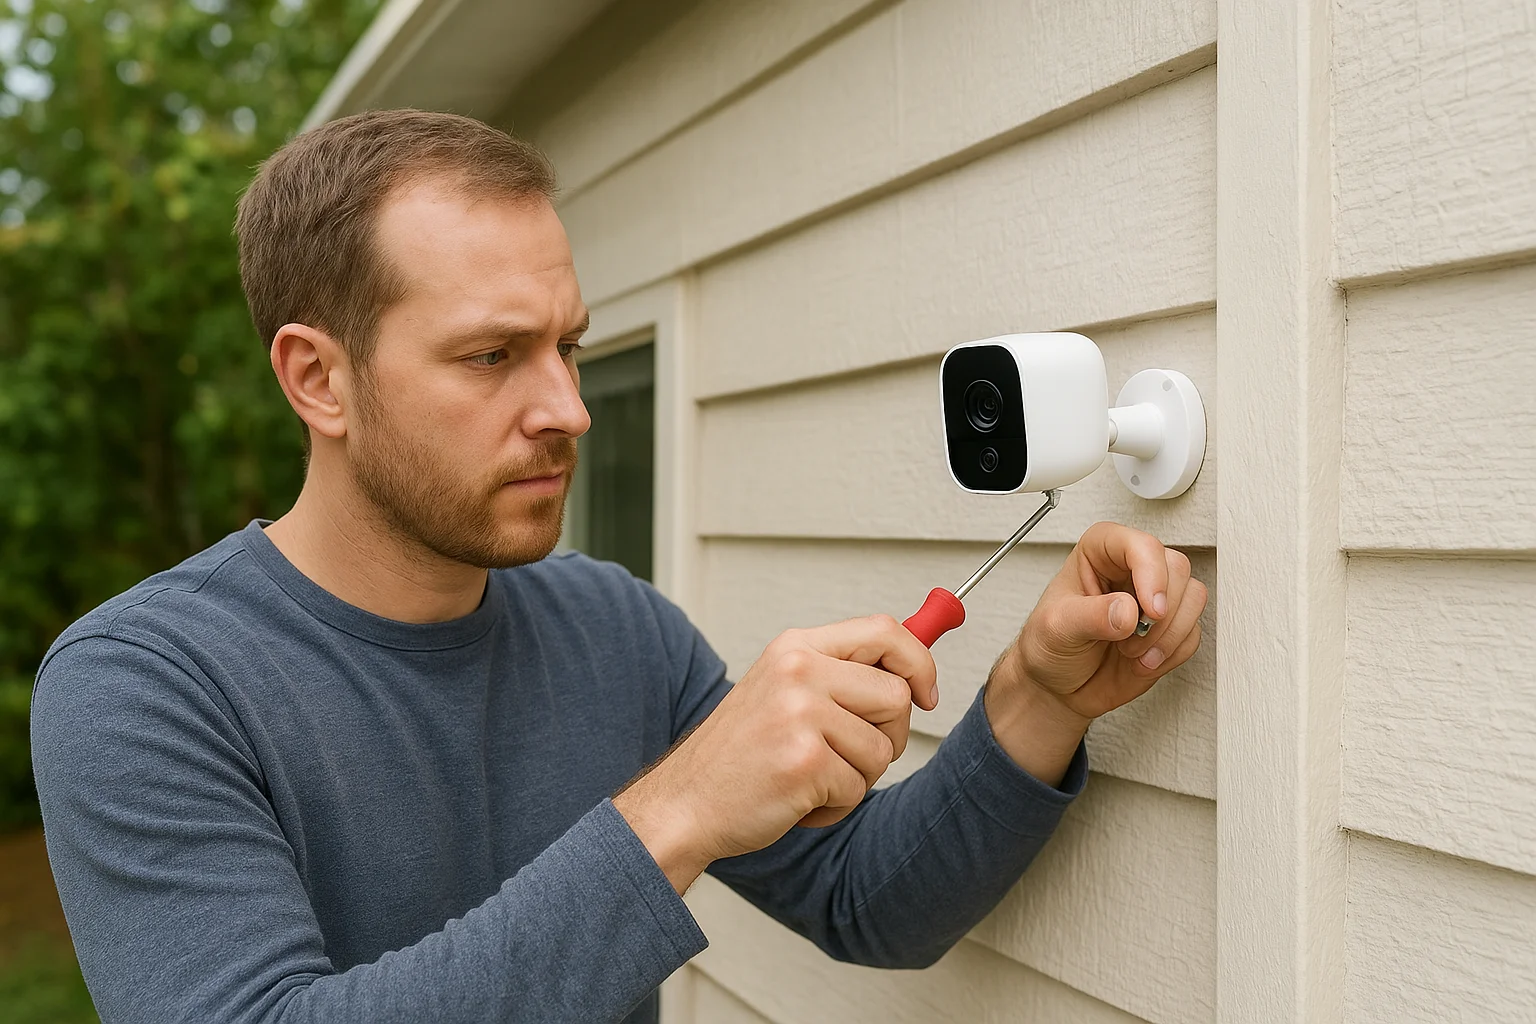
Once the plate is traced and leveled, dry-fit the camera housing onto a spare screw or two to confirm the angle looks right from the ground before you drill the remaining holes. Photograph the spot from where you'll actually stand or park, since a mount that looks fine up close sometimes reveals a blind spot once you check the framing on your phone. Weatherproofing the mounting plate with a thin bead of caulk around the base, done now rather than after the camera is up, saves you an awkward reach later. If any of this prep starts to feel like more than a weekend project, our team handles outdoor camera mounting in Boise and across the Treasure Valley without the trial and error.
Step 3. Run the wiring and mount the camera
Now you drill for real, using the marks you traced in Step 2 as your guide. Outdoor security camera installation gets riskier here only if you rush the hole or skip checking what's behind the wall, so slow down and confirm you're not about to hit a stud, pipe, or wire before you commit to drilling through.
Drill the entry point and feed the cable
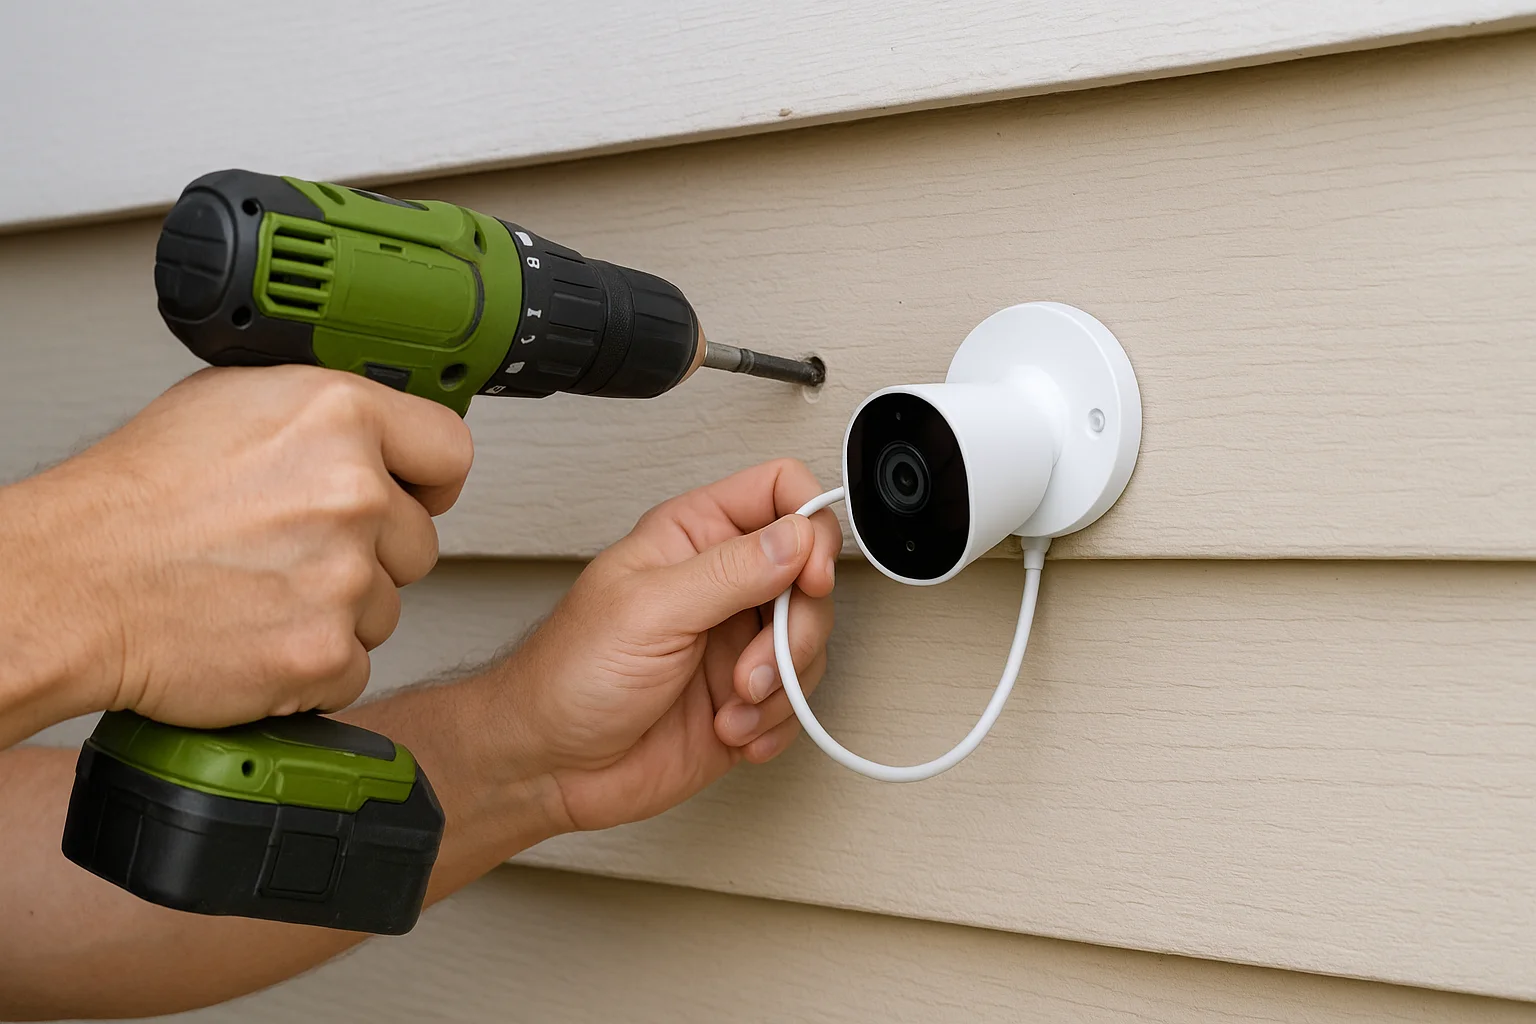
Start with a pilot hole slightly larger than your Ethernet or power cable, angled a few degrees downward from outside to inside so water naturally drains away from the house instead of pooling at the entry point. Feed the cable through from outside using fish tape if the run is longer than a couple feet, then pull enough slack inside to reach your PoE injector or switch without stretching the connection tight. If you're running a battery-powered camera, skip this whole step and jump straight to wireless camera installation, since there's no cable to route.
A downward-angled hole is the difference between a dry wall cavity and a slow leak you won't notice until the drywall stains.
Seal the hole before you mount anything
Pack the gap around the cable with exterior-grade silicone caulk, filling it completely so no daylight or draft passes through. Let it cure for the time listed on the tube, usually 30 minutes to an hour, before you attach the camera housing over it. Rushing this step is how water finds its way into your wall over a single wet Idaho spring.
Attach the camera to the mounting plate
Line the camera housing up with the bracket you already leveled, then drive the remaining screws snug, not overtightened, since cracking the plastic housing here means starting the whole mount over. Connect the cable to the camera's port, tuck any excess slack behind the housing so it doesn't dangle in view, and confirm the housing sits flush against the wall with no gap where wind-driven rain could sneak in.
Here's the order that keeps you from backtracking:
- Drill the angled entry hole
- Feed and pull slack on the cable
- Seal the hole and let it cure
- Screw the camera housing to the bracket
- Connect the cable and tuck the slack
Follow that sequence and your exterior security camera installation stays weathertight from day one instead of needing a caulk repair by winter.
Step 4. Connect the camera to Wi-Fi and your app
With the camera physically mounted, the rest of this step happens on your phone, not the ladder. Getting the app connection right the first time saves you from climbing back up to reset a camera that dropped its signal or never paired at all. Most outdoor security camera installation headaches at this stage come from network settings, not the hardware itself.
Download the app and create your account
Open the manufacturer's phone app for home cameras, create an account, and select "add new device" before you power on the camera. Scan the QR code printed on the camera or its box, since this is how most systems pair the hardware to your account without you typing a long serial number by hand. Keep the box nearby until setup finishes, because you'll need that code again if the pairing times out and you have to restart it.
Connect to the right network band
Most outdoor cameras only pair on a 2.4GHz Wi-Fi network, not 5GHz, even if your router broadcasts both under the same name.
| Band | Range | Speed | Camera compatibility |
|---|---|---|---|
| 2.4GHz | Longer, better through walls | Slower | Supported by nearly all cameras |
| 5GHz | Shorter, weaker through walls | Faster | Rarely supported for outdoor cameras |
If your router combines both bands into one network name, split them temporarily in your router and home Wi-Fi settings so the camera can find the 2.4GHz signal directly.
A camera that won't pair almost always means it's hunting for a 2.4GHz signal your router isn't broadcasting separately.
Finish pairing and set your alerts
Once the app confirms the connection, run through these last steps before you climb down for good:
- Rename the camera something specific, like "Driveway" or "Back Gate," not the default model number
- Set motion zones so the app ignores the street and only alerts on your property
- Adjust notification sensitivity so you're not pinged every time a leaf blows past the lens
- Confirm cloud or local storage settings match what you're paying for, since some plans default to a shorter retention window
A clean exterior security camera installation at this stage means your phone shows a live, labeled feed with alerts you'll actually trust instead of ignore.
Step 5. Adjust the angle and test everything
Walk back to your marked observation points from Step 1 and check what the camera actually sees on your phone screen, not what you assume it sees from memory. Final angle adjustments matter here because a mount that looked perfect on the workbench sometimes shifts a few degrees once it's screwed to a wall. Loosen the housing just enough to tilt it, confirm the live feed on your app, then snug the screws back down once the frame looks right.
Fine-tune the physical angle
Stand at your front door, driveway entrance, and side gate, then compare what the live feed shows against what you'd want a stranger's face or a license plate to look like on playback. Small tilts make a big difference, so adjust in one or two degree increments rather than wrenching the housing around. Check the frame edges too, since a camera aimed slightly off can miss the exact spot where a package gets set down.
A camera aimed two degrees off can miss the one moment you actually needed it to catch.
Test day and night footage
Record a short clip during daylight, then walk the same path again after dark to check the infrared night vision and confirm nothing washes out under your porch light. Overexposed footage at night usually means the camera sits too close to a bright fixture, so either reposition the light or adjust the camera's exposure settings in the app. Compare both clips side by side before you call the install finished.
Verify motion detection and storage
Run through this checklist before you consider the job done:
- Walk through each motion zone and confirm the app sends a notification within a few seconds
- Check that footage actually saves to your cloud plan or local storage, not just triggers an alert
- Test the two-way audio if your camera has it, from both ends of the connection
- Confirm the timestamp and camera name display correctly on saved clips
- Review a saved clip a few hours later to make sure it wasn't overwritten
Once every box is checked, your outdoor security camera installation is doing real work instead of just decorating the siding. If any zone still shows a blind spot or a laggy alert, that's usually a sign the mount needs another small adjustment, not a new camera.
Keeping your camera protecting your home
A properly mounted camera only keeps doing its job if you check on it. Wipe the lens every few weeks, since dust and spiderwebs ruin footage faster than any hardware failure. Watch for firmware updates in the app, and revisit your motion zones after any landscaping changes or a new fence, since a bush that grows six inches can quietly block the exact corner you needed covered.
Outdoor security camera installation rewards the homeowner who treats it as an ongoing setup, not a one-time weekend project. Test your footage after every major storm, confirm the mount hasn't loosened, and trust the system enough to actually check it instead of assuming it's working.
If your property needs more than one camera, or the wiring gets more involved than a single run, don't guess your way through it. Get a free estimate from our Treasure Valley installers and we'll plan the coverage and wiring for you.
Need Expert Help?
Ready to implement these solutions in your own home or business?
Our Services
High-definition surveillance for peace of mind.
Comprehensive security solutions for home and business.
Serving the Treasure Valley
Local installation in your city