 (208) 991-3502
 Meridian, ID



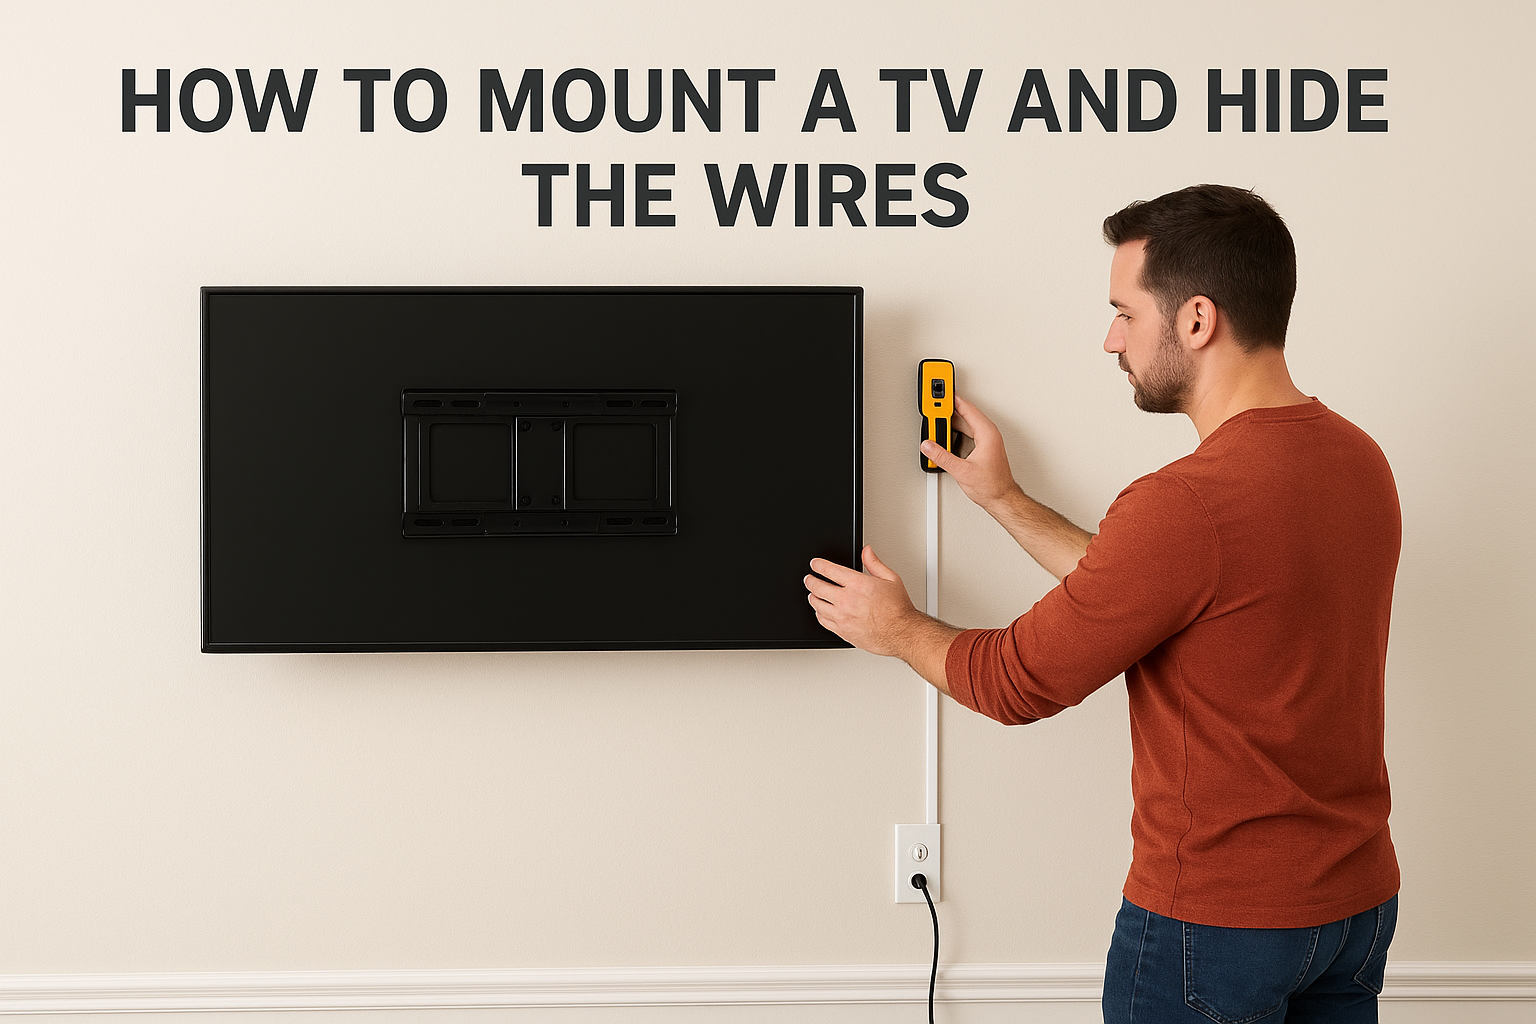

A TV on the wall looks great until you see the cables dangling underneath it. Those wires turn a clean install into a mess, and they are the first thing most people notice. The good news is that how t...
A TV on the wall looks great until you see the cables dangling underneath it. Those wires turn a clean install into a mess, and they are the first thing most people notice. The good news is that how to mount a TV and hide the wires is a job you can plan and finish in an afternoon, whether you own your home or rent it.
Here is the short answer. If you can open the wall, use an in-wall power and cable kit that routes everything between the studs and out of sight. If you cannot cut drywall, use a paint-ready cable raceway that runs down the wall and blends in. Both approaches work. The right one depends on your wall, your lease, and how much patching you want to do.
Below, you will get the tools you need, the mounting steps, and a walkthrough of each hiding method. We have installed TVs across the Treasure Valley since 2014, so we also flag the code and safety mistakes we see most often, and when it makes sense to call a pro.
What you need before you start
Gather everything before you touch the wall. Stopping halfway through to buy a missing part is the most common reason a weekend job drags on. If you want to mount a TV and hide wires cleanly, you need the right tools, a bracket that matches your TV, and a wall you have already checked.
Tools and materials
Most of this fits in a basic toolbox. The in-wall items only matter if you plan to cut drywall.
| Item | What it does |
|---|---|
| Stud finder | Locates studs for the bracket |
| Drill and bits | Makes pilot holes |
| 24-inch level | Keeps the bracket straight |
| Pencil and painter's tape | Marks the mount and cable path |
| Drywall saw | Cuts openings (in-wall only) |
| Fish tape or flexible rod | Pulls cables through the wall |
| In-wall power kit | Moves power safely inside the wall |
| Paint-ready raceway | Covers cables with no cutting |
Check your TV, wall, and bracket
Match the bracket to the TV first. Look up your TV's VESA pattern, the bolt hole spacing on the back, and its weight. Then buy a bracket rated above both. Fixed, tilting, and full-motion mounts all work, but full-motion arms make routing harder because the cables must flex.
Next, find out what is behind the wall. Use the stud finder to locate studs, usually 16 inches apart, and look for outlets, pipes, or wiring where you plan to cut. Brick, concrete, and metal studs need different anchors, so call a pro if your wall is not standard wood and drywall.
Finally, plan your power. A standard power cord is not approved to run inside a wall, so you need a UL-listed in-wall power kit if you go that route.
Never run a regular power cord through a wall; use a kit rated for in-wall use.
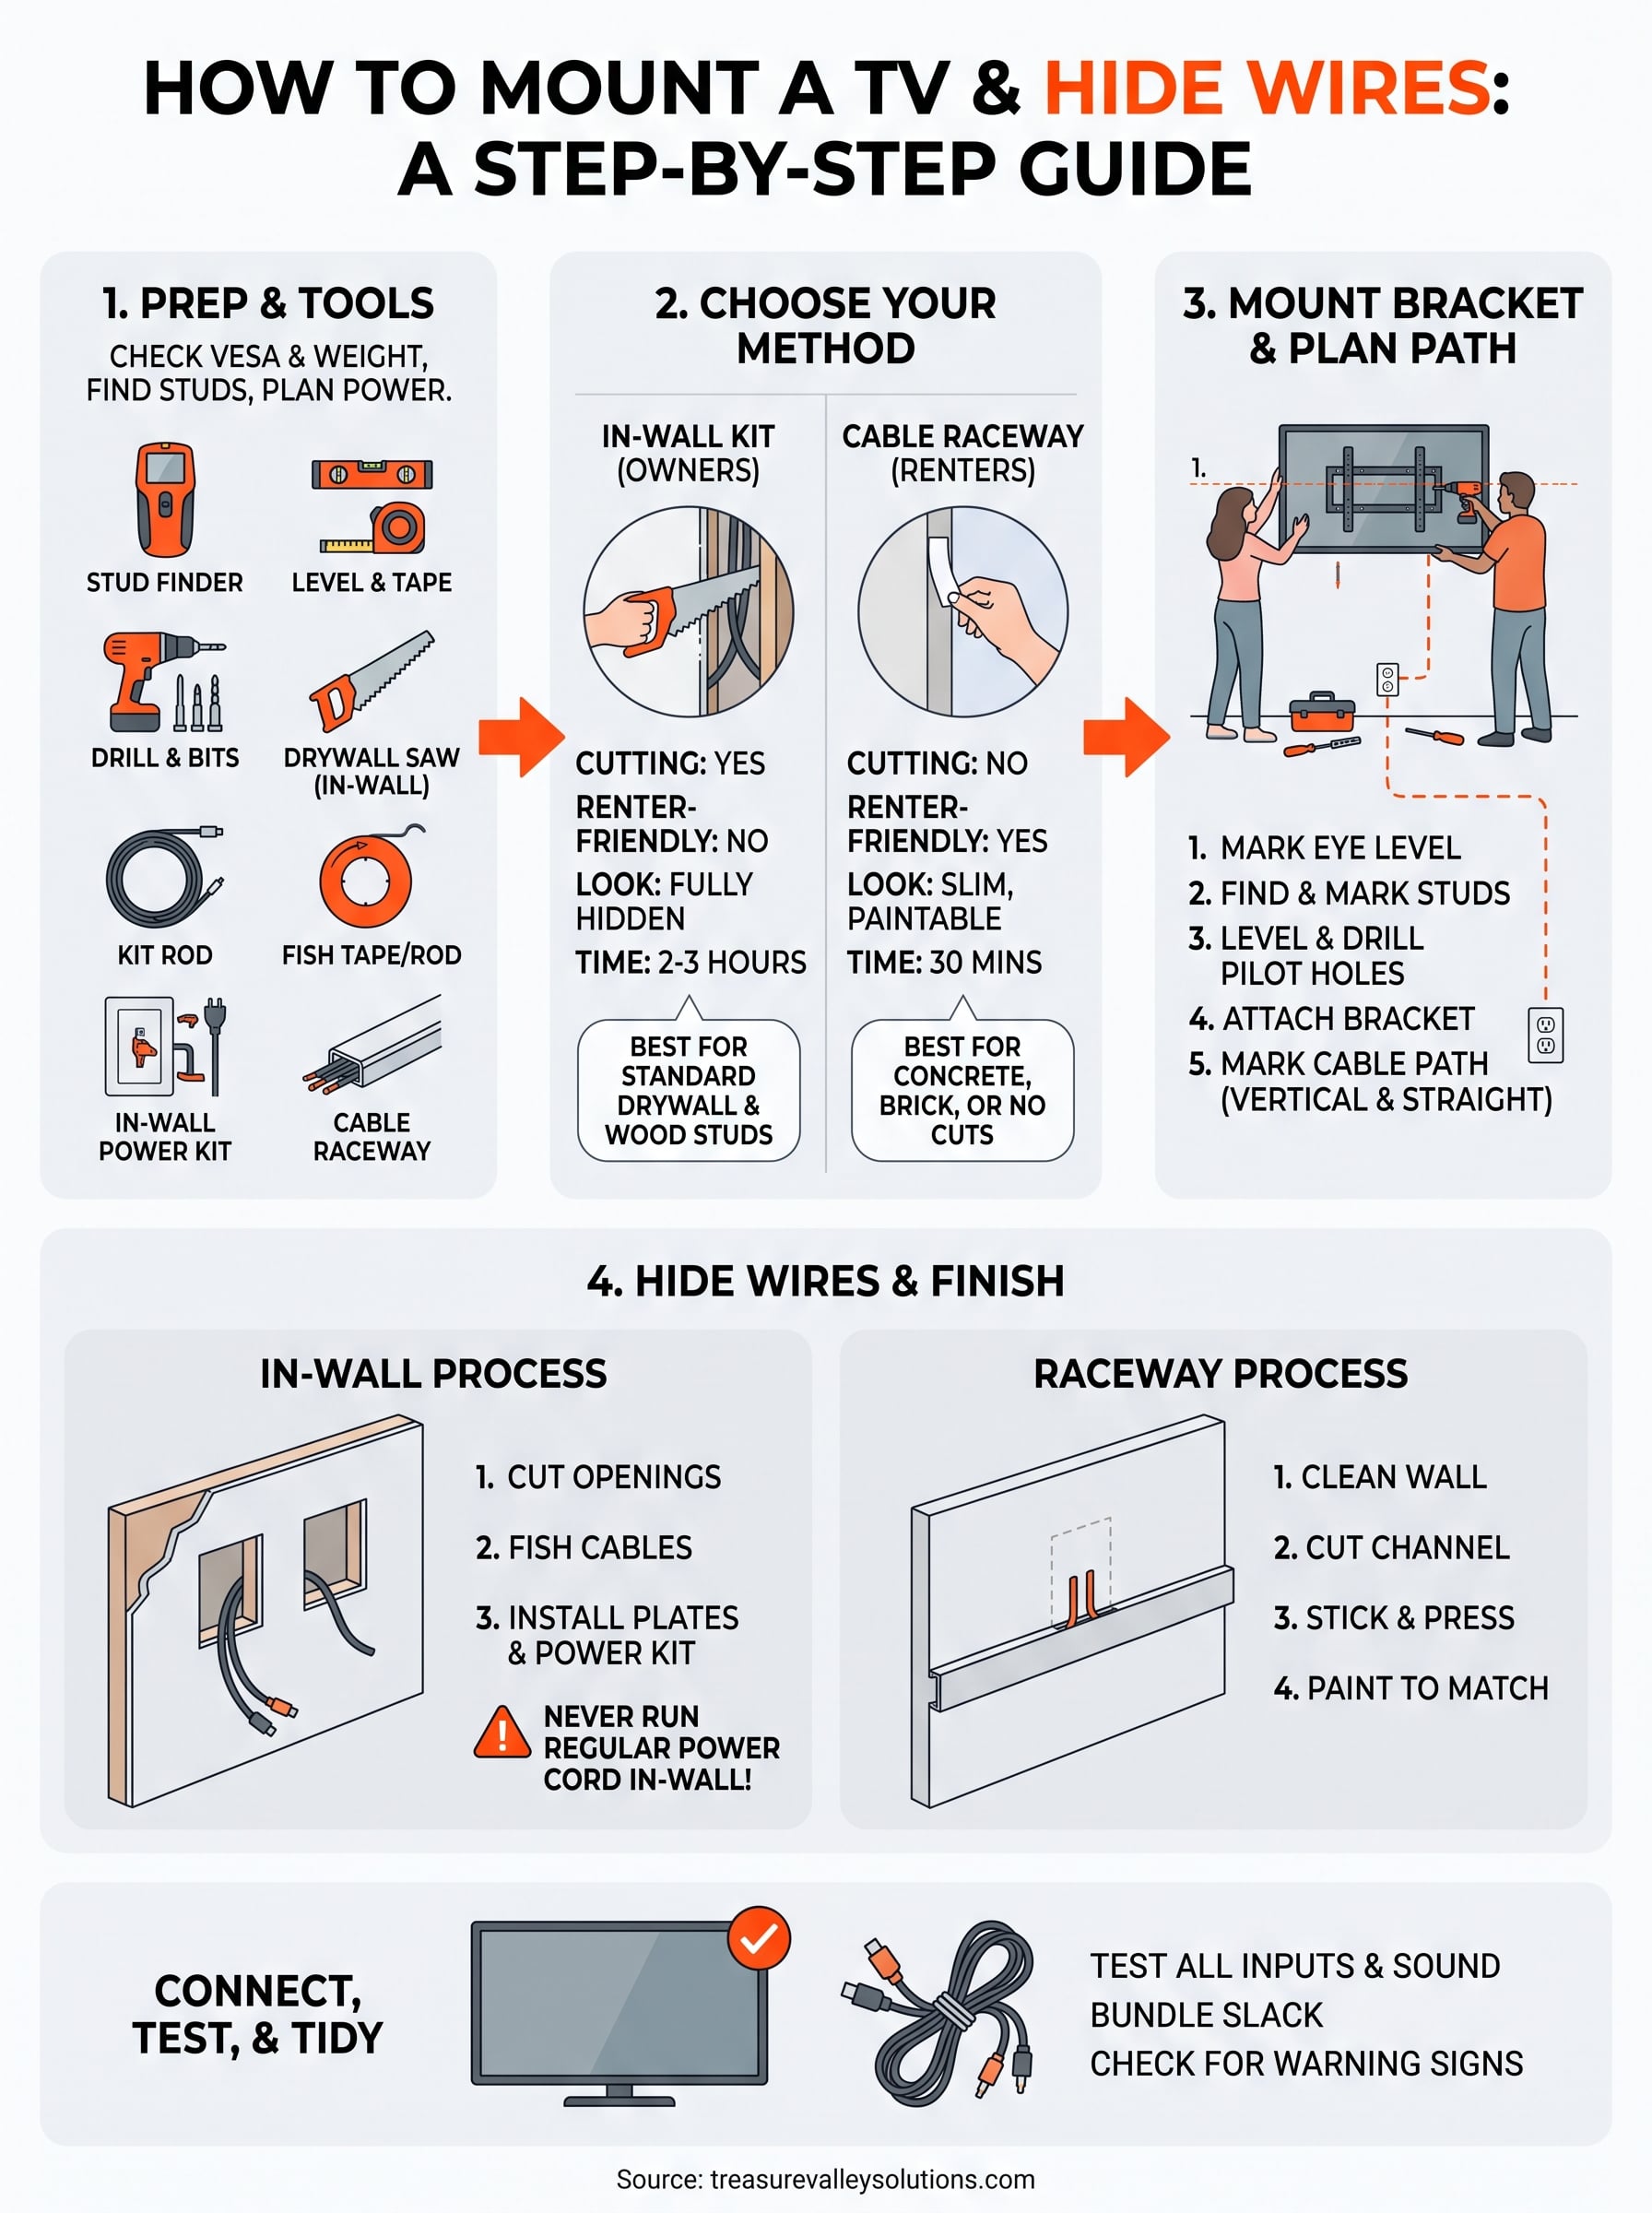
Step 1. Choose in-wall or no-cut wire hiding
Your first decision shapes every step after it. To mount a TV on the wall and hide wires, you either run cables inside the wall or cover them on the surface. Choose now, before you drill.
How the two methods compare
| In-wall kit | Cable raceway | |
|---|---|---|
| Cutting drywall | Yes | No |
| Renter-friendly | No | Yes |
| Look | Fully hidden | Slim, paintable strip |
| Time | 2 to 3 hours | About 30 minutes |
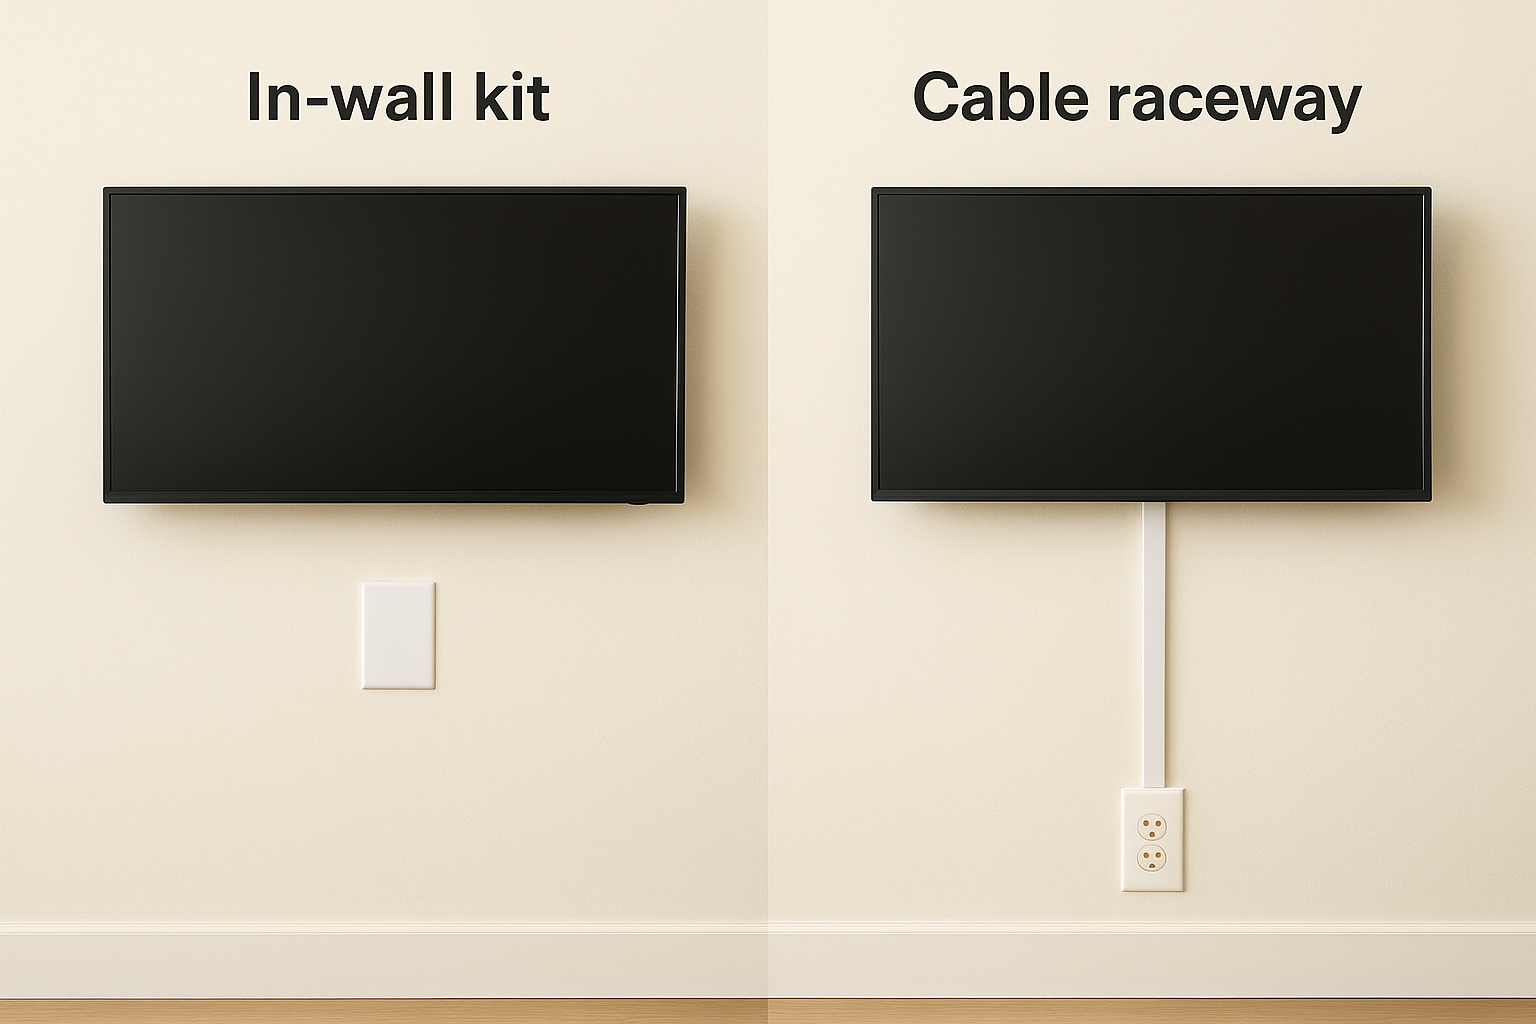
Go in-wall if you own the home and the wall is standard drywall over wood studs. You get the cleanest look, with nothing visible below the TV. Pick a raceway if you rent, or if the wall is brick, concrete, or metal studs. It leaves a thin strip you can paint, but it needs no cutting and no patching.
Own the wall and it is standard drywall? Go in-wall. Anything else, use a raceway.
Check your outlet first
Before you commit, look at where your nearest outlet sits. An in-wall kit needs one low on the wall below the TV, and a raceway needs one within reach of its lower end. If neither works, an electrician can add an outlet behind the TV.
Step 2. Mount the TV bracket and plan the cable path
This stage of how to mount a TV and hide the wires decides how clean the result looks. Get the bracket level and anchored into studs, then mark the cable path while the wall is still bare.
Mount the bracket
Two people make this much easier. Use this order:
- Mark the screen center near seated eye level, about 42 inches from the floor.
- Mark the studs with painter's tape.
- Hold the bracket up, level it, and mark the holes.
- Drill pilot holes and drive lag bolts into the studs.
- Attach the arms to the TV, then lift it onto the wall plate.
Plan the cable path
Before you cut or stick anything down, tape a straight line from the TV's ports to your outlet. For an in-wall kit, mark an upper opening just below the TV and a lower opening above the outlet, both in the same stud bay. For a raceway, keep the run vertical and straight, so it reads as a clean line.
Mark the cable path first, because every cut and every strip of raceway follows it.
Last, check the path against your earlier stud and outlet scan. If it crosses a stud, shift it to the nearest open bay.
Step 3. Hide the wires in the wall or in a raceway
This is the step in how to mount a TV and hide the wires where the cables actually disappear. Use the method you chose in Step 1 and shut off the breaker before you cut anything. Both routes follow the path you marked, so stay on that line.
In-wall kit
Cut the two openings you marked, then pull the cables between them.
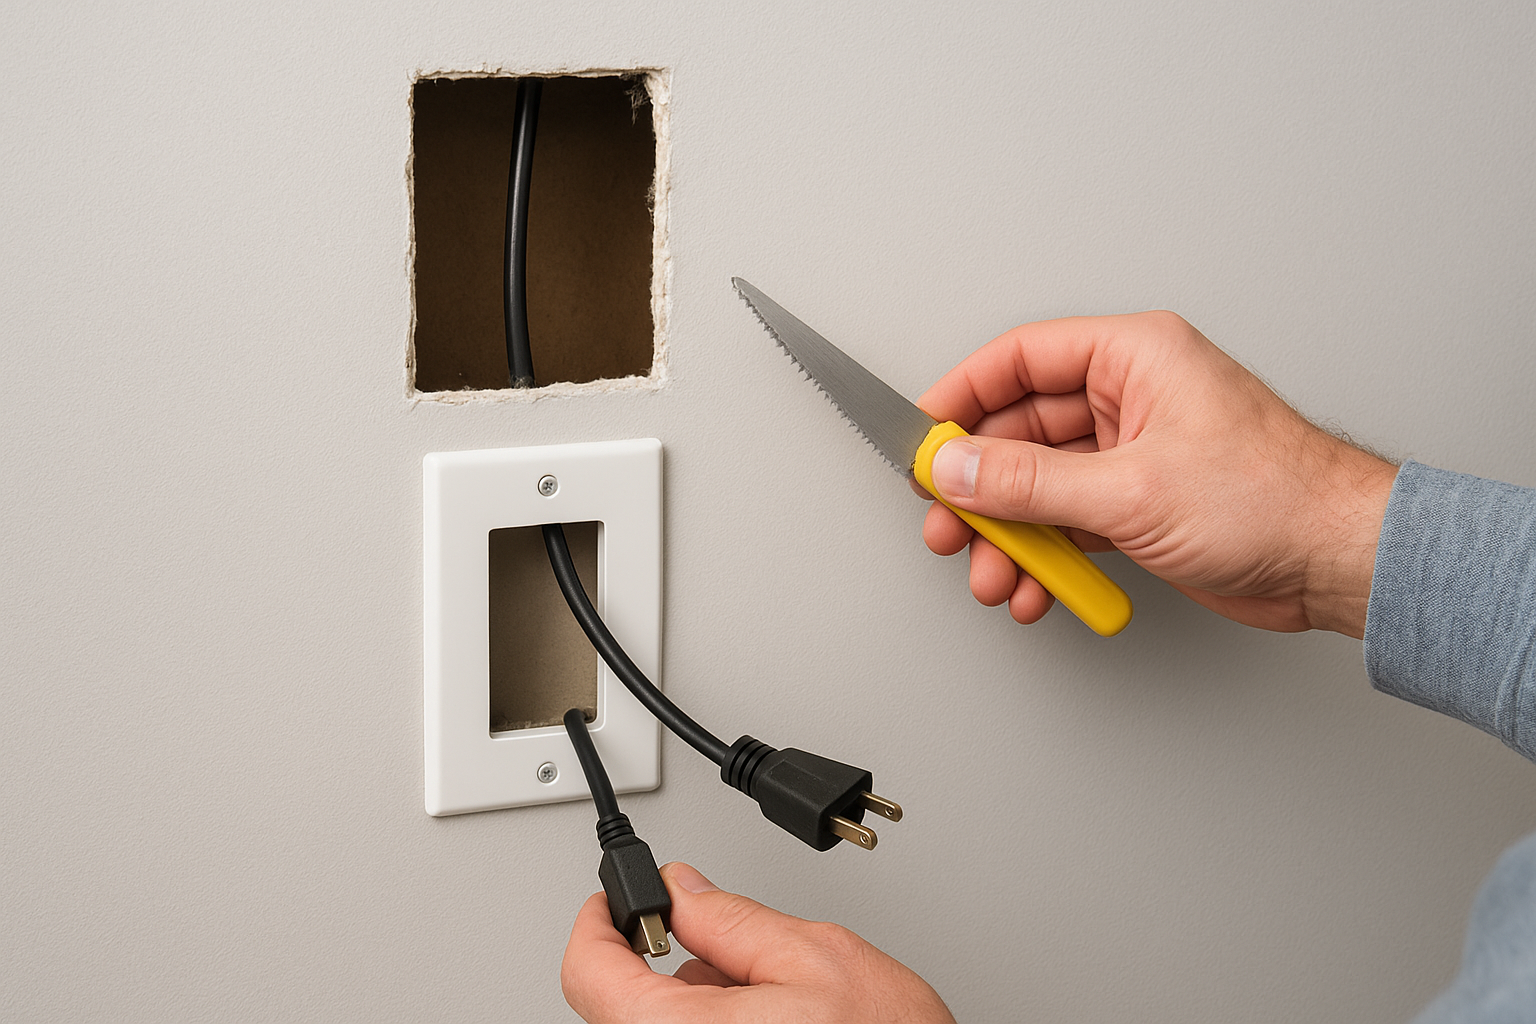
- Trace the plates and cut each opening with a drywall saw.
- Drop fish tape from the upper opening to the lower one.
- Tape the HDMI cable and power cord to it and pull them down.
- Install the plates and wire the power kit per its instructions.
If the fish tape stops short, you have likely hit a fire block, a horizontal board between studs. Move to a different stud bay instead of drilling through it.
Keep power and HDMI in separate openings, and never pull a regular cord through the wall.
Cable raceway
Raceways go up fast, and you can peel them off later if you move. Press-on adhesive strips hold best on clean, dry paint.
- Wipe the wall with rubbing alcohol.
- Cut the channel to length with a hacksaw.
- Lay the cables in, peel the backing, and press the channel flat.
- Paint it the same color as the wall.
Step 4. Connect, test and tidy the final details
Now the cables are out of sight, so finish the job properly. Test everything before you call it done, because a bad connection is far easier to fix today than after you paint.
Connect and test
Plug the cables into the TV and your devices, then turn the breaker back on. Run this quick check:
- Confirm the TV powers on and holds a steady picture.
- Switch through every HDMI input, including the streaming box and soundbar.
- Check the sound and the remote.
- Tilt or swivel the mount and watch that no cable pulls tight.
Test every input before you close anything up, because a loose cable is easiest to fix now.
Tidy the details
Finish by bundling slack behind the TV with reusable Velcro ties and labeling each cable end. If you cut drywall, fill the screw holes and paint the plates to match. Done well, you can mount a TV and hide wires so neatly that guests never spot a cord.
Call a licensed electrician if the TV flickers, a power kit feels warm, or an outlet looks scorched. Those are warning signs, not quirks.
Get a clean, wire-free TV wall
You now know how to mount a TV and hide the wires, and the job is simpler than it looks. Pick your method, anchor the bracket into studs, follow the path you marked, and test every input. An in-wall kit gives you the cleanest result if you own the wall, and a paint-ready raceway gets you almost as close if you rent.
Some walls are not worth the risk. Brick, concrete, a stone fireplace, or an outlet that is hard to reach can turn an easy afternoon into a long weekend. If that sounds like your wall, our licensed and insured technicians can handle the mounting, wiring, and cleanup for you. Reach out to Treasure Valley Solutions to plan a clean, wire-free TV install anywhere in the Treasure Valley.