 (208) 991-3502
 Meridian, ID



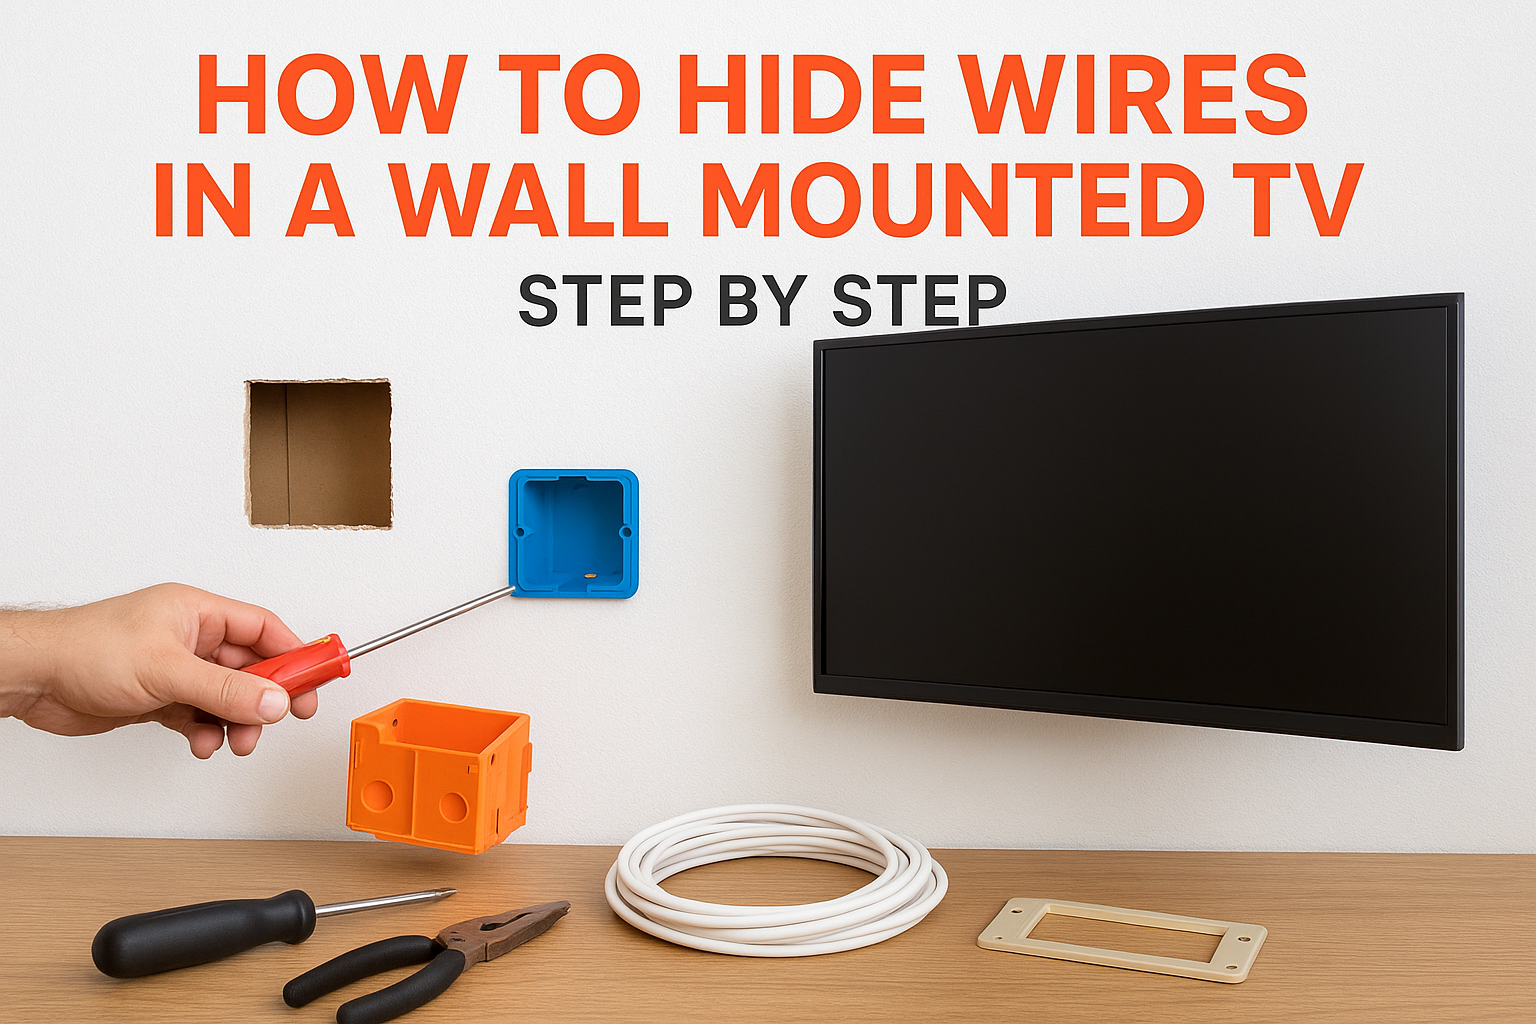

The way to learn how to hide wires in wall mounted tv setups is to run the cables inside the wall. Cut one opening behind the TV and another near an outlet below it, both in the same stud bay. Fit a p...
The way to learn how to hide wires in wall mounted tv setups is to run the cables inside the wall. Cut one opening behind the TV and another near an outlet below it, both in the same stud bay. Fit a pass-through plate or low-voltage bracket at each opening and fish in-wall-rated cables between them. Handle power with a recessed outlet or a code-compliant in-wall power kit, never a regular power cord. If you can't cut the wall, a paintable raceway gets you most of the way there.
Most people mount the TV first and see the real problem afterward. Three or four cables hang down the wall, and the power cord is the ugliest of them. Many online fixes either need an electrician or leave tape residue. The most common shortcut is also the most dangerous one: pushing a standard power cord into the wall cavity.
Treasure Valley Solutions mounts TVs and hides cables in homes across Meridian, Boise, Eagle, and Nampa. The steps below follow what our technicians do on a typical job. You will learn what is allowed inside a wall, how to cut, route, and power the setup in three steps, and what to do when cutting is not an option.
What to know before you hide TV wires in the wall
You can hide low-voltage cables inside the wall, but you cannot hide a standard power cord there. That one rule shapes every decision in this guide. The rest is routine carpentry: two openings, one clear path, and the right cable.
What can and cannot go inside the wall
Cables fall into two groups. Low-voltage cables such as HDMI, Ethernet, and speaker wire are safe in a wall when they carry an in-wall rating, usually printed on the jacket as CL2 or CL3. Power cords are different. The National Electrical Code prohibits running flexible cords through walls, so power needs its own solution, covered in Step 3.
| Cable | Inside the wall? | What to use |
|---|---|---|
| HDMI | Yes | CL2 or CL3 rated in-wall HDMI cable |
| Ethernet | Yes | In-wall rated Cat6 |
| Speaker wire | Yes | CL2 or CL3 rated speaker wire |
| Optical audio or coax | Yes | In-wall rated version |
| TV power cord | No | Recessed outlet or a listed in-wall power kit |
Low-voltage cables go inside the wall. The power cord never does.
Tools and parts to gather
Collect everything before you cut, because a half-open wall is a bad place to wait on a store run.
- Stud finder with AC wire detection
- Pencil, painter's tape, and a level
- Drywall hand saw or oscillating multi-tool
- Two old-work low-voltage brackets or pass-through wall plates
- In-wall rated cables, cut to length with extra slack
- Fish tape or glow rod, plus a weighted pull string
- Dust mask, safety glasses, and a trash bag
- A recessed outlet kit or in-wall power kit
When to skip the in-wall route
Some walls are poor candidates. Skip it for exterior walls with insulation and a vapor barrier, plaster-and-lath, brick, and stone. Also skip it for any wall where a fire block stops your fish tape. Rentals are the other obvious exception, since you should not cut a landlord's drywall. Those cases are handled in the last section.
Step 1. Plan the route and mark both openings
Choose a top opening that the TV will cover and a bottom opening beside a power outlet or behind furniture. Both must sit in the same stud bay, the empty space between two studs. A clear straight drop is what makes the rest of the job easy.
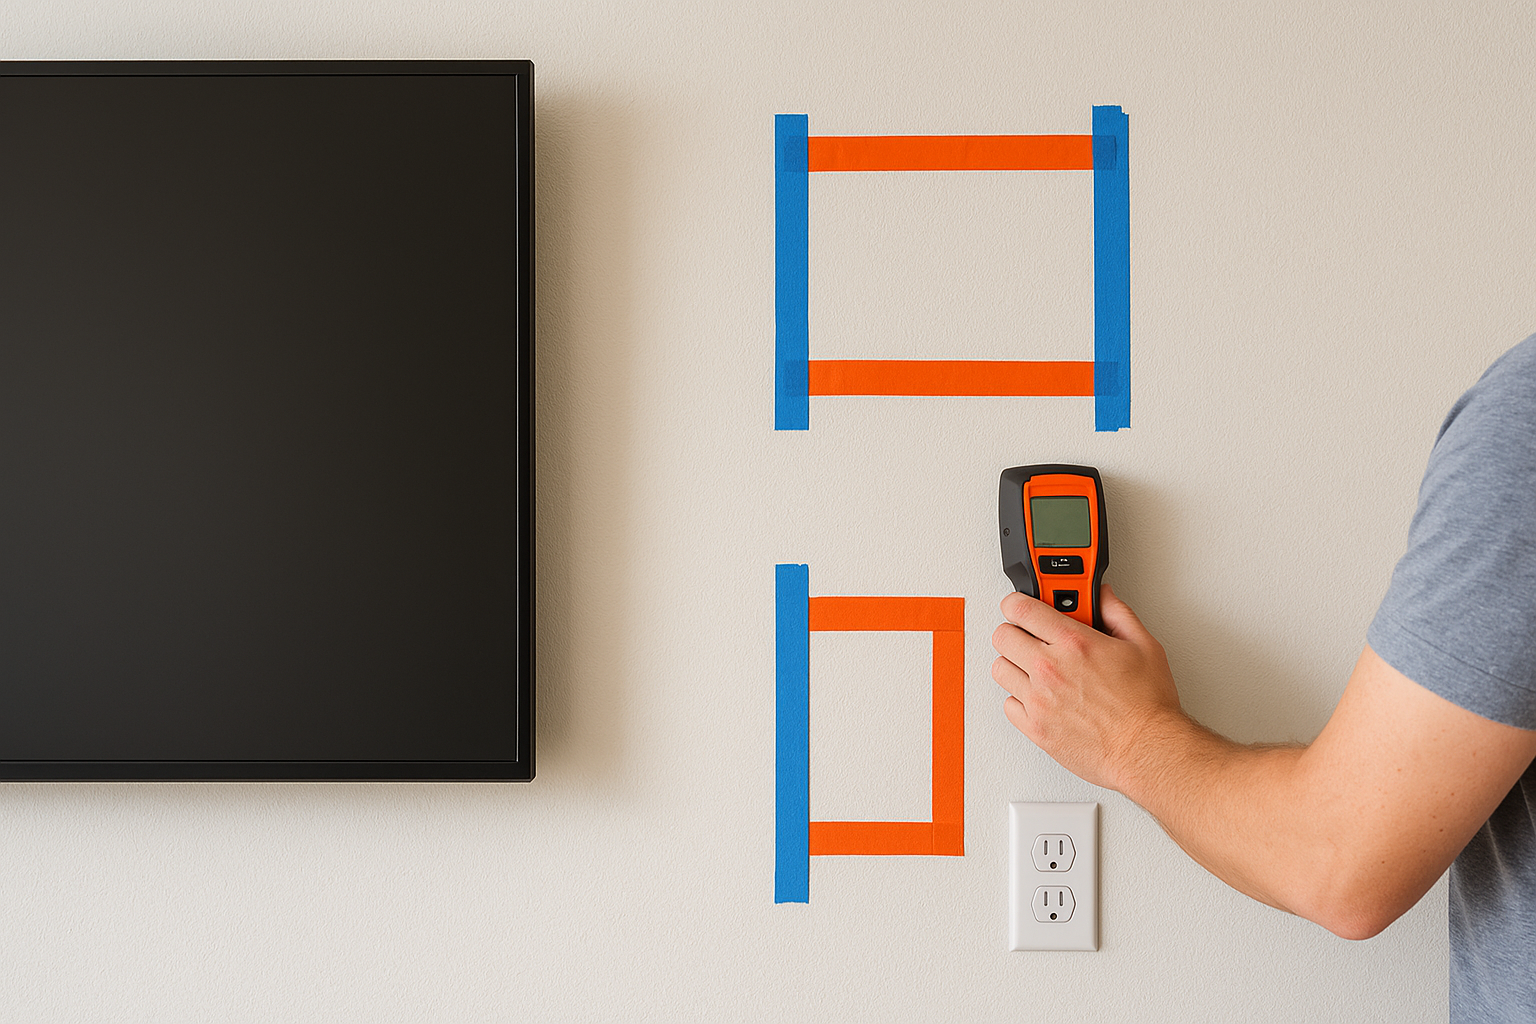
Choose the two opening locations
Start by marking the bottom edge of the TV on the wall. Then place the top opening a few inches inside that outline, behind the TV body, and away from the mount's lag bolts. The mount screws into studs, so keep your cut in the bay beside them.
Place the bottom opening directly below the top one, either just above an outlet or at a height your console will hide. Keep it at least a few inches from the outlet box itself.
Scan the bay for hazards
Run the stud finder over the whole path and mark studs with painter's tape. Switch it to AC detection and look for live wires and metal pipes. Studs in most homes are 16 inches apart on center, leaving roughly 14 inches of clear space, though some walls use 24 inches.
Next, check for horizontal fire blocking between the openings. Tap the wall and listen for a change from hollow to solid. You will confirm it properly in Step 2, but a solid thud now can save you a cut.
- Mark the stud edges on both sides of the bay.
- Mark the top and bottom opening centers on the same vertical line.
- Note any outlet, switch, or cable in or near the bay.
- Choose a new bay if you find a pipe or a bundle of wires.
Both openings go in the same stud bay, with nothing in between to snag the cable.
Step 2. Cut the openings and set the brackets
Trace each bracket on the wall, score the line, and cut through the drywall only. Then confirm the path is clear and lock the brackets in. This is the messiest step, so protect the floor and your lungs before you start.
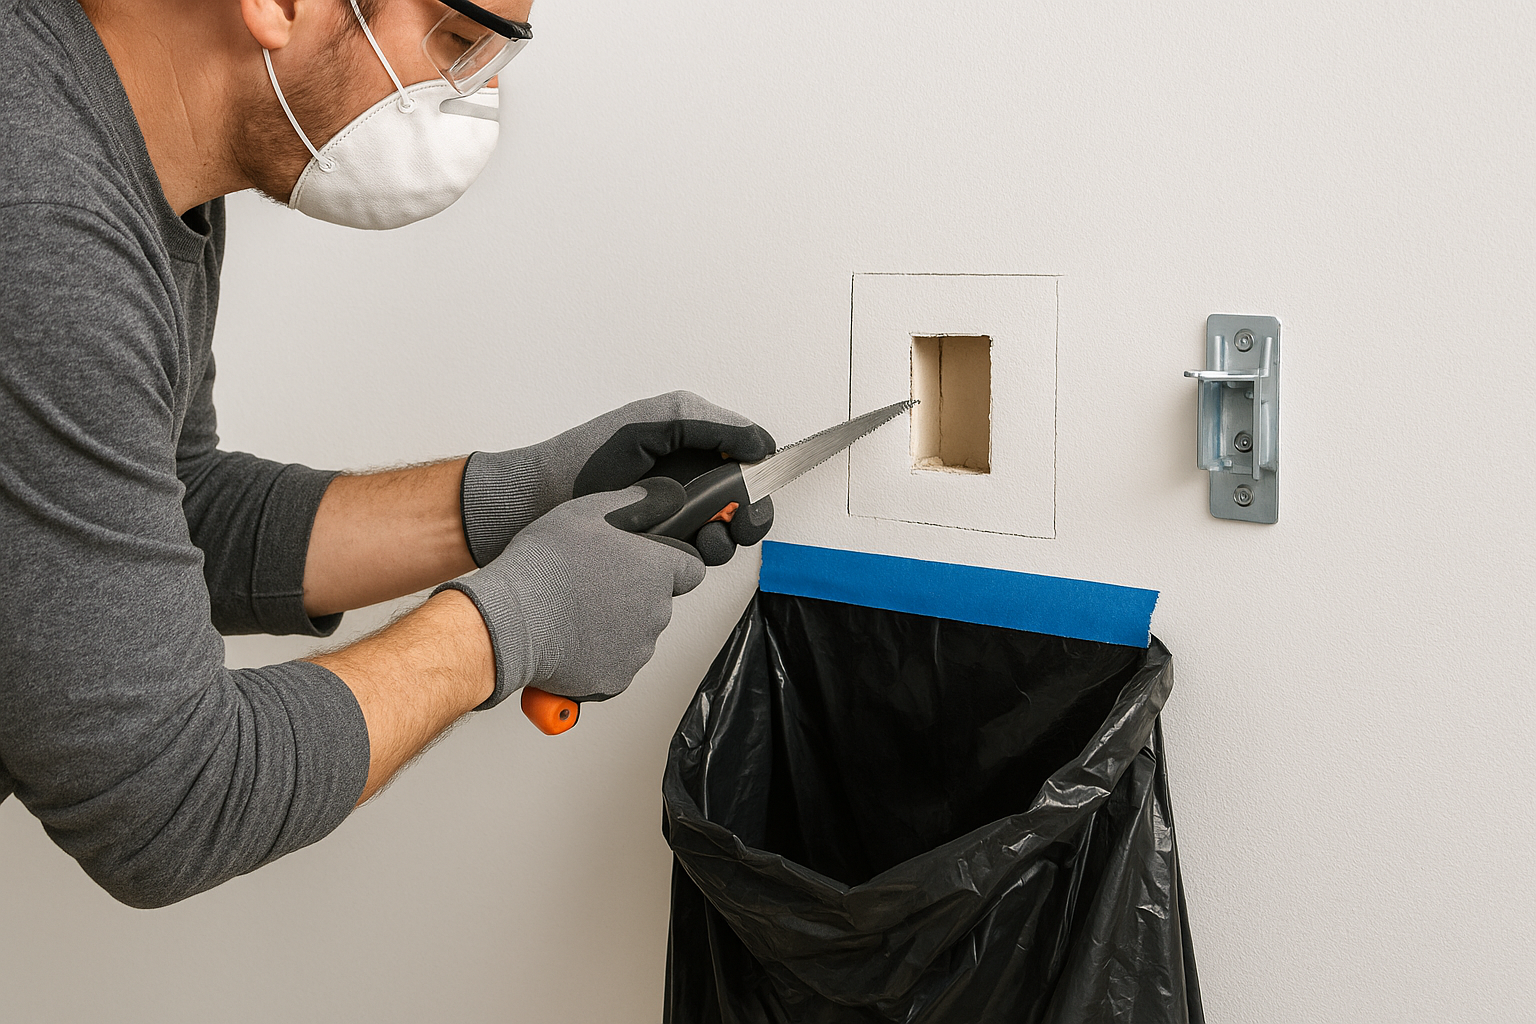
Cut clean holes
Tape a trash bag to the wall just below the bottom mark to catch dust. Hold a bracket against each mark, trace the outline, and level the lines. Score them with a utility knife, then cut with a drywall saw or oscillating tool.
Cut about half an inch deep. When the blade breaks through, stop pushing. Behind the drywall may sit insulation, wiring, or pipes that a stud finder missed. Wear a dust mask and safety glasses, and fold the bag inward when you finish.
Cut only as deep as the drywall. Everything behind it belongs to someone else's wiring or plumbing.
Check for blocking and set the brackets
Feed a weighted string or the fish tape through the top hole and let it fall. If it lands at the bottom hole, the bay is clear. If it stops, you have found a fire block. Cut a small access hole at the block and drill a one-inch hole through it. Patch the access hole afterward with drywall and joint compound.
With the path clear, push each old-work bracket into its opening and turn the screws so the tabs clamp behind the drywall. This is the standard way to hide TV wires in the wall without damaging the finish.
Step 3. Pull the cables and power the TV
Pull your low-voltage cables from top to bottom with a fish tape, then solve power separately and test everything before the TV goes back up. Do the testing before you close anything, because a bad cable is easy to swap now and miserable to swap later.
Fish the cables through
Follow this order for a clean pull:
- Push the fish tape from the bottom opening up to the top opening.
- Tape the cable ends to the hook, staggering the connectors by a few inches so the bundle stays slim.
- Pull the bundle down to the bottom opening slowly.
- Leave about 12 inches of slack at the top for the TV and a bit more at the bottom.
HDMI connectors are the bulkiest part, so protect them with tape as they travel. For runs beyond about 15 feet, choose an active or fiber optic HDMI cable to keep 4K signal reliable. Spend on the cable once, because replacing it inside a finished wall means starting over.
Solve power the safe way
The cleanest option is a recessed outlet installed behind the TV, which lets the plug sit flat in the wall. Have a licensed electrician do it, and check whether your area requires a permit.
The alternative is a listed in-wall power kit. These use rated cable and a plate-mounted inlet and outlet to move power from the TV area to a lower outlet. Follow the manufacturer's instructions exactly. Whichever path you take, keep power and low-voltage cables from sharing the same opening unless a divider separates them.
Test before you close up
Attach the plates, connect the TV, and power every device. Check picture, sound, and network. Confirm that HDMI handshakes cleanly, because intermittent signal drops usually trace to a damaged or underrated cable. Once it all works, hang the TV, tuck short patch cables into the bottom plate, and step back to see nothing but a screen.
No-cut and renter-friendly ways to hide TV wires
If you can't cut into the wall, cover the cables with a paintable raceway, tuck them behind furniture, and shorten every run you can. None of these methods is as clean as in-wall routing, but each one removes most of the visible mess without touching the drywall.
Cord covers and raceways
A raceway is a slim plastic channel that holds several cables and sticks to the wall. Choose one wide enough for your bundle, usually three or four cables. Paint it to match the wall and the channel nearly disappears. Adhesive-backed versions are renter friendly, and a hair dryer on low heat softens the adhesive when you move out.
Run the channel straight down from the TV to the outlet. Leave the power cord in the same channel only if the channel is rated for it and has room.
Furniture, decor, and shorter cables
A media console directly under the TV hides the lower cable run and the power strip. A tall plant or a floating shelf can cover the last few inches of visible cord. If you are asking what to put under your TV to hide wires, a cable box or tray that holds the power strip is the simplest answer.
Replace long cables with shorter ones, bundle slack with hook-and-loop ties, and use right-angle HDMI adapters to keep cables tight to the wall. Wireless speakers remove the speaker wire entirely.
Fireplace, brick, and stone walls
Do not drill through masonry for a cable run. Instead, mount a raceway along the side of the fireplace and paint it to match. Use adhesive rated for masonry, or have a professional screw-mount it. Keep power cords well away from the firebox and from any heat that rises past the mantel.
No cut, no problem: a painted raceway and a good console hide most of what a hole in the wall would.
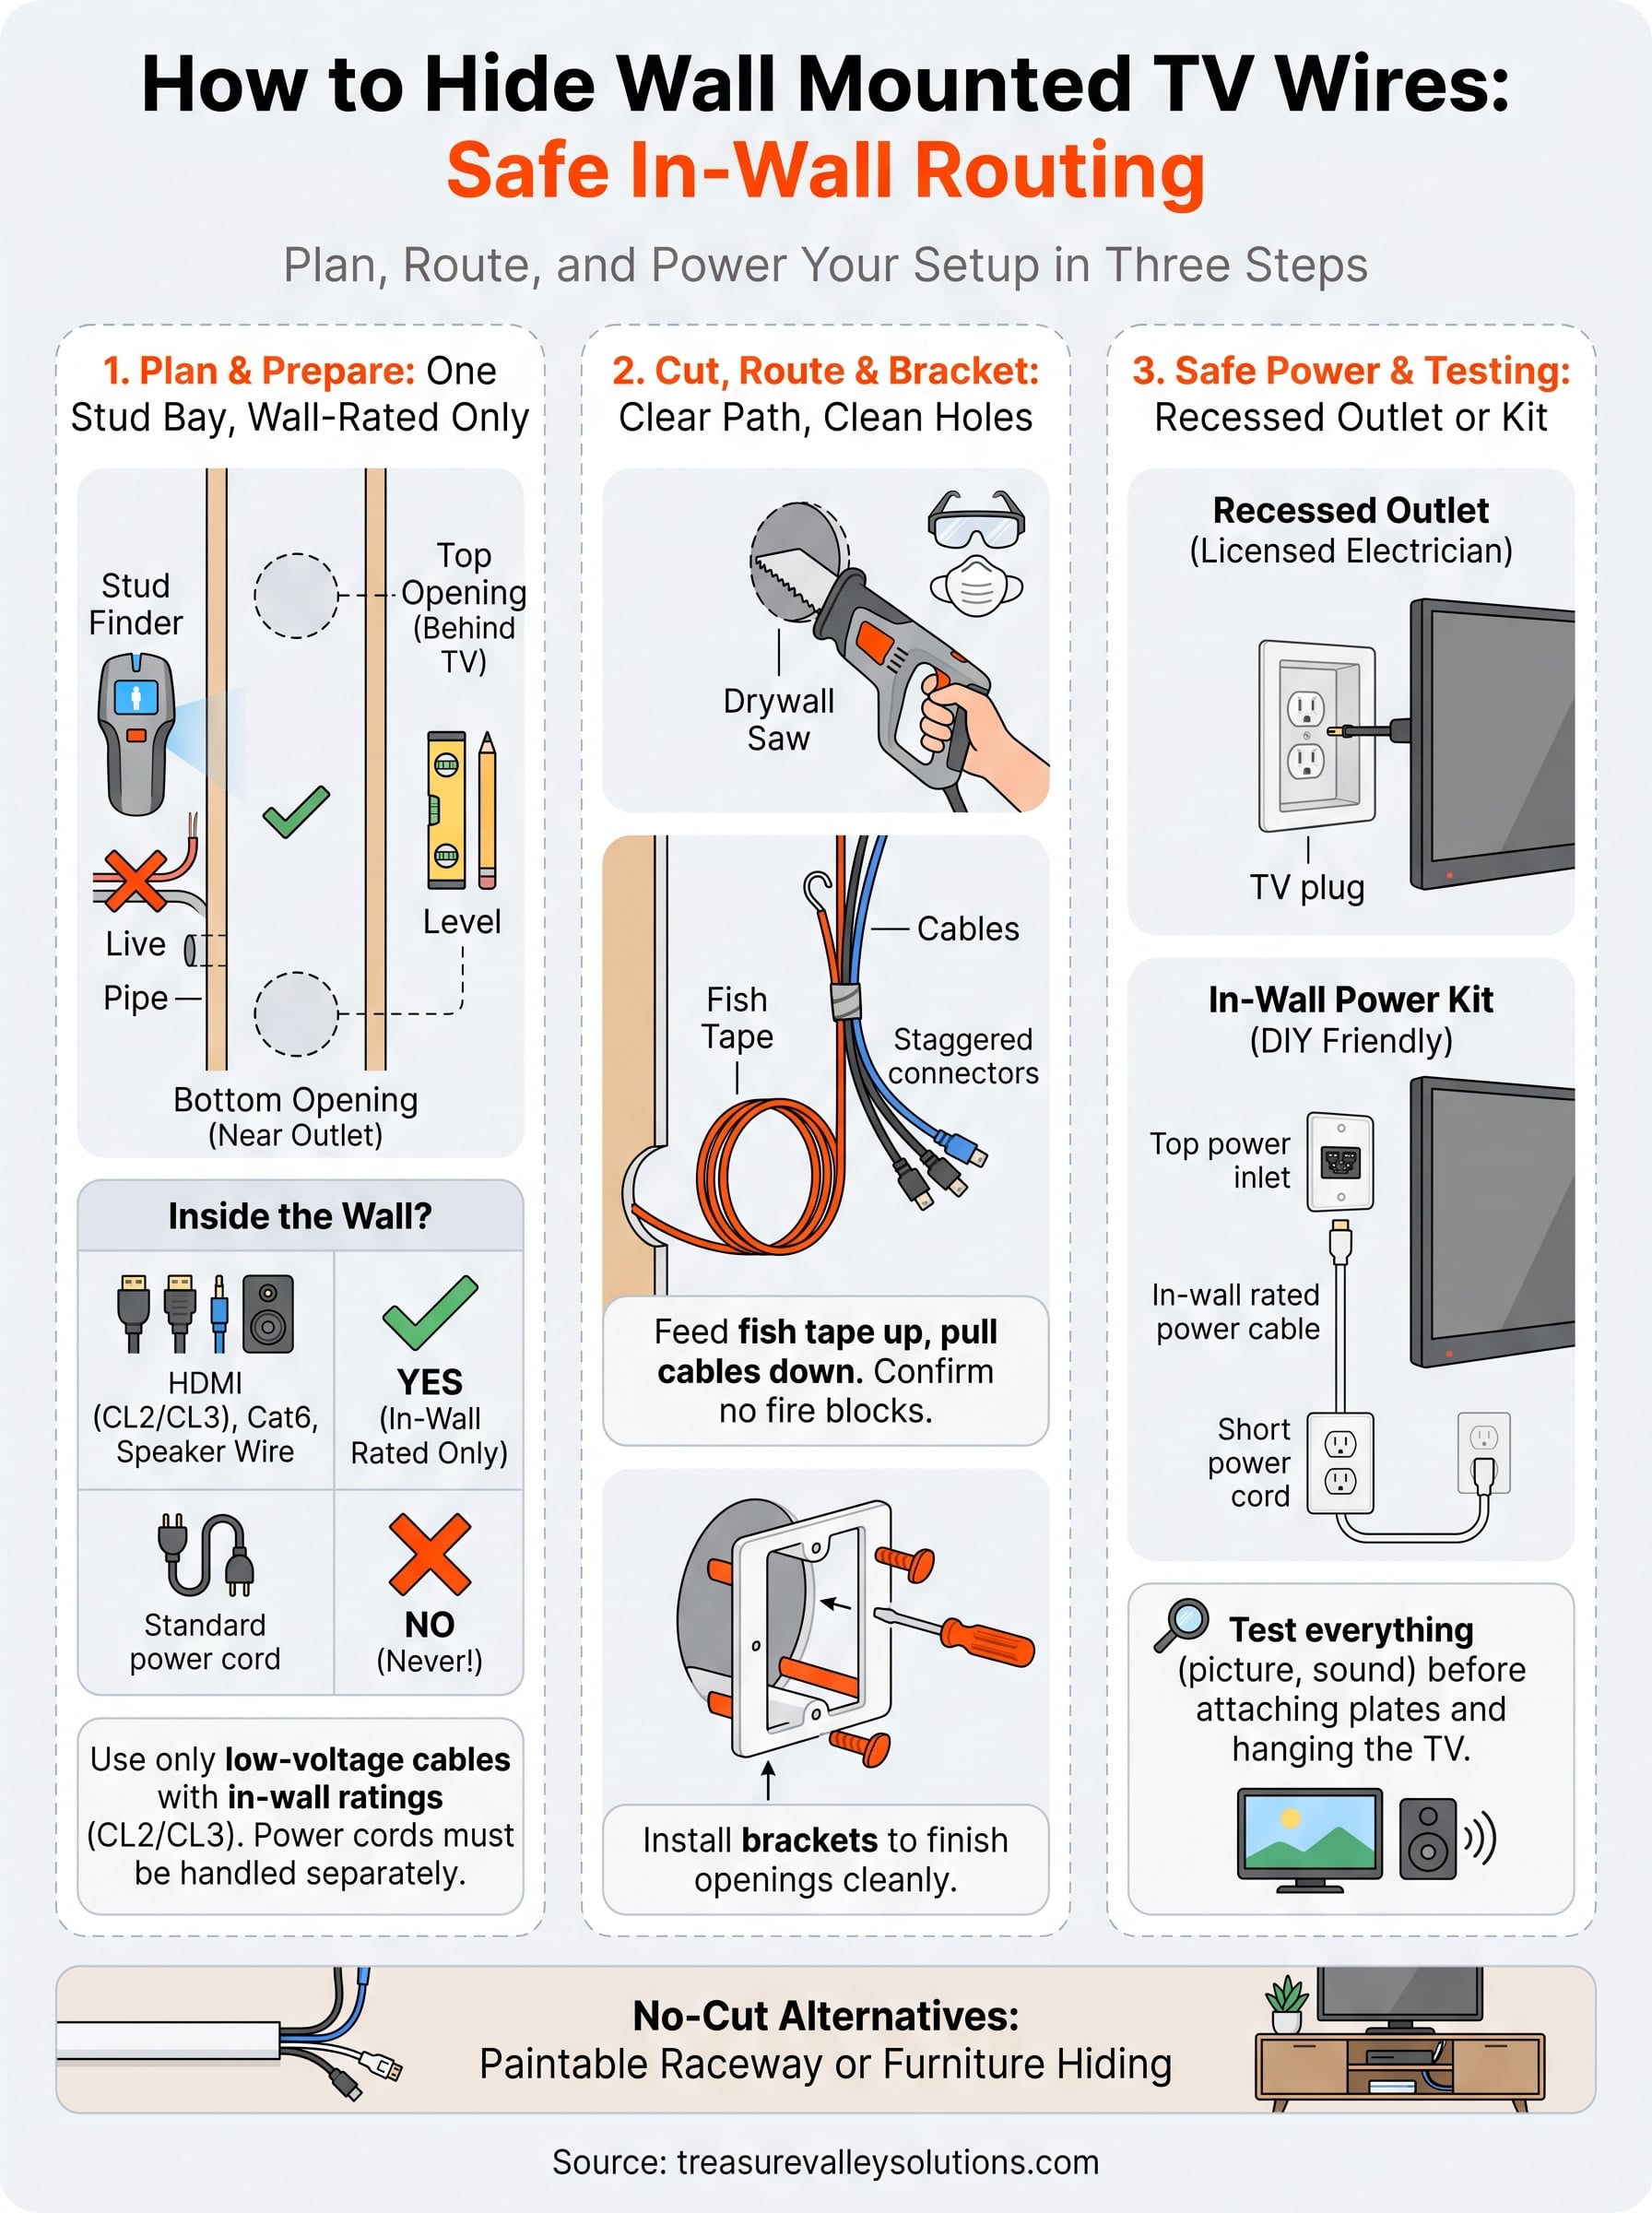
Keep the wall clean and the setup safe
Hiding wires in a wall mounted TV comes down to three ideas. Plan one straight path between two openings in the same stud bay. Run only in-wall-rated low-voltage cable inside it. Solve power with a recessed outlet or a listed kit, never a regular cord. When the wall won't allow cutting, a painted raceway and a well-placed console do most of the job.
If you would rather skip the dust and the risk, our technicians handle the mounting, the in-wall routing, and the testing in one visit. Reach out to Treasure Valley Solutions to talk through your wall and your TV, and we will tell you which approach fits your home.