 (208) 991-3502
 Meridian, ID



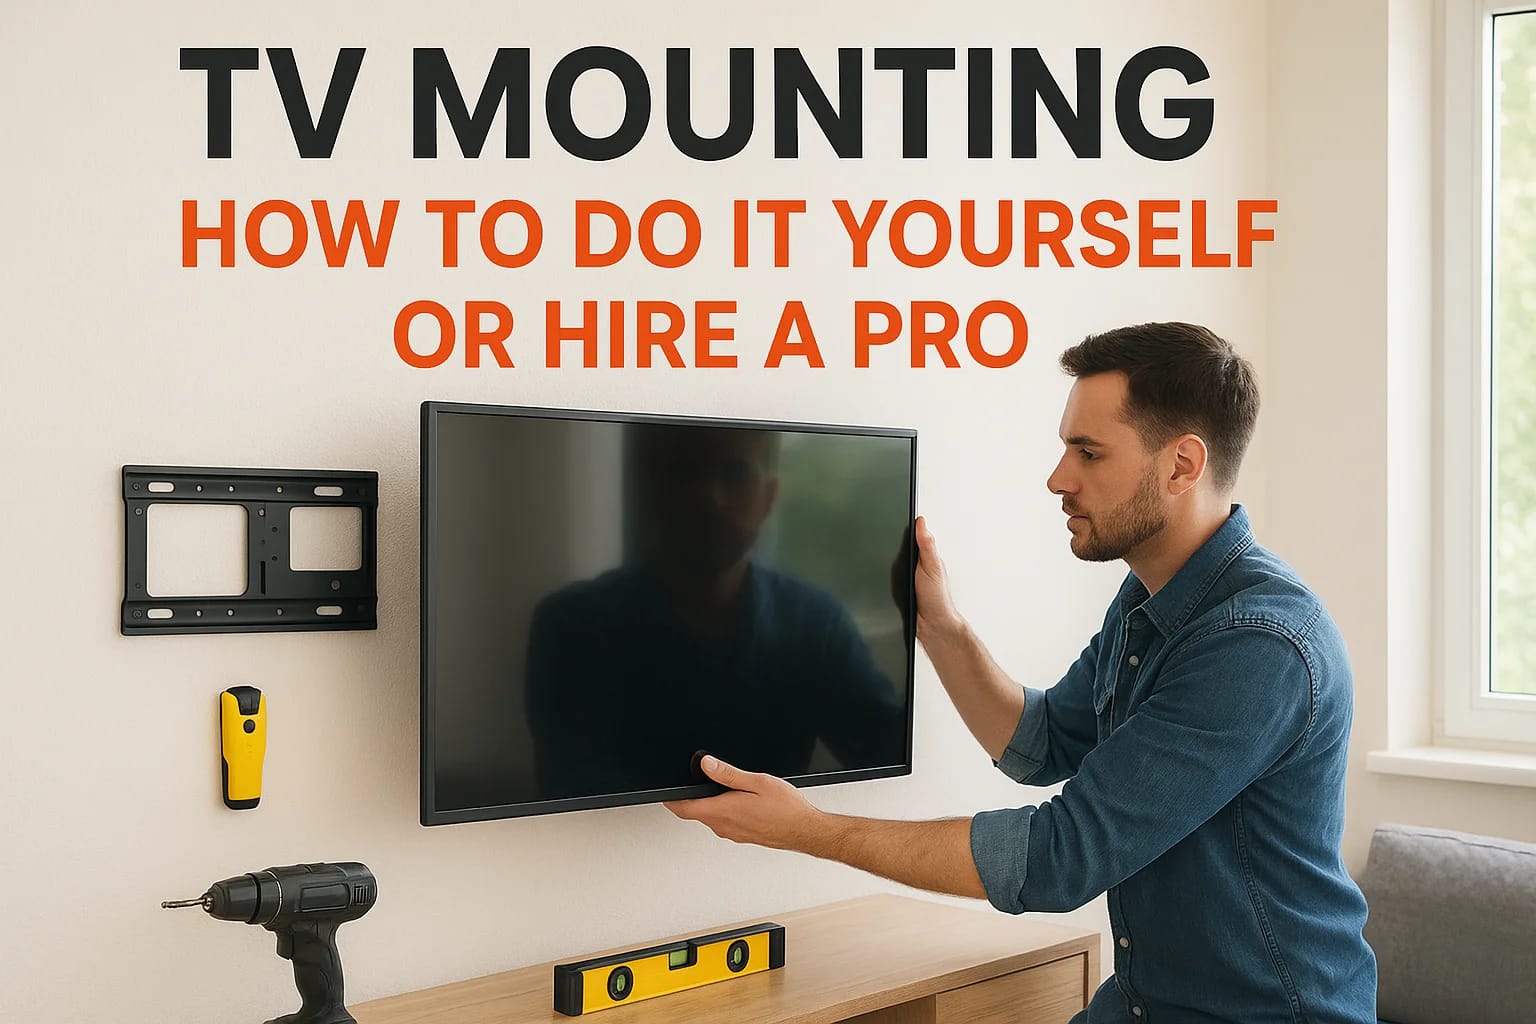

You bought a new TV, and now it's sitting on a stand while you figure out how to get it on the wall without cracking the screen or drilling into a stud that isn't there. TV mounting looks simple in a...
You bought a new TV, and now it's sitting on a stand while you figure out how to get it on the wall without cracking the screen or drilling into a stud that isn't there. TV mounting looks simple in a YouTube video, but the studs never line up where you want them, the cables end up dangling in plain sight, and that anchor kit from the hardware store wasn't rated for a 65 inch television anyway.
This guide gives you a straight answer: what it actually takes to mount a TV yourself, where DIY installations go wrong, and when paying for a professional TV mount saves you money instead of costing you more. You'll get the real cost breakdown for both routes, not just a vague range pulled from a forum post.
We'll walk through the tools and mount types you need if you're doing it solo, the wall types that trip people up in Treasure Valley homes, and the signs it's time to call in a licensed technician instead. Whether you're in Boise, Meridian, or Eagle, by the end you'll know exactly which path fits your wall, your TV, and your patience level.In-wall cable concealment and secure stud anchoring come up again and again, so we cover both in detail.
DIY or hire a pro: what to know before you start
Before you buy a mount, be honest about three things: your wall type, your TV size, and how much time you want to spend on a Saturday. A 65 inch TV weighs 40 to 60 pounds depending on the model, and it needs to hang from studs or rated anchors that can hold that weight indefinitely, not just for a few days. Get this wrong and you're not looking at a scratched wall, you're looking at a TV on the floor.
Cost is where most people make their decision, so let's put real numbers next to each other instead of guessing.
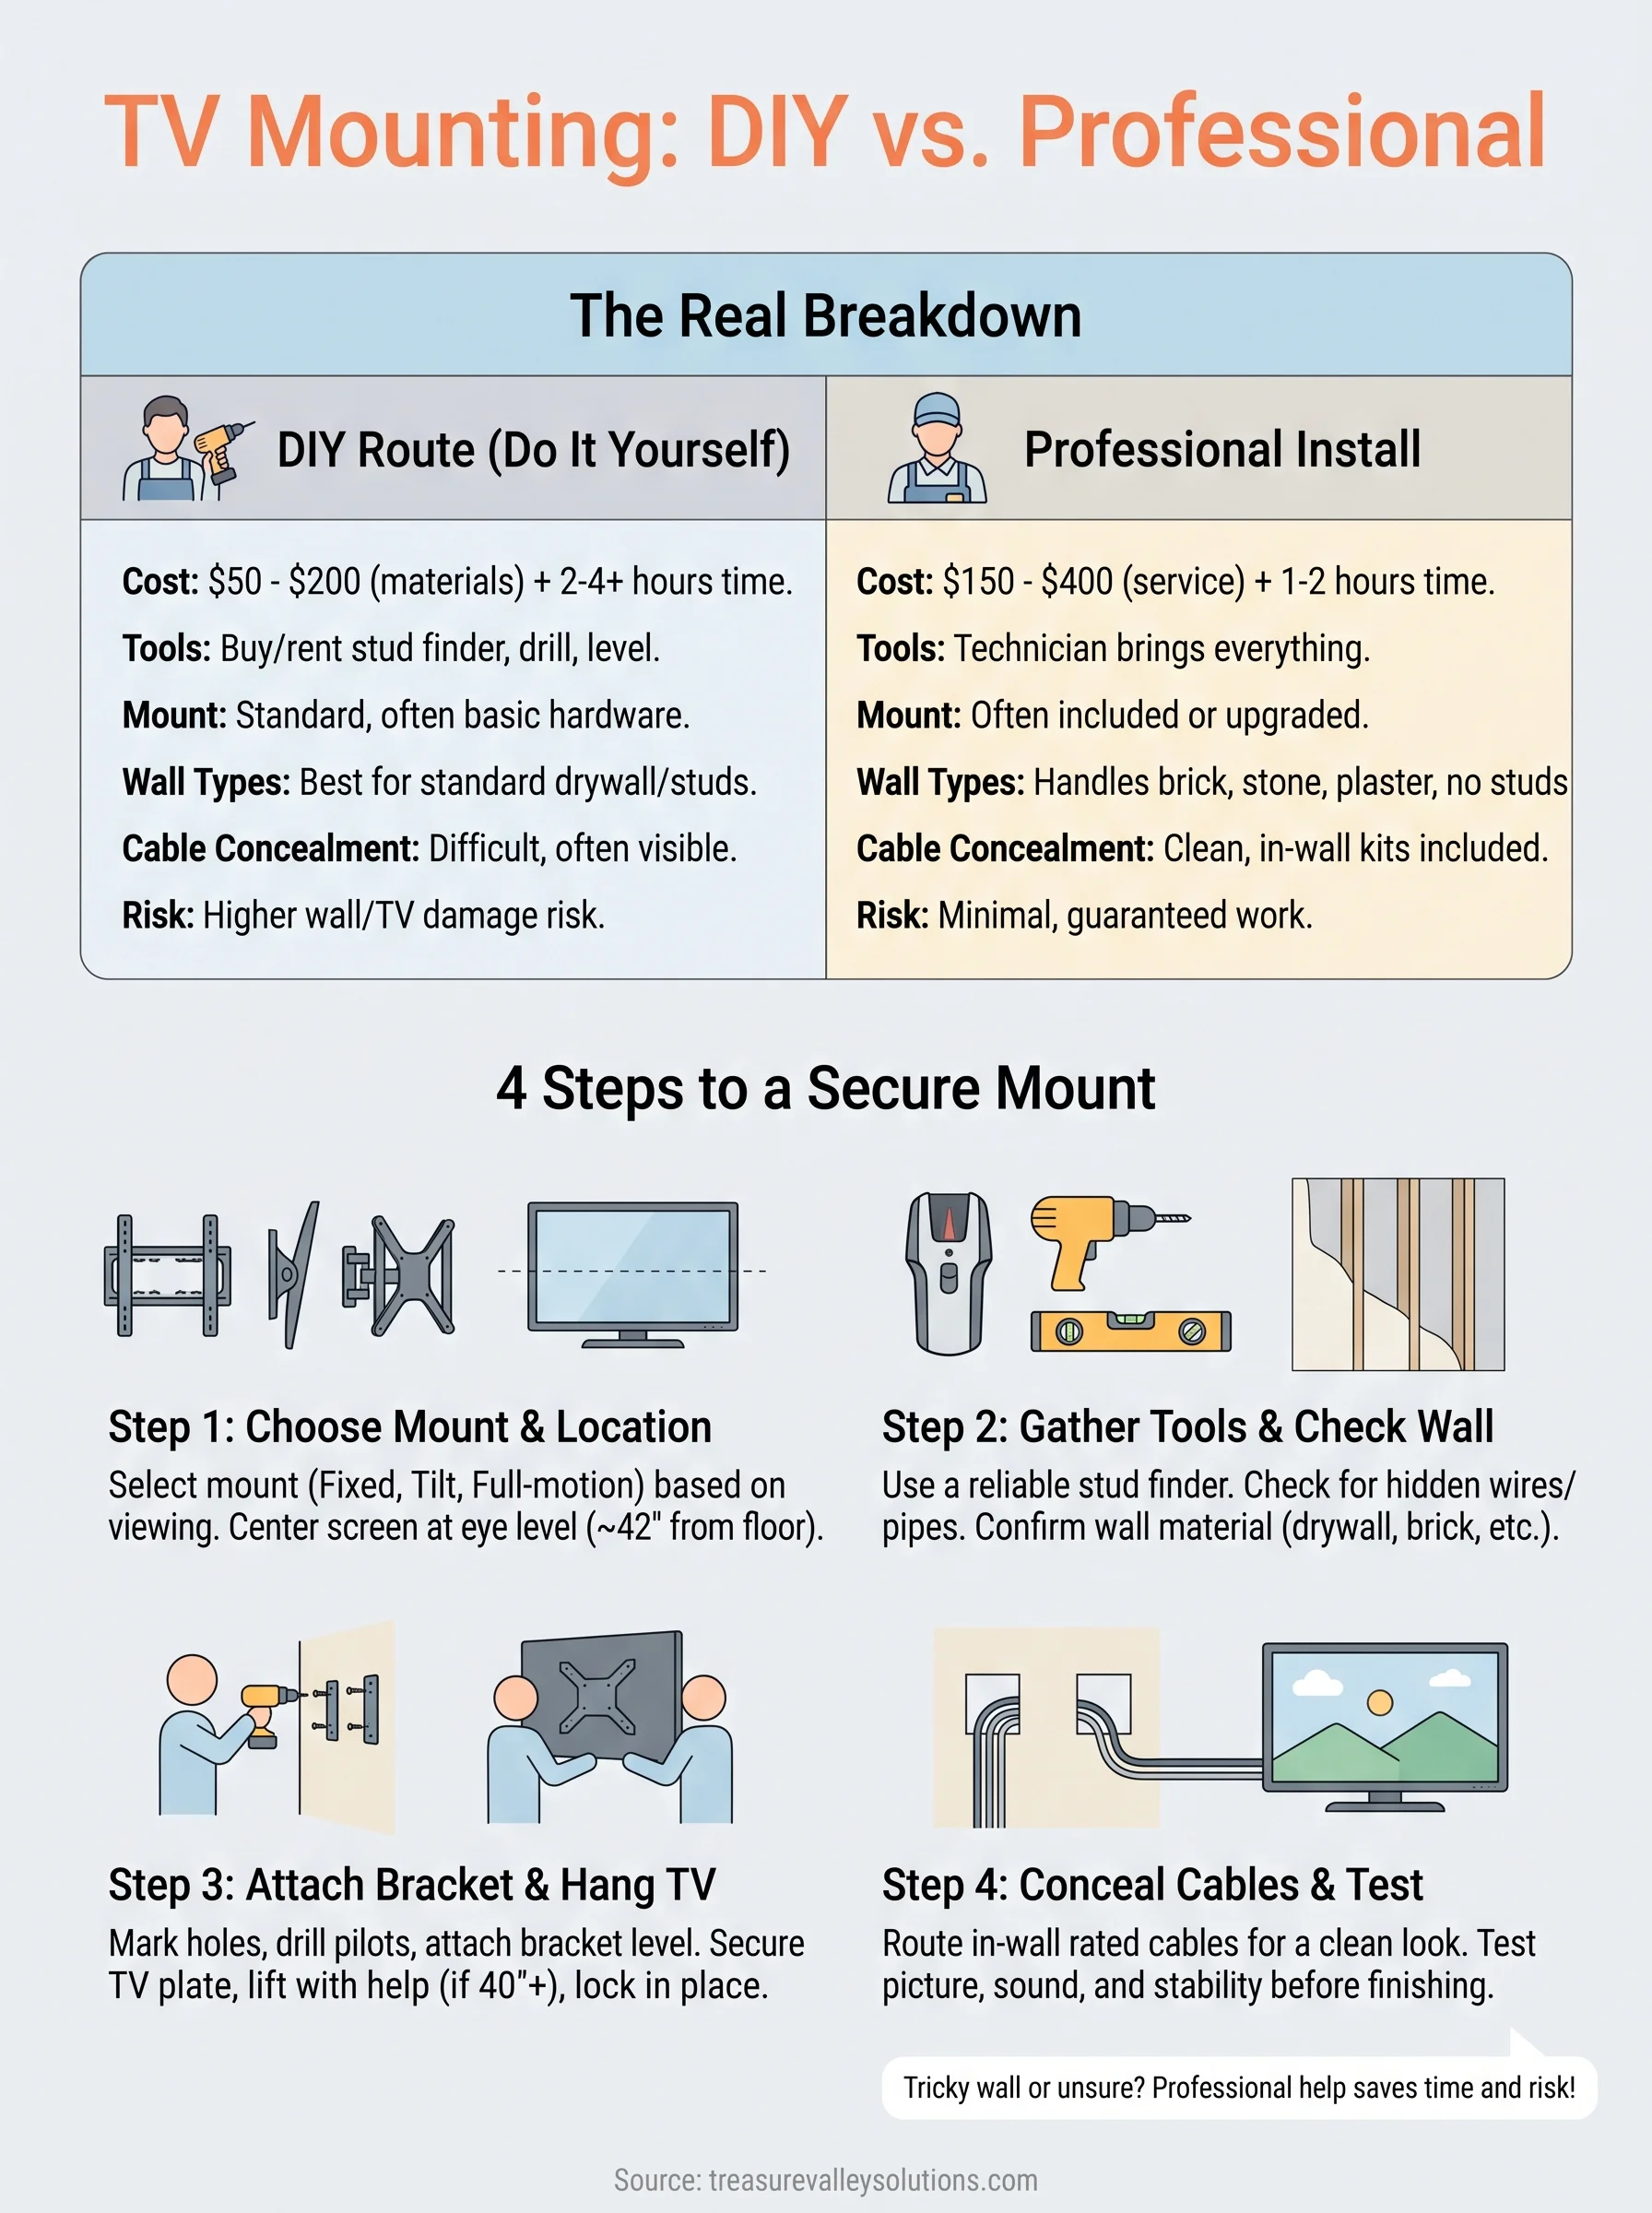
| Factor | DIY | Professional Install |
|---|---|---|
| Mount hardware | $30 to $150 | Often included or upgraded |
| Tools needed | Stud finder, drill, level, stud sensor | Technician brings everything |
| Time investment | 2 to 4 hours (more if walls fight back) | 1 to 2 hours, done right the first time |
| Cable concealment | Rarely done well without extra parts | In-wall kits installed cleanly |
| Risk of wall damage | Higher, especially on drywall-only mounts | Minimal, technicians know load limits |
| Typical cost | $50 to $200 in materials | $150 to $400 depending on TV size and wall type |
DIY makes sense if you have a single-stud wall, a TV under 50 inches, and no interest in hiding cables behind drywall. It stops making sense fast when you're dealing with brick, stone, tile, or a wall with no stud in the right spot, which happens constantly in newer Treasure Valley builds with open floor plans and accent walls.
If your wall isn't standard drywall over studs, hire a professional before you touch a drill.
Homeowners in Meridian and Eagle often assume every wall behaves the same way. It doesn't. Older Boise homes have plaster over lath, which needs different anchors entirely, and that's a detail most box store mount kits never mention.
Step 1. Choose the right mount and TV location
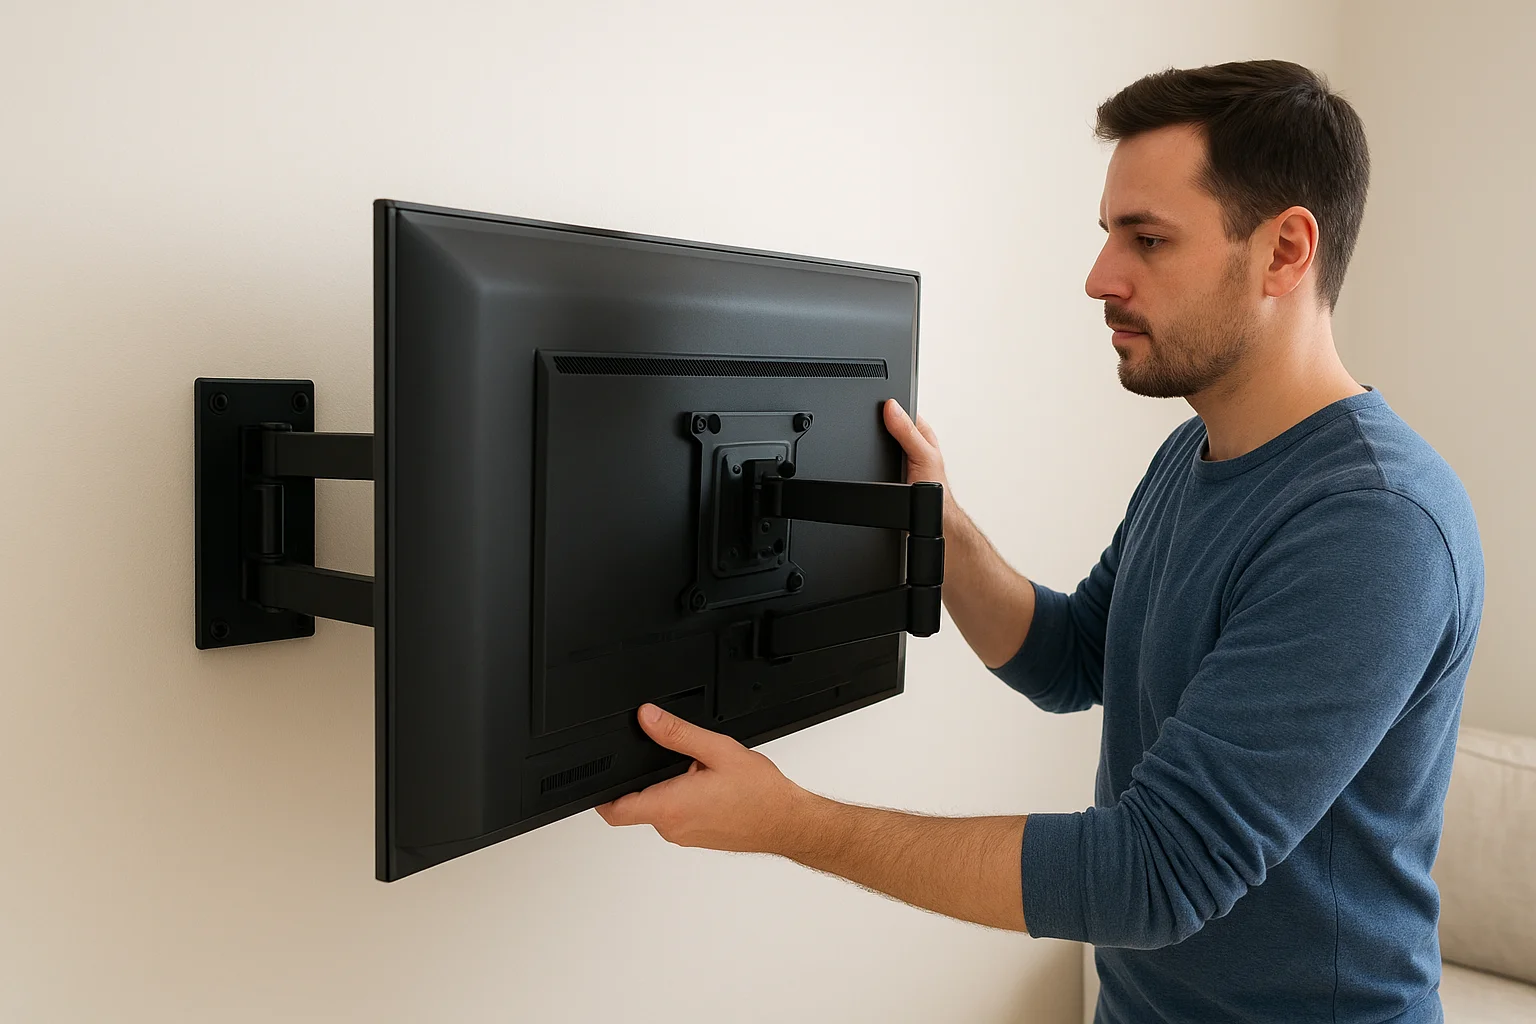
Start with how you actually watch TV, not what looks good in a showroom photo. Fixed mounts hold the screen flat against the wall and work best when you sit directly in front of it. Tilting mounts angle the screen down, which helps in rooms where the TV sits above a fireplace. Full-motion mounts swing out and pivot, ideal for wide seating areas or open-concept living rooms common across Meridian and Eagle homes.
Picking the mount type
| Mount Type | Best For | Price Range |
|---|---|---|
| Fixed | Direct sightline, budget installs | $20 to $60 |
| Tilting | Above fireplace, glare reduction | $40 to $90 |
| Full-motion | Wide rooms, multiple seating angles | $80 to $200 |
Finding the right height and angle
Height matters more than most people think. Center the screen at eye level while seated, usually 42 inches from the floor to the middle of the display.
Mount height should match how you sit, not how the wall looks empty above the fireplace.
Measure twice before drilling once, especially near outlets or vents that limit placement.
Step 2. Gather tools and check your wall
Grab your gear before you start punching holes. You'll want a stud finder, a drill with the right bits, a level, a socket wrench, and a pencil for marking hole locations. Skipping the stud finder is the number one mistake in TV mounting, since guessing at stud placement leads to crooked brackets and stripped anchors that won't hold weight for long.
Checking what's behind the drywall
Run the stud finder across the whole width of your planned mount area, not just one spot. Studs typically sit 16 inches apart on center, but older Boise homes and custom builds sometimes break that pattern entirely.
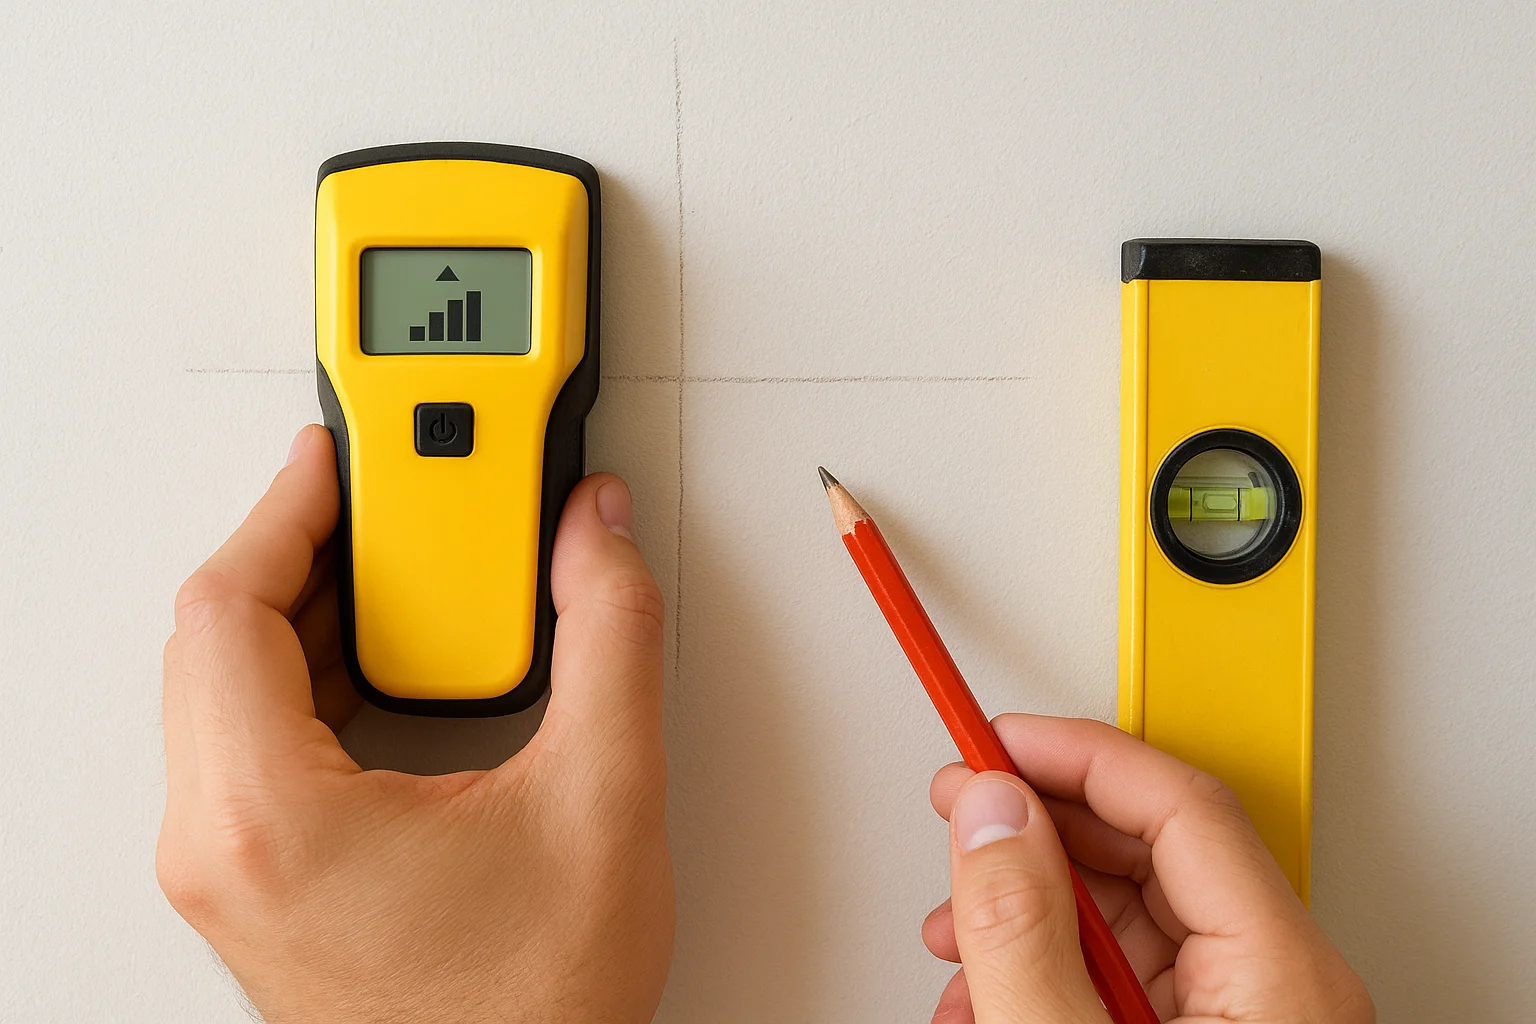
- Mark both edges of each stud, not just the center
- Tap the wall to listen for a hollow sound between studs
- Check for outlets, vents, or plumbing lines hidden behind the surface
- Confirm wall material: drywall, plaster, brick, or tile all need different anchors
A stud finder costs less than a service call, but skipping it costs a lot more.
When the wall says no
If you hit brick, stone, tile, or a wall with no stud where you need one, stop before you drill. This is exactly the point where DIY installations turn into wall damage, and it's worth calling a professional before committing to a hole you can't undo.
Step 3. Attach the bracket and hang the TV
Once you've confirmed stud locations, hold the wall bracket against the wall and mark every hole with a pencil. Drill pilot holes slightly smaller than your lag bolts, then attach the bracket with a socket wrench, checking the level after every bolt goes in. A bracket that's off by even a few degrees will look wrong from across the room, so recheck before you tighten the final bolt.
A level bracket takes an extra thirty seconds and saves you from redoing the whole job.
Mounting the TV plate
Next, attach the mounting plate to the back of your TV using the bolts included with your mount kit. Match bolt length to your TV's VESA pattern, since a bolt that's too long can crack the screen from the inside.
- Confirm VESA hole spacing matches your mount before drilling anything
- Use washers if the kit includes them
- Get a second person to help lift TVs over 40 inches
Locking it onto the wall bracket
Lift the TV onto the wall bracket and listen for the click or feel the plate seat into place. Give it a gentle tug downward to confirm it's locked, then step back and check that it sits level before you move on to cables.
Step 4. Conceal cables and test the setup
Once your TV is locked onto the bracket, deal with the cables before you call the job finished. Loose cords hanging down the wall undo all the work you just did on a clean install. An in-wall cable kit routes your power and HDMI lines behind the drywall, giving you a finished look without an electrician on standby, as long as you're not running cables through a fire-rated wall without the right rated cable.
Routing cables the right way
Cut two openings behind the TV, one up top near the mounting plate and one lower near your outlet, then feed the cables through with a fish tape or the pull cord included in most kits.
- Use in-wall rated cable for any power line
- Keep HDMI and power separated to avoid interference
- Leave slack at both ends in case you need to reposition later
Cable concealment is the detail that separates a mounted TV from a finished install.
Testing before you walk away
Power everything on and check your picture, sound, and any streaming devices before you clean up your tools. Confirm the TV holds its angle and doesn't drift. If anything looks off, this is the moment to fix it, not after the ladder's already put away.
Getting the view right for your space
Mounting a TV comes down to matching the job to your wall, your patience, and your TV's weight class. DIY installations work fine on standard drywall with studs in the right place, a TV under 50 inches, and no interest in hiding cables. Once you're dealing with brick, plaster, tricky wall cavities, or a full in-wall cable concealment setup, the math shifts fast toward hiring it out.
Getting TV mounting right the first time means no cracked screens, no crooked brackets, and no cords hanging down your living room wall. Treasure Valley homes vary enough in construction that guessing rarely pays off.
If you'd rather skip the stud finder and ladder altogether, our technicians handle everything from bracket to cable in about an hour. Contact our team to schedule a clean, professional install.
Need Expert Help?
Ready to implement these solutions in your own home or business?
Our Services
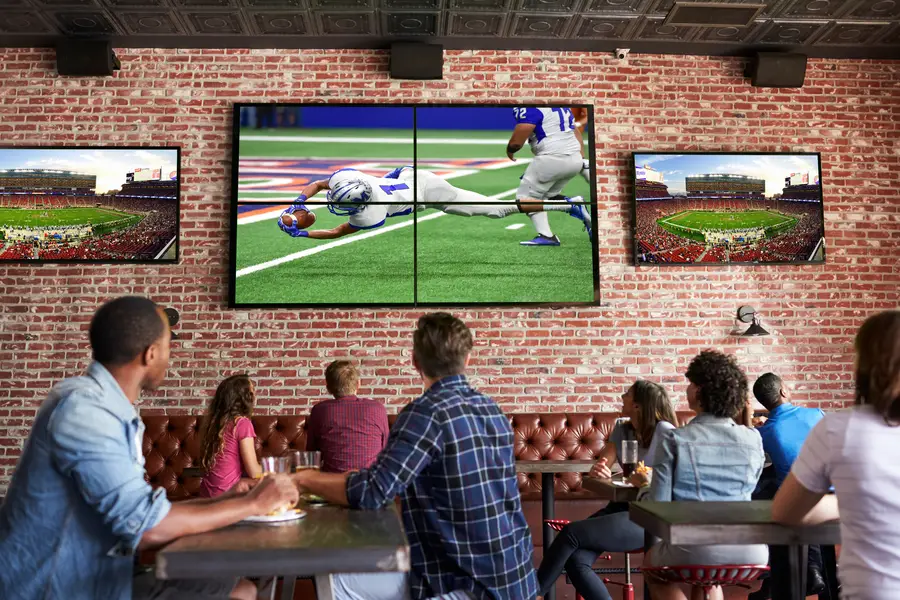
Expert TV Mounting Treasure Valley Homeowners & Businesses Trust

Home theater design and installation planned around your room, viewing goals, and equipment scope.
Serving the Treasure Valley
Local installation in your city