 (208) 991-3502
 Meridian, ID



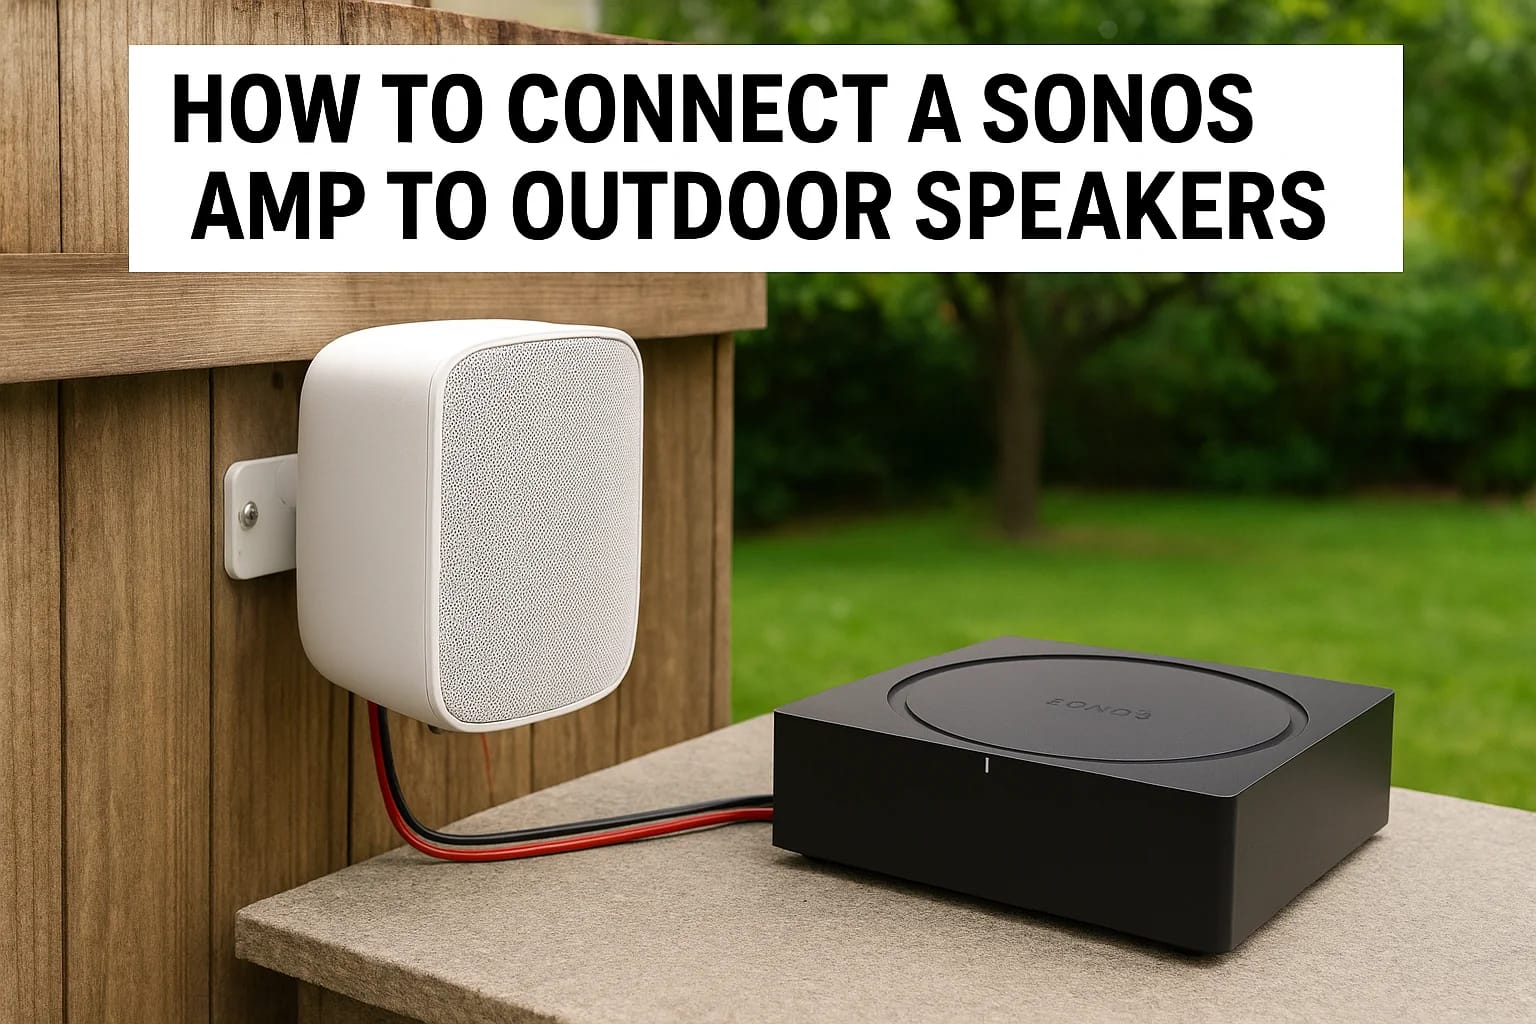

You want music on the patio, but you're staring at a Sonos Amp and a pair of outdoor speakers wondering how the wires actually connect, and whether the setup will survive an Idaho winter. A sonos amp...
You want music on the patio, but you're staring at a Sonos Amp and a pair of outdoor speakers wondering how the wires actually connect, and whether the setup will survive an Idaho winter. A sonos amp for outdoor speakers is one of the most reliable ways to build whole-yard audio, but the wiring, wattage, and weatherproofing details trip up a lot of DIYers before they ever hear a note.
Here's the short answer: yes, outdoor speakers need an amp like the Sonos Amp because they're passive, meaning they have no built-in power source of their own. The Sonos Amp supplies 125 watts per channel, handles two pairs of speakers, and streams over your home network, so once it's wired correctly, everything runs through the Sonos app.
In this guide, we'll walk through choosing compatible outdoor speakers, matching impedance and wattage correctly, running weatherproof wiring from an indoor or garage-mounted amp, and connecting everything step by step. We install these systems across Meridian, Boise, and Eagle every week, so we're sharing what actually works, not just what the manual says.
Why you need a Sonos Amp for outdoor speakers
Outdoor speakers look simple until you realize they're passive components, just wire terminals with no electronics inside. They can't create sound on their own; they need a source of amplified signal to push air through their drivers. That's the entire reason do sonos outdoor speakers need an amp questions keep coming up online. Without one, you have two expensive paperweights bolted to your patio wall.
Passive speakers can't power themselves
Speakers convert electrical signal into sound waves using a magnet and voice coil, and that conversion takes real power, often 50 to 100 watts per speaker at comfortable listening volumes. A phone or a Sonos One can't supply that kind of current. The Sonos Amp exists specifically to close this gap, taking a digital audio stream over Wi-Fi and turning it into a clean analog signal strong enough to drive real speaker cones outdoors, where sound disperses into open air instead of bouncing around a room.
Passive outdoor speakers stay silent until an amplifier gives them the power to move.
What the Sonos Amp actually delivers
The Sonos Amp puts out 125 watts per channel into 8 ohms, enough headroom for most patios, decks, and pool areas without distortion at higher volumes. It supports two stereo pairs from a single unit, split across two zones if you want independent volume control between the patio and the side yard, and it's worth knowing how many speakers one amp can actually drive before you expand. It also includes line-level outputs for a subwoofer, plus HDMI-ARC input if you want to tie an outdoor screen into the same amp.
| Feature | Sonos Amp Spec |
|---|---|
| Power output | 125W per channel (8 ohms) |
| Speaker zones | Up to 2 stereo pairs |
| Connectivity | Wi-Fi, Ethernet, HDMI-ARC, line-in |
| Weatherproofing | Indoor-rated; install in garage or covered enclosure |
| App control | Sonos app, voice assistants, AirPlay 2 |
Why not a cheaper amp
Generic stereo receivers can technically drive passive speakers, but most weren't built for streaming, multi-room grouping, or the granular tuning outdoor spaces need, which is also worth weighing when deciding between the Sonos Amp and Amp Multi. A sonos amp with outdoor speakers setup gives you app-based control and rock-solid grouping with any other Sonos audio system we install in Boise already in the house. That means the same app running your living room soundbar can bring up patio audio in two taps, no separate remote, no separate app, no guessing which input the receiver is set to.
Homeowners across the Treasure Valley deal with real temperature swings, from summer heat radiating off concrete patios to freezing garage temperatures in January. The Amp itself stays indoors, in a garage, closet, or media cabinet, while only the weatherproof speakers face the elements. That split matters: it protects the expensive electronics while letting you pick from dozens of outdoor-rated speaker options built specifically to handle rain, UV exposure, and swings in temperature. If you'd rather have a local team handle the design and install, whole-home and outdoor audio installation is exactly what we plan around before running a single wire. We'll get into which speakers hold up best in the next step.
Step 1. Choose compatible outdoor speakers
Getting sound outside starts with matching the speakers to the amp, not the other way around. The best outdoor speakers for Sonos Amp setups share three traits: an 8-ohm impedance rating, a power handling range that fits inside the Amp's 125-watt-per-channel ceiling, and an IP or UL rating built for direct weather exposure. Skip any of these and you're either underpowering the speakers or risking damage to the amp's output stage.
Match impedance and wattage first
Check the speaker's spec sheet for impedance before you buy anything. Most outdoor-rated speakers run at 8 ohms, which pairs cleanly with the Sonos Amp's output. Look for a power handling range between 50 and 100 watts RMS per speaker; anything lower and you'll hit distortion at moderate volume, anything dramatically higher and you'll never use the full range comfortably. A sonos amp and outdoor speakers pairing works best when the numbers sit in the middle of that range instead of at the extremes.
Buy speakers rated for 8 ohms and 50-100 watts RMS, and the amp will never have to strain.
Weatherproof ratings that actually matter
Outdoor speakers need a real weather rating, not just a marketing claim. Look for IP54 or higher for rain and dust resistance, and UV-stabilized cabinets so the housing doesn't crack or fade after a few Idaho summers. In-ceiling patio speakers work well under covered porches, while rock speakers or surface-mount cabinets handle open decks and pool areas better, and our roundup of patio audio systems built for big, clear sound compares both approaches.
| Speaker Type | Best Use Case | Typical Rating |
|---|---|---|
| In-ceiling patio speakers | Covered porches, pergolas | IP54 |
| Surface-mount outdoor speakers | Decks, patios, side yards | IP55-IP65 |
| Rock speakers | Landscaping, pool areas | IP65+ |
| Direct-burial subwoofers | Backyard bass, open lawns | IP66+ |
Specific models we install regularly include Sonance Mariner speakers, Klipsch AW-Series, Origin Acoustics landscape and outdoor speakers, and James Loudspeaker's outdoor lineup, all of which land squarely in the 8-ohm, 50-100 watt range the Sonos Amp expects. Whichever brand you pick, buy speakers as a matched pair, never mix models on the same zone, since mismatched sensitivity ratings cause one speaker to play noticeably louder than the other even at identical volume settings.
Step 2. Gather your tools and plan the wiring
Before you drill a single hole, spend twenty minutes mapping out the whole run. Knowing how to connect a Sonos Amp to outdoor speakers starts with the wiring plan, not the connection itself, because a poorly routed cable run causes more problems than any setting inside the app ever will. Walk the path from where the Amp sits to where each speaker will mount, and note every wall, joist, and exterior penetration you'll need to cross.
Tools and materials checklist
Grab everything below before you start, since running back to the hardware store mid-project usually means the wire gets left exposed overnight.
- 16-gauge outdoor-rated speaker wire (in-wall/in-conduit rated, UL-listed for wet locations)
- Wire strippers and a small flathead screwdriver
- Fish tape for running wire through walls or conduit
- Drill with a long spade or auger bit for exterior penetrations
- Weatherproof exterior-rated wire connectors or a junction box
- Silicone caulk to seal any wall penetration
- Cable staples or clips rated for outdoor use
- Sonos Amp, plus its included power cable
- Label maker or tape for marking speaker pairs
A clean wiring plan on paper saves an afternoon of fishing wire back out of a wall.
Sizing the wire for the distance
Gauge matters more than most people expect. Thinner wire over a long run causes voltage drop, which shows up as quieter, duller sound at the far speaker even though both are wired identically. Match the gauge to the distance from the Amp to each speaker:
| Run Length | Recommended Gauge |
|---|---|
| Under 50 feet | 16 AWG |
| 50-100 feet | 14 AWG |
| Over 100 feet | 12 AWG |
Homeowners setting up a Sonos Connect Amp outdoor speakers system in an older build often discover their existing in-wall wiring is undersized or not rated for wet locations, which is a common surprise when rewiring an existing home or remodel. Test any pre-existing runs with a multimeter for continuity before you commit to reusing them, and replace anything that isn't explicitly rated for exterior or wet-location use. It's cheaper to swap wire now than to troubleshoot buzzing speakers after everything is sealed up.
Step 3. Mount and wire the outdoor speakers
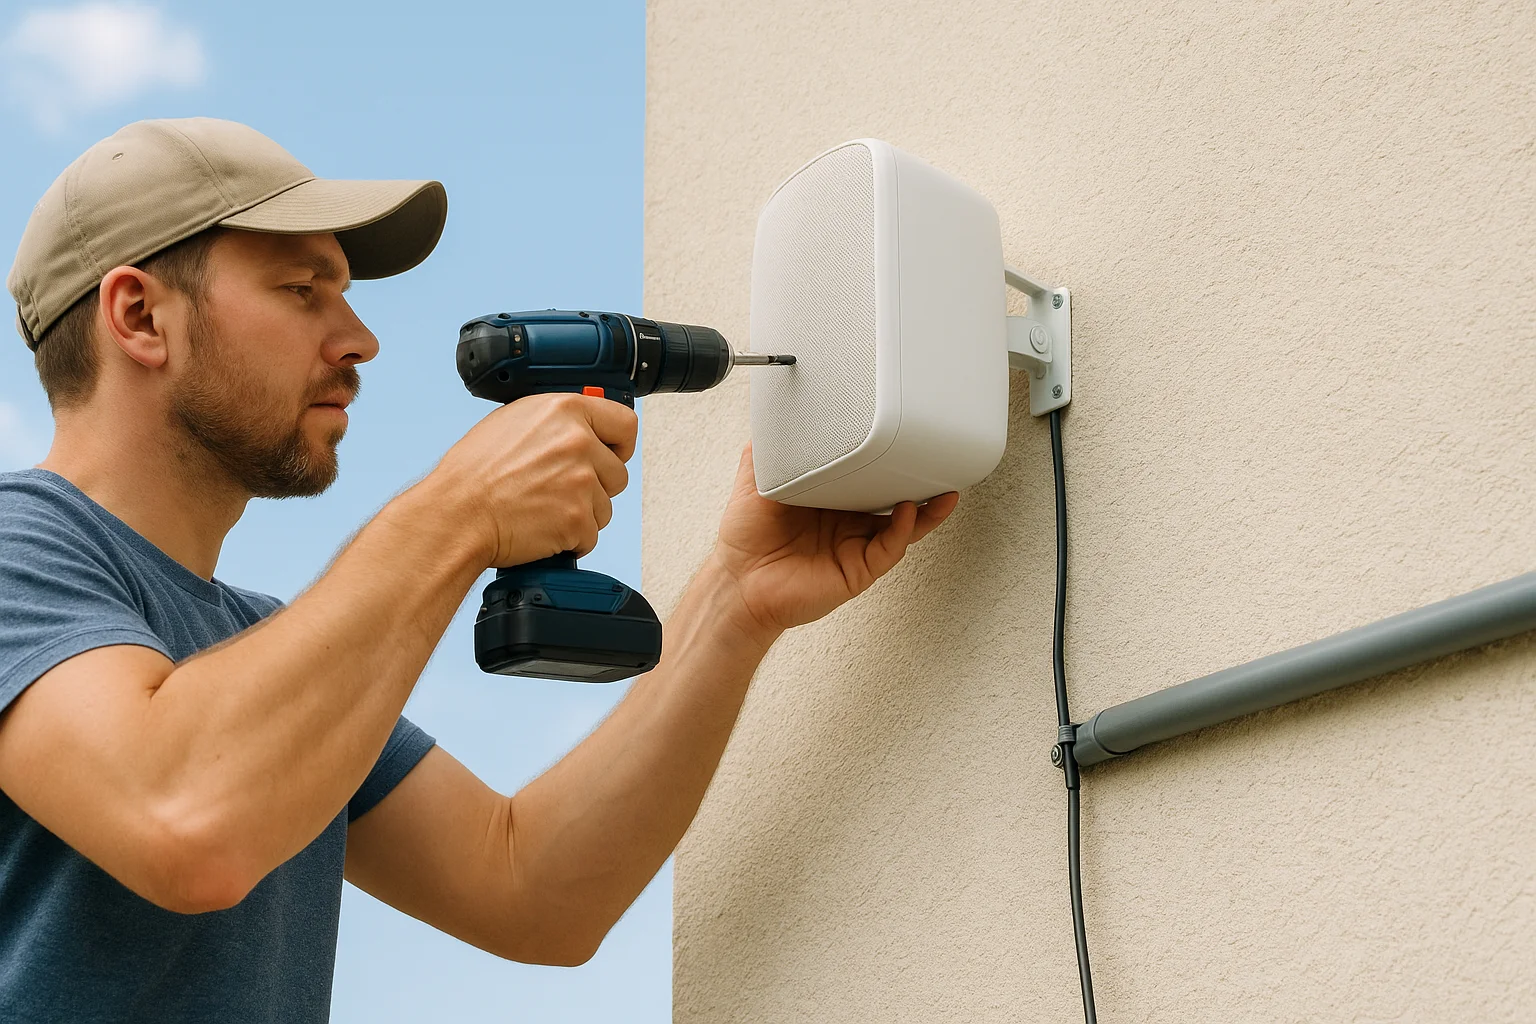
Once your wiring plan is set, the physical install goes fast if you work in the right order: mount the brackets first, then run wire, then seal every penetration before you test anything. Rushing this step is where most sonos outdoor speakers and amp installs go wrong, usually because someone seals a wall penetration before confirming the wire actually reaches the amp location.
Mounting height and angle
Speaker placement affects sound quality as much as any wiring choice. Mount surface speakers 8 to 10 feet high and angle them slightly downward toward the seating area, which spreads sound evenly instead of blasting it straight out over the yard. Keep the stereo pair spaced 10 to 15 feet apart for a proper stereo image on a patio or deck.
| Space Type | Mounting Height | Speaker Spacing |
|---|---|---|
| Covered patio | 8-9 feet | 10-12 feet |
| Open deck | 9-10 feet | 12-15 feet |
| Pool area | 8-9 feet | 12-15 feet |
Running wire and sealing penetrations
Route the wire through conduit wherever it crosses an exterior wall, and never leave bare wire exposed to direct sun or standing water. Seal every entry and exit point with silicone caulk, and give it time to cure fully before you close up any wall cavity behind it.
A single unsealed wire penetration is all it takes for moisture to ruin a season of speaker wire.
Staple the wire every 12 to 18 inches along its run using outdoor-rated clips, keeping it away from sprinkler lines and low branches that shift with wind. Test each speaker connection with a multimeter for continuity before you close up any wall or conduit, since finding a bad splice after the drywall goes back up costs hours instead of minutes.
Terminate each wire at the speaker cabinet with the polarity marked clearly, positive to positive and negative to negative, since a reversed pair sounds thin and out of phase even though nothing appears broken. Label both ends of every run now, before you forget which cable feeds which zone once you're back inside connecting things to the amp itself.
Step 4. Connect the speakers to the Sonos Amp
With wire run and labeled, the actual connection to the Amp takes about ten minutes per zone. Knowing how to connect a Sonos Amp to outdoor speakers at this stage is mostly about matching terminals correctly and torquing them down enough to survive years of thermal expansion in a garage or media closet. Rushing the screw terminals is the most common callback we see, since a loose strand of copper causes intermittent dropout that's maddening to diagnose later.
Wiring the speaker terminals
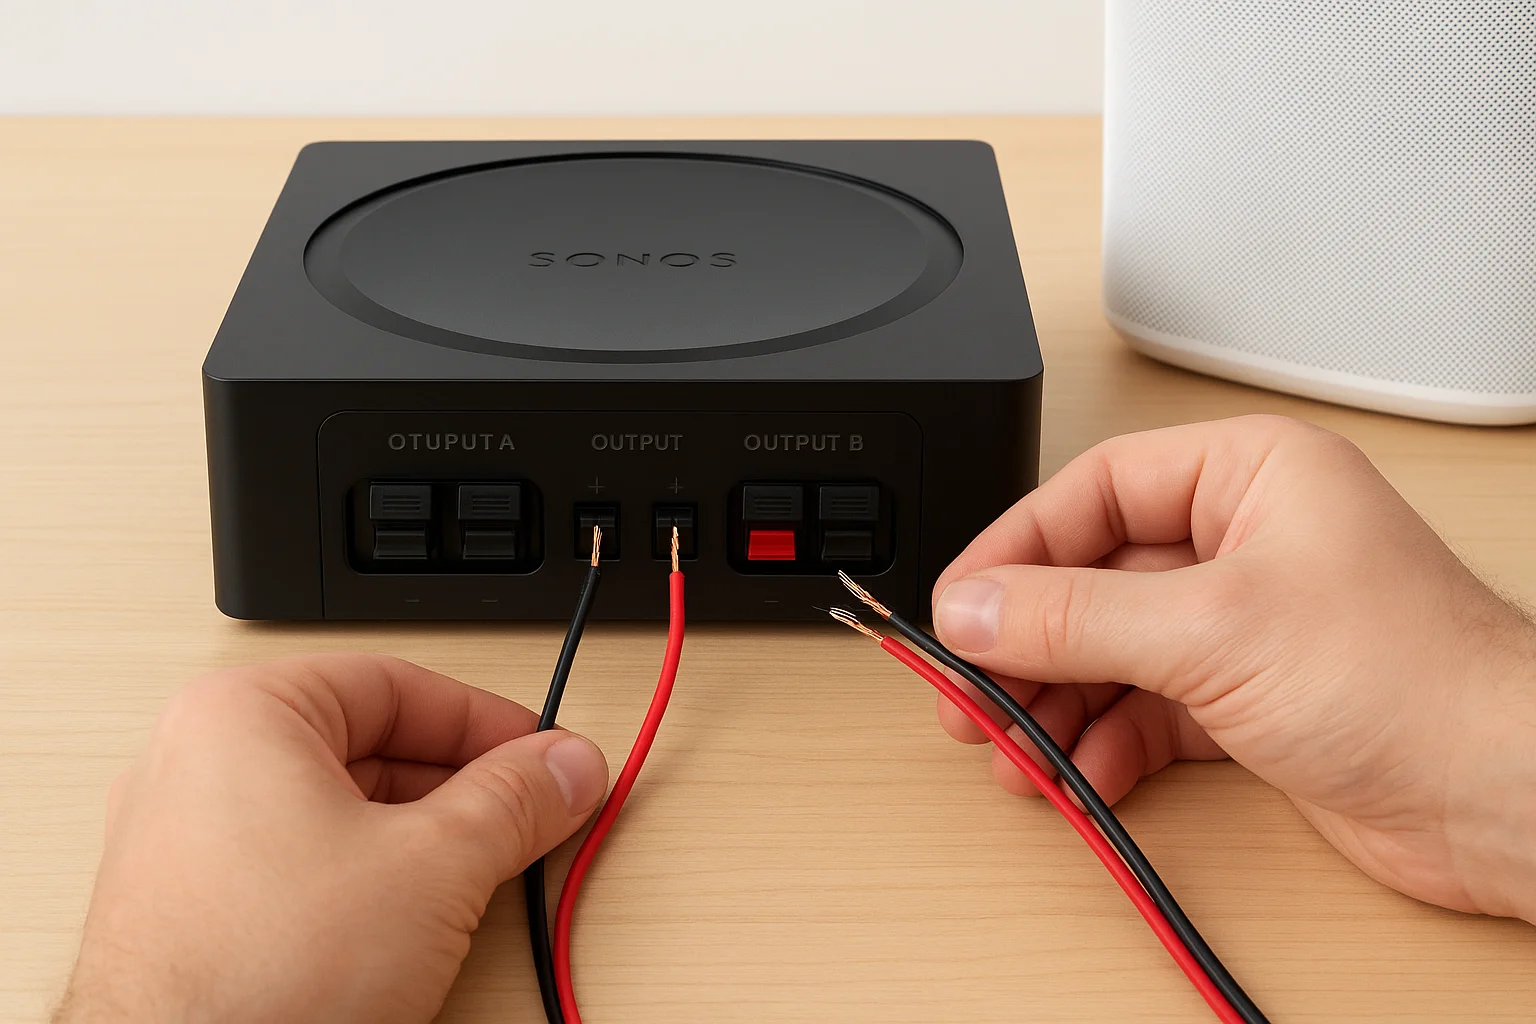
Strip about half an inch of insulation from each conductor, twist the strands tight, and insert them fully into the spring-loaded terminals on the back of the Amp. Press the release lever, seat the wire, then release and tug gently to confirm it's locked in place. Keep polarity consistent at both ends: red or positive-marked wire goes to the plus terminal, black or negative goes to minus, on both the Amp and the speaker cabinet.
Amp Output A (+) -> Speaker 1 (+)
Amp Output A (-) -> Speaker 1 (-)
Amp Output B (+) -> Speaker 2 (+)
Amp Output B (-) -> Speaker 2 (-)
Reversed polarity on even one speaker cancels the stereo image, even though every terminal looks properly seated.
Matching zones and channels
Remember that the Amp splits into two independent stereo zones, so a sonos amp outdoor speakers install with a patio pair and a side-yard pair needs both sets landing on separate output banks, not daisy-chained onto one. Check the amp's rear panel labeling against the notes you made while running wire, since Zone A and Zone B aren't interchangeable once you're naming zones inside the app.
| Output Bank | Typical Use |
|---|---|
| Zone A | Primary patio pair |
| Zone B | Secondary pair (pool, side yard) |
Once both pairs are seated and polarity is confirmed with a quick visual check, plug the Amp into power and let it boot fully before touching anything else. A blinking white light means it's searching for your network, which is exactly where the next step picks up. Don't tuck the Amp into its final cabinet spot yet; leave it accessible until you've confirmed sound is actually coming through both zones.
Step 5. Set up and test your system in the Sonos app
With both zones wired and the Amp powered on, open the Sonos app on your phone and let it find the new hardware automatically. This final stage of any sonos amp with outdoor speakers install takes ten minutes if the wiring was done right, and it's where you'll catch any lingering mistakes before you seal up the equipment closet for good.
Adding the Amp and naming zones
Tap the plus icon in the app, select Add a Product, and follow the prompts to join the Amp to your home Wi-Fi network. Once it appears in your system list, rename it something specific like "Patio" or "Pool Speakers" instead of leaving the generic default name, since that label is what shows up every time you or a guest tries to group rooms later.
Running the built-in speaker test
Go to Settings > System > [Your Amp Name] > Speaker Test and play the sample tone through each zone one at a time. Listen for these signs before moving on:
- Sound comes from both left and right speakers, not just one
- No buzzing, popping, or distortion at moderate volume
- Volume is roughly equal between the two speakers in a pair
- Bass and treble sound balanced, not muffled or harsh
If one speaker stays silent, that almost always points back to a loose terminal connection rather than a bad speaker, so recheck the wiring before assuming a defective unit.
A quiet or silent speaker after setup is almost never the speaker itself; it's a loose terminal.
Grouping rooms and setting Trueplay
Next, group your new outdoor zone with an existing indoor room if you want synced playback across the whole house during a party, or keep it separate for independent control, which is the same thinking behind designing a multiroom Sonos system. Skip Trueplay tuning for outdoor speakers since it's built for reflective indoor walls and won't calibrate accurately in open air. Finally, set a comfortable default volume limit under the zone's settings so nobody accidentally blasts the neighbors at 2am. Once everything checks out, tuck the Amp into its permanent spot in the garage or media closet and close things up. Your outdoor sound system is fully live and ready for regular use.
Your outdoor space, ready for sound
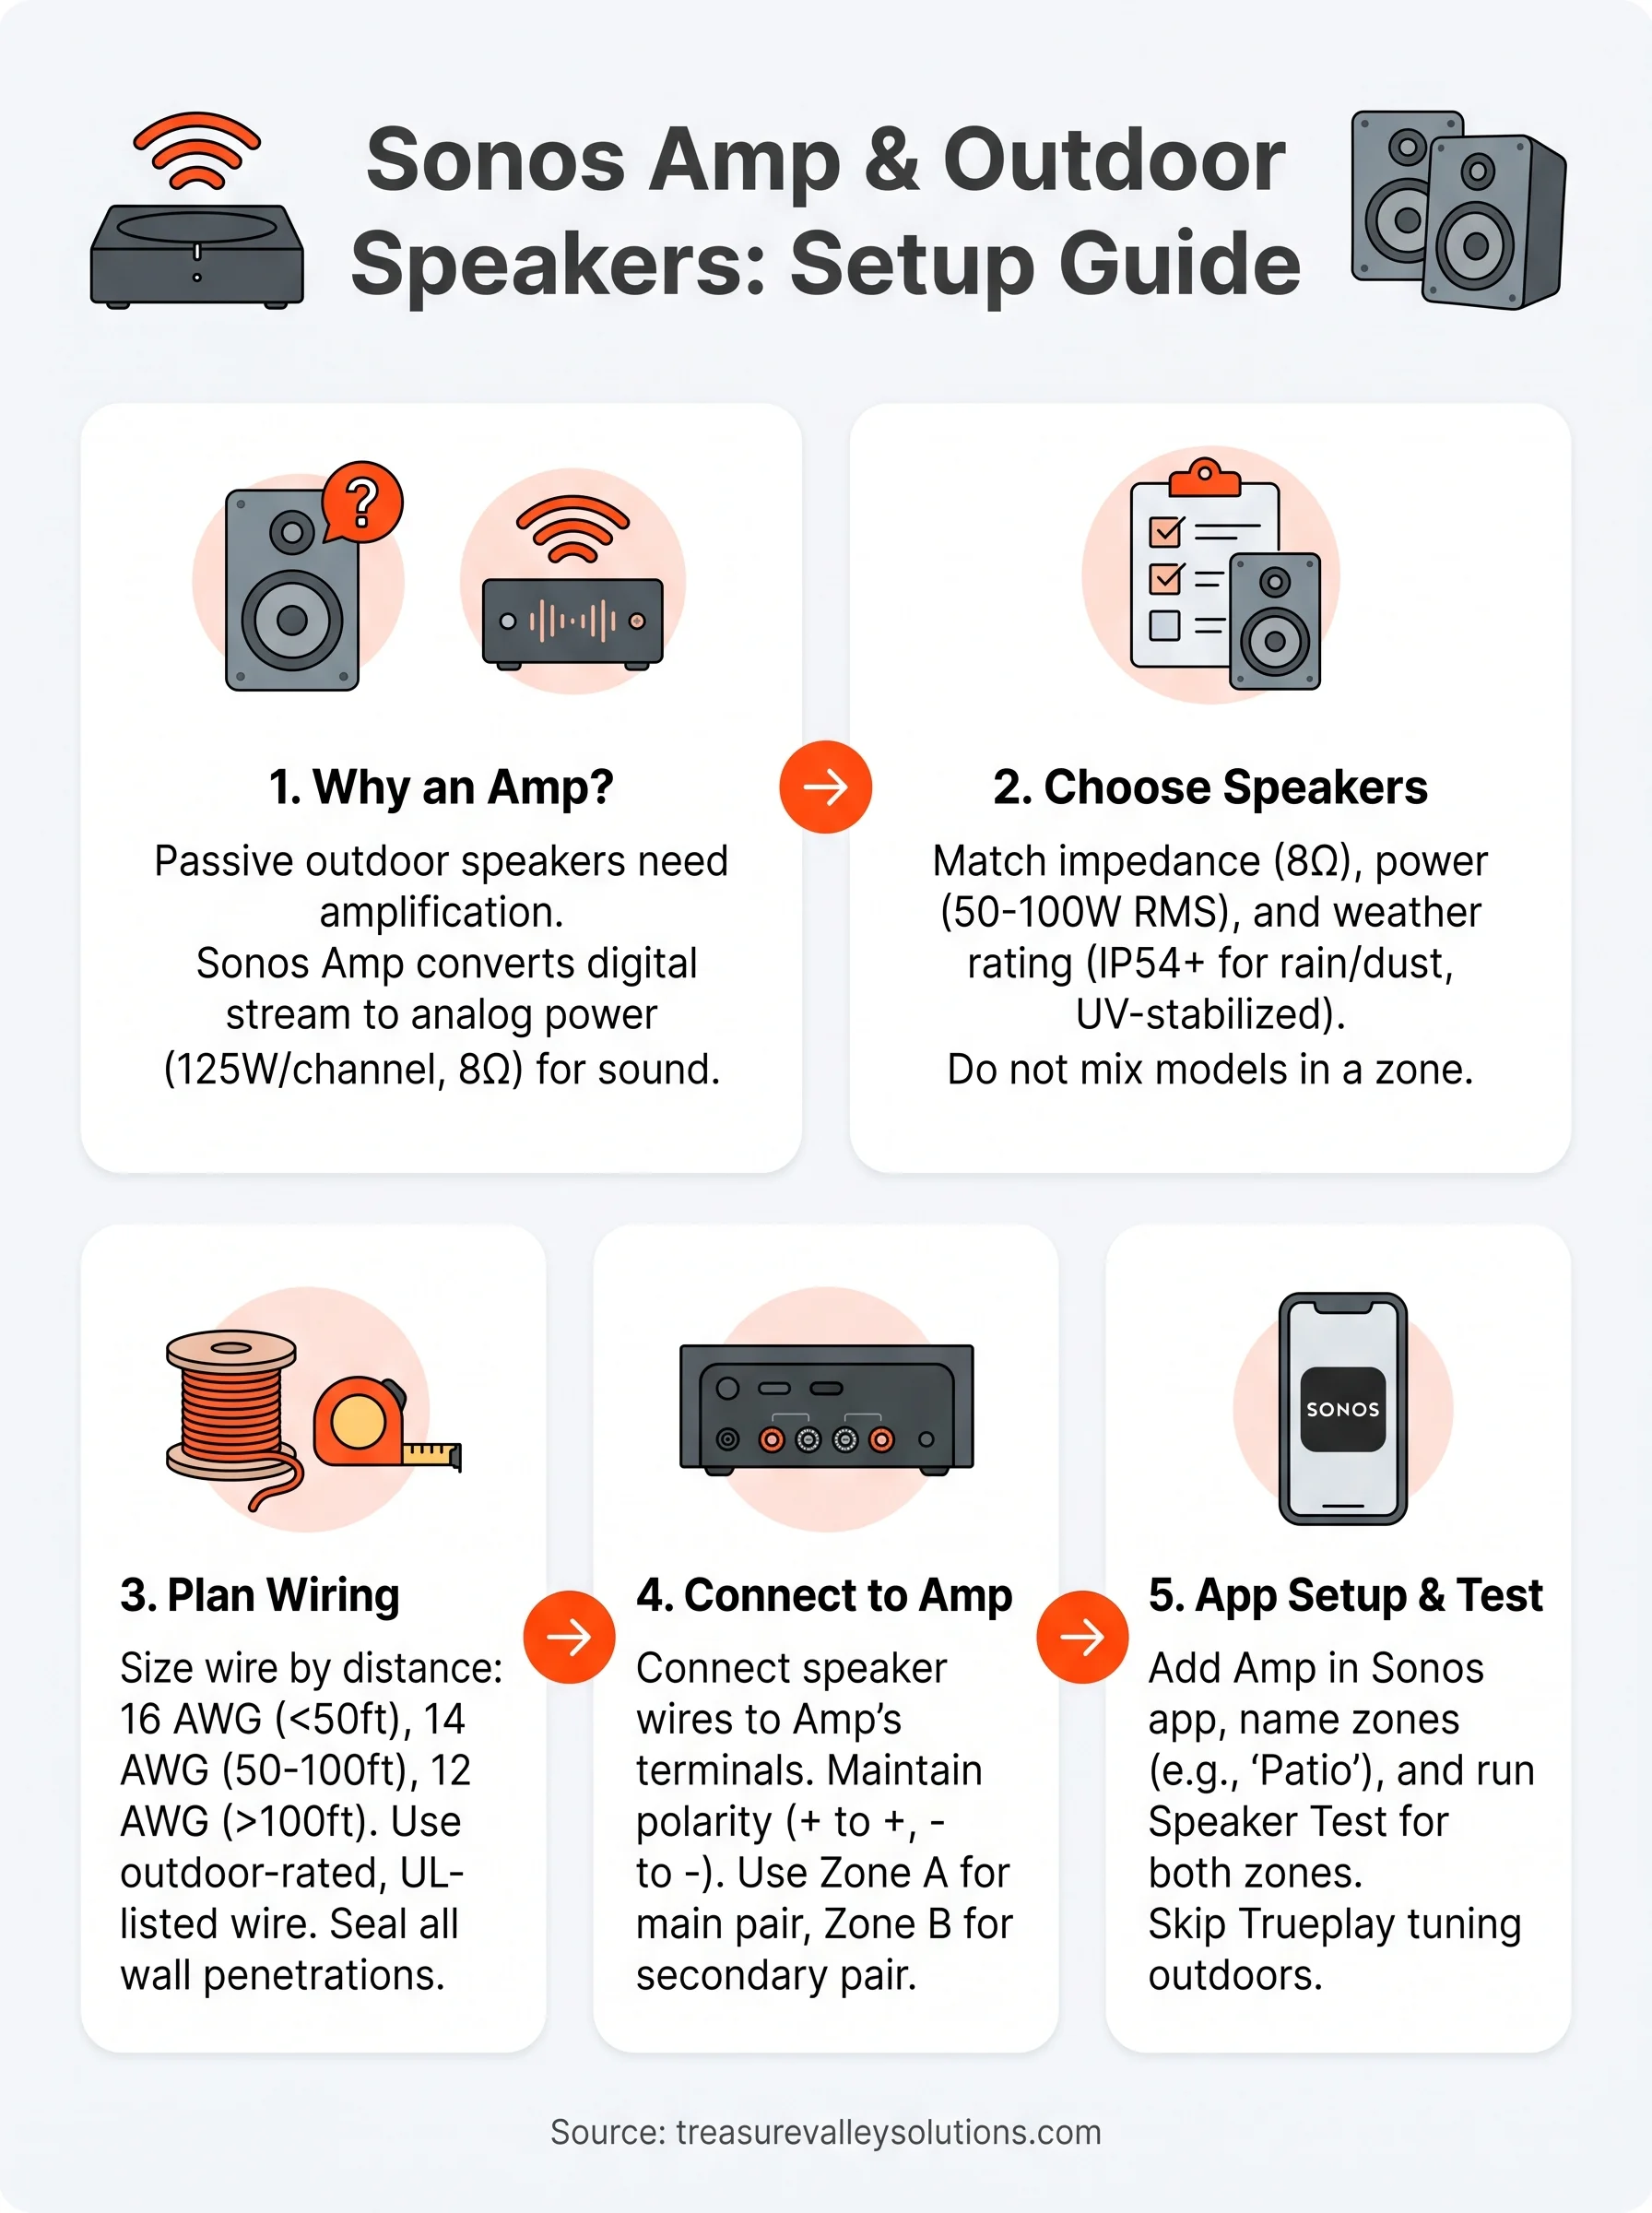
Getting a Sonos Amp for outdoor speakers right comes down to a handful of decisions made in order: pick 8-ohm speakers rated for weather, run properly sized wire, keep polarity consistent, and test each zone before you close anything up. Skip any one of those steps and you end up chasing buzzing terminals or a silent speaker weeks later, usually after the drywall's already patched.
Most DIYers get the wiring wrong somewhere between the wall penetration and the terminal, not because they're careless, but because a patio, pool deck, and garage closet all have different rules for what wire and mounting actually hold up. That's the part worth getting a second opinion on before you drill.
If you'd rather skip the trial and error and have a crew that runs this exact wiring plan every week, see our recent outdoor audio installs and what a properly wired system actually looks like once it's done right.
Need Expert Help?
Ready to implement these solutions in your own home or business?

Serving the Treasure Valley
Local installation in your city