 (208) 991-3502
 Meridian, ID



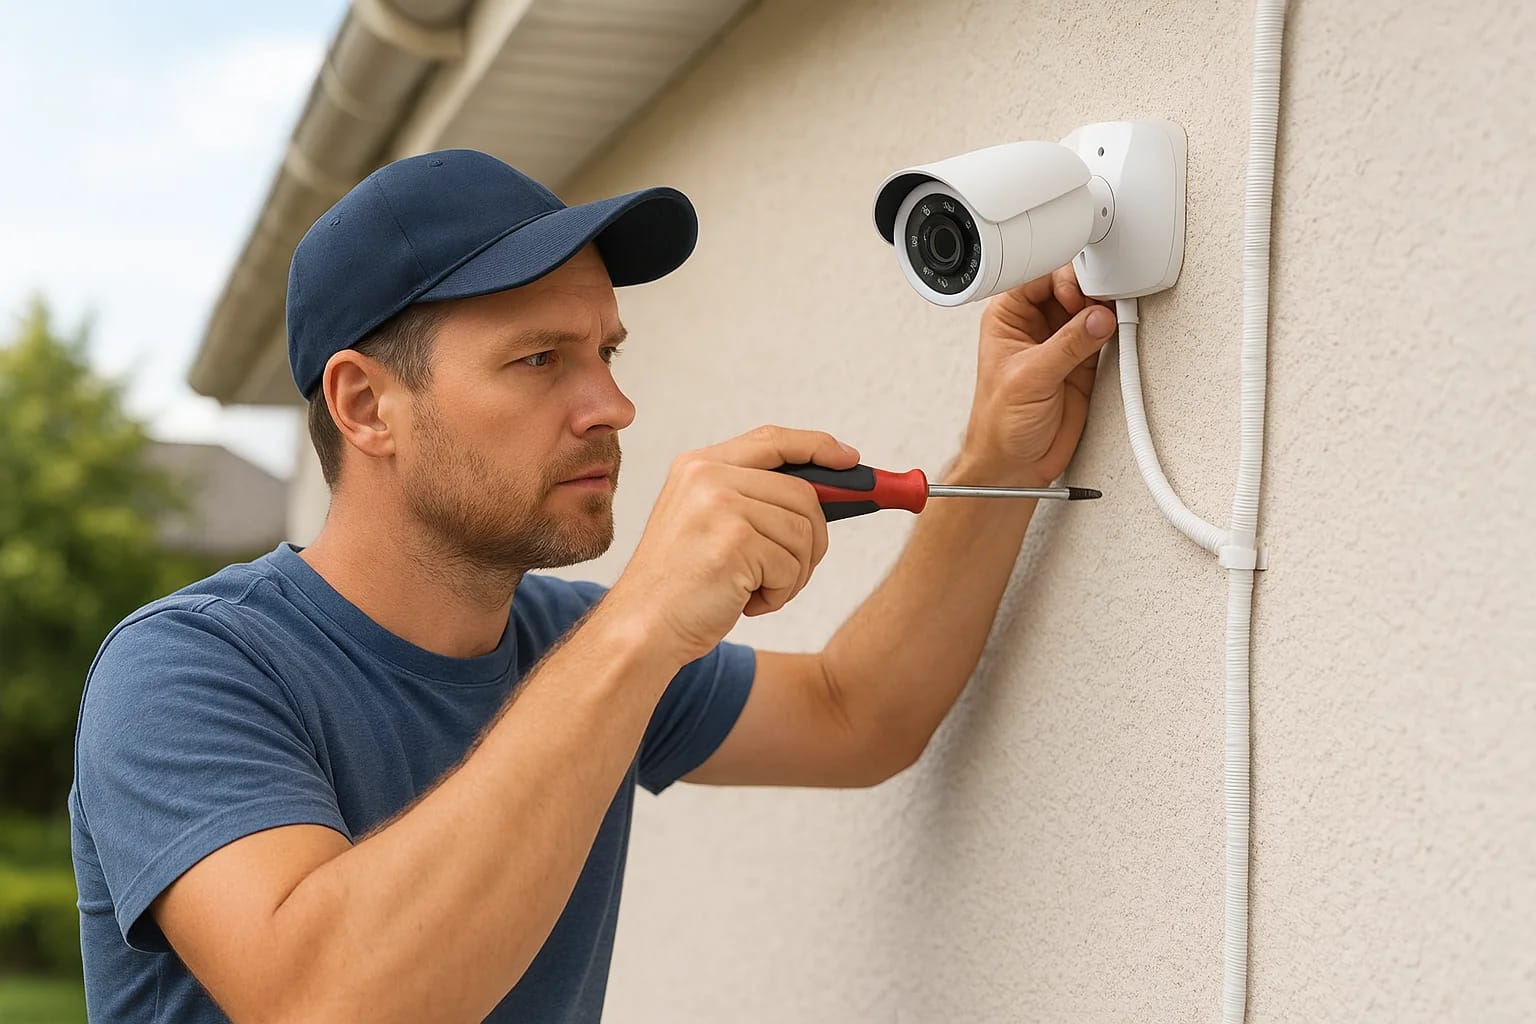

You've probably searched for security camera with installation because you want cameras that actually work when you need them, not a pile of hardware sitting in a box because the mounting angles were...
You've probably searched for security camera with installation because you want cameras that actually work when you need them, not a pile of hardware sitting in a box because the mounting angles were wrong or the wifi kept dropping the feed. Bad placement, cheap brackets, and rushed cable runs are the real reasons most home security systems fail, not the cameras themselves.
This guide walks you through what a proper camera security system installation actually involves, from picking the right camera types and coverage zones to running power and network connections that won't quit during a storm or a wifi outage. Whether you're comparing wireless CCTV installation near me options or trying to decide if this is a weekend DIY project, you'll get straight answers on cost, timeline, and what separates a clean install from a sloppy one.
We've installed hundreds of systems across the Treasure Valley, and we'll show you exactly what our technicians check on every job, so you know what to demand whether you hire a pro or grab a ladder yourself.”
DIY vs. professional installation: what to know first
Before you buy a single camera, decide who's doing the physical work. This isn't just a budget question. Residential security camera installation touches your home's wiring and network setup, and once you move past a single plug-in camera by the front door, the skill required to keep every feed reliable climbs fast.
What DIY installation actually requires
Doing it yourself works fine for a single-camera setup or a battery-powered doorbell camera, but a full home security camera system with installation across four or more zones asks more of you than most people expect, as our step-by-step guide to installing surveillance cameras at home shows. You'll need:
- A drill, stud finder, and exterior-rated caulk or sealant for weatherproofing
- Basic low-voltage wiring knowledge if you're running PoE (Power over Ethernet) cable instead of relying on wifi
- A ladder tall enough to safely reach eaves and second-story mounting points
- Time to check wifi signal strength at each spot before you drill anything
- A full weekend blocked off for anything beyond two or three cameras
Skip any of these steps and you end up with the exact problems that send people searching for installation home security camera help in the first place: dead zones, cameras that drop offline every time it rains, or brackets pulling loose within a year.
A camera mounted wrong is worse than no camera at all, because it gives you false confidence.
Why most homeowners still call a pro
Professional installers bring three things a weekend DIY project rarely matches: proper cable runs hidden inside walls instead of stapled along baseboards, correct angle and exposure calculations that account for sun glare and IR reflection off glass, and a final walkthrough that tests every camera against real-world lighting, not just daytime sun.
| Factor | DIY installation | Professional installation |
|---|---|---|
| Typical cost | $150-$400 in hardware | $200-$600 hardware plus labor |
| Time to complete | 4-8 hours per camera | 2-4 hours total for a 4-camera system |
| Wiring | Often surface-mounted, exposed | Concealed in walls or attic |
| Warranty coverage | Manufacturer only | Manufacturer plus labor warranty |
| Troubleshooting | On you | Included with service call |
Given that comparison, and what a camera system really costs around here, the math usually favors hiring out once you're past a doorbell cam or two. Treasure Valley Solutions handles the full range, from a single security camera with installation at your front door to full-property coverage, and our technicians are licensed, insured, and trained specifically on the low-voltage work that trips up most DIY attempts. If you're still weighing your options, our professional security camera installation page breaks down what a typical job looks like from quote to final testing.
Step 1. Plan your camera locations and system type
Start with a walk around your property, not a shopping cart. Good security cameras installation for home projects begin with a sketch of your lot showing every entry point: front and back doors, the driveway, side gates, and any detached structures like a garage or shed, and it helps to review which spots around a Treasure Valley home deserve a camera first. Mark where you actually need eyes, not everywhere a camera could technically go. Most homes cover their core risk zones with four to six cameras, and cramming in more just means more feeds to monitor and more mounting points that can fail.
Choosing wired vs. wireless
Next, decide on wireless CCTV installation versus a wired PoE system, because this wired-or-wireless decision drives everything else in your plan. Wireless cameras install faster and skip the cable runs, but they lean on your wifi and battery life, and dead zones at the edge of your property will show up as dropped feeds. Wired PoE cameras cost more upfront in labor but deliver rock-solid uptime, since power and data travel over one cable with no batteries to check.
The best camera location is useless if the system behind it can't hold a stable connection.
Matching camera type to each zone
Different zones call for different hardware, starting with whether each spot needs an indoor or outdoor camera. Use this as a starting checklist:
- Entry doors: wide-angle or doorbell cameras with two-way audio
- Driveways and yards: cameras with a longer detection range and vehicle-motion filtering
- Dark corners or eaves: models with strong infrared night vision, not just "night mode" marketing
- Windows facing the street: units with glare-reducing lenses to avoid washed-out footage
Finally, check local sightlines and lighting at each planned spot before you commit. A camera aimed into direct morning sun or blocked by a tree branch six months from now won't give you usable footage when you need it. This planning stage takes an hour or two, but it's the difference between a system that quietly does its job and one that leaves gaps exactly where trouble happens.
Step 2. Mount your cameras and run the wiring
Once your plan is set, grab the mounting hardware and start with the highest-risk zones first, usually the front door and driveway. Proper security camera installation home work starts with a level bracket and a pilot hole, not a screw driven straight into siding. Use the mounting template that ships with the camera, check it with a level, and pre-drill so you don't crack vinyl siding or stucco.
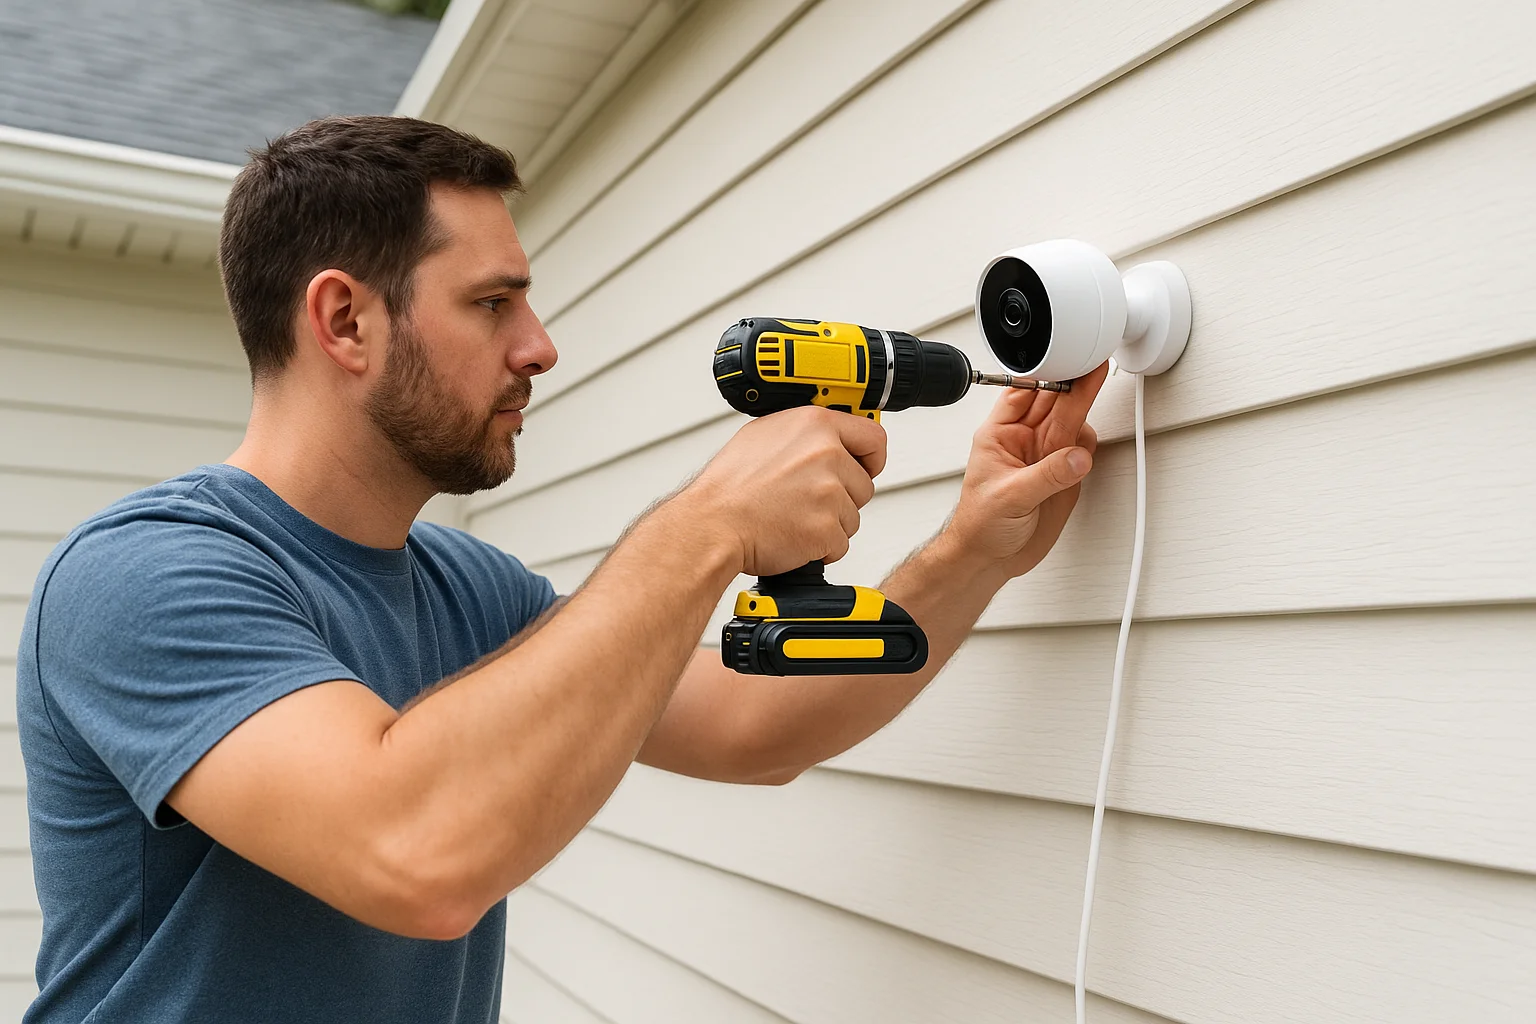
Getting the height and angle right
Following the placement rules that actually work for outdoor cameras, mount most exterior cameras 9 to 10 feet up. That height keeps the lens out of easy reach while still capturing usable facial detail, since anything higher trades identification quality for a wider view. Tilt the camera down at roughly a 15-degree angle so it captures faces and license plates instead of just the tops of heads and roofs.
A camera mounted too high looks impressive but catches nothing but hats and hairlines.
Running cable without cutting corners
If you're doing a wired security camera system installation, this is where most DIY jobs go wrong. Fishing cable through walls, attics, and soffits takes patience and the right tools. Before you drill a single hole, gather:
- A fish tape or rod for pulling cable through wall cavities
- Weatherproof cable connectors rated for outdoor exposure
- Cable staples spaced every 12 to 18 inches to prevent sagging
- A stud finder to avoid nailing through your own wiring or plumbing
Route cable through the attic whenever possible instead of stapling it along an exterior wall, where sun and moisture degrade the jacket within a couple of years. Seal every exterior penetration point with silicone caulk, since a pinhole gap is exactly where wasps and water intrude first. This is the stage where professional crews pull ahead of most homeowners, because a hidden, weatherproofed cable run outlasts a visible one by years, not months.
Step 3. Power up and connect to Wi-Fi and your app
With cameras mounted and cable run, it's time to bring the system to life. Connect each camera to power, whether that's a PoE injector for wired setups or a fresh battery pack for wireless units, and give the system a few minutes to boot before you touch your phone. Rushing this step is the number one reason people think their installation home security camera setup is broken when it just needs time to initialize.
Getting a reliable Wi-Fi handshake
Open your camera's companion app and follow the pairing steps exactly as listed, since skipping a step almost always means starting the pairing process over. For wireless cameras, this is the moment your earlier signal-strength check pays off: a camera more than 30 feet from your router, or blocked by two or more walls, often drops the connection mid-pairing. Consider these fixes before you call it a bad camera:
- Move your router closer, or add a mesh Wi-Fi extender near outdoor cameras, following the basics of setting up a home network the right way
- Switch the camera to your 2.4GHz network instead of 5GHz, since 2.4GHz carries farther through walls
- Restart your router before pairing, not just the camera
A weak Wi-Fi signal will sabotage even the best camera and the best mounting job.
Setting up the app and notifications
Once each camera connects, name it by location inside the app instead of leaving the default label, since "Camera 3" means nothing at 2 a.m. when an alert pops up, and some camera apps handle naming and alerts better than others. Turn on push notifications for motion and person detection, but tune the sensitivity down for zones with foot traffic like sidewalks, or you'll get so many alerts you start ignoring them. Set your recording schedule and cloud or local storage preferences now too, before you forget and realize six months later that nothing's actually being saved. This is also the stage where Treasure Valley Solutions technicians walk clients through app permissions and shared access for family members, so everyone who needs eyes on the property has them from day one.
Step 4. Test coverage and fine-tune your settings
Now that every camera is live, walk your property like an intruder would, not like a homeowner checking a to-do box. Stand at each entry point, driveway edge, and side gate, then check the live feed on your phone to confirm the angle actually catches the area you planned for back in Step 1. A proper home camera security installation isn't finished until you've verified footage quality, not just a green "connected" light in the app.
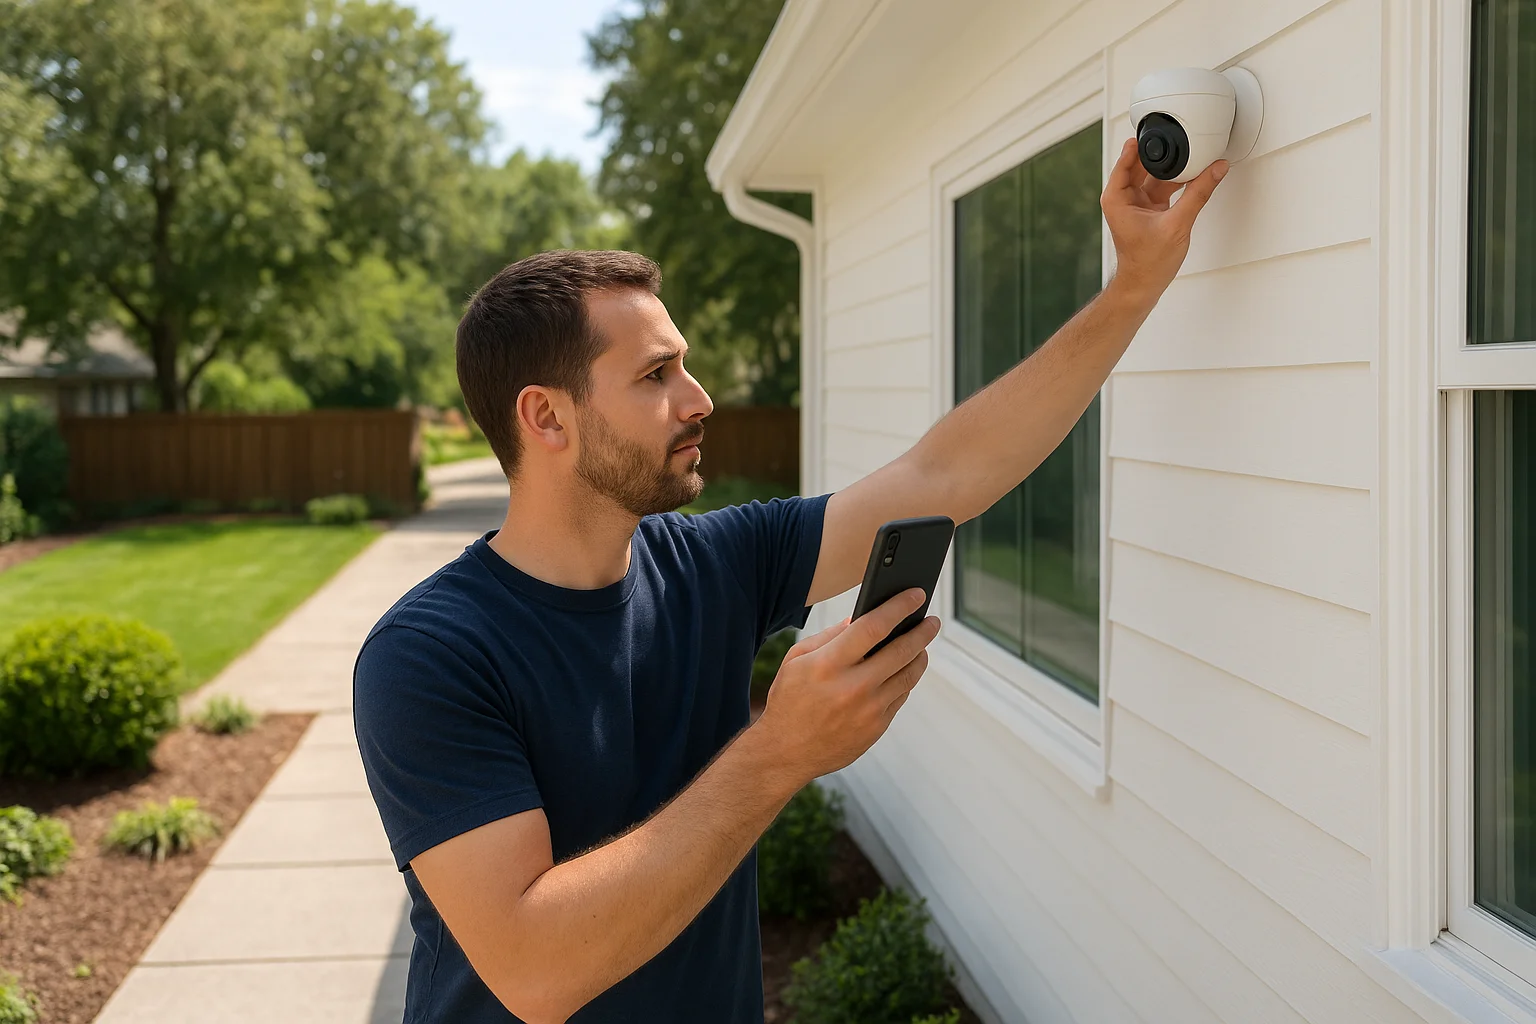
Check footage in daylight and after dark
Review recorded clips from both midday and after sunset, since infrared performance and glare handling look completely different at night. Watch for washed-out faces near porch lights, headlights blooming into a white blob, or motion zones that trigger on passing cars instead of people walking up your driveway. Zoom into a test clip and confirm you can actually make out a face or license plate, not just a shape moving through frame.
A camera that records everything but identifies nothing hasn't done its job.
Adjust motion zones and sensitivity
Most apps let you draw custom detection zones directly over the live view, and this step separates a tuned system from one that buries you in notifications. Run through this checklist before calling the job done:
- Draw detection zones that exclude sidewalks and streets unless you specifically want traffic alerts
- Lower sensitivity near trees, flags, or anything that moves in the wind
- Confirm night vision range covers the full driveway, not just the first 15 feet
- Test two-way audio on entry cameras to make sure the mic and speaker both work clearly
- Save your settings and check that cloud or local storage is actively recording, not just standing by
A security camera system with installation that's been properly tuned this way rarely needs revisiting, aside from an occasional sensitivity tweak after seasons change and foliage grows back in.
Getting the most from your new security system
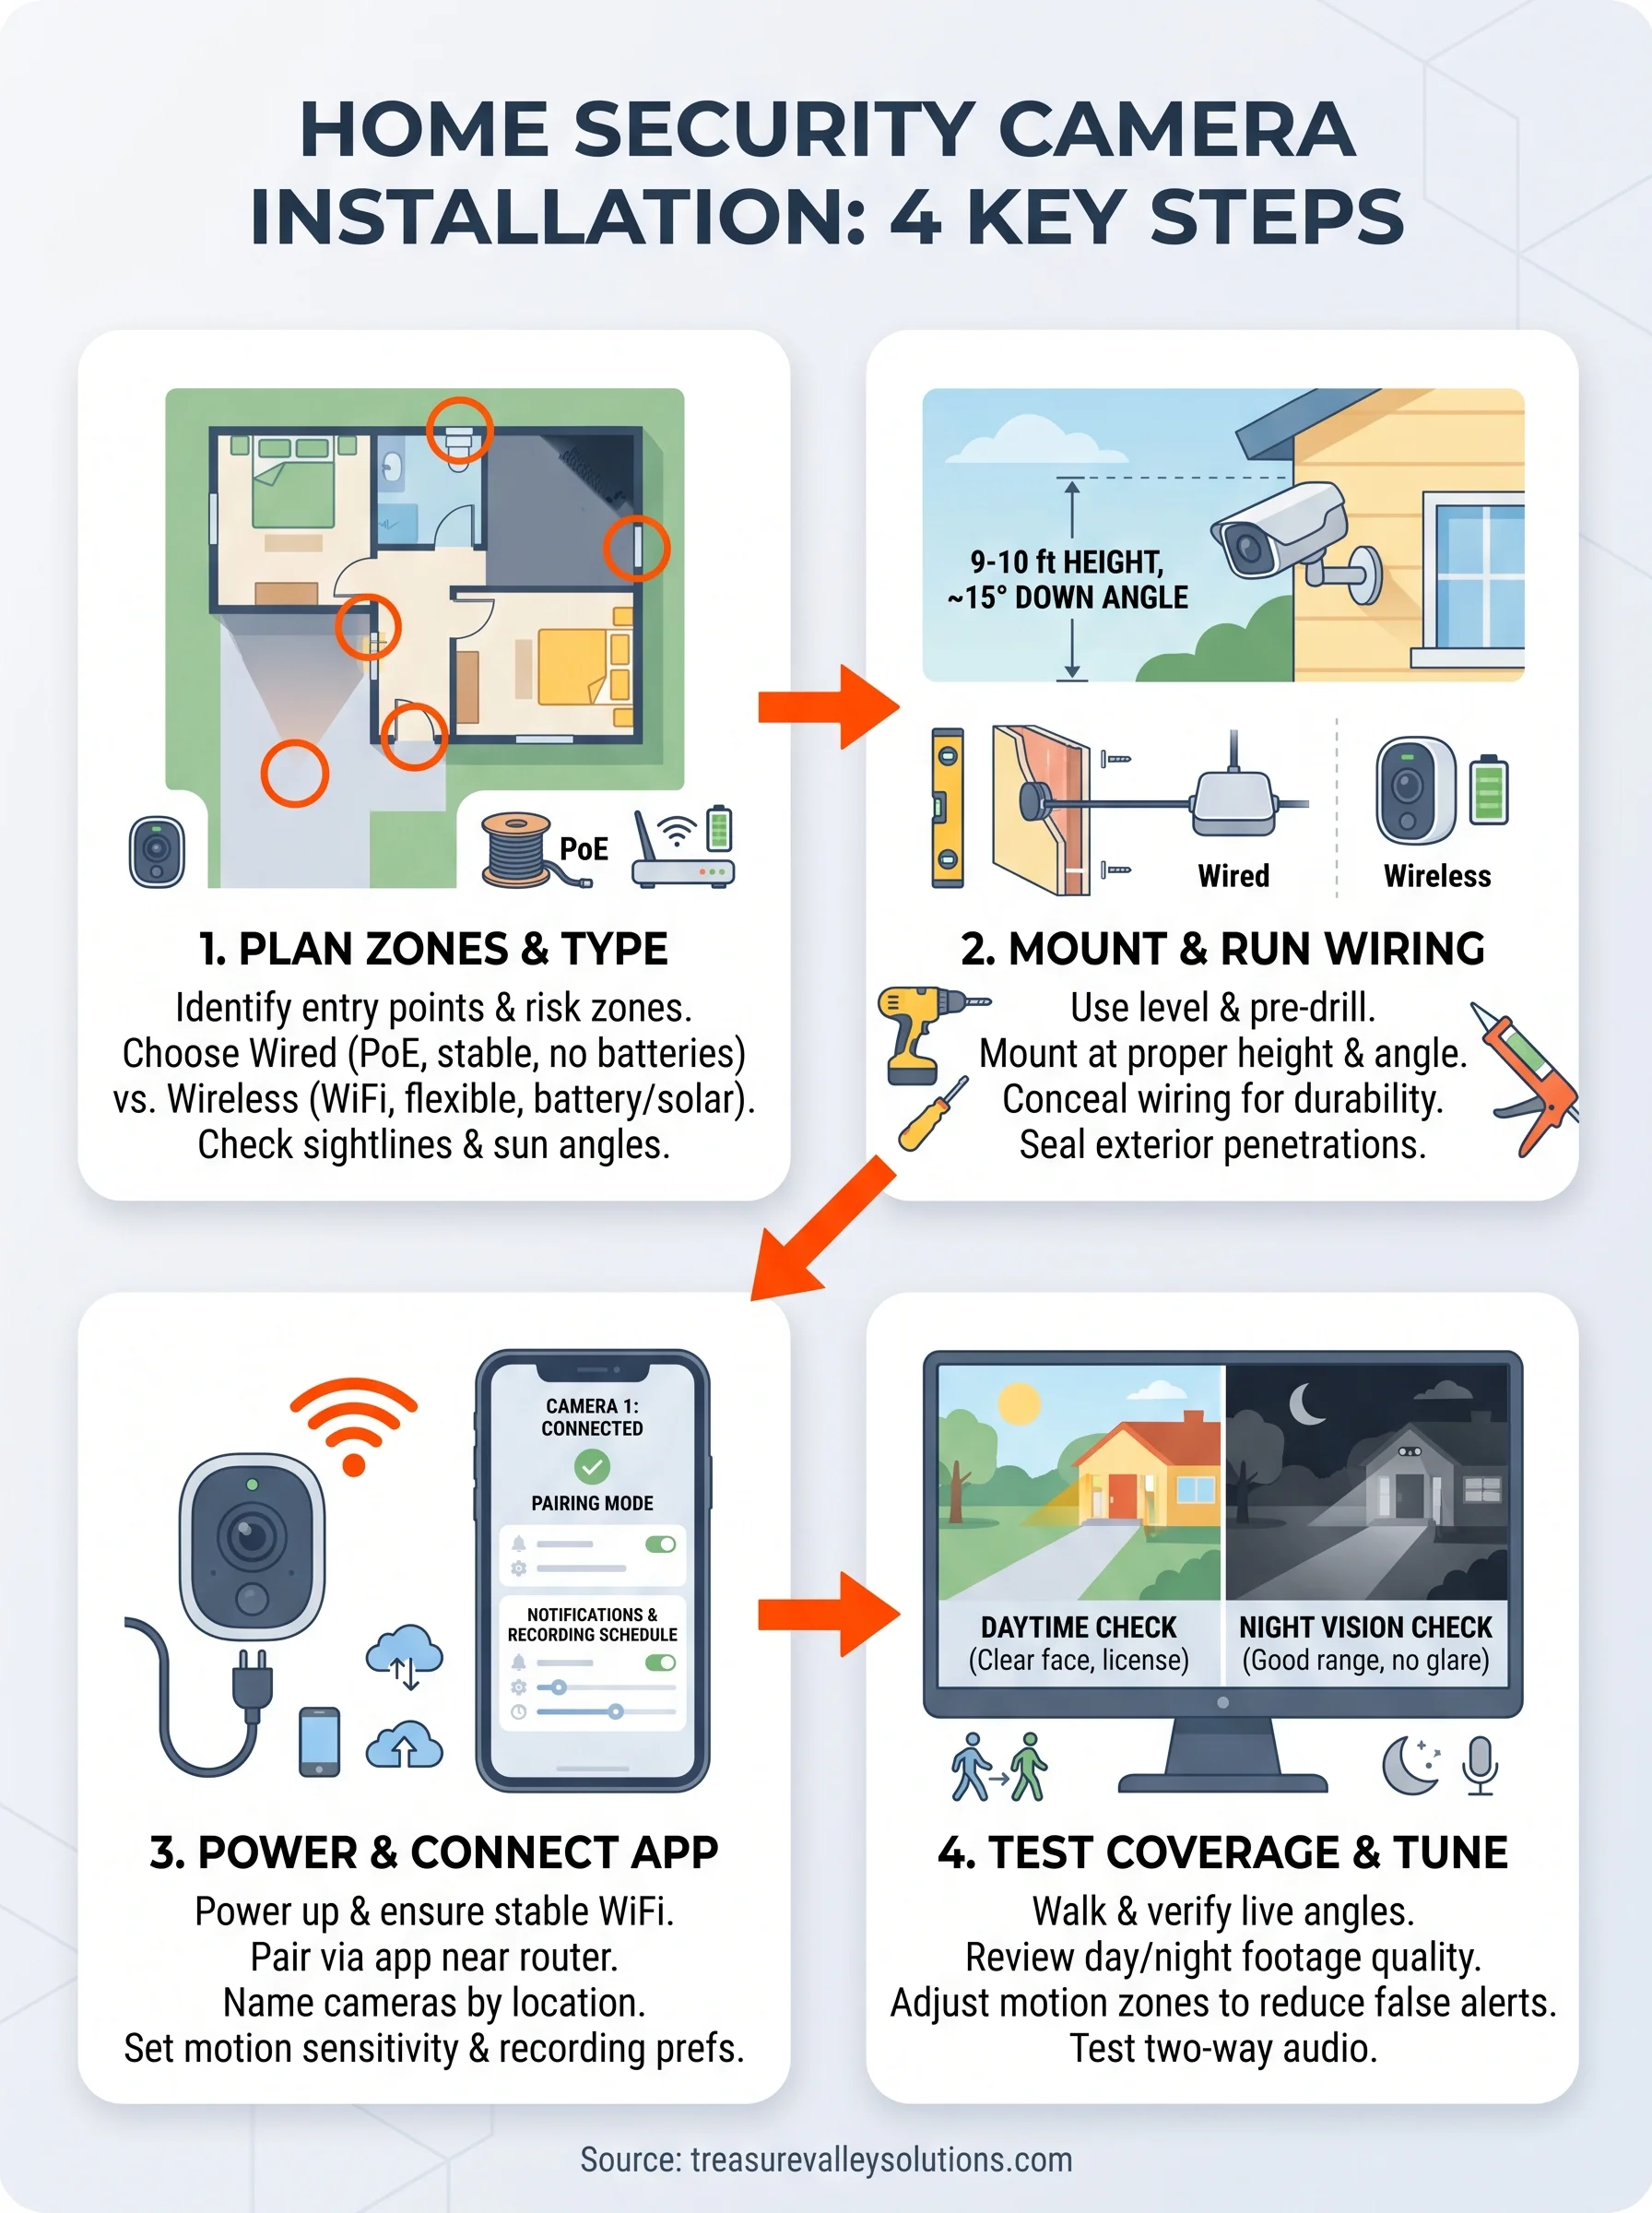
Getting a security camera with installation done right comes down to four things: smart placement, clean wiring, a stable connection, and honest testing once everything's live. Skip any one of those steps and you end up with the exact frustrations that sent you looking for answers in the first place, cameras that miss faces, drop offline, or bury you in false alerts.
Whether you tackle this yourself or bring in a crew, the goal is the same: footage you can actually use when something happens. If you'd rather skip the ladder, the fish tape, and the trial-and-error on mounting angles, our technicians handle every step above on jobs across the Treasure Valley every week. Request a free camera install estimate and we'll walk your property, map your coverage zones, and get your system installed and tuned right the first time.
Compare your options
Your next step
Compare Site-Designed Camera InstallationReady for professional help? Request an estimateOur Services
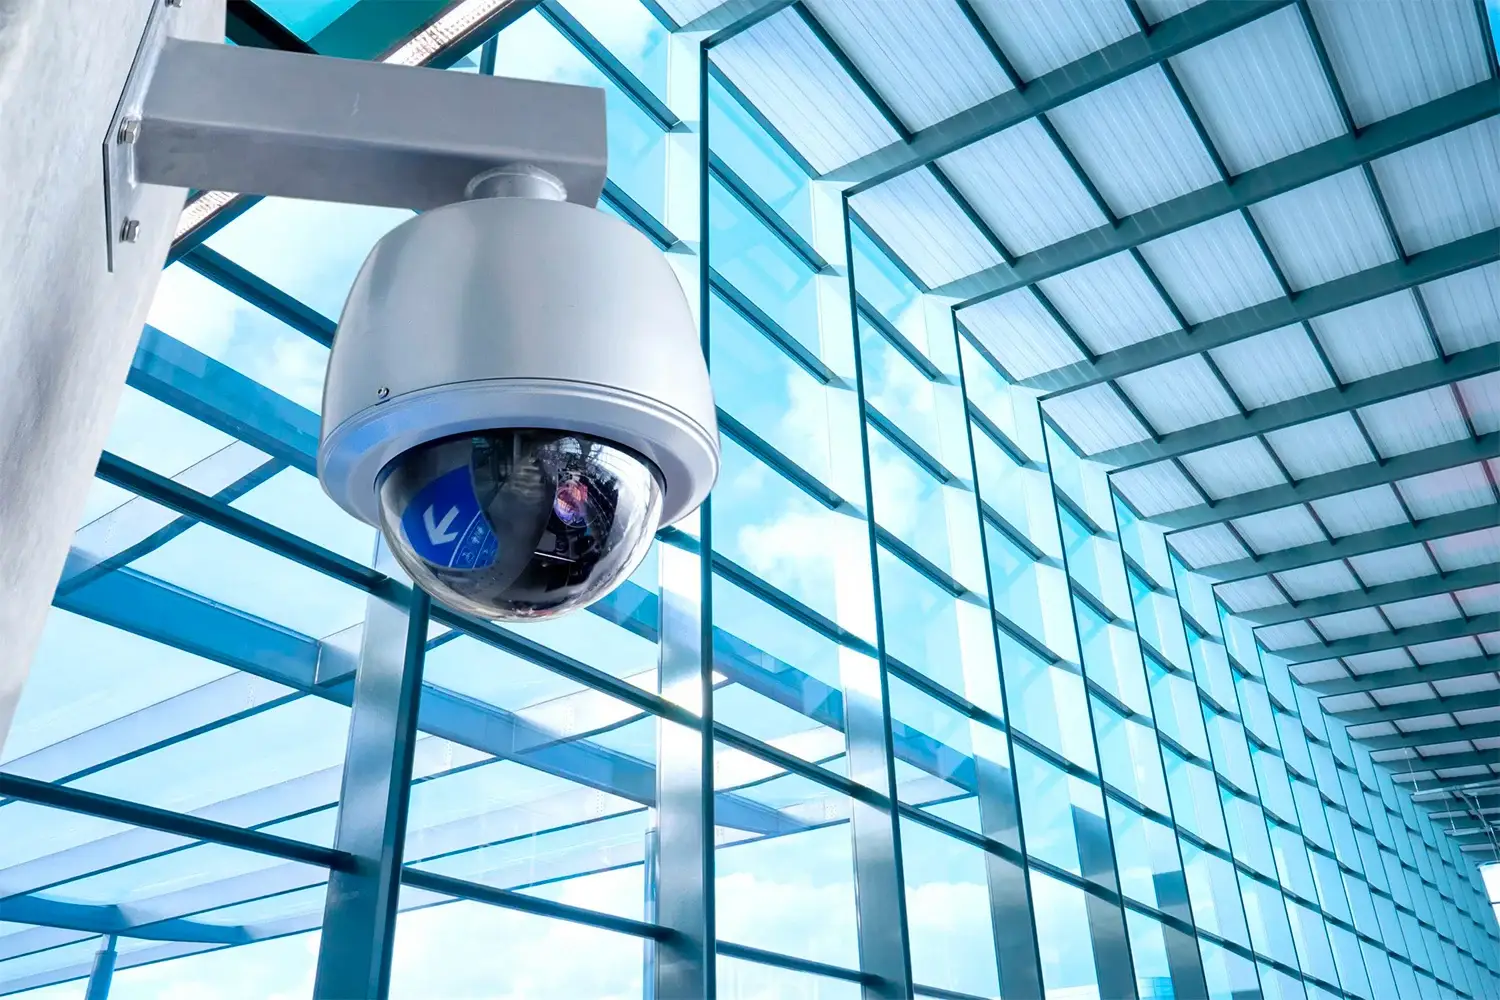
High-definition surveillance for peace of mind.
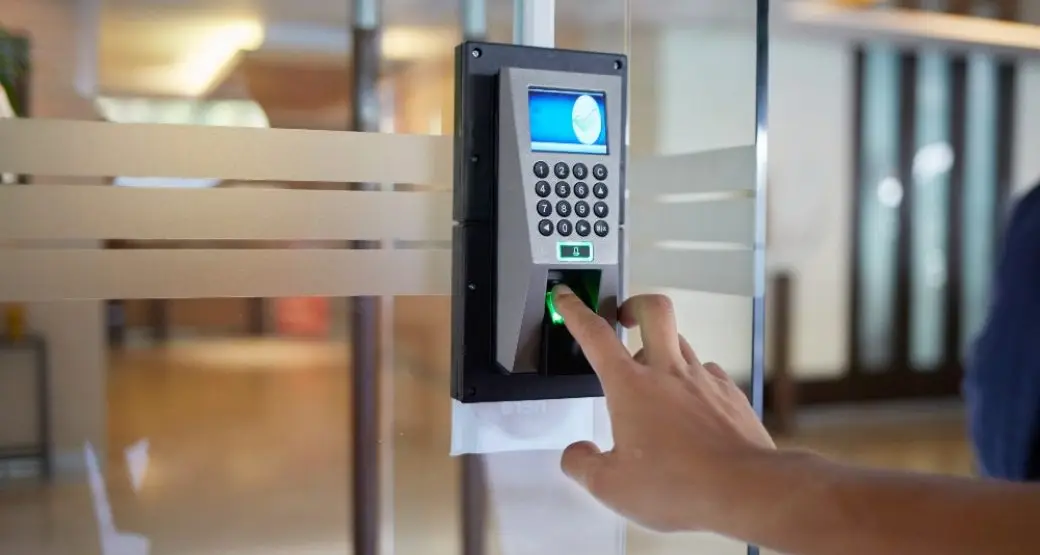
Comprehensive security solutions for home and business.
Serving the Treasure Valley
Local installation in your city