 (208) 991-3502
 Meridian, ID



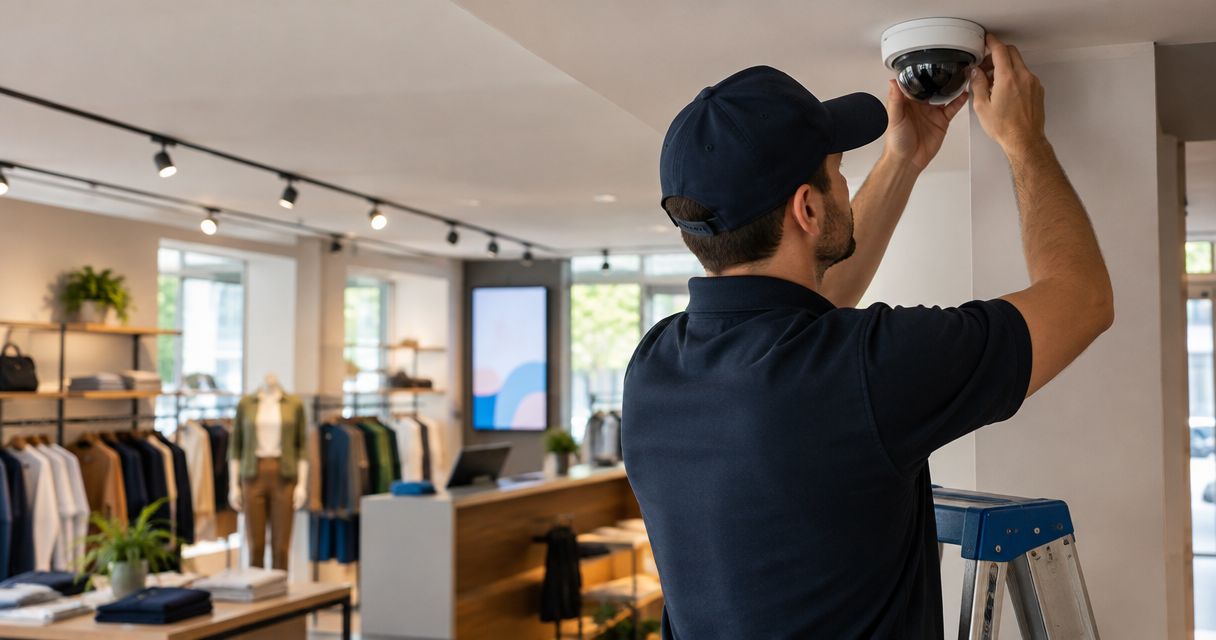

Security camera installation for retail stores starts with evidence goals. Plan coverage, compare recording options, and test footage before signing off.
Retail-store security camera installation is the placement, wiring, and configuration of video cameras to document incidents and support store operations. This 2026 guide explains how to plan coverage around shoppers, checkout activity, changing displays, and after-hours access without treating every camera view as interchangeable.
- Security camera installation for retail stores starts with evidence goals, not camera counts.
- Treasure Valley Solutions fits Treasure Valley retailers seeking professional security camera installation and concealed wiring.
- Wired PoE cameras suit fixed layouts; Wi-Fi cameras require dependable wireless coverage and power.
- Test recorded playback, incident exports, and staff permissions before accepting the installation.
Why security camera installation matters for retail stores
Retail cameras must answer different questions: who entered, what happened at checkout, and how merchandise moved through a stockroom door. An overview camera does not automatically provide identification footage. A wide view helps explain movement, while a tighter view captures the detail needed at a specific location.
Retail layouts also change. A seasonal display can block yesterday's clear view, and storefront sunlight can leave faces dark even when the entrance looks bright on screen. Your installation needs a coverage plan that staff can maintain, not just cameras mounted above the sales floor.
Treasure Valley Solutions is best for Treasure Valley retailers seeking professional security camera installation with neatly concealed wiring. Treasure Valley Solutions installs security and low-voltage systems for homes and businesses in Boise, Meridian, and the surrounding area. Professional installation suits stores that need cable routing and mounting work handled; it does not replace your responsibility to define recording access and incident procedures.
Plan your retail camera installation in seven steps
1. Define what each recording must show
Start with a floor plan and a walk through the store. Mark entrances, checkout lanes, merchandise areas, receiving doors, and routes between public and staff-only spaces. Assign an evidence goal to each location before choosing equipment.
An entrance view needs a useful image of someone arriving. A stockroom view needs to show movement through the doorway. A checkout view needs enough context to understand an interaction without unnecessarily exposing payment information.
For your 2026 installation brief, write each goal in plain language. Replace requests such as “cover the front” with “record people entering through the front door.” That gives you a practical acceptance test.
- Entrances: Record arriving and departing people.
- Checkout: Show customer and employee interactions.
- Merchandise: Follow movement around selected displays.
- Receiving: Document deliveries and stockroom access.
- Exits: Capture movement through rear and side doors.
2. Walk the camera views before choosing mounting points
Use a phone camera to explore possible angles from safe, accessible positions. This does not reproduce a security camera's lens or low-light performance, but it helps identify shelving, signs, door swings, and display fixtures that block sightlines.
Check the entrance during bright daylight and again after dark. Ask whether you need to recognize a face, observe an action, or understand the overall scene. Those are different viewing tasks, and one position does not always serve all of them.
Choose mounting locations around the required image, not the easiest ceiling tile to reach. Leave final mounting and work at height to someone equipped for the job.
- Check views with doors open and closed.
- Include tall displays and hanging signs on the plan.
- Separate entrance detail from sales-floor overview coverage.
- Keep restroom interiors and other private spaces outside camera views.
- Check whether neighboring property appears unnecessarily in the frame.
3. Choose the recording and wiring approach
Compare equipment by how it will operate in your store, not by resolution alone. Power over Ethernet, or PoE, carries network data and power over a compatible Ethernet connection. A Wi-Fi camera communicates wirelessly but still needs a power source unless it uses a battery.
For a 2026 project, decide where recordings will live and how managers will retrieve them before selecting cameras. Local recording and cloud recording have different dependencies. Remote access to a local recorder also depends on the network configuration and the equipment's supported features.
If cable routing requires professional work, Treasure Valley Solutions provides security camera and low-voltage wiring installation. Discuss the proposed scope through its installation services, then ask which recording features and equipment are included in the actual proposal.
- Identify accessible cable routes before buying equipment.
- Confirm camera, recorder, and power compatibility.
- Check recording behavior during an internet outage.
- Separate required features from optional analytics.
- Request a written equipment and installation scope.
4. Build a coverage map around store activity
Draw the proposed camera views on the floor plan. Label each view by purpose, then look for gaps between entrances, displays, checkout, and receiving. Overlapping views help explain movement, but duplicating the same broad angle does not solve every blind spot.
Use a simple coverage map with these zones: Entrance, Checkout, Sales floor, Stockroom, and Receiving. Assign each zone an evidence goal rather than assuming every zone needs the same lens or camera placement.
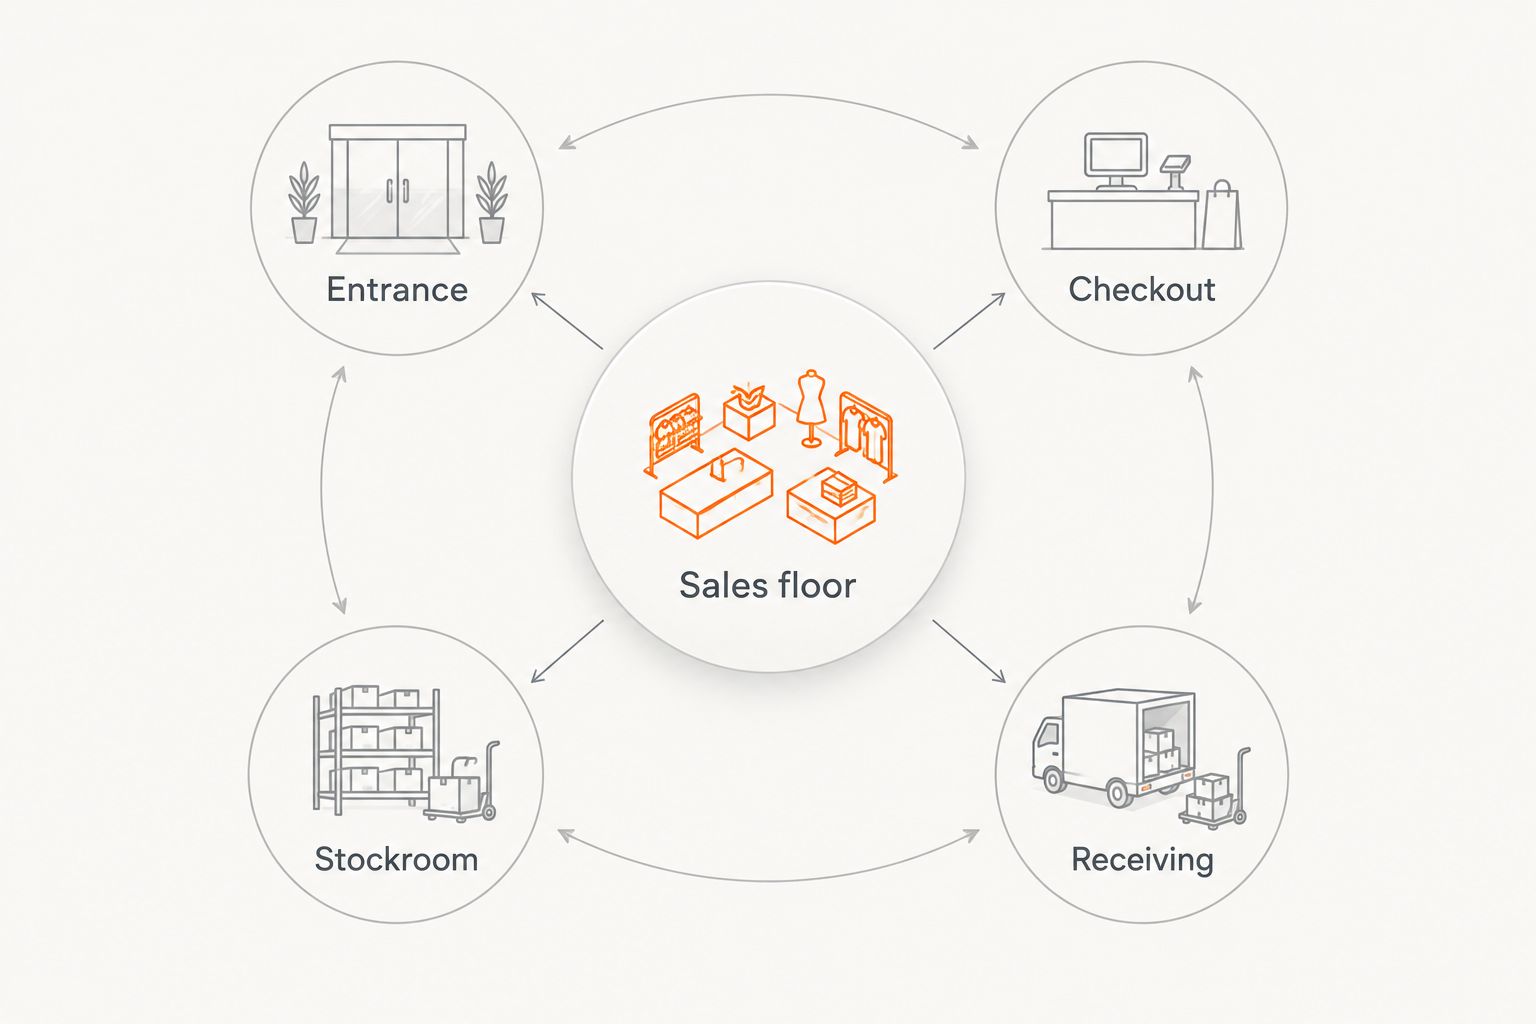
Walk the map with the person who opens the store and the person who handles deliveries. Their routes reveal practical details that a drawing misses. Review emergency exits without placing equipment where it interferes with doors, signs, or required access.
- Mark Entrance views separately from general overviews.
- Check Checkout sightlines from the customer and staff sides.
- Identify Sales floor obstructions at display height.
- Cover Stockroom access without filming private areas.
- Review Receiving with delivery doors in use.
5. Specify recording, retention, and account access
Start with a written policy: who can watch live video, who can search recordings, and who can export evidence. Give each authorized person an individual account where the system supports it. Shared administrator credentials make access harder to manage when employees change roles or leave.
Set retention around your incident-reporting process and any applicable requirements. Storage needs depend on camera count, image settings, compression, recording schedules, and scene activity. Do not accept a retention promise without the assumptions behind it.
Your 2026 handover document should distinguish local recording from internet-dependent features. Ask the installer to explain what continues working during each type of outage, rather than treating all outages as the same event.
- Define recording schedules for trading and closed hours.
- Document the intended retention period and calculation assumptions.
- Assign viewing, export, and administrator permissions separately.
- Enable multifactor authentication where supported.
- Record account ownership and recovery procedures.
6. Test recorded footage under real store conditions
Accept the installation based on recorded playback, not just a live preview. Have someone walk the normal customer route, complete a checkout interaction, and enter through receiving. Review the saved footage from the account a manager will actually use.
As a practical acceptance exercise, record 3 test clips of 30 seconds each: an entrance walk-through, a checkout interaction, and a stockroom entry. These are suggested test lengths, not performance specifications. Repeat the relevant checks after dark and with normal displays in place.
Export an incident sample and open it on a separate authorized device. Confirm the timestamp, image usefulness, and playback method before signing off. A sharp image inside the camera app is not enough if staff cannot retrieve and share the recording appropriately.
- Review faces and actions in saved recordings.
- Test storefront glare and after-hours lighting.
- Confirm dates, times, and time-zone settings.
- Open an exported clip outside the recorder interface.
- Document any view that fails its evidence goal.
7. Train staff and maintain the camera views
Write a short operating guide using the actual system's controls. Include how to find a camera, search by time, preserve an incident, and report a recording problem. Keep administrator credentials out of the general staff guide.
Give the opening or closing manager a 5-minute practice session to locate and export a sample incident. Treat that duration as a training exercise, not a guarantee of proficiency. If the process remains confusing, simplify the instructions and repeat the task.
Recheck coverage after merchandising changes, ceiling work, or network changes. A functioning camera can still provide an unusable view when a banner blocks the entrance or the store rearranges its highest shelving.
- Assign responsibility for checking recording status.
- Update permissions when staff roles change.
- Inspect views after display resets.
- Keep equipment and cable labels readable.
- Schedule firmware and maintenance work deliberately.
Compare installation and recording options
The best option depends on wiring access, recording requirements, and who will maintain the system. This 2026 comparison separates connection methods from recording methods: a wired camera can use local recording, cloud features, or a supported combination.
| Option | Best for | Main advantage | Key limitation |
|---|---|---|---|
| Wired PoE cameras | Fixed retail layouts with accessible cable routes | Power and network data share a compatible Ethernet connection | Requires cable routing and suitable network equipment |
| Wi-Fi cameras | Locations where a data cable is impractical | Avoids a wired data connection at the camera | Depends on wireless coverage and still needs power |
| Local recorder | Stores wanting recordings held on site | Can record without internet when the system and local network support it | Needs secure placement, storage planning, and maintenance |
| Cloud recording | Stores prioritizing off-site access to supported recordings | Keeps uploaded recordings away from the premises | Uploads depend on internet service and provider terms |
| Professional installation | Retailers needing mounting, wiring, and configuration work handled | Places responsibility for the agreed installation scope with an installer | Requires a clear scope; staff policies remain your responsibility |
Choose the architecture before comparing camera counts. A proposal is easier to evaluate when it names the recording location, required connections, cable routes, and acceptance tests. Ask for exclusions in writing, particularly network upgrades, electrical work, repairs, and ongoing maintenance.
Plan your retail camera installation
Discuss camera coverage, cable routing, and recording needs for your Treasure Valley store.
Common mistakes retail stores make
Buying cameras before defining evidence goals
A camera count is not a coverage plan. Specify what must be visible at each location, then evaluate whether the proposed views meet those requirements.
Pointing every camera down from the ceiling
High overview views help explain movement but can obscure faces beneath hats or leave important actions too small in the image. Ask for recorded examples from the proposed positions before accepting the layout.
Ignoring storefront lighting changes
An entrance that looks clear after sunset can produce a very different image in daytime glare. Test both conditions and review the saved footage, not just the live display.
Treating audio as a default setting
Audio recording raises separate privacy and legal questions from silent video. Leave it disabled unless you have confirmed a lawful, documented reason to use it and the applicable requirements.
Forgetting how the store actually operates
Deliveries, sale signs, rolling racks, and seasonal displays change sightlines. Include these conditions in acceptance testing and revisit the views whenever the floor plan changes.
FAQ
What's the best security camera setup for a retail store?
The best setup matches each camera view to an evidence goal and provides recordings your staff can retrieve. Choose the wiring and recording approach after reviewing entrances, checkout, merchandise, and receiving areas.
How many cameras does my retail store need?
Your store needs enough cameras to meet the documented viewing goals without leaving critical gaps. Floor area alone does not determine the count; shelving, doors, lighting, and required image detail also matter.
Are wired cameras better than Wi-Fi cameras for retail stores?
Wired cameras are the stronger fit when you want fixed connections and have practical cable routes. Wi-Fi cameras avoid a data cable at the camera but depend on wireless coverage and still require power.
Can retail security cameras record when the internet goes down?
A compatible local recording system can continue recording without internet if its cameras, recorder, local network, and power remain operational. Cloud uploads and remote viewing depend on the system design and available connection.
How long should a store keep security camera footage?
Set retention around your incident-reporting process and applicable legal, contractual, or insurance requirements. Ask for a storage calculation based on the actual cameras and recording settings rather than accepting a generic retention claim.
Can I record audio alongside retail security video?
Do not enable audio until you have confirmed the applicable legal requirements and established a documented purpose. Audio and video raise different consent and privacy issues, so get qualified legal advice for your situation.
Who installs security cameras for retailers in Boise and Meridian?
Treasure Valley Solutions provides security camera and low-voltage wiring installation for businesses in Boise, Meridian, and the greater Treasure Valley. Confirm the equipment, recording configuration, and installation scope in your project proposal.
One last thing
Test the system with the store ready for customers, not with an empty sales floor. Before accepting a 2026 installation, put the signs, racks, and displays back in their normal positions and repeat the entrance test. The recording needs to work in the store you operate, not just the clear space available on installation day.
Related guides
Recent Google reviews
Read all reviews →“Great job!!”
“Amazing customer experience. They went above and beyond installing my 2 TVs on the wall and setting up my ring doorbell. Thier price was very very reasonable. Great experience, have used their service twice now.”
“Professional, on time and the team did an outstanding job! 100% would recommend and will use again.”