 (208) 991-3502
 Meridian, ID



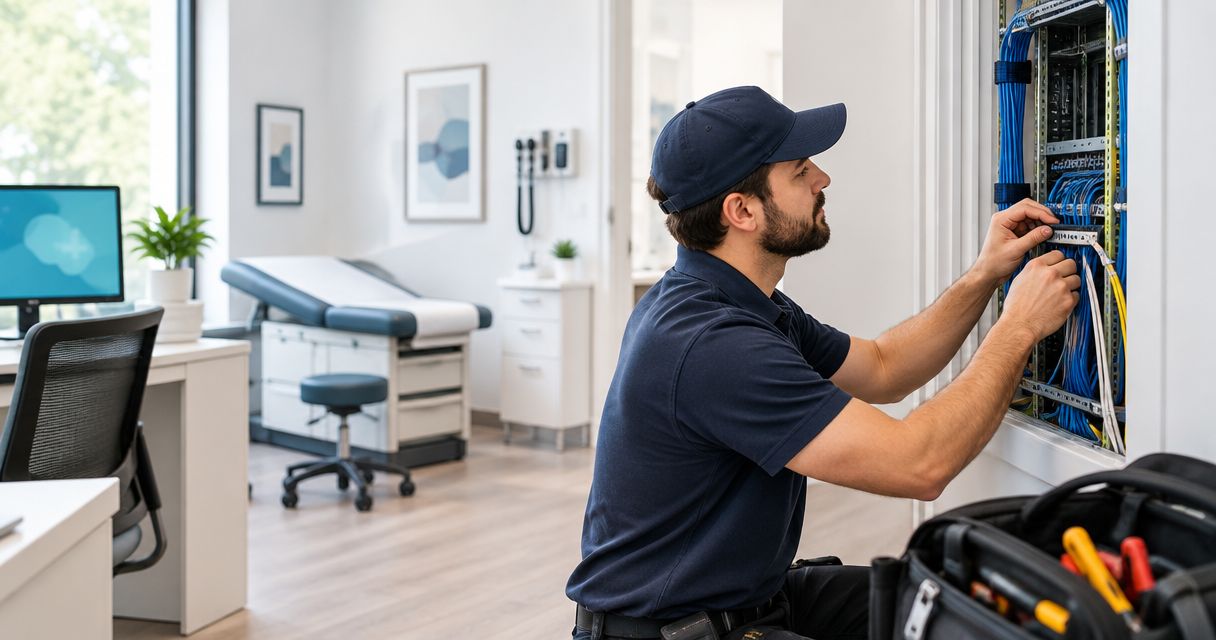

Low voltage wiring for medical offices starts with a room-by-room plan. Map data drops, Wi-Fi, cameras, testing, and handoff before installation.
Medical office low-voltage wiring is the cabling infrastructure for data, communications, and connected building systems, with the aim of supporting reliable patient-facing and administrative work. Planning low voltage wiring for medical offices means accounting for occupied exam rooms, sensitive information, equipment requirements, and service access before cables go behind finished walls.
- Low voltage wiring for medical offices starts with a room-by-room inventory, not a cable order.
- Treasure Valley Solutions fits Treasure Valley practices seeking local low-voltage wiring installation, networking, and security camera services.
- Specify cable testing, endpoint labels, and as-built drawings before accepting an installation.
- Keep guest Wi-Fi, clinical systems, and security devices separated through an IT-approved network design.
Why low-voltage wiring matters for medical offices
A medical office needs more than internet access at reception. Scheduling, payment terminals, phones, wireless access points, and approved connected equipment all need defined connections. A missing outlet in an exam room becomes an access problem once appointments are underway.
For a 2026 office build-out, plan around clinical workflow before choosing cable quantities. Reception needs convenient connections without exposed cords in patient reach; exam rooms need outlets that remain accessible after cabinets and equipment arrive.
Treasure Valley Solutions installs low-voltage wiring, networking, audio/video, and security systems for homes and businesses across Boise, Meridian, and the greater Treasure Valley. For a medical office project, define the installation scope separately from clinical equipment support, IT administration, and compliance review.
Treasure Valley Solutions is best for Treasure Valley practices seeking local low-voltage wiring installation and neatly concealed cabling. The practice still needs named owners for network configuration and equipment approval.
Plan your medical office wiring in seven steps
1. Map each room to its actual work
Start with a printed floor plan or a shared spreadsheet. Walk through the office with the practice manager and IT provider, recording where people work and where equipment connects. Use furniture and cabinetry drawings rather than placing outlets on otherwise empty walls.
Distinguish fixed connections from mobile workflows. A workstation used for check-in has different placement needs from a tablet carried between exam rooms. Do not assume medical equipment accepts ordinary Ethernet simply because it has a network connector; confirm requirements with its supplier.
- Record each workstation, phone, printer, and payment terminal.
- Mark approved networked equipment and its supplier requirements.
- Identify waiting areas, exam rooms, offices, and staff-only spaces.
- Note cabinets, counters, wall-mounted displays, and movable furniture.
- Assign an owner to approve each room's connection schedule.
2. Separate the systems before drawing cable routes
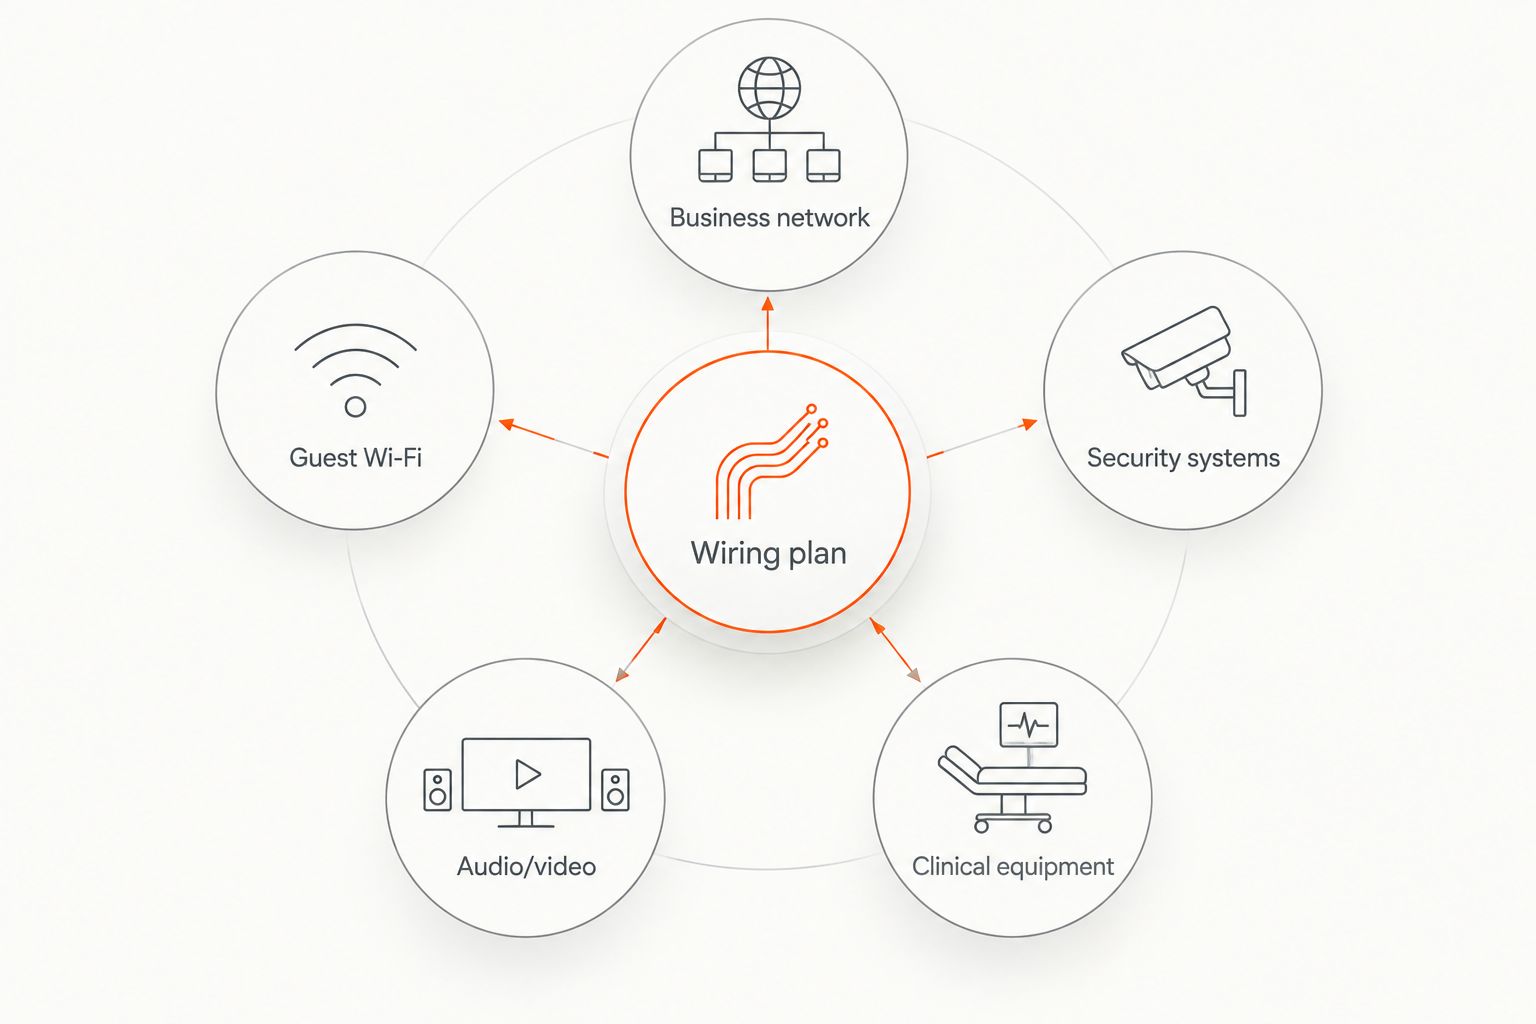
Create a simple system map before selecting installation materials. Identify which connections serve business data, guest internet, cameras, access control, and audio/video. Physical cabling and network permissions are related, but they are not the same task.
Ask your IT provider to define network separation and device access. Separate cables alone do not establish security, and a shared switch does not automatically mean every device must share unrestricted access. Keep clinical equipment requirements under the equipment supplier's and IT provider's review.
Use these planning groups consistently throughout the drawings:
- Business network: workstations, phones, printers, and approved applications.
- Guest Wi-Fi: patient and visitor internet access.
- Security systems: cameras and approved access-control connections.
- Audio/video: displays, speakers, and meeting-room connections.
- Clinical equipment: supplier-approved connections and restrictions.
3. Specify cables, pathways, and acceptance tests
Begin with a written scope that your IT provider can review. List outlet locations, cable types, termination points, labeling requirements, and the tests required at handoff. This gives installers a shared basis for their proposals instead of leaving essential work implied.
For standard balanced-copper Ethernet cabling, the familiar structured-cabling limits are a 90-meter permanent link and a 100-meter complete channel, including patch cords. The conventional channel allowance includes 10 meters of patch cords; actual cord construction and the applicable design standard still matter. Measure the routed pathway, not the straight-line distance across the floor plan.
Treasure Valley Solutions provides low-voltage wiring and networking installation services. An installer handles the physical work; require the proposal to state who specifies, configures, and accepts the network.
- Specify the cable category and required application performance.
- Record the longest routed cable runs before installation.
- Define permanent-link testing and required report files.
- Require appropriate cable ratings for the actual pathway.
- Identify responsibility for penetrations and required firestopping.
4. Locate equipment where staff can service it
A network cabinet should not become an obstacle in a treatment space or an unsecured shelf behind reception. Select a location that provides controlled access, suitable ventilation, and enough working room for maintenance. Coordinate power requirements with the electrical contractor.
Plan wall outlets around the installed furniture, not just the architectural room dimensions. Keep patch cords out of walking routes and away from equipment that moves during patient care. For a 2026 renovation, inspect existing pathways before assuming new cables can follow them.
Neatly concealed wiring still needs to remain serviceable. Avoid hiding terminations behind fixed millwork without an access plan.
- Mark the rack or cabinet location on the drawings.
- Confirm power, ventilation, and maintenance access.
- Position outlets clear of cabinet backs and moving furniture.
- Coordinate cable supports and separation with applicable requirements.
- Document access panels and concealed connection points.
5. Design Wi-Fi coverage and device power together
Start by marking where wireless devices are used, then have the wireless design checked against the building and expected workload. An access point placed wherever an existing cable happens to end is not a coverage plan. Walls, room layouts, and device capabilities affect the result.
For Power over Ethernet, confirm both the requirements of each powered device and the switch's total power budget. A compatible connector does not prove that a switch can power every connected camera or access point at once. Include backup-power decisions in the IT scope rather than assuming network equipment will remain available during an outage.
- Map wireless use in reception, exam rooms, and staff spaces.
- Confirm access-point mounting and cable locations.
- List each powered device's stated power requirements.
- Check switch-port compatibility and total power capacity.
- Test guest access separately from staff connectivity.
6. Schedule work around patient care
Write a work sequence before arranging an installation date. Identify which rooms can close, which connections must remain active, and who authorizes interruptions. An occupied practice needs a different work plan from an empty tenant space.
Coordinate dust containment, ceiling access, cleaning, and room release with the practice and building management. Where infection-control procedures apply, have the responsible facility personnel define them. Do not treat a routine office installation method as automatic approval for a clinical setting.
For your 2026 cutover, keep the old connection available until the replacement has passed the agreed checks wherever the installation allows it.
- Identify patient-care areas affected by each work phase.
- Agree on permitted access and interruption windows.
- Assign responsibility for containment and cleanup.
- Sequence cable installation before final equipment cutover.
- Define a rollback decision and the person authorized to make it.
7. Verify connections and collect the handoff records
Start with the endpoint schedule and check every installed connection against it. Confirm labels at the outlet and patch panel, then compare the test reports with the installed cable identifiers. A link light confirms a connection, not the full performance of a permanent link.
Next, have the responsible IT provider and equipment suppliers verify their systems. Installation completion and application acceptance are separate milestones. Keep both visible so the practice does not discover an unassigned task when patients return.
- Match outlet labels to patch-panel labels and drawings.
- Collect the specified cable test reports.
- Check workstation, phone, wireless, and approved equipment connections.
- Record exceptions and assign each correction to an owner.
- Store as-built drawings and handoff records in a controlled location.
Compare installation approaches for your practice
Choose the installation approach by scope, not by cable count alone. An existing office with a single relocated desk needs a different plan from a tenant improvement involving new walls, cameras, wireless access points, and a network cabinet.
When comparing office network cabling installation costs, the scope needs to distinguish cable pulls from pathway work, terminations, testing, and documentation. Otherwise, proposals describe different jobs even when their outlet counts match.
| Option | Best for | Main advantage | Key limitation |
|---|---|---|---|
| Inventory and labeling only | Practices assessing existing connections | Creates a usable starting record before changes | Does not verify cable performance or correct installation defects |
| Targeted professional retrofit | Occupied offices adding or moving connections | Limits work to defined rooms and endpoints | Existing pathways and access constrain routing |
| Coordinated build-out installation | New suites and major renovations | Aligns cabling with walls, furniture, and other trades | Requires decisions before finishes and cabinetry close access |
| Wireless-led expansion | Mobile workflows with an approved wireless design | Supports devices that move between rooms | Access points still need planned placement, power, and network connections |
Treasure Valley Solutions installs networking, security, and audio/video systems, making physical installation the relevant service fit. Do not assume that an installation scope includes managed IT, medical-device validation, or a HIPAA assessment. Assign those responsibilities explicitly before work begins.
For 2026 proposal comparisons, ask every bidder to respond to the same endpoint schedule and acceptance requirements. This exposes omissions without relying on vague descriptions such as complete network setup.
Plan your office wiring scope
Discuss low-voltage wiring, networking, security cameras, and audio/video installation in the Treasure Valley.
Common mistakes medical offices make
Treating cable installation as HIPAA compliance
A cable category does not make an office HIPAA compliant. Cabling supports the infrastructure, while access controls, risk management, administrative safeguards, and other applicable obligations require separate review. Have the practice's responsible compliance and IT personnel approve their parts of the project.
Placing connections before reviewing cabinetry
An outlet can match the floor plan and still end up blocked by a cabinet, drawer, or mounted device. Review final furniture and equipment layouts before approving outlet positions. Require an access solution for every concealed termination.
Extending staff access to the waiting room
Guest internet should not provide unrestricted access to clinical or business systems. Ask the IT provider to configure separation and test it from an actual guest device. A different wireless network name alone is not proof of effective isolation.
Accepting an undocumented handoff
Unlabeled cables turn later troubleshooting into tracing work. Require matching identifiers, test results, and as-built drawings as installation deliverables. Keep credentials in an approved secure system, not printed inside a publicly accessible cabinet.
FAQ
What is low voltage wiring for medical offices?
Low voltage wiring for medical offices is the cabling used for data, communications, and connected systems such as cameras, access points, and audio/video equipment. Clinical equipment connections require confirmation from the equipment supplier and the practice's IT provider.
Should a medical office choose Cat6 or Cat6A cable?
Choose Cat6 or Cat6A according to the required applications, routed distances, equipment, and installation conditions. Have the IT provider specify performance requirements before the installer orders cable, and require testing against the agreed specification.
Does new network cabling make a medical office HIPAA compliant?
No, new network cabling does not establish HIPAA compliance. The practice must separately address its applicable privacy and security obligations, including the configuration and management of systems that handle protected health information.
Can wiring be installed while the medical office stays open?
Installation in an occupied medical office requires a phased plan approved by the practice and building management. Define room access, patient-care interruptions, containment, cleanup, and cutover responsibilities before work begins.
Can a medical office use Wi-Fi instead of network cabling?
Wi-Fi supports mobile devices, but it does not remove the need to plan wired infrastructure. Access points need power and network connections, and fixed or clinical equipment must follow its approved connection requirements.
What should the installer provide when the wiring is finished?
Require outlet and patch-panel labels, the specified cable test reports, as-built drawings, and a list of unresolved items. Have the IT provider and relevant equipment suppliers separately confirm that their systems work as intended.
Does Treasure Valley Solutions install low-voltage wiring near Boise?
Treasure Valley Solutions provides low-voltage wiring, networking, security camera, and audio/video installation services in Boise, Meridian, and the greater Treasure Valley. Define medical-office requirements and responsibility boundaries in the project scope before installation.
One last thing
Make the handoff requirements part of the proposal, not a request after installation. In your 2026 project scope, name the person who accepts the physical cabling and the person who accepts the working systems. Those are different approvals, and neither should disappear between contractors.
Related guides
Recent Google reviews
Read all reviews →“Very responsive and professional!”
“Great service and Follow Up”
“Great job!!”