 (208) 991-3502
 Meridian, ID



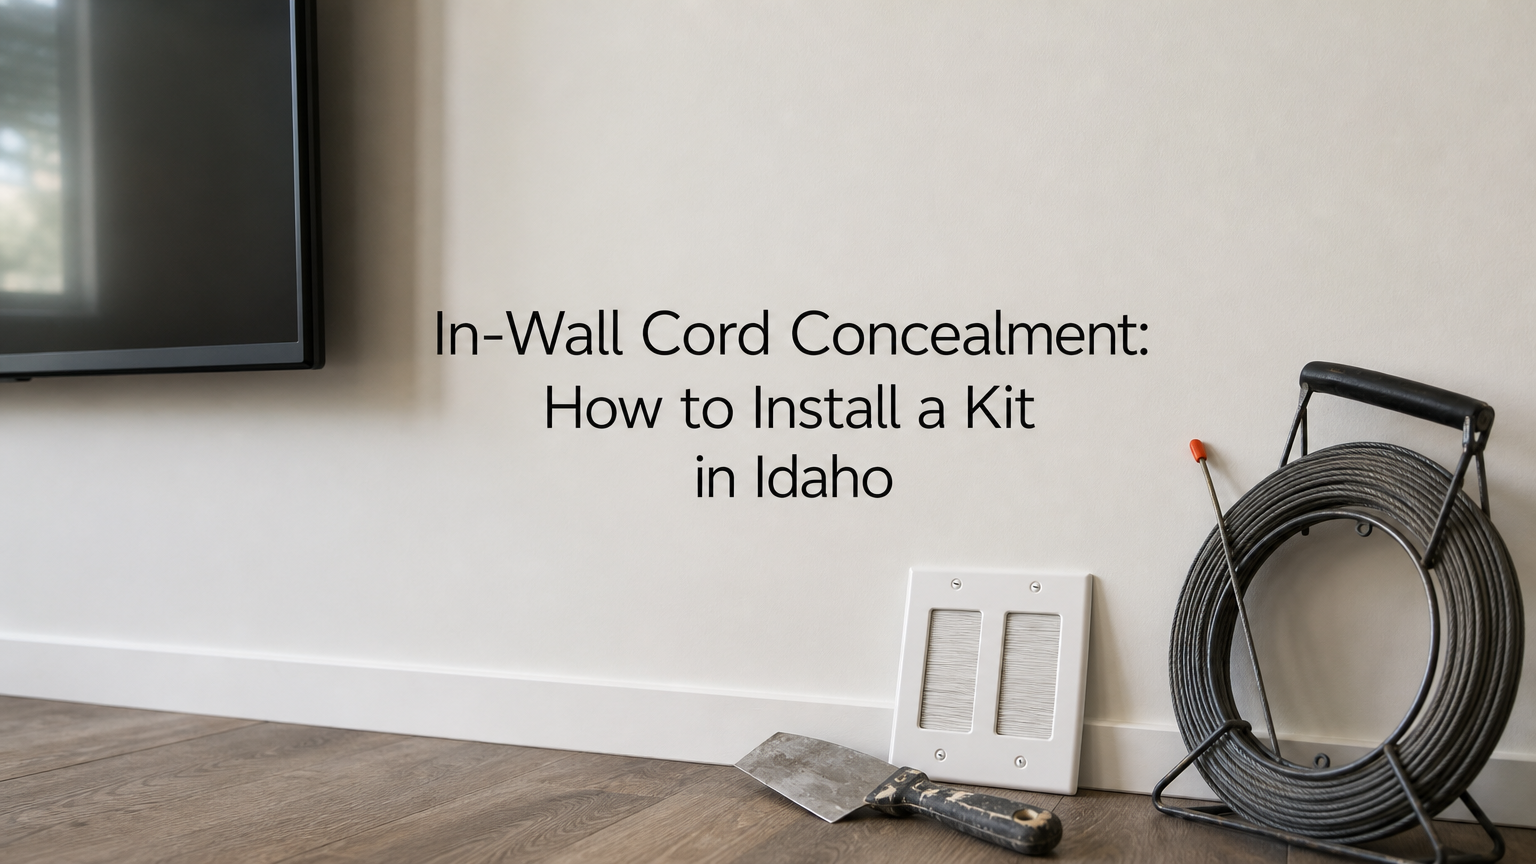

In-wall cord concealment moves your TV's power and signal cables inside the wall cavity, between one opening behind the TV and one near your outlet and equipment. You trace the kit's template, cut bot...
In-wall cord concealment moves your TV's power and signal cables inside the wall cavity, between one opening behind the TV and one near your outlet and equipment. You trace the kit's template, cut both openings, pull the cables through, and let the faceplates close the gaps. A listed in-wall power kit handles the power cord, a brush plate handles HDMI and Ethernet, and the whole job takes an afternoon on standard drywall.
The problem is that a wall-mounted TV only looks like it floats until you see the cables hanging below it. A raceway hides them but leaves a visible strip. Pushing an ordinary extension cord into the wall is the shortcut people try, and it is both unsafe and against electrical code. On top of that, a $9 plate and a $67 kit sit side by side in the store listings, and it is not obvious which one you need.
This guide walks you through choosing the right kit, planning the openings, cutting and running the cables, installing power safely, and testing the result. Treasure Valley Solutions mounts TVs and runs low-voltage wiring across the Treasure Valley, so you will also see where a DIY job ends and a licensed pro should take over.
What in-wall cord concealment is and what to buy
In-wall cord concealment routes TV cables through the wall between two cutouts, and the kit you need depends on whether you are hiding signal cables, power, or both. It only suits standard drywall.
Which kit fits your setup
Three product types cover almost every wall-mounted TV. Brush plates hide HDMI, Ethernet, and speaker wire. Recessed power kits add a safe path for the power cord. On-wall raceways hide cables without any cutting. The prices below come from retail listings and will shift over time.
| Kit type | Cuts the wall | Hides the power cord | Typical retail price |
|---|---|---|---|
| Brush plate, single or double gang | Yes, one opening per plate (you need two) | No | $8 to $10 per plate |
| Recessed power kit with brush pass-through | Yes, two openings | Yes | About $67 |
| On-wall raceway kit | No | Covers the cord only | $17 to $31 |
Take a 65-inch TV with a soundbar, two HDMI lines, and no outlet behind it. It needs a power kit with a brush pass-through. One popular kit lists a triple outlet, a 9-foot pre-wired cord, and an ETL safety listing for about $67, and that is the whole parts bill. A raceway for the same TV costs about $19 but leaves a white strip running down the wall.
Hide signal cables with a $9 plate, but hide power only with a listed in-wall kit.
When you cannot cut the wall
Brick, concrete, tile, and plaster over masonry rule out any in-wall kit, and so do most rental agreements. In those cases, a paintable on-wall raceway is the right answer. Kits that hold four to six cables are common, and you run one straight down from the TV. It is also the simplest way to hide wires on a mounted TV without cutting the wall.
Step 1. Plan the openings and check the wall
Mark two openings in the same stud bay, the space between two studs: one hidden behind the TV and one near your outlet and equipment. A single bay lets the cables drop straight down with no framing in the way.
Choose the two locations
Use these rules to place the openings:
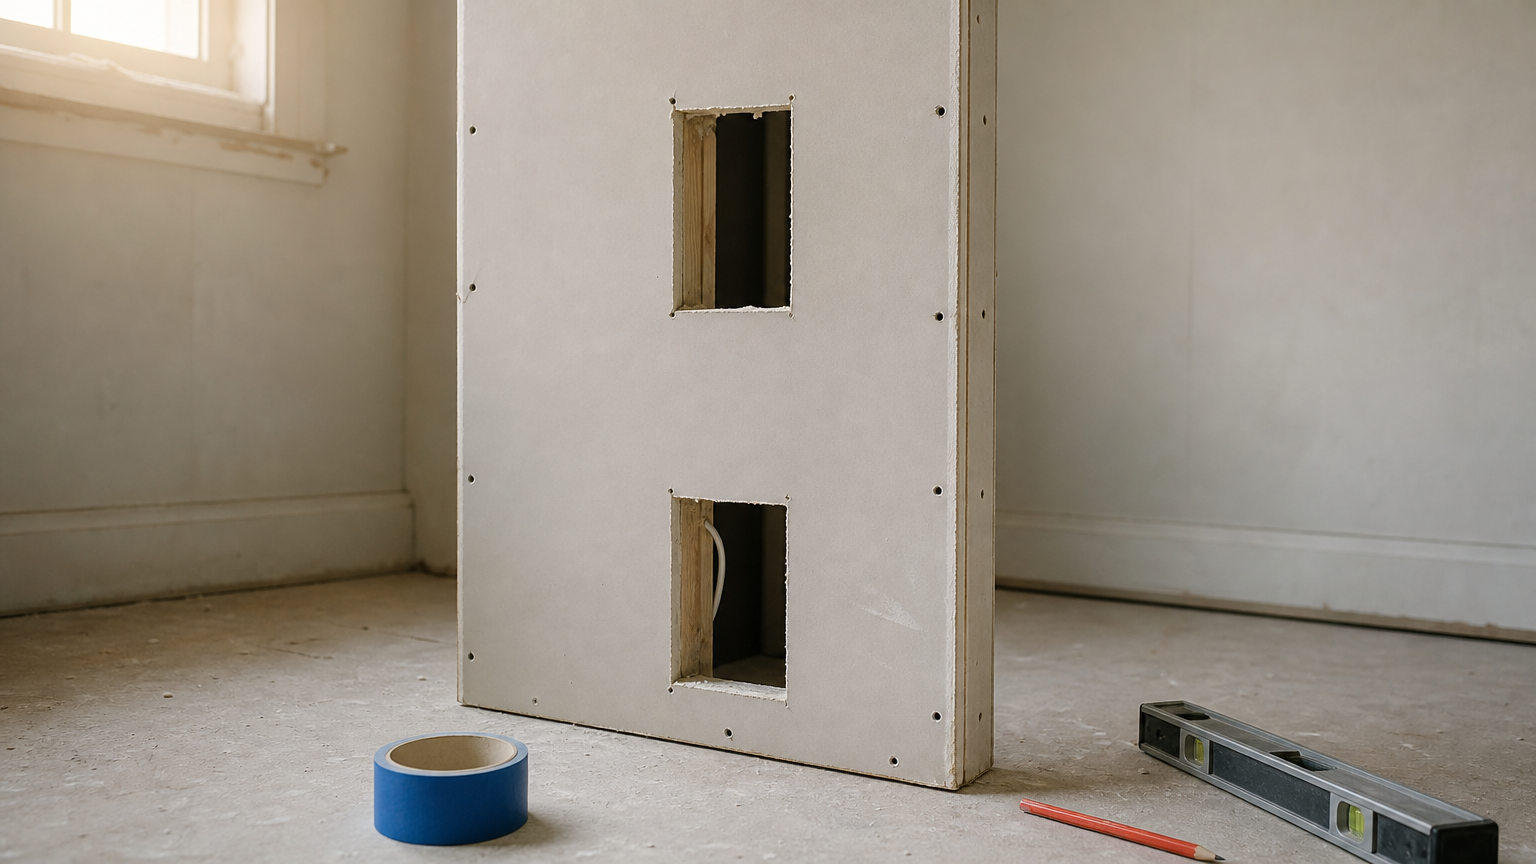
- Place the upper opening where the mounted TV will cover the faceplate. Tape the TV's outline on the wall to check.
- Place the lower opening within reach of an existing outlet. Measure the vertical run between openings, because the power cord must cover that run and still reach the outlet.
- Put the lower opening behind or beside your console or receiver so the visible cables stay short.
Mark the studs with a stud finder, then draw both openings with a level so they line up vertically.
Check what is inside the wall
Before you cut, scan for pipes, wires, and switches in the bay. A stud finder with AC detection helps, and a phone camera pushed through a small pilot hole lets you look inside. Avoid exterior walls where you can, because insulation fills the cavity and the cutouts can leak air. Also avoid walls above or beside a chimney or fireplace.
Many walls have a horizontal 2x4 between studs, called blocking. If your pilot hole shows one between the two openings, move the lower opening above it or pick another bay. Do not notch the framing to get a cord through.
Pick one stud bay, confirm it is empty, and the rest of the job gets easy.
Step 2. Cut the openings and run the cables
Trace the kit's template, drill a pilot hole, cut along the line with shallow strokes, and then pull the cables from top to bottom with fish tape. In-wall cord concealment is mostly slow, careful cutting, not hard work.
Gather the tools
Some kits include a template and a drywall knife, but the knife can be too dull to start a cut, and fish tape is rarely in the box. Have these ready:
- Stud finder, level, pencil, and painter's tape
- Drill with a small bit for the pilot hole
- Drywall knife or keyhole saw (an oscillating multitool also works)
- Fish tape or a weighted string
- Flashlight and a vacuum or dust bag
Cut and pull the cables
- Tape the template to the wall, level it, and trace the outline. Repeat for the lower opening.
- Drill a pilot hole inside one corner of the upper outline. Shine a flashlight in to confirm the space is clear.
- Cut along the line with shallow strokes. Angle the blade so you do not cut deep behind the board. Tape a bag under the opening to catch the dust.
- Cut the lower opening the same way.
- Feed the fish tape from the upper opening to the lower one. Tape the plug end and the HDMI connectors to it, then pull them through together.
Pull the bulky connector ends first and keep them bundled. Loose cables snag on the back of the drywall.
Drill a pilot hole first and cut slowly, because shallow strokes keep you clear of whatever hides behind the board.
Step 3. Install the power kit safely
Use only a listed in-wall power kit for the power cord, never a regular extension cord or power strip pushed into the wall. The National Electrical Code does not allow ordinary flexible cords to run through walls, and an overheated cord inside a cavity is a fire you will not see.
Mount the plates and connect the cord
Check that the kit carries a safety listing such as ETL or UL, and note its voltage and load rating. The kit above lists 120V. Seat the upper plate with the outlets, then the lower plate with the plug end, and tighten the clamps or screws so they grip the back of the drywall. Plug the cord into a wall outlet, not a power strip, unless the manual says otherwise. Add up the TV, soundbar, and console against the kit's rating before you connect anything.
When an electrician makes sense
Some people cut the plug off a kit and wire it into the house circuit. Do not do that unless you are licensed. The cleanest result is a hardwired outlet behind the TV fed from a nearby circuit, which means no cord at all. That is electrician work, and your local building department may require a permit.
If you would rather skip the drywall and wiring, Treasure Valley Solutions is fully licensed and insured, and founder Frankwin Hooglander holds Idaho RCE License RCE-51320. Estimates and on-site consultations are free. Our TV mounting base price covers basic external cable management only, and wall repair is not implied by it. So ask for in-wall work and patching to be quoted separately.
The power cord is the one cable where a shortcut can start a fire, so buy a listed kit or hire it out.
Step 4. Connect, test, and finish the setup
Plug everything in and test every input before the TV goes on the mount, so you never take it back down. Then leave a way to change cables later.
Connect and test
- Feed HDMI, Ethernet, and speaker wire through the brush openings. Leave about a foot of slack at each end.
- Plug the TV and devices into the upper outlets, then plug the lower cord into the wall outlet.
- Power on and check each HDMI input, the network link, and the audio.
- Hang the TV on its mount and make sure the faceplate behind it is not pinched.
- After an hour of use, feel the plates and the plug. They should be cool or slightly warm. If anything is hot, unplug it and recheck the load.
Leave a path for future changes
Once the wall is closed, swapping a cable means pulling a new one through the same cavity. While the openings are still accessible, tie a pull string to a spare HDMI cable and run it down the bay, or just leave the string in place. It takes two minutes and saves you from cutting again.
If you want permanent Ethernet runs, Cat6 or Cat6A is the standard for new wiring. Treasure Valley Solutions' low voltage wiring service covers both in homes and retrofits.
Test every input before the TV goes on the mount, not after.
Your cords, out of sight
In-wall cord concealment comes down to five decisions. Choose a kit that matches what you need to hide, pick one empty stud bay, cut with the template and a pilot hole, power the TV only through a listed kit or an electrician's outlet, and test before you mount. Do those in order and the wall ends up clean and safe.
If the drywall, the power, or the patching feels like more than you want to take on, you can request a free on-site estimate from Treasure Valley Solutions. We respond to inquiries within one business day, and the consultation carries no obligation.
Recent Google reviews
Read all reviews →“Very responsive and professional!”
“Great service and Follow Up”
“Great job!!”