 (208) 991-3502
 Meridian, ID



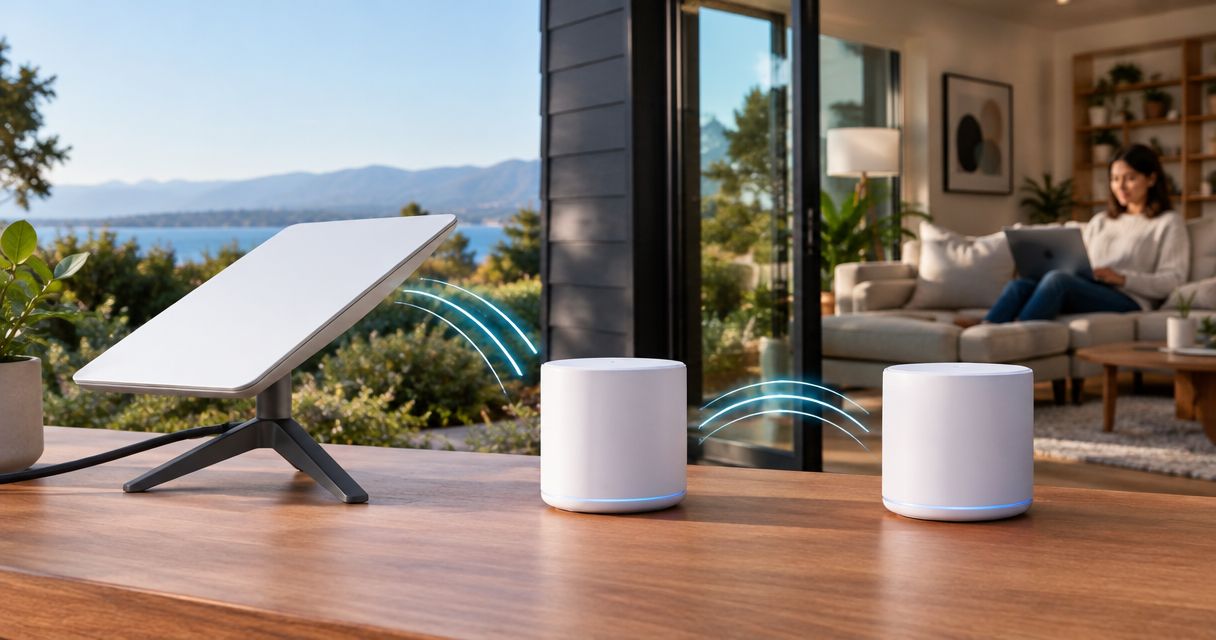

Starlink mesh wifi integration works best with one router. Connect Ethernet, choose bypass or access point mode, and test coverage room by room.
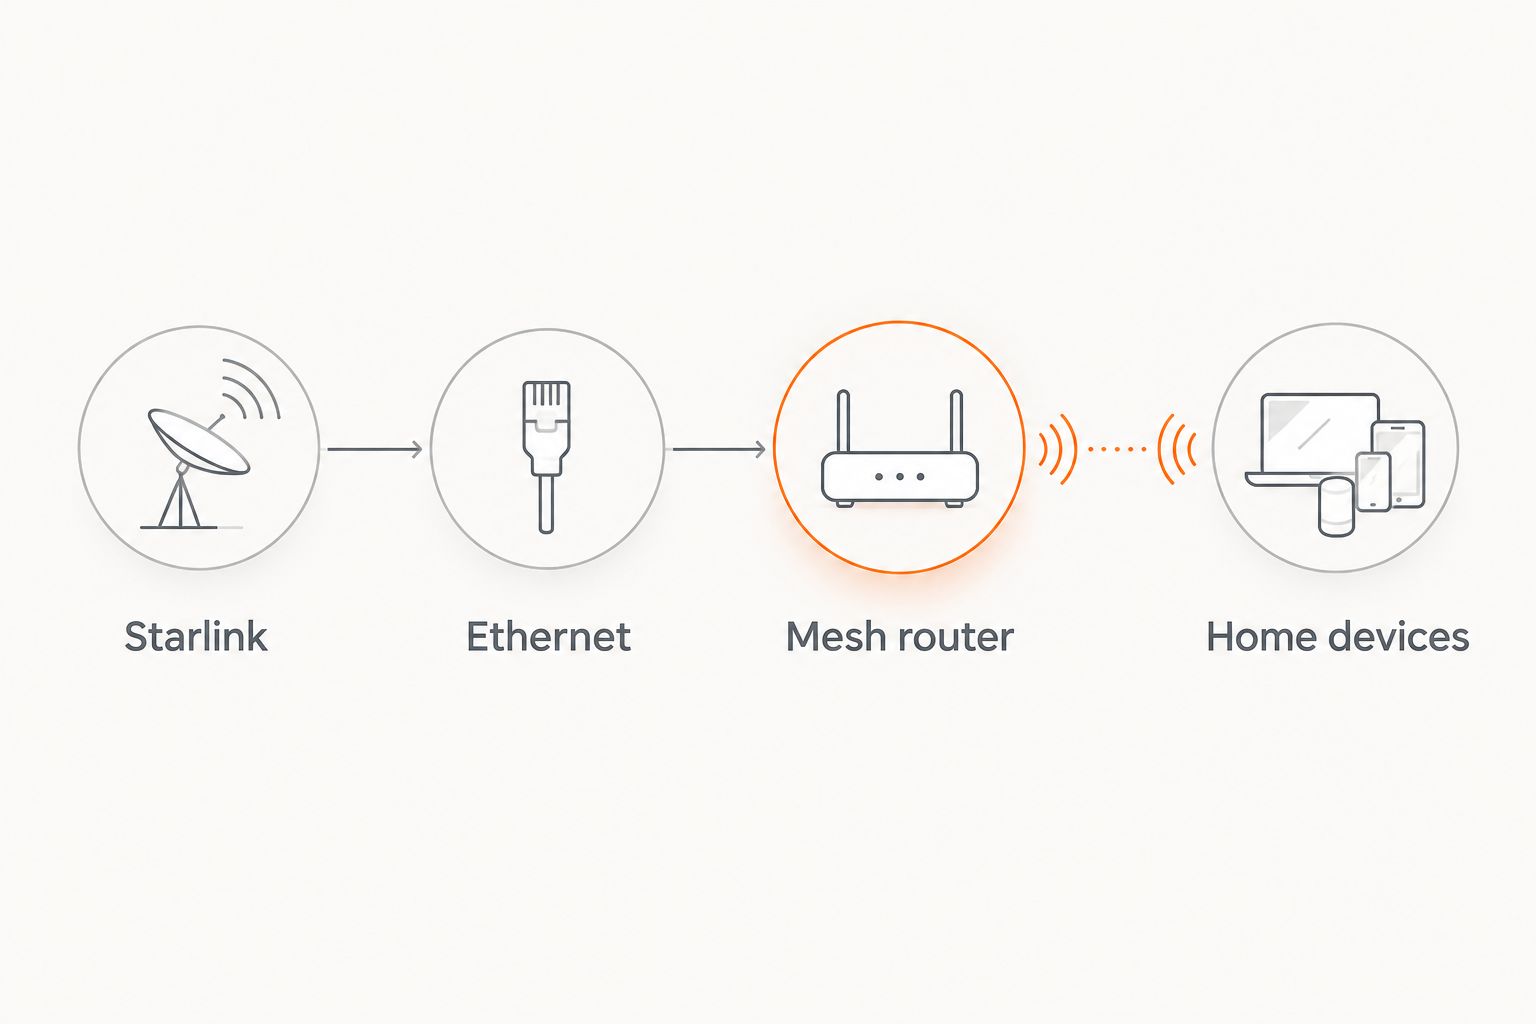
Instead of switching networks or reconnecting devices in weak-signal rooms, connect Starlink by Ethernet to a whole-home mesh Wi-Fi system and let one router manage your home network. For most replacement-router installations, that means putting Starlink in bypass mode and using the mesh system as your router—not running both as routers.
- Starlink mesh wifi integration works best when one router manages your home network.
- Use Starlink bypass mode when your mesh system handles routing, DHCP, and whole-home Wi-Fi.
- Keep Starlink routing enabled only when your mesh supports a suitable access point mode.
- Treasure Valley Solutions installs networking systems for homeowners and businesses needing planned coverage and concealed wiring.
Treasure Valley Solutions is best for Treasure Valley homeowners who want networking installation with neatly concealed wiring. Its smart home and networking installation services cover homes and businesses across Boise, Meridian, and the surrounding area.
Why this matters
A mesh system distributes Wi-Fi around your home; it does not replace the Starlink antenna or improve the satellite connection itself. Good coverage can fix the connection between your devices and your network, but it cannot fix an obstructed antenna view.
The key decision for a 2026 installation is which device handles routing. If Starlink and the mesh both operate as routers, your connection passes through two layers of network address translation, commonly called double NAT. Basic browsing can still work, while inbound connections and some gaming configurations become harder to manage.
Choose the arrangement before moving cables:
| Configuration | Best for | Advantage | Limitation |
|---|---|---|---|
| Starlink bypass mode; mesh router mode | Replacing Starlink Wi-Fi with a whole-home mesh | The mesh controls routing, DHCP, and Wi-Fi | Starlink router Wi-Fi is disabled; recovery depends on your hardware |
| Starlink router mode; mesh access point mode | Keeping Starlink as the network router | Avoids a second routing layer when supported and configured correctly | Some mesh routing features become unavailable |
| Starlink router mode; mesh router mode | Temporary connection testing | Lets you verify the Ethernet connection before changing modes | Creates double NAT; not the preferred finished setup |
Use bypass mode for a mesh-led network. Use access point mode when Starlink must remain the router. Neither arrangement is universally better; the right choice depends on the controls you need and the modes your mesh supports.
Before you start
- Confirm the Ethernet connection. Identify your Starlink hardware and its supported Ethernet output. The rectangular, motorized Standard Actuated system requires the matching Starlink Ethernet Adapter; other hardware has different Ethernet connections. Check the hardware instructions before disconnecting anything.
- Prepare local access. Have the Starlink app, your mesh system's setup app or administration interface, account credentials, and a known-working Ethernet cable. Complete setup while physically at the property, not through a remote connection that the change will interrupt.
- Plan the recovery path. Enabling bypass mode disables Starlink router Wi-Fi. Know your hardware's reset procedure before proceeding, because restoring normal router operation can require a factory reset. Also confirm whether your mesh supports access point mode if you intend to use that alternative.
For a 2026 upgrade, identify hardware by its model and physical connections rather than assuming instructions for another Starlink kit apply. Mesh app labels also differ by manufacturer; use the instructions for your exact model when selecting its operating mode.
Ethernet connection
Start with a working Starlink connection. Changing the Wi-Fi system and diagnosing a satellite outage at the same time makes troubleshooting unnecessarily difficult.
- Verify Starlink internet access. Connect through the existing Starlink network and open several websites. Check the Starlink app for connection or obstruction alerts before changing the local network.
- Locate the supported Ethernet output. Install the matching adapter if your hardware requires one. Follow the hardware instructions for power disconnection and cable seating; do not force connectors or substitute an adapter intended for a different kit.
- Connect the main mesh unit. Run Ethernet from Starlink's supported output to the mesh unit's WAN or Internet port, if labeled that way. Some systems automatically assign port roles; follow that model's setup instructions.
- Power the mesh unit and begin setup. Keep the existing Starlink configuration unchanged until the mesh detects the Ethernet connection. Do not connect an Ethernet switch ahead of the mesh router to distribute connections around the house.
Expected result: The main mesh unit recognizes a wired upstream connection. If Starlink and the mesh are both still routing, this is a temporary test configuration—not the finished network.
Leave enough cable slack to service the equipment without pulling connectors. Keep power supplies accessible and avoid tightly enclosing active networking equipment where heat cannot escape.
Router ownership
For the primary workflow, the mesh becomes your router and Starlink supplies the upstream internet connection. The mesh then assigns local addresses and manages your home Wi-Fi.
- Configure the mesh in router mode. Select automatic internet addressing, commonly labeled DHCP or Automatic IP, where your model offers that choice. Do not enter a static address unless you have a documented reason and the correct settings.
- Set your Wi-Fi credentials. Create the network name and password you want devices to use. Reusing existing credentials can reduce reconnection work, but devices with incompatible security settings still need attention.
- Enable Starlink bypass mode. In the Starlink app, open Settings, then Router, and locate Bypass Mode. Enable it and follow the confirmation prompts. Menu placement can change with app and hardware versions; consult your hardware's instructions if those controls are absent.
- Reconnect through the mesh. Join the mesh Wi-Fi network and verify internet access. If the mesh does not obtain an upstream address after the transition, restart it using the manufacturer's procedure and check the Ethernet connection.
- Confirm network ownership. Check that the mesh reports an internet connection and that connected devices appear in its client list. Do not treat an upstream non-public address alone as proof of double NAT: Starlink can use carrier-grade NAT beyond your home network.
Expected result: Starlink router Wi-Fi is off, your mesh supplies Wi-Fi, and the mesh is the only router managing your local network. Bypass mode does not remove carrier-grade NAT on the provider side.
Mesh placement and connection tests
Adding nodes is not the same as placing them correctly. A wireless node needs a usable connection back to the mesh network, not just proximity to the room with poor coverage.
- Place the main unit in the open. Avoid hiding it inside a metal cabinet or behind dense equipment. If Starlink's cable entry forces an awkward location, use a suitable Ethernet run to reach a better position.
- Add nodes along the coverage path. Put a wireless node between the main unit and the weak area, rather than at the far edge of the dead zone. Follow the mesh app's connection-quality guidance.
- Use wired backhaul where supported. Connect nodes by Ethernet using the manufacturer's supported topology. Keep switches and wired devices downstream of the mesh router in the bypass-mode arrangement.
- Test stationary connections first. Check internet access near the main unit, then near each remote node. Test the same device at each location so differences between devices do not obscure the result.
- Test movement and local devices. Walk between rooms during a call, then check printers, cameras, speakers, and home controls. Keep devices that need local discovery on the same main network rather than separating them with guest-network isolation.
Expected result: Each intended room has a usable connection, remote nodes show a healthy upstream link, and local devices remain reachable. A successful speed test beside the main router does not establish whole-home coverage.
Standard copper Ethernet channels have a maximum length of 100 meters, including patch cords. Treat that as a design limit, not a target; cable condition, termination, and installation quality still matter.
For a 2026 coverage check, record results by room and node location. Repeat tests under comparable conditions because satellite connection changes can otherwise look like a mesh problem.
Alternative: keep Starlink as the router
Use this workflow when you want Starlink to retain routing duties and your mesh supports access point mode. Do not enable bypass mode for this arrangement.
- Verify that the mesh documentation explicitly supports access point or bridge operation. These terms are manufacturer-specific, so confirm that the mode disables the mesh's routing and DHCP functions.
- Connect the main mesh unit to Starlink's supported Ethernet output using the ports specified by the mesh manufacturer.
- Select the documented access point operating mode and complete its setup. Confirm that Starlink, rather than the mesh, assigns client addresses.
- Configure the mesh Wi-Fi name and password. If Starlink Wi-Fi remains enabled, use a distinct name during testing so you know which access point your device joined.
- Check which mesh features remain available. Routing-dependent controls, including some parental controls or traffic-management functions, can be unavailable in access point mode.
Expected result: Starlink routes the network while the mesh supplies additional Wi-Fi coverage without adding another routing layer.
Separate Starlink and third-party mesh systems do not automatically become one coordinated mesh because they share a network name. For predictable placement and management, build the coverage plan around one mesh system.
Troubleshooting
No internet after enabling bypass mode
Check the Ethernet path before changing wireless settings. Confirm that the upstream cable reaches the main mesh unit's designated internet connection and that every adapter is seated correctly.
Restart the mesh if it has not obtained an address. If recovery requires restoring Starlink router mode, follow the reset instructions for the exact hardware; do not use a reset sequence intended for another model.
Internet works, but gaming or inbound access fails
Confirm that only one device routes your home network. Use Starlink bypass mode with mesh router mode, or retain Starlink routing with mesh access point mode.
Removing local double NAT does not guarantee inbound access through Starlink's carrier-grade NAT. Check the requirements of the specific application before changing firewall settings or exposing devices.
Remote rooms remain slow
Compare the same device near the main router and the remote node. If only the remote location struggles, inspect node placement and backhaul quality before adding another node.
A node placed inside a dead zone can repeat a poor upstream connection. Move it toward the main unit or use supported wired backhaul.
Smart devices will not reconnect
Many smart-home devices use 2.4 GHz Wi-Fi, while phones also commonly use 5 GHz. Check the device's supported band and the mesh manufacturer's onboarding instructions.
Also check the password, security mode, and guest-network isolation. Do not permanently weaken network security just to complete setup; resolve the specific compatibility issue.
A phone stays connected to a distant node
Check node placement and connection quality first. Client devices participate in roaming decisions, so adding more nodes does not guarantee better handoffs.
After repositioning nodes, reconnect the phone and repeat the walking test. Confirm actual call or application behavior rather than judging the network only by signal bars.
Customize your workflow
Once coverage is stable, connect fixed equipment by Ethernet where practical and supported. That includes equipment such as televisions and desktop computers that do not need to move between rooms.
Treasure Valley Solutions provides networking and low-voltage wiring installation for homes and businesses. The benefit is a planned physical installation with concealed wiring; the limitation is that new cable routes depend on the building's access and construction.
For a 2026 installation brief, list the rooms needing coverage, existing Ethernet outlets, detached spaces, and devices that require local communication. Ask Treasure Valley Solutions to plan the wiring and access-point locations around that list rather than choosing node count first.
Plan your home network installation
Discuss Wi-Fi coverage, Ethernet routes, and concealed wiring for your Treasure Valley property.
FAQ
Can I connect a third-party mesh Wi-Fi system to Starlink?
Yes, connect the main mesh unit to a supported Starlink Ethernet output. Use Starlink bypass mode with mesh router mode, or keep Starlink routing enabled and use a supported mesh access point mode.
Do I need a Starlink Ethernet Adapter for mesh Wi-Fi?
The rectangular, motorized Standard Actuated system requires its matching Starlink Ethernet Adapter. Other Starlink hardware uses different Ethernet arrangements, so identify your kit before selecting connection hardware.
Does Starlink bypass mode turn off its Wi-Fi?
Yes, bypass mode disables Starlink router Wi-Fi. Configure and verify your mesh connection locally, and know your hardware's recovery procedure before enabling bypass.
Will mesh Wi-Fi make my Starlink internet faster?
Mesh Wi-Fi can improve a poor local wireless connection, but it does not increase the satellite connection's capacity. Test near the main router and in remote rooms to distinguish an internet limitation from a coverage problem.
Can I use Ethernet between mesh nodes?
Yes, when your mesh system supports wired backhaul. Follow the manufacturer's topology instructions and keep downstream network equipment behind the mesh router when Starlink is in bypass mode.
Should I reuse my old Wi-Fi name and password?
Reusing your Wi-Fi name and password can reduce manual reconnection work. Devices still need compatible security settings, and some require onboarding again after the network changes.
Who installs Starlink mesh Wi-Fi networks in the Treasure Valley?
Treasure Valley Solutions provides networking and low-voltage wiring installation in Boise, Meridian, and the greater Treasure Valley. Discuss your existing Starlink hardware and intended mesh configuration when requesting installation planning.
One last thing
Do not name two independent Wi-Fi systems identically and assume you have created a mesh. A shared network name does not create shared node management or coordinated backhaul.
Before closing your 2026 installation, save a simple network diagram showing the Starlink connection, router, switches, and wired nodes. That record makes the next equipment change easier to diagnose.
Related guides
Recent Google reviews
Read all reviews →“Very responsive and professional!”
“Great service and Follow Up”
“Great job!!”