 (208) 991-3502
 Meridian, ID



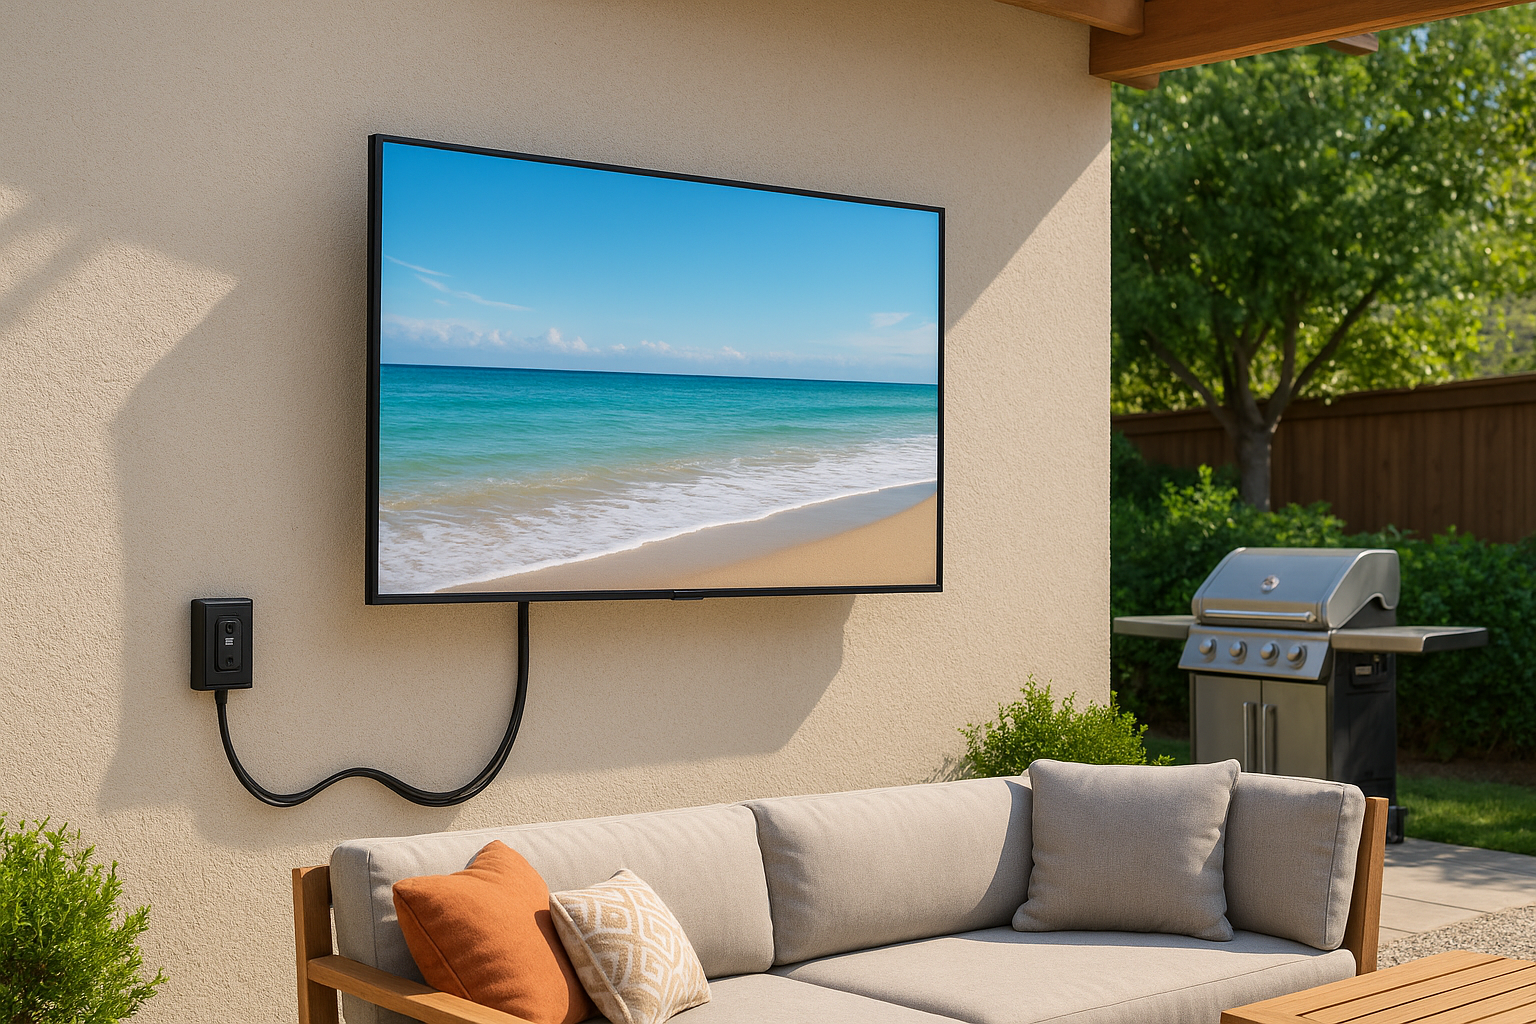

You bought an outdoor TV, or you are about to, and now you have a blank patio wall and a drill. Outdoor TV installation looks simple until you factor in sun glare, rain, a 70-pound screen, and a power...
You bought an outdoor TV, or you are about to, and now you have a blank patio wall and a drill. Outdoor TV installation looks simple until you factor in sun glare, rain, a 70-pound screen, and a power cord with nowhere to go. Get it wrong and you risk a cracked wall, a voided warranty, or a TV on the ground.
You can mount an outdoor TV yourself if you have a solid wall, a stud or masonry anchor, a weatherproof mount, and a few hours. Expect to pay roughly $150 to $500 for professional installation, more if you need new wiring or a covered outlet. The mount, wall type, and cable route decide which path makes sense.
Below, we walk through where to place the screen, the tools and mount you need, the DIY steps in order, and what a pro costs. At Treasure Valley Solutions, we have installed TVs across Meridian, Boise, and Eagle since 2014, so we also flag the jobs that are worth handing off.
What to know before you install an outdoor TV
Outdoor-rated TV or indoor TV outside
Moisture, dust, and temperature swings wear out indoor TVs fast. Outdoor-rated models have sealed housings, coated circuit boards, and a wider operating temperature range. Most manufacturers also void the warranty if you use an indoor set outside, even on a covered patio.
The rating on the TV, not the price, decides whether it survives your patio.
Brightness matters as much as sealing. A typical living room TV peaks around 300 to 500 nits, which washes out in daylight. Use this as a rough guide for matching the screen to your sun exposure:
| Patio condition | Brightness to look for |
|---|---|
| Covered and shaded all day | 500 to 700 nits |
| Partial sun | 700 to 1,000 nits |
| Direct sun for hours | 1,500 nits or more |
Wall, power, and permission checks
Before you buy a mount, confirm three things. Each one changes the hardware, the cost, or whether you can proceed at all.
- Wall type: Wood studs, brick, concrete block, and stucco each need different anchors. Vinyl siding holds no weight, so you must mount to the framing behind it.
- Power: The outlet should be GFCI protected with a weatherproof in-use cover, as the National Electrical Code requires for outdoor receptacles. Never feed an indoor extension cord through a door or window gap.
- Permission: Check HOA rules or your lease. Adding a new outlet may also need a permit.
Skipping this homework is how a straightforward outdoor TV installation turns into a second trip to the hardware store. Knowing how to mount an outdoor TV safely starts with knowing what sits behind your wall and where the power will come from.
Step 1. Choose the right spot and TV type
Placement decides how good the picture looks and how long the TV lasts. Walk your patio at the time of day you watch most, and note where the sun hits each wall before you drill anything.
Pick a wall that protects the screen
Aim for a covered wall facing north or east, since it gets the least afternoon glare. West-facing walls bake the screen in the late afternoon. A roof overhang keeps rain and direct sun off the panel, which helps any outdoor TV installation last. Keep the set well away from grills, fire pits, and sprinklers, because heat and spray shorten its life.
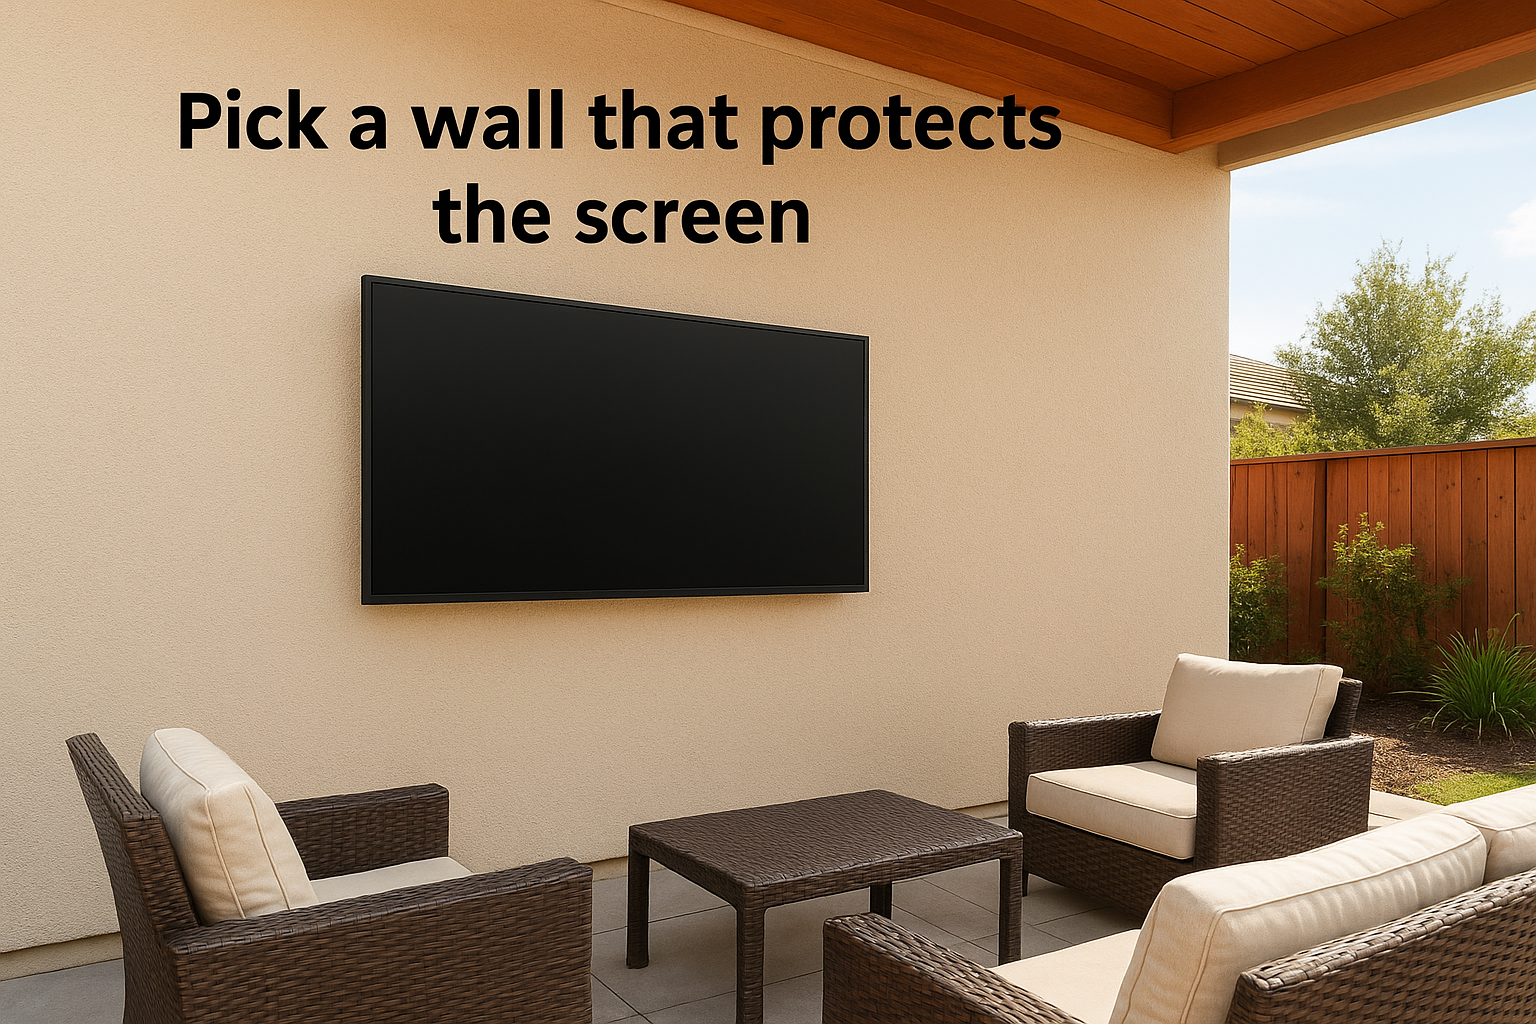
The best spot is the wall that sun and weather reach least.
Set the height and viewing distance
Mount the center of the screen at seated eye level, about 42 to 48 inches off the floor. If you mostly stand around a bar or grill, go a few inches higher. Then match screen size to how far back people sit, using 1.5 to 2.5 times the diagonal as a guide.
| Screen size | Viewing distance |
|---|---|
| 43 in | 5 to 9 ft |
| 55 in | 7 to 11 ft |
| 65 in | 8 to 13 ft |
Finally, decide whether you need motion. A fixed mount is cheapest, but a tilting or full-motion arm lets you angle the screen away from glare. If you want that flexibility, plan your outdoor TV mount installation around it now, because the arm affects which wall and stud spacing will work.
Step 2. Gather the mount, tools, and power plan
Buy everything before you drill, because a missing anchor halfway through leaves you with a TV leaning against the wall.
Choose a weatherproof mount
Look for stainless steel or powder-coated hardware that resists rust. Check the VESA pattern on the back of your TV, then pick a mount rated for at least 1.5 times the set's weight. A 60-pound TV needs a mount rated for 90 pounds or more. Any outdoor TV mount installation holds up best when the arm, bolts, and washers are all outdoor rated.
Tools and fasteners checklist
Gather these before you climb the ladder, and line up a second person to help lift the screen. Match your anchors to your wall type, not to whatever came in the box.
- Stud finder and a 24-inch level
- Drill, plus masonry bits for brick or concrete
- Socket wrench set and tape measure
- Lag bolts for wood studs, or sleeve anchors for masonry
- Exterior-grade silicone to seal every drill hole
Plan power and cable routing
Power comes last on the list, but it limits everything else. You need a GFCI-protected, weatherproof outlet within reach of the TV's cord, with no extension cords in the path. For HDMI or streaming lines, use in-wall rated cable so you are not running loose wires across the siding.
Decide where the power and cables go before you decide where the screws go.
If the nearest outlet is too far away, bring in a licensed electrician. Adding a new exterior circuit is the one part of this job that is not worth guessing at.
Step 3. Mount the TV and secure the cables
Now the real work starts. With the spot chosen and the hardware on the ground, plan on about two hours for a first-timer. This is how to mount an outdoor TV so it stays put through wind, heat, and winter.
Hang the TV on the wall plate
Start with the plate, since everything hangs from it. Every bolt must reach studs or solid masonry, and the final lift needs your helper and a locked safety latch.
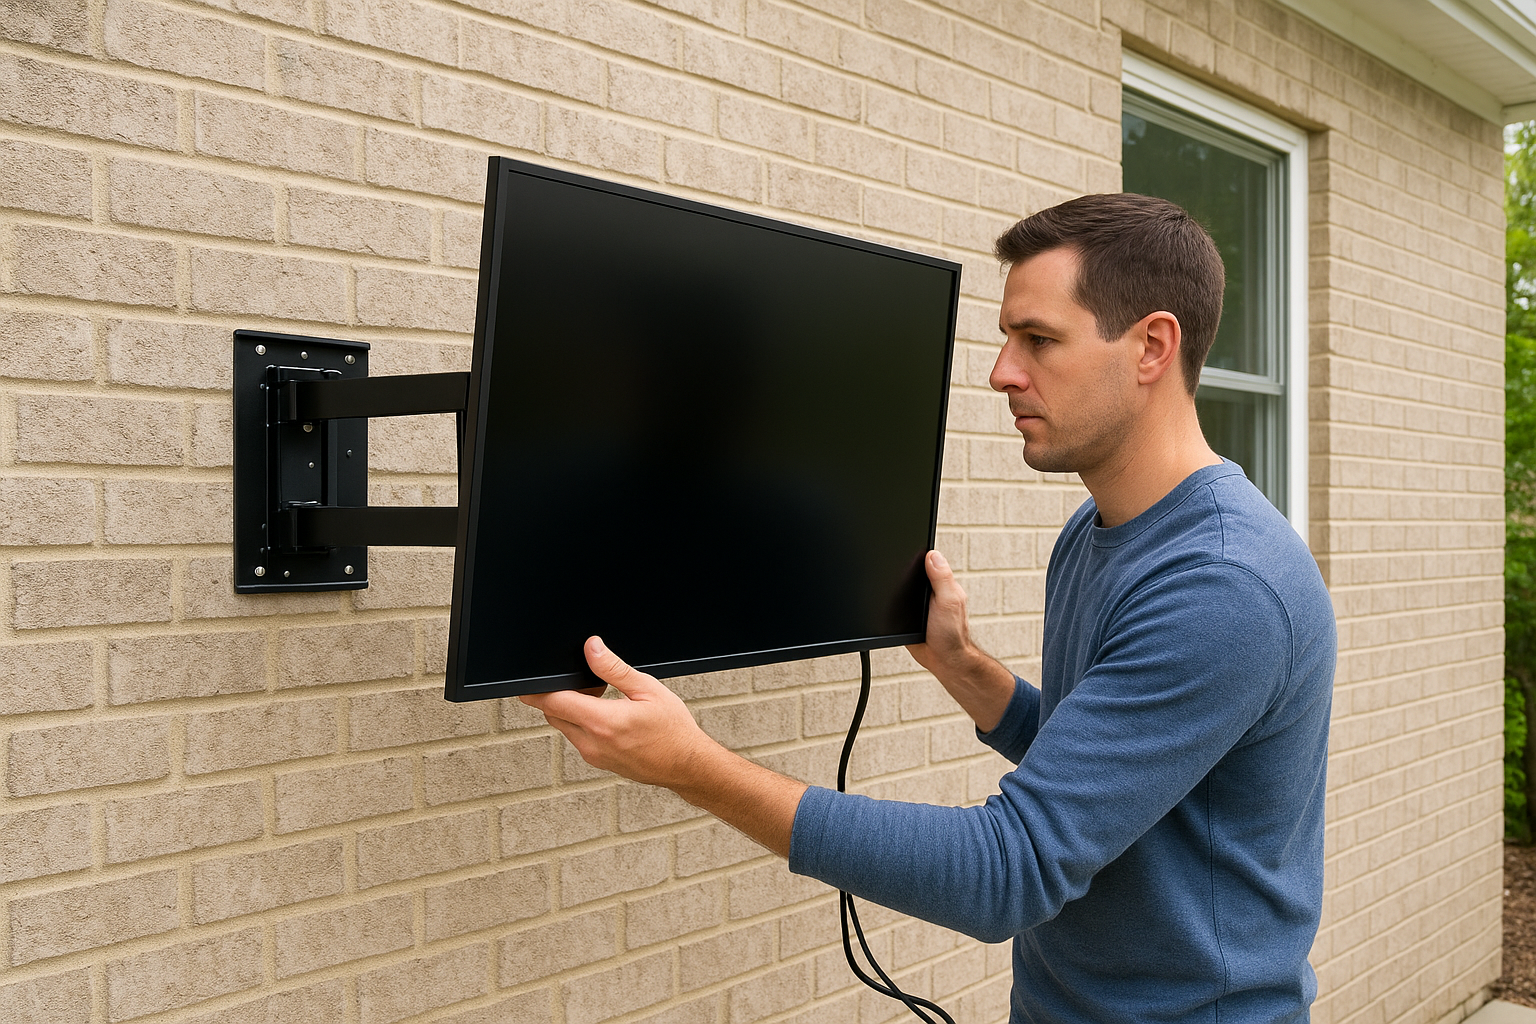
- Mark the stud centers, hold the plate at your chosen height, and check it with the level.
- Drill pilot holes. Use a masonry bit for brick or block.
- Squeeze silicone into each hole, then drive lag bolts or sleeve anchors until snug, not crushed.
- Bolt the brackets to the VESA holes on the TV.
- Lift the TV onto the plate together and engage the latch.
Every bolt goes into framing or masonry, never into siding alone.
Route, seal, and test the cables
Cables need as much care as bolts. Run each one downward, then leave a drip loop, a low U-shaped sag, so rain follows the cord to the bottom and drips off before it reaches a connection. Seal every wall penetration with exterior silicone and secure loose runs with UV-rated clips.
Finally, plug into the GFCI outlet under the in-use cover, power on, and test the tilt or swivel. Recheck the bolts after the first month, because temperature swings loosen hardware. A clean outdoor TV installation ends with no dangling wires and no exposed plugs.
Outdoor TV installation costs and when to hire a pro
What DIY and professional installs cost
Prices vary by wall type and job scope, but these ranges are typical. A DIY job costs mostly hardware, while a pro adds labor and a warranty on the work.
| Item | Typical cost |
|---|---|
| Weatherproof mount (DIY) | $50 to $200 |
| Anchors, silicone, cable clips | $20 to $50 |
| Professional mounting labor | $150 to $500 |
| New GFCI exterior outlet (electrician) | $150 to $400 |
| Concealed in-wall cable run | $100 to $300 |
Labor lands at the top of the range when you have stucco, stone, or a second-story wall. Ask whether a quote includes the mount, because hardware is often billed separately.
Signs you should hire a pro
Some jobs are not worth the risk. Call a professional if any of these apply:
- Your wall is stucco, stone, or block, and you have never drilled it
- The TV is 65 inches or larger, or weighs more than 75 pounds
- You need a new outlet or circuit outside
- The mount height needs more than a stepladder
- You want every cable hidden inside the wall
A missed stud or a cracked anchor point costs far more than the labor you tried to save.
An experienced installer also finds the framing behind siding and seals each penetration correctly, which is where most DIY outdoor TV installation problems start. Cost aside, a pro finishes in a couple of hours and stands behind the work if the mount ever shifts.
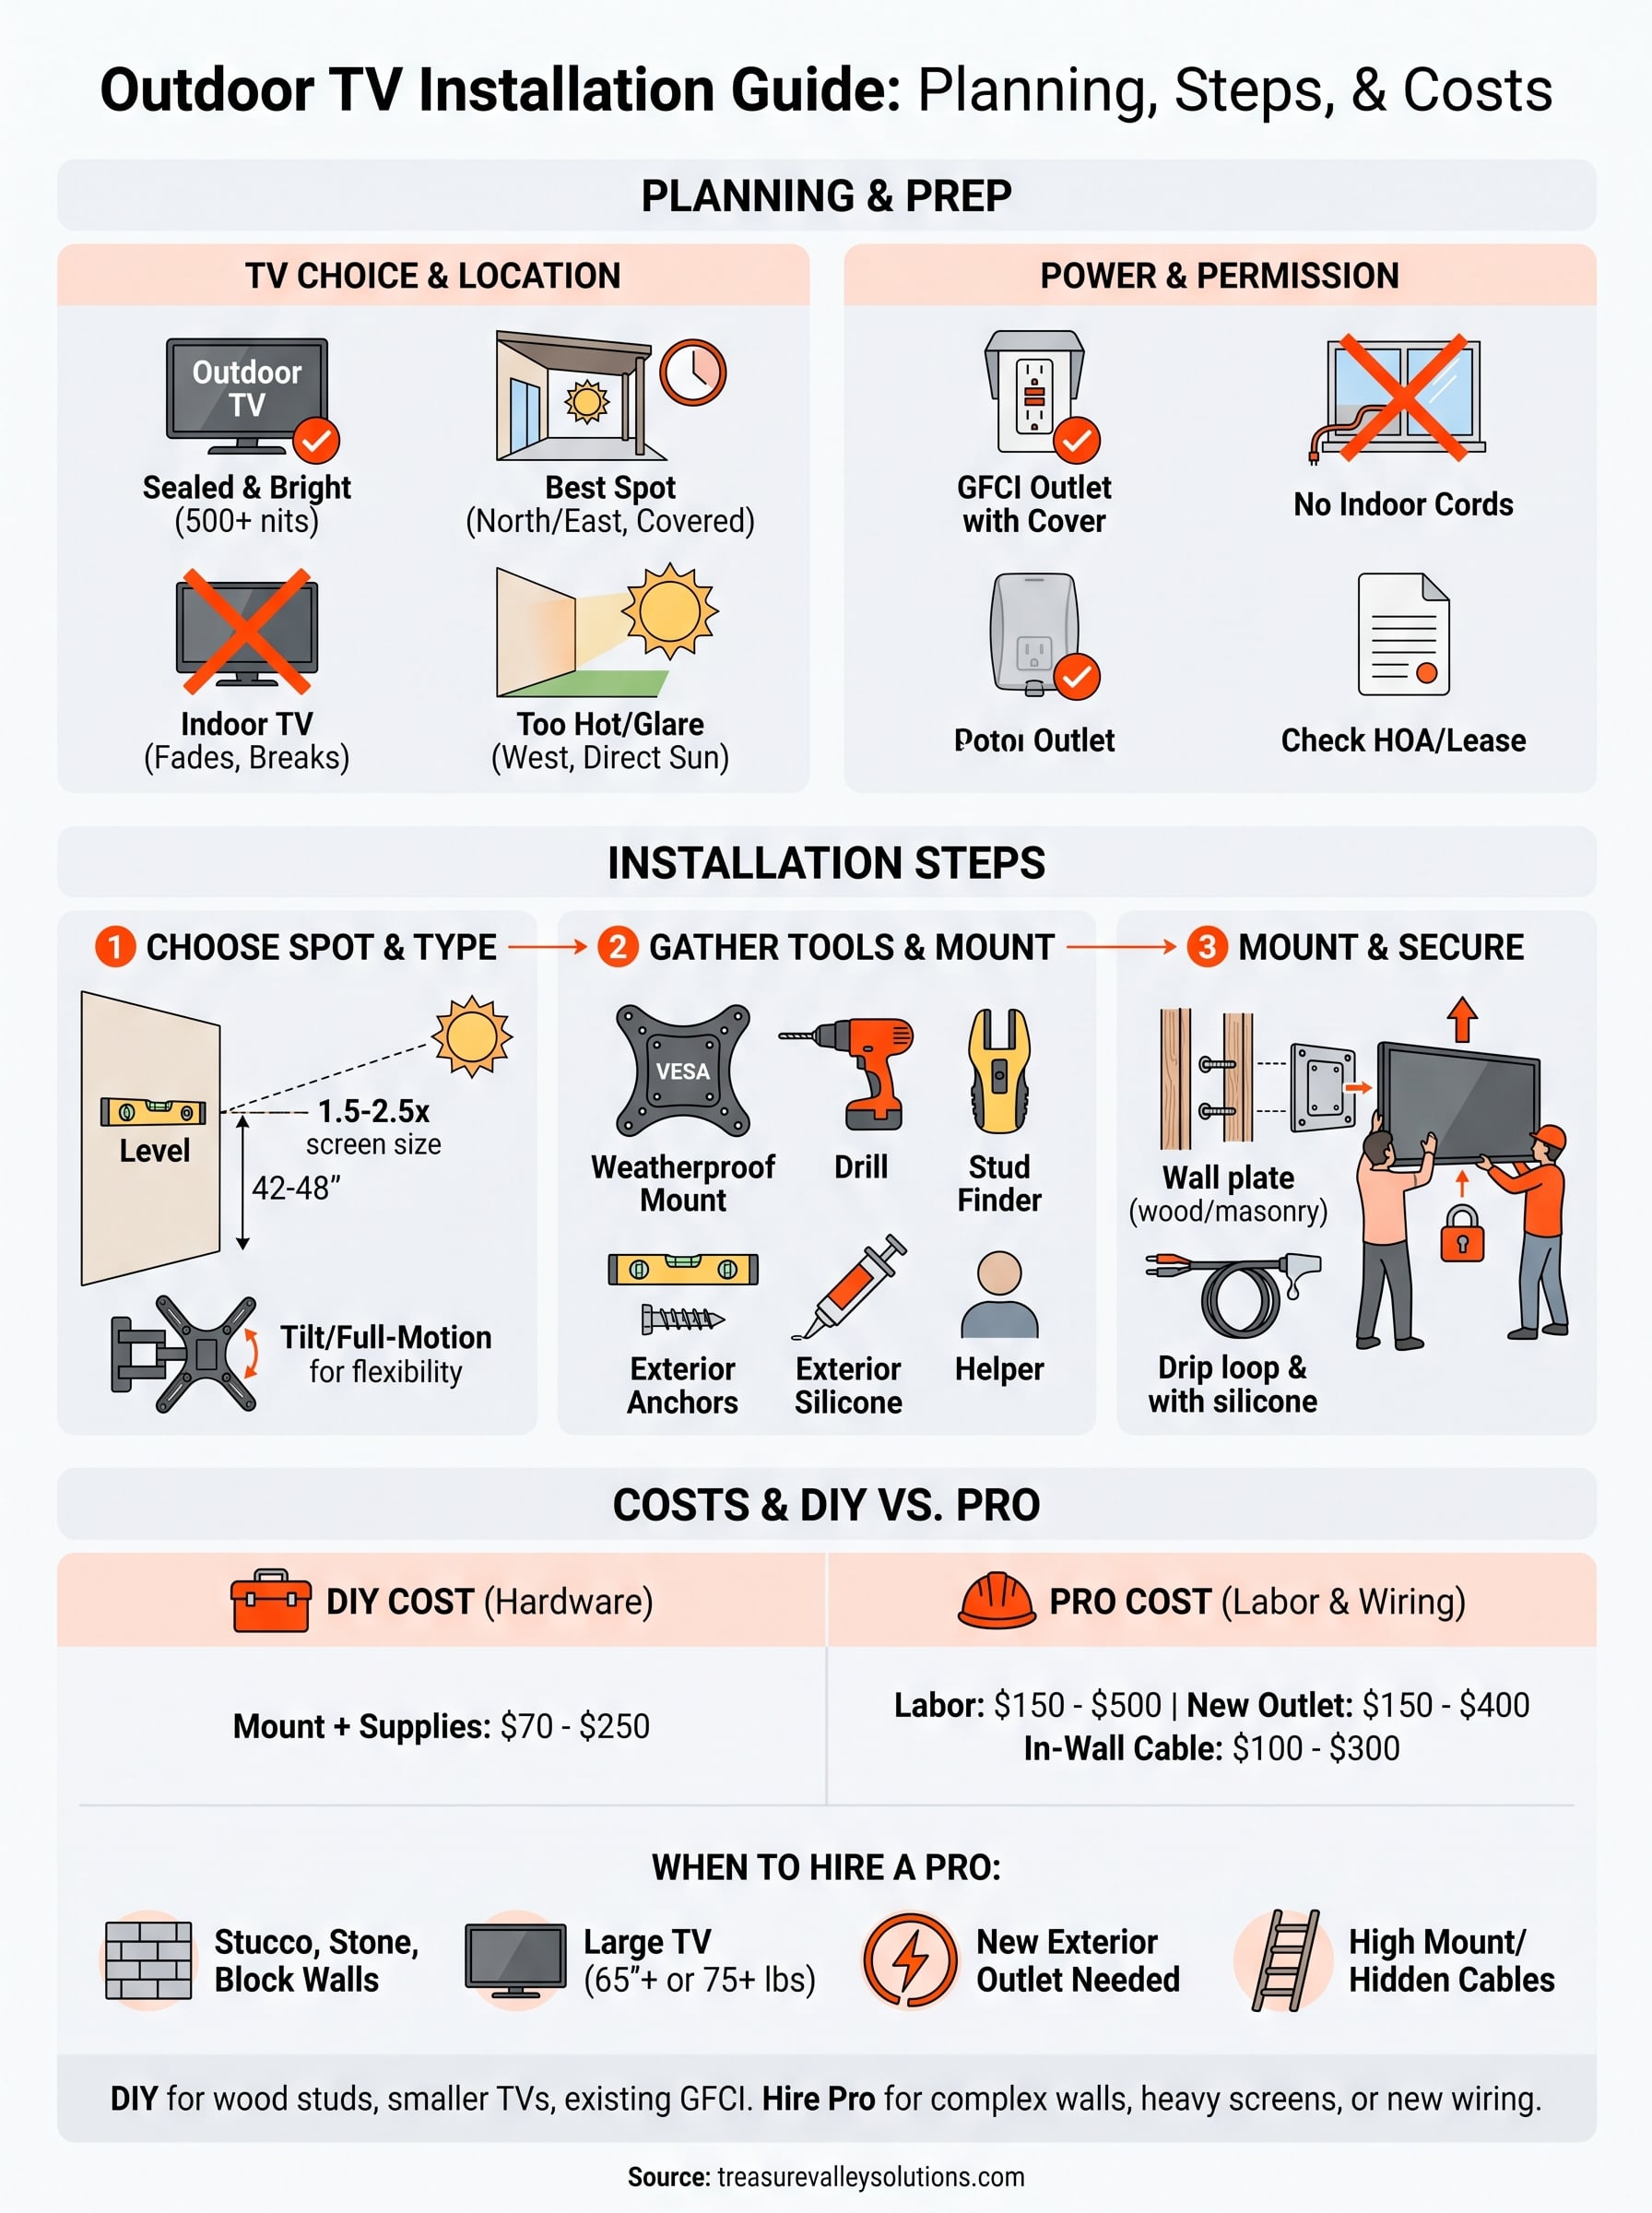
Making the call: DIY or professional install
DIY works when conditions are friendly. If you have a wood-framed wall, a TV under 65 inches, an existing GFCI outlet, and a helper, outdoor TV installation is a manageable weekend job that costs little more than the mount. The steps are the same ones a pro follows, and the savings are real.
Hire help when the wall, the weight, or the wiring gets complicated. Stucco, stone, large screens, and new outlets are where mistakes get expensive. A $150 to $500 labor fee is cheap next to a damaged wall or a dropped TV.
Whichever way you go, match the mount to the wall and seal every hole. If you would rather hand it off, request an outdoor TV installation quote from Treasure Valley Solutions and we will mount, wire, and test it for you anywhere in the Treasure Valley.