 (208) 991-3502
 Meridian, ID



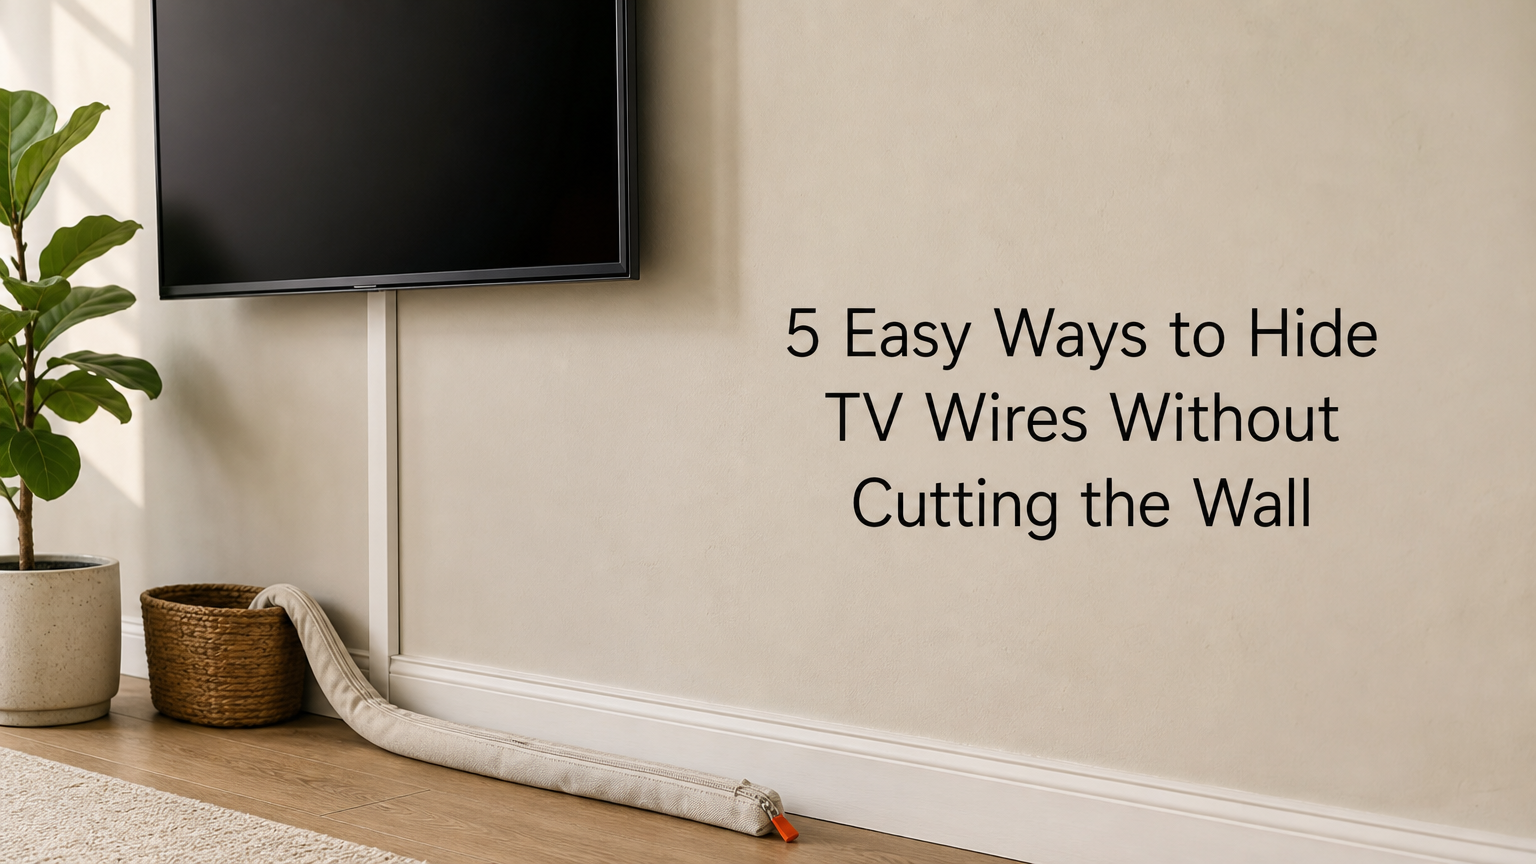

The best approach to how to hide TV wires without cutting wall surfaces is to match the method to your cord count and your wall. A paintable raceway suits a wall-mounted TV with two to four cords. A f...
The best approach to how to hide TV wires without cutting wall surfaces is to match the method to your cord count and your wall. A paintable raceway suits a wall-mounted TV with two to four cords. A fabric sleeve suits a crowded bundle behind a media console. Adhesive clips and Velcro ties suit corners and trim, and plants or furniture suit a TV on a stand. A cable box swallows the power strip at the outlet end. A good pick leaves no holes, holds every cord with room to spare, and peels off cleanly at move-out.
The problem is familiar. You mount the TV or set it on a stand, and a thick black line of cords runs down the wall. In-wall kits fix that, but they need a cut in the drywall. That rules them out for renters and for anyone with a plaster, brick, or concrete wall. Our technicians at Treasure Valley Solutions handle basic external cable management on TV mounting jobs around Meridian and Boise.
Below you get five methods, each broken down the same way: how it works, who it suits, and what it costs in money and time. Prices are typical retail ranges, so check the listing before you buy.
1. Paintable cable raceways
How it works
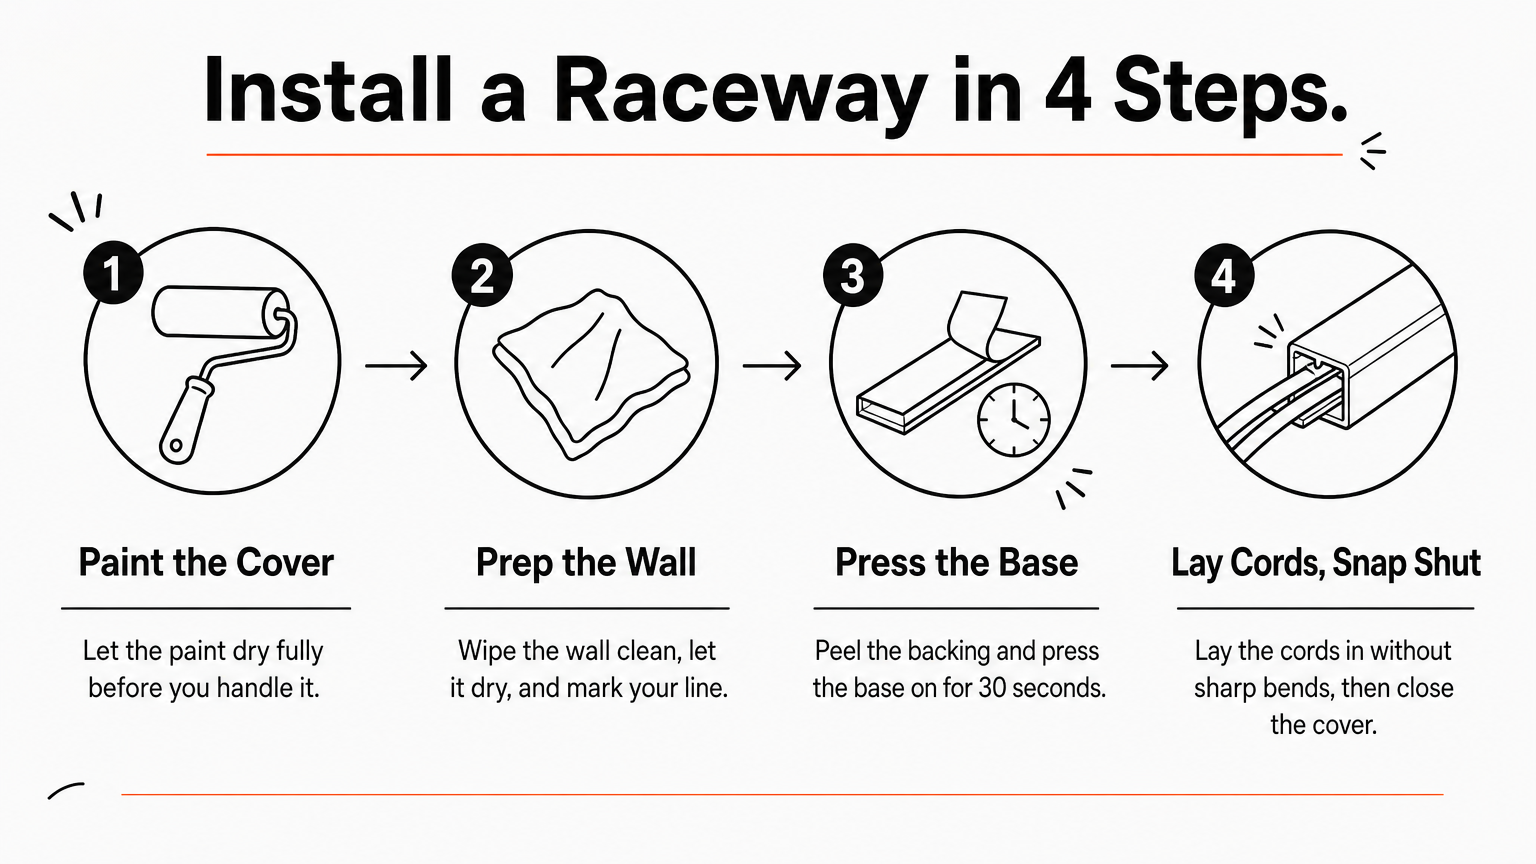
A cable raceway is a slim plastic channel with an adhesive back and a snap-on cover. You stick the base to the wall, lay the cords inside, and close the cover. Because you can paint the cover, the channel blends into the wall color and reads as trim. Some brands also sell white or wood-grain versions. A corner-mount raceway, which sits in the inside corner of a room, hides even better when your TV is near a corner.
Take a 55-inch TV with its cords exiting near the bottom and an outlet 40 inches below. Measure the drop, buy about 48 inches of raceway, and cut the channel to 41 inches with a fine-tooth saw so it clears the outlet. A power cord, an HDMI cable, and a soundbar cable fit in a standard small channel, but check the inside width on the package.
- Paint the cover and let it dry fully before you handle it.
- Wipe the wall clean, let it dry, and dry-fit the base to mark your line.
- Peel the backing, press the base on for 30 seconds, and follow the adhesive's cure time.
- Lay the cords in without sharp bends, then snap the cover shut.
A raceway disappears when you paint the cover to match the wall.
Who it suits
Raceways fit renters with a wall-mounted TV and a short, straight run, and homeowners who want a neat result without opening the wall. Adhesive grips poorly on brick, textured plaster, or dusty concrete, so test a short piece first and expect to need another method on those walls.
- Best for: straight vertical drops with two to four cords.
- Skip it if: you swap devices every few weeks, or the paint is fresh or flaking.
Cost and setup time
Expect to pay roughly $10 to $30 for a kit with several segments and spare adhesive strips. Plan on 20 to 30 minutes, plus time for the paint to dry.
At move-out, warm the channel with a hair dryer for 30 to 60 seconds, then slide dental floss behind it to cut the adhesive. This keeps paint damage low, though no adhesive is risk-free on cheap flat paint.
2. Fabric cord sleeves
How it works
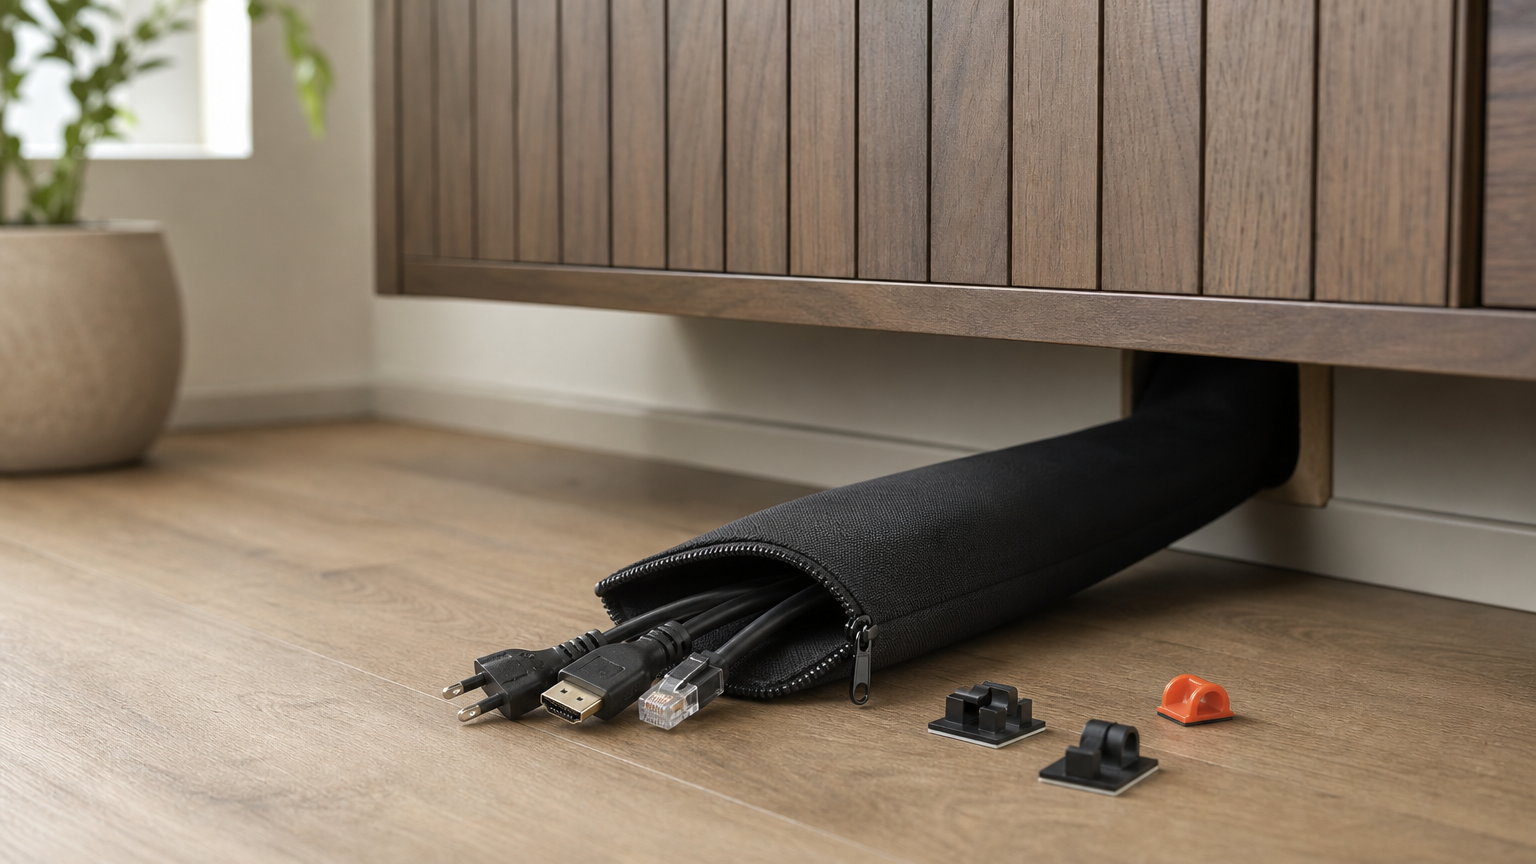
A cord sleeve is a flexible neoprene or braided tube that wraps several cables into one. Most close with a zipper or hook-and-loop strip, so you can add a cable later without rethreading anything. Run it down the back of a stand or along the wall, and several loose lines become one tidy line.
A sleeve earns its place when you have five cords: power, two HDMI cables, an optical cable, and Ethernet. Keep it loose enough to slide a finger inside. Uncoil any extra power cord instead of stuffing coils into the sleeve, because bundled coils trap heat.
- Lay all cords flat and untangle them first.
- Group them by destination, so nothing crosses.
- Wrap the sleeve from the TV end and close it as you go.
- Hold it in place with clips or Velcro every foot or so.
A sleeve does not hide cords on a bare wall, it turns many cords into one clean line.
Who it suits
Sleeves suit gamers and home theater setups with four to six cords, usually behind a stand or console. On a light wall, a dark sleeve still shows. Pair it with clips or a raceway in that case.
- Best for: bundles behind furniture, or multi-device hubs.
- Skip it if: you have only one or two cords.
Cost and setup time
Most sleeves cost $8 to $20 and take 5 to 10 minutes to install. Used behind furniture, they need no adhesive on the wall, so paint is not at risk.
For wall runs, add adhesive clips every 12 to 18 inches so the sleeve does not sag. On furniture, clip it to the back of a leg or panel, where nobody sees it.
3. Adhesive clips, Velcro ties, and shorter cables
How it works
Clips, ties, and shorter cords fix the cords at their source. Stick clean-peel clips along the top edge of the baseboard or up a corner, and route cords sideways to the nearest corner instead of straight down the middle of the wall. A cord tucked into the shadow line of the baseboard is nearly invisible from normal viewing angles.
Use Velcro straps instead of zip ties. Tight zip ties can crush cables, and optical and fiber lines are the most fragile. Then replace oversized cords. A 3-foot HDMI cable behind a stand beats a 10-foot cable looped behind it, and a label on each end saves guessing later. For a 4K TV, buy cables rated for that resolution.
- Unplug everything and map which cord goes where.
- Swap any cable more than a foot longer than it needs to be.
- Bundle cords with Velcro, labeling each end.
- Press clips in place along the trim or corner, and lay the bundle in.
Clips hide cords by changing the route, and shorter cables remove the excess.
Who it suits
This method suits a TV near a corner or a tall bookshelf with one to three cords. It also suits tenants who want no visible hardware on the wall at all.
- Best for: short runs, corner placement, zero-residue goals.
- Skip it if: you have a long, open wall run with several cords.
Cost and setup time
Clips and ties usually cost $5 to $15 a pack. Shorter cables run about $5 to $15 each. Plan on 10 to 20 minutes in total.
When you move out, pull a clip's tab slowly and parallel to the wall, so the adhesive stretches instead of tearing paint. A little hair-dryer heat helps here too.
4. Furniture, plants, and lamps
How it works
This method blocks the sightline instead of enclosing the cord. A tall plant, a floor lamp, a narrow bookshelf, or a side table placed in front of the drop makes the cords disappear from view, and nothing touches the wall. It works best when the cords are already pulled tight to the wall with a few clips, so nothing sticks out around the object.
Keep it safe. Hold cords away from lamp bulbs, don't pinch a cord between furniture and the wall, and never run a power cord under a rug. Leave every plug reachable, so you can unplug it fast.
The cheapest way to hide a cord is to put something good-looking in front of it.
Who it suits
It suits a TV on a stand with a cord dropping to the floor, or a TV with a single thin cable. It also suits tenants who can't use adhesive on the wall at all.
- Best for: stand-mounted TVs and short drops.
- Skip it if: the TV is wall-mounted and the cords run in the open above furniture height.
Cost and setup time
It costs nothing if you own a plant or lamp. Otherwise, budget a modest amount for a narrow shelf or a plant. Setup takes about 5 minutes.
Move the piece a few inches either way and look from your sofa. Sit where you usually sit, because the angle from the couch decides whether the cord shows.
5. Cable boxes and floor cord covers
How it works
A cable management box is a ventilated plastic box with slots at each end. It holds a power strip and bulky power bricks, and the cords exit through the slots. A floor cord cover is a low ramp that protects and hides a cord crossing a walkway. Both fix the messy end, where cords meet the outlet, which the other four methods leave behind.
Choose a box with ventilation slots, and don't smother a warm power strip. Place it behind the stand or along the wall base. Run the cords up to the TV with a sleeve or clips from the earlier methods.
Hide the power strip and the cord mess at the outlet will no longer give the setup away.
Who it suits
It suits anyone with a visible power strip or a TV on the far side of the room from the outlet. It pairs best with a raceway or sleeve.
- Best for: floor-level clutter, bulky power bricks.
- Skip it if: you have a single cord plugged straight into the wall.
Cost and setup time
A box typically costs $15 to $30 and a floor cover $10 to $25. Setup takes 5 to 10 minutes.
Leave a little slack in every cord so a tug does not pull a plug out. Then close the lid and check that nothing is pinched.
Pick one method and start small
Start with the method that matches your wall. Use a raceway for a wall-mounted TV, a sleeve for a crowded bundle, clips for corners, furniture for a TV on a stand, and a box for the outlet end. Most clean setups combine two of these, and none of them need a cut in the drywall.
If you would rather skip the DIY, our TV mounting service includes basic external cable management, with base labor starting at $139 for TVs 55 inches or smaller. Contact Treasure Valley Solutions for a free on-site consultation and estimate with no obligation.
Recent Google reviews
Read all reviews →“Very responsive and professional!”
“Great service and Follow Up”
“Great job!!”