 (208) 991-3502
 Meridian, ID



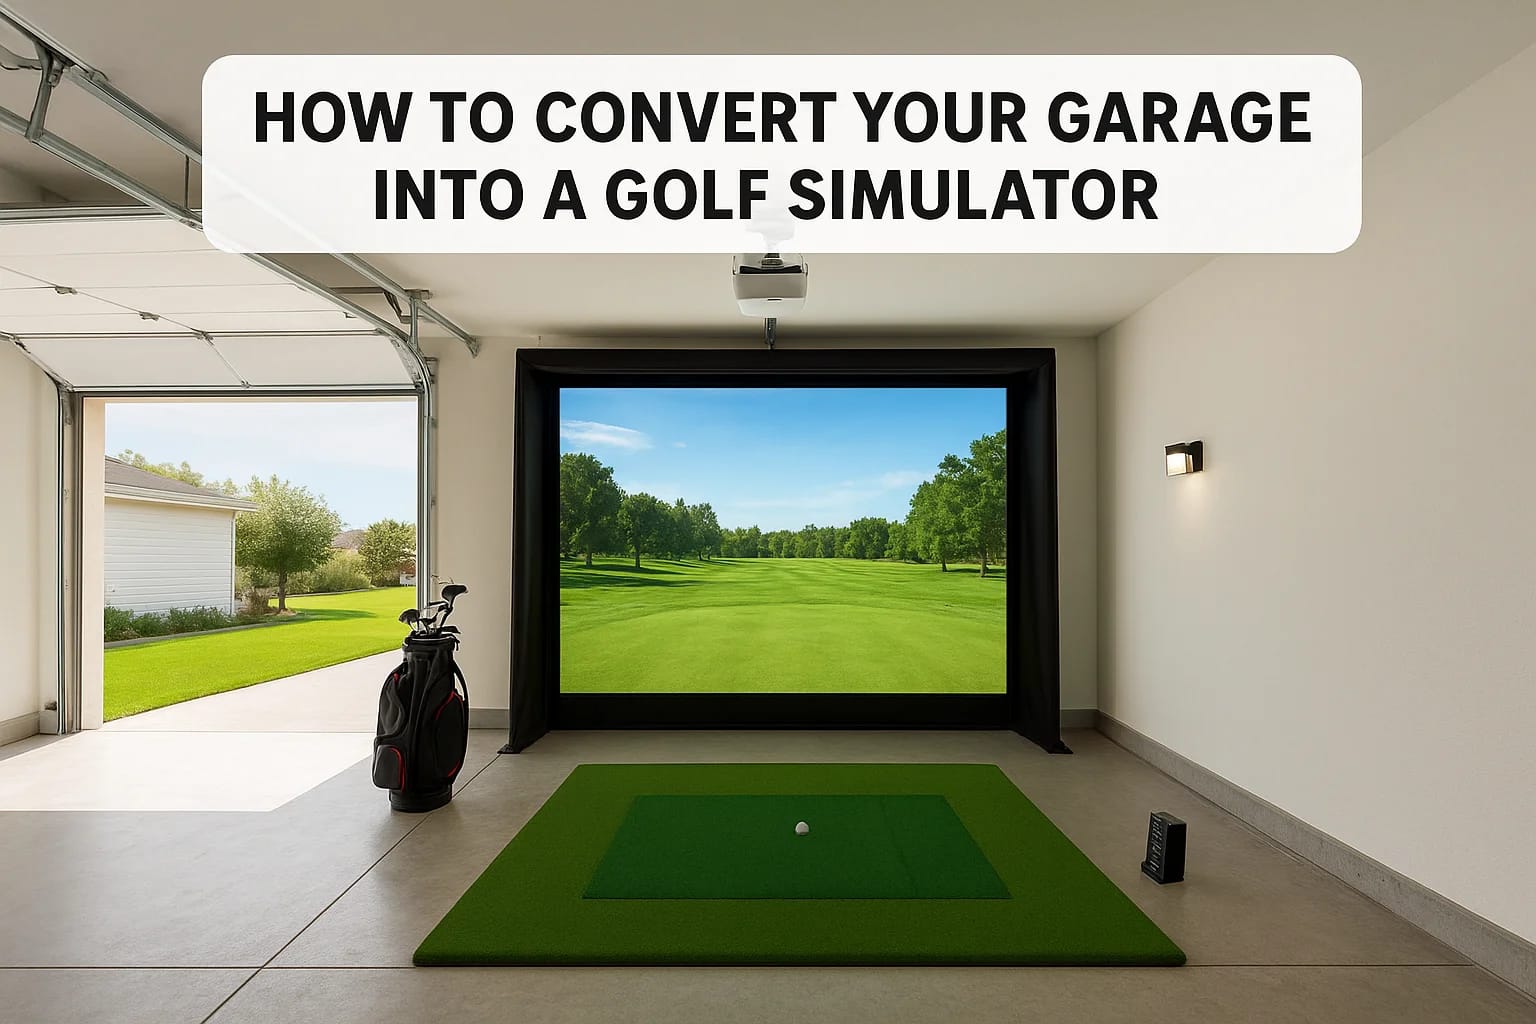

Your garage sits empty for ten months out of the year, except for a lawn mower and a few boxes you keep meaning to sort. Meanwhile you're paying for a driving range membership or driving twenty minute...
Your garage sits empty for ten months out of the year, except for a lawn mower and a few boxes you keep meaning to sort. Meanwhile you're paying for a driving range membership or driving twenty minutes to hit balls indoors during Idaho's snowy months. A golf simulator garage conversion turns that wasted space into a place where you can practice your swing year-round, and it's more achievable than most homeowners expect.
This guide walks through exactly what it takes: the space and ceiling height requirements, realistic budget ranges from bare-bones setups to full enclosures, and the gear you actually need versus what's marketing hype. You'll get straight answers on projector placement, impact screens, flooring, and whether a DIY installation makes sense for your garage or if you need help avoiding costly mistakes.
We've wired enough home theaters and AV systems across the Treasure Valley to know where garage conversions go wrong, usually lighting, acoustics, or power. By the end, you'll know how to plan a simulator room that plays well every time you step into it, whether you tackle the project yourself or bring in a local pro for the wiring and calibration.
What to know before converting your garage into a golf simulator
Before you order a single piece of equipment, walk into your garage with a tape measure and a critical eye. Most garage conversions fail not because of bad gear, but because someone skipped the planning stage and discovered mid-project that their ceiling height or garage door swing doesn't work with the setup they wanted. A two-car garage typically gives you more room to work with than a single-car bay, but even then, support beams, garage door tracks, and HVAC ductwork can eat into your usable swing space in ways that aren't obvious until you're standing there with a 7-iron.
Space and ceiling height realities
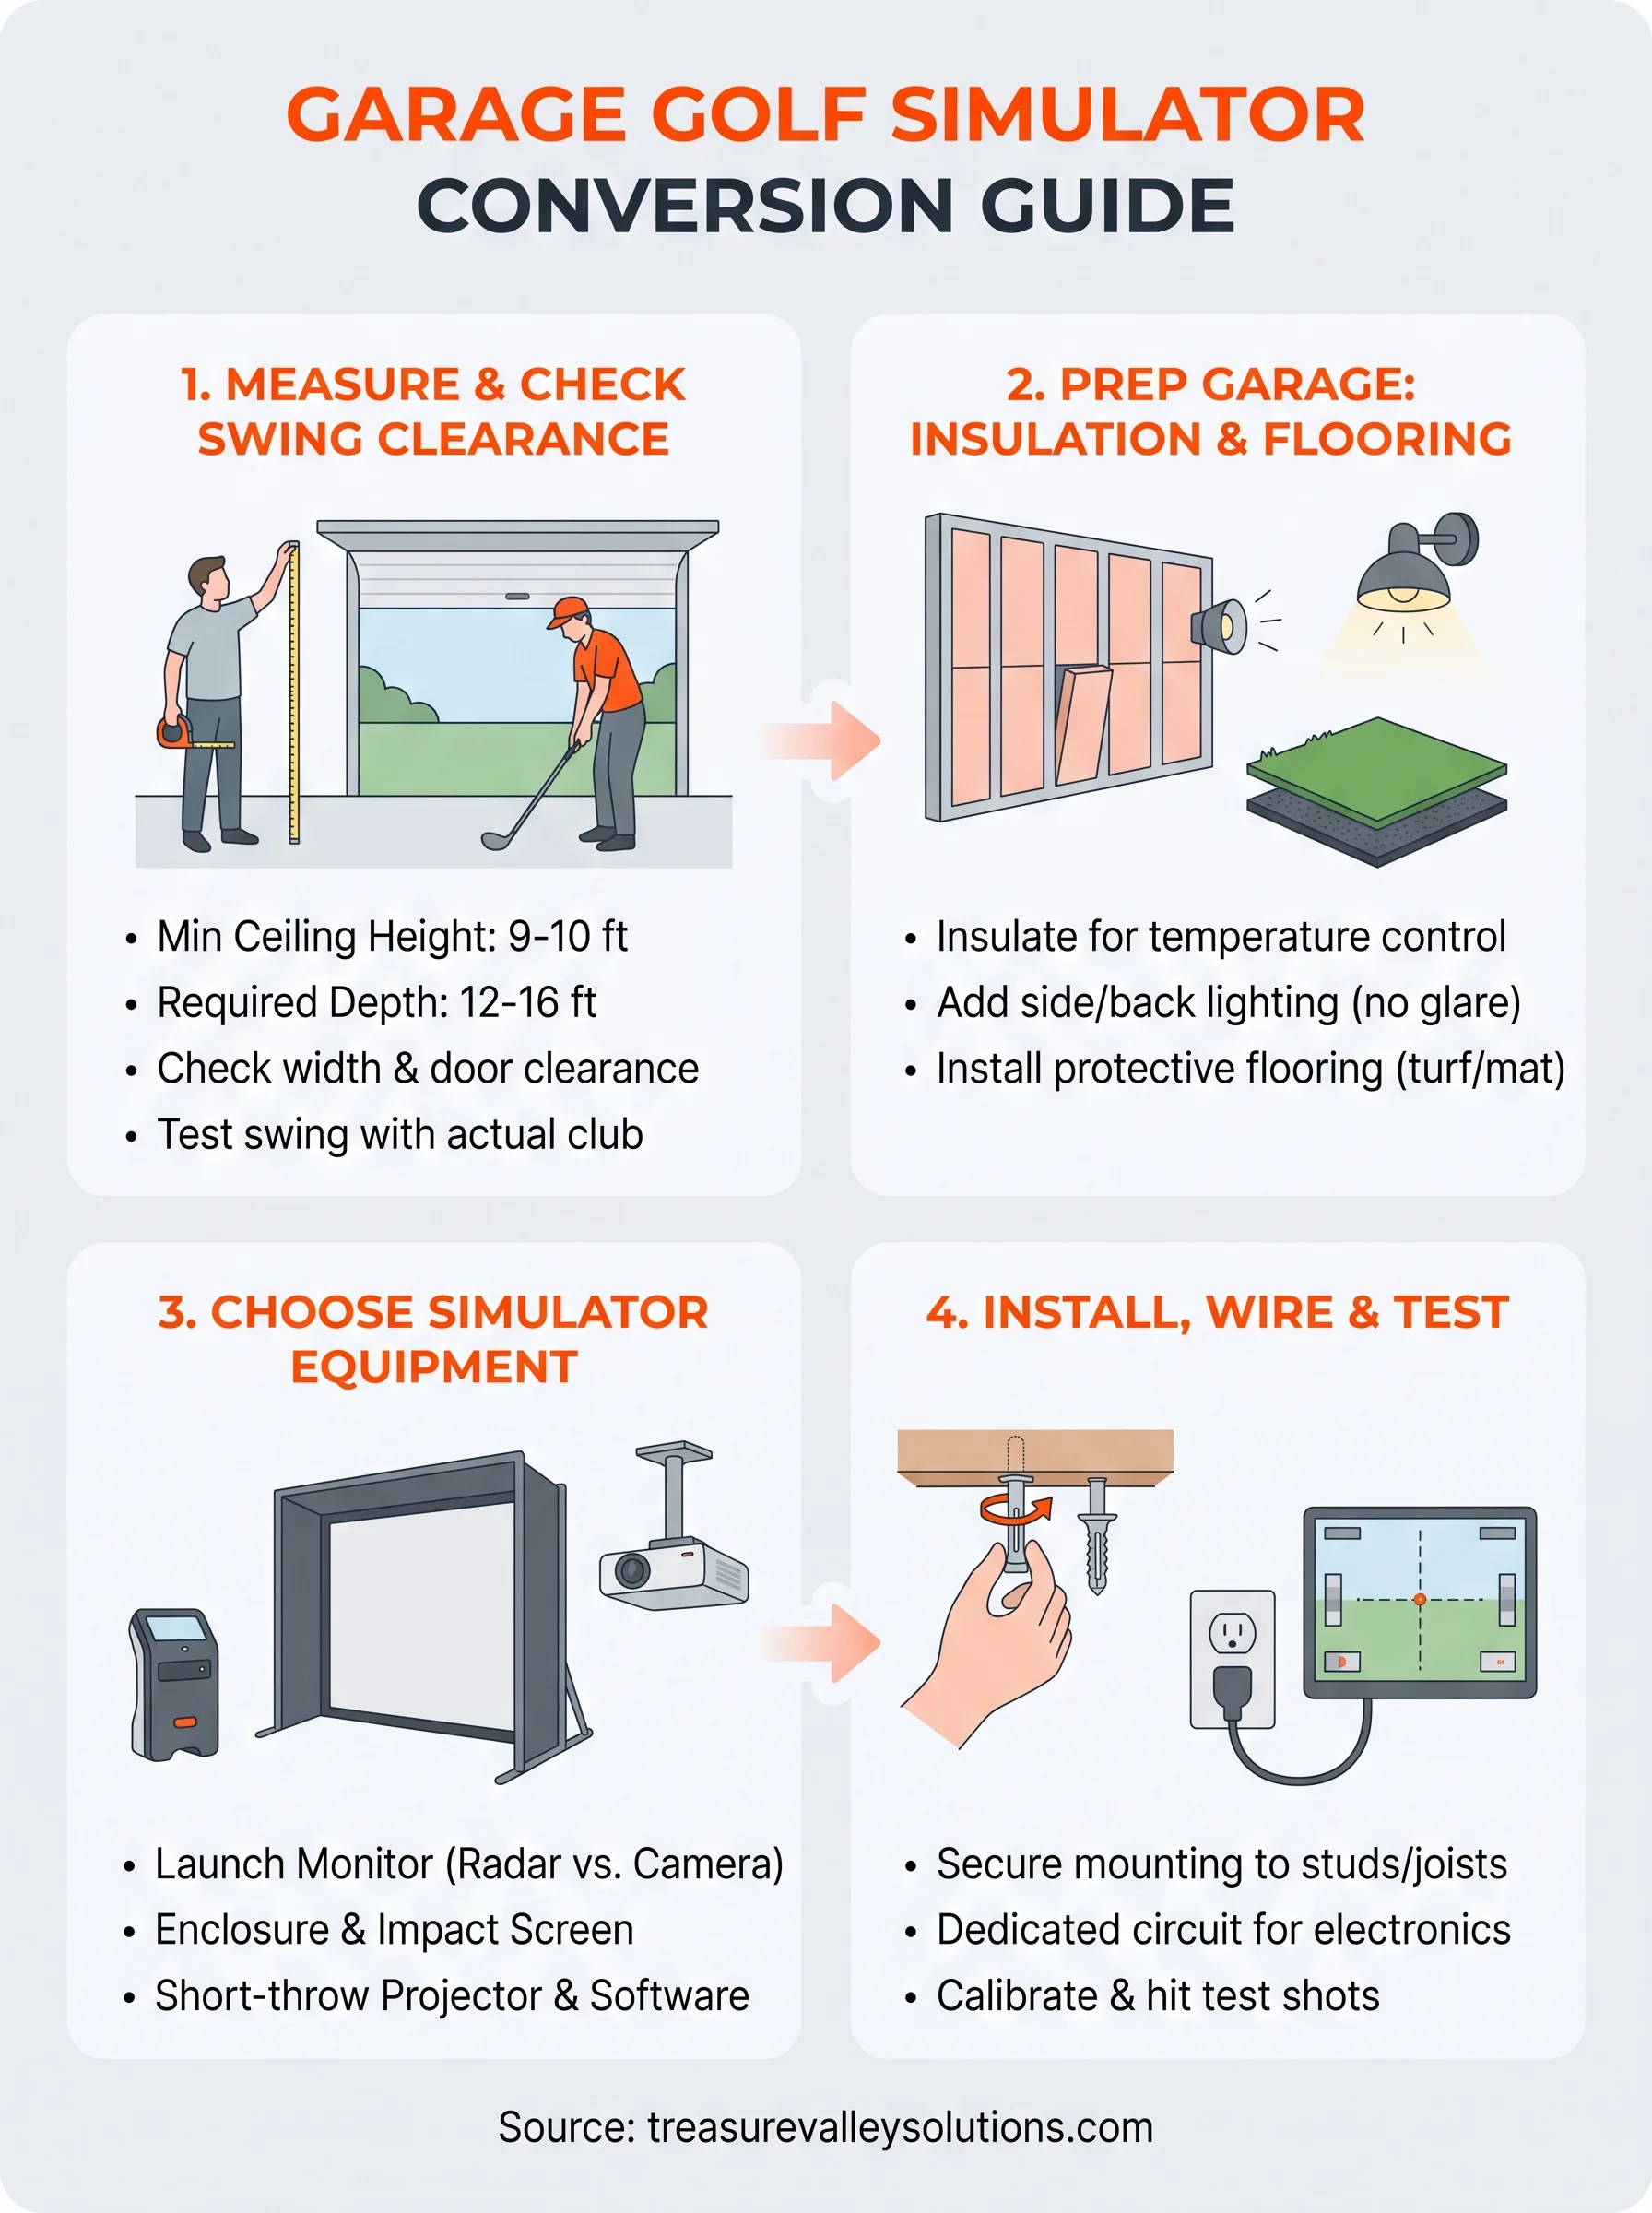
Standard garages run 8 to 10 feet high at the walls, but the area near the garage door often drops lower once you factor in the door track and opener rail. You need at least 9 feet of clear ceiling height for most golfers to swing a driver without clipping the ceiling, and taller golfers or those with steep swing planes may need closer to 10 feet. Depth matters just as much: plan for 12 to 16 feet from the hitting position to the impact screen, plus a few feet of buffer behind you for backswing clearance.
The single biggest planning mistake homeowners make is measuring the garage floor and ignoring what's hanging from the ceiling.
Realistic budget ranges
Costs for a golf simulator garage conversion swing widely depending on how much of the space you finish out and how much automation you add. Here's what homeowners in the Treasure Valley typically spend, broken down by tier:
| Setup Tier | What's Included | Typical Cost |
|---|---|---|
| Bare-bones DIY | Used launch monitor, DIY frame, bedsheet-style screen | $1,500-$3,500 |
| Mid-range | Quality launch monitor, impact screen, projector, basic flooring | $5,000-$9,000 |
| Full enclosure | Premium simulator software, enclosure kit, turf flooring, lighting, acoustic treatment | $10,000-$20,000+ |
These ranges don't include garage prep like insulation or electrical work, which can add another $1,000 to $3,000 depending on your garage's current condition and whether you want smart lighting or automated controls tied in.
Garage use, climate, and permits
Garages in the Treasure Valley run through wide temperature swings, from freezing winter mornings to triple-digit summer afternoons, and that matters more for a simulator room than most people expect. Electronics like launch monitors and projectors have operating temperature limits, and a garage that isn't insulated or climate-controlled can shorten their lifespan or cause them to shut down mid-session. If you still park a vehicle in the garage, decide upfront whether this is a dedicated simulator space or a shared one, since sharing means building in a way to break down and store equipment safely.
Check with your city or HOA before you start any electrical or structural changes, especially if you're adding new circuits, insulation, or a mini-split for climate control. Meridian, Boise, Eagle, and Nampa each have their own permitting rules for electrical work, and skipping that step can create problems later if you ever sell the house or file an insurance claim. The City of Boise's building permit resources are a good starting point if you're unsure what triggers a permit in your jurisdiction.
Step 1. Measure your space and check swing clearance
Grab a tape measure, a step ladder, and your longest club before you buy anything. This step decides whether your golf simulator garage conversion actually works once you're standing in your setup with a driver in hand, and skipping it is the fastest way to end up returning equipment or cutting into drywall you just finished.
Measure width, depth, and height
Start with three numbers: ceiling height at your hitting position, depth from that spot to where your screen will hang, and width for your stance and follow-through. Don't measure at the garage's highest point and assume the rest of the room matches, since ductwork, light fixtures, and the garage door track often hang lower than the walls around them.
- Ceiling height: measure directly above where you'll stand to swing, not just anywhere in the garage
- Depth: measure from the hitting mat position to the far wall where the impact screen will hang
- Width: measure at shoulder height and at full extension with your arms raised, since studs and shelving can be closer than they look
- Garage door clearance: check how far the door track and opener rail drop down when the door is closed
Check swing clearance with your actual clubs
Once you have rough numbers, test them for real. Stand in the spot where you'd set up your hitting mat, hold your driver, and go through a slow-motion backswing and follow-through without hitting a ball. Watch where the clubhead travels at the top of your swing and check it against your ceiling height measurement, leaving at least a few inches of buffer since a full-speed swing arcs slightly differently than a slow rehearsal.
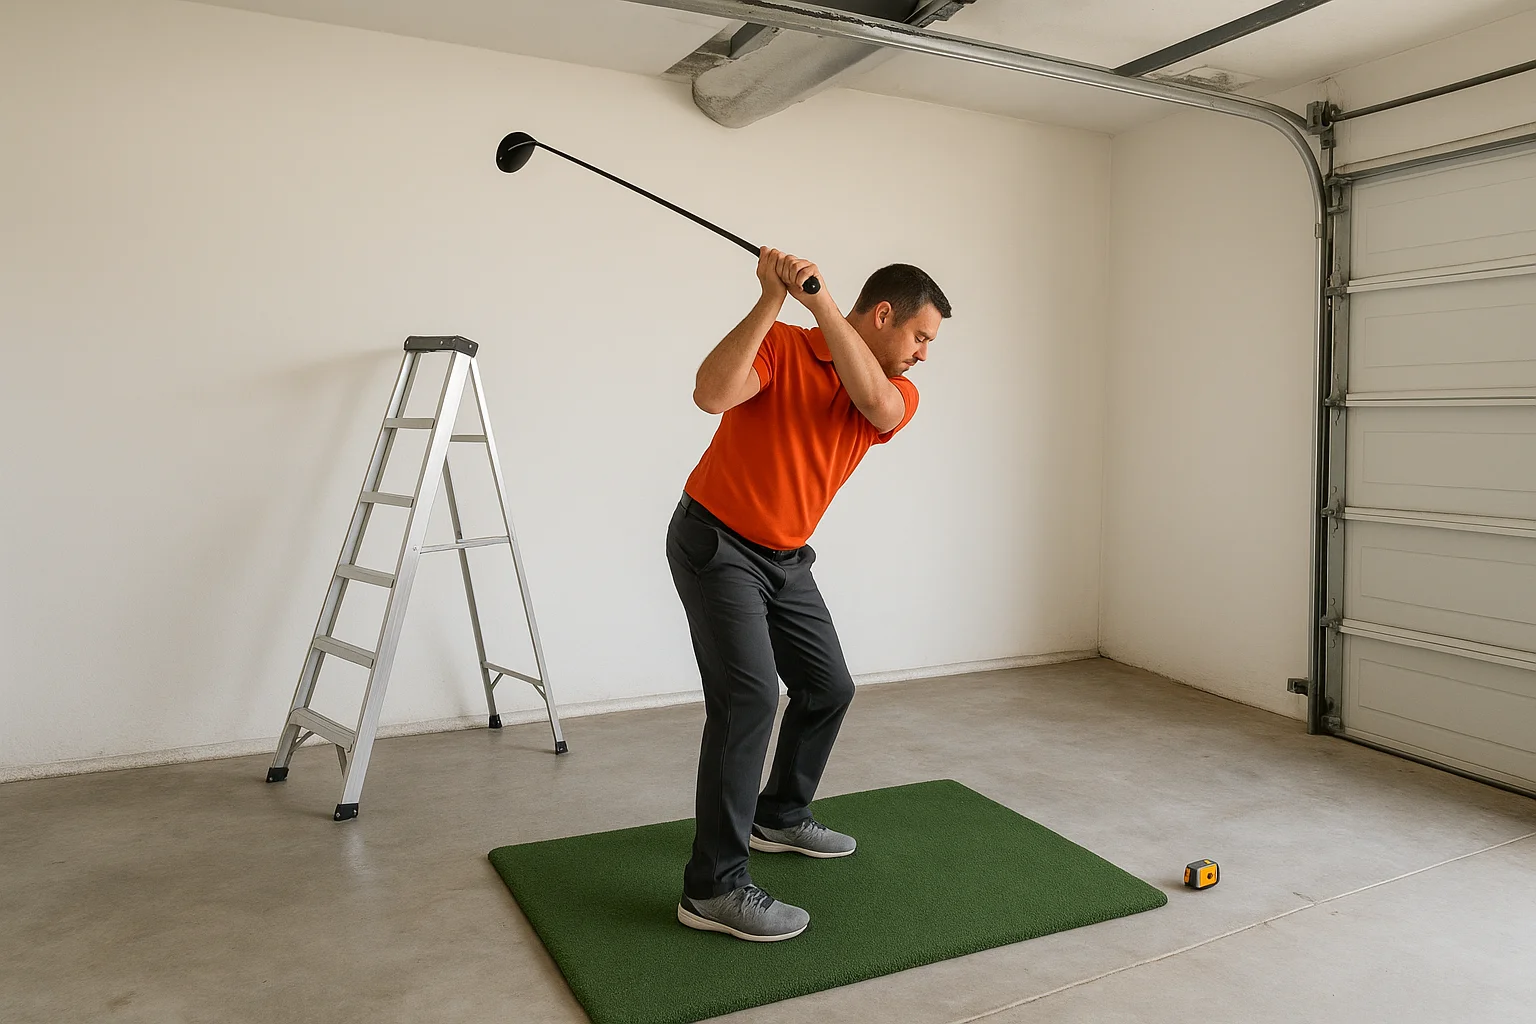
If your driver brushes the ceiling during a slow practice swing, it will hit at full speed, so don't round up on your clearance numbers.
Taller golfers, or anyone with a steep vertical swing plane, should add a foot of buffer beyond the standard 9-foot minimum. If your garage tops out around 8 feet near the door, plan your hitting position toward the back of the garage where the ceiling is often higher and clear of the door track. This is also the moment to decide if you'll need to raise sections of ceiling or relocate ductwork, since that structural work needs to happen before flooring and screens go in, not after.
Step 2. Prep the garage with insulation, lighting, and flooring
Once your measurements confirm the space works, turn your attention to the three things that make a golf simulator garage conversion feel like a real room instead of a garage with a screen in it. Insulation, lighting, and flooring don't show up in flashy product photos, but they're what separate a setup you use every week from one that gets abandoned after a month because it's too cold, too dark, or too hard on your joints.
Insulate and control the temperature
Garages in the Treasure Valley swing from below freezing to well over 100 degrees, and that range is rough on both your comfort and your electronics. Insulating the walls and garage door with rigid foam board or batt insulation keeps the space usable through more of the year and protects sensitive gear like your launch monitor and projector from thermal stress. If you plan to use the room year-round, budget for a mini-split unit rather than relying on a space heater or fan, since those units heat and cool efficiently without adding much noise to your swing audio.
A garage that's too cold to stand in comfortably is a garage nobody uses, no matter how good the simulator software is.
Set up lighting that doesn't wash out your screen
Overhead garage lighting is usually too harsh and too bright for an impact screen, since glare and hot spots make the projected image hard to read. Swap standard bulbs for dimmable LED fixtures placed to the side and behind the hitting area rather than directly overhead, and consider smart lighting you can dim from a phone app before each session.
- Position lights beside and behind you, never in front of the screen
- Use dimmable LEDs so you can adjust brightness for daytime versus evening play
- Add a switch or smart control near the hitting mat for quick adjustments mid-session
Choose flooring that protects your joints and your slab
Bare concrete transmits shock straight into your knees and hips over a long practice session, and it's unforgiving if you're hitting off a mat for an hour at a time. Rubber underlayment topped with turf or a dedicated hitting mat gives you cushioning, better footing, and a more realistic feel underfoot than concrete alone, and it protects the slab from divots and dropped clubs.
Step 3. Choose your simulator equipment and enclosure
Now that your garage is measured, insulated, and floored, it's time to pick the gear that actually makes your golf simulator garage conversion function. This is where budget decisions get real, since launch monitors and enclosures range from a few hundred dollars to several thousand, and the right choice depends on how seriously you plan to use the space and how much garage floor you have to work with.
Pick a launch monitor that matches your goals
Camera-based launch monitors track ball flight and clubhead data with more precision but usually cost more and need more space behind the ball. Radar-based units are cheaper and more forgiving on placement, though some sacrifice a bit of accuracy on short game shots. Weekend golfers who mostly want full-swing practice do fine with a mid-range radar unit, while anyone chasing detailed swing analytics or club fitting data should budget for a camera-based system.
Buy the launch monitor that matches how often you'll actually use it, not the one with the longest spec sheet.
Build or buy your enclosure and screen
Your enclosure is the frame and impact screen combination that catches the ball and displays the simulation. DIY frames built from PVC or electrical conduit cost a fraction of a packaged kit, but a purpose-built enclosure kit saves time and usually includes side netting that protects your walls from mishit shots.
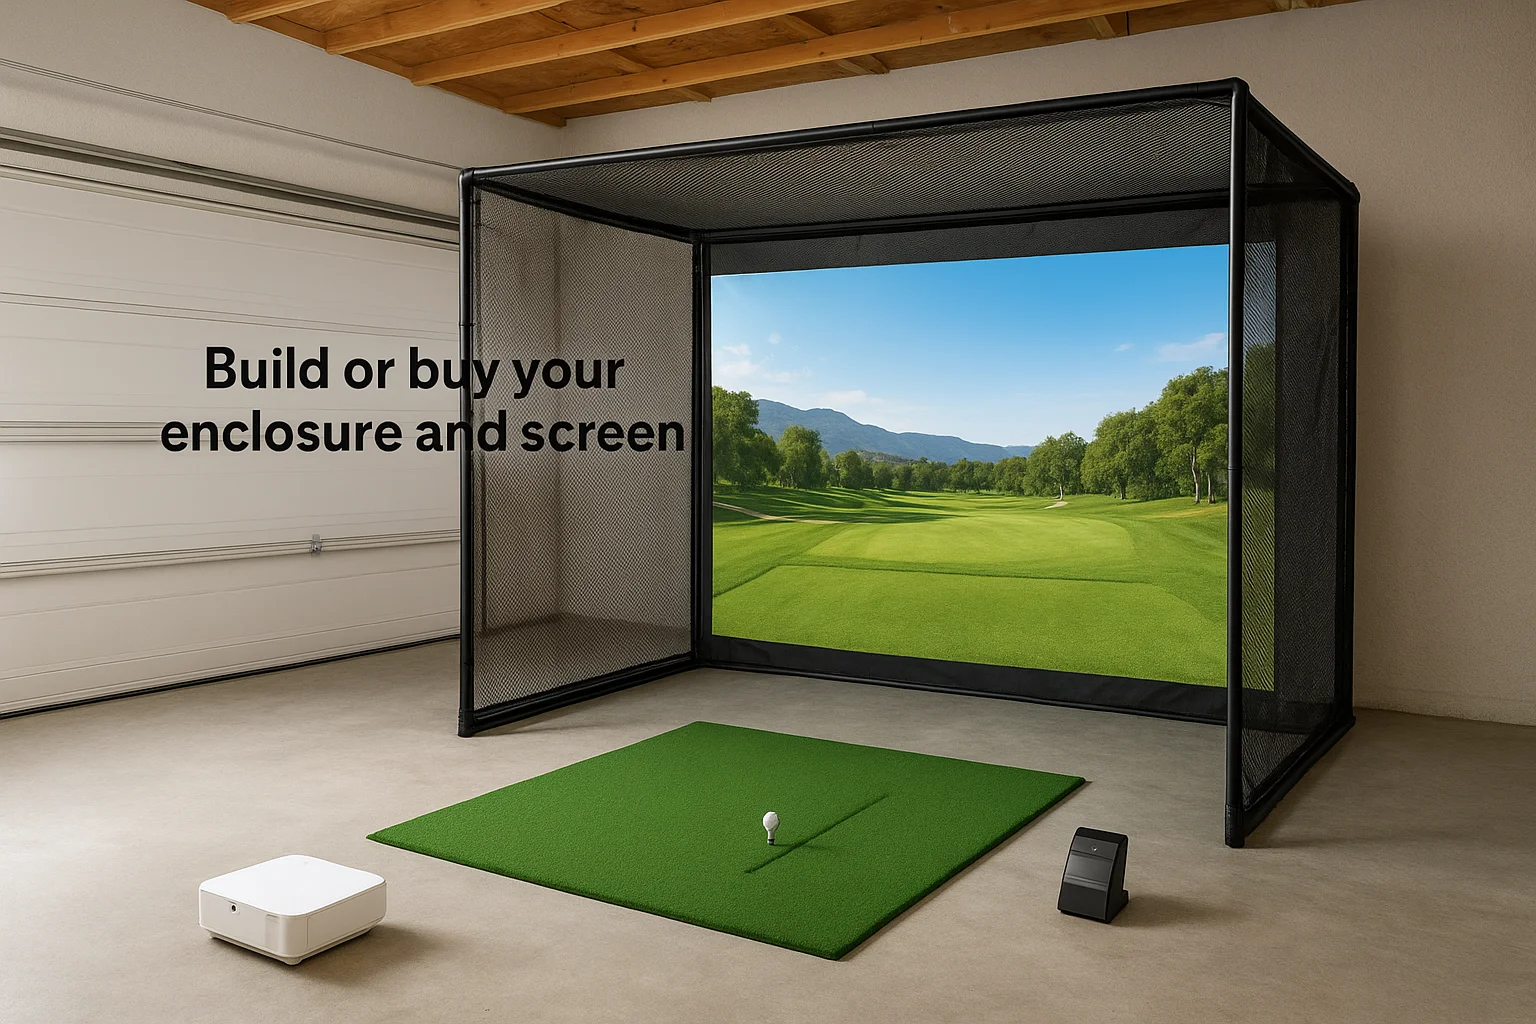
- DIY conduit frame with impact screen: $300-$700, more labor, more customization
- Packaged enclosure kit with side barriers: $1,200-$3,000, faster setup, better protection for garage walls
- Impact screen alone (if reusing an existing frame): $200-$600 depending on size and material
Match your projector and software to the space
Short-throw projectors work best in garages since they mount close to the screen and avoid casting a shadow when you swing. Software licenses vary from one-time purchases to annual subscriptions, so factor that ongoing cost into your budget before committing to a particular ecosystem. Simulator software choice often locks you into a specific launch monitor brand, so confirm compatibility before you buy either piece separately.
Step 4. Install, wire, and test your golf simulator
With equipment chosen, the actual installation is where most of the value of hiring a pro shows up, since a poorly mounted screen or a projector plugged into the wrong circuit can undo weeks of planning in a single session. Work through mounting, wiring, and calibration in that order, and resist the urge to skip testing just because everything looks assembled correctly.
Mount your enclosure and run your wiring
Secure your frame to ceiling joists or studs rather than drywall alone, since the repeated impact of golf shots will loosen anchors that aren't hitting solid framing. Mount the projector on a ceiling bracket close to the screen for a short-throw setup, then route power and HDMI cables along the ceiling and down a wall channel instead of leaving them draped across the floor where you'll trip on them mid-swing.
- Frame anchors: into joists or studs, not just drywall
- Projector cable: HDMI run along the ceiling, secured with cable clips
- Launch monitor power: dedicated outlet near the hitting mat, not an extension cord looped across the floor
Plan your power and cable routing
Dedicate a circuit for your simulator gear if your garage's existing outlets are already shared with a freezer, garage door opener, or other appliance, since voltage dips can cause a launch monitor to drop connection mid-shot. If you're adding new outlets, smart lighting controls, or a mini-split, this is the point to bring in a licensed electrician, especially in Meridian, Boise, Eagle, or Nampa where inspections can flag DIY wiring during a home sale.
Skip the extension cord shortcuts. A dropped connection mid-swing is almost always a power problem, not a software glitch.
Calibrate and test before you swing for real
Run the manufacturer's calibration routine for your launch monitor before hitting a single ball, checking that it reads your test swings accurately at the distance and angle you'll actually use. Test the projector's image alignment against the screen edges, then hit a dozen practice shots at varying strengths to confirm the enclosure catches everything cleanly and the software tracks consistently before you consider the golf simulator garage conversion finished.
Enjoying golf from your own garage
A garage sitting unused all winter is a bigger waste than the equipment cost of fixing it. Once you've measured your ceiling clearance, sorted insulation and flooring, and picked gear that matches how often you'll actually play, you've got a golf simulator garage conversion that earns its square footage twelve months a year instead of ten. The planning and prep work you do upfront, especially around electrical capacity and lighting, decides whether you're troubleshooting dropped connections in February or knocking down 300-yard drives while snow piles up outside.
If the wiring, mounting, or climate control pieces feel bigger than a weekend DIY project, that's exactly where local expertise pays off. Reach out to our team for help planning power, lighting, and low-voltage wiring for your garage simulator, so the only thing you're chasing is a lower handicap.
Need Expert Help?
Ready to implement these solutions in your own home or business?
Our Services
View All Services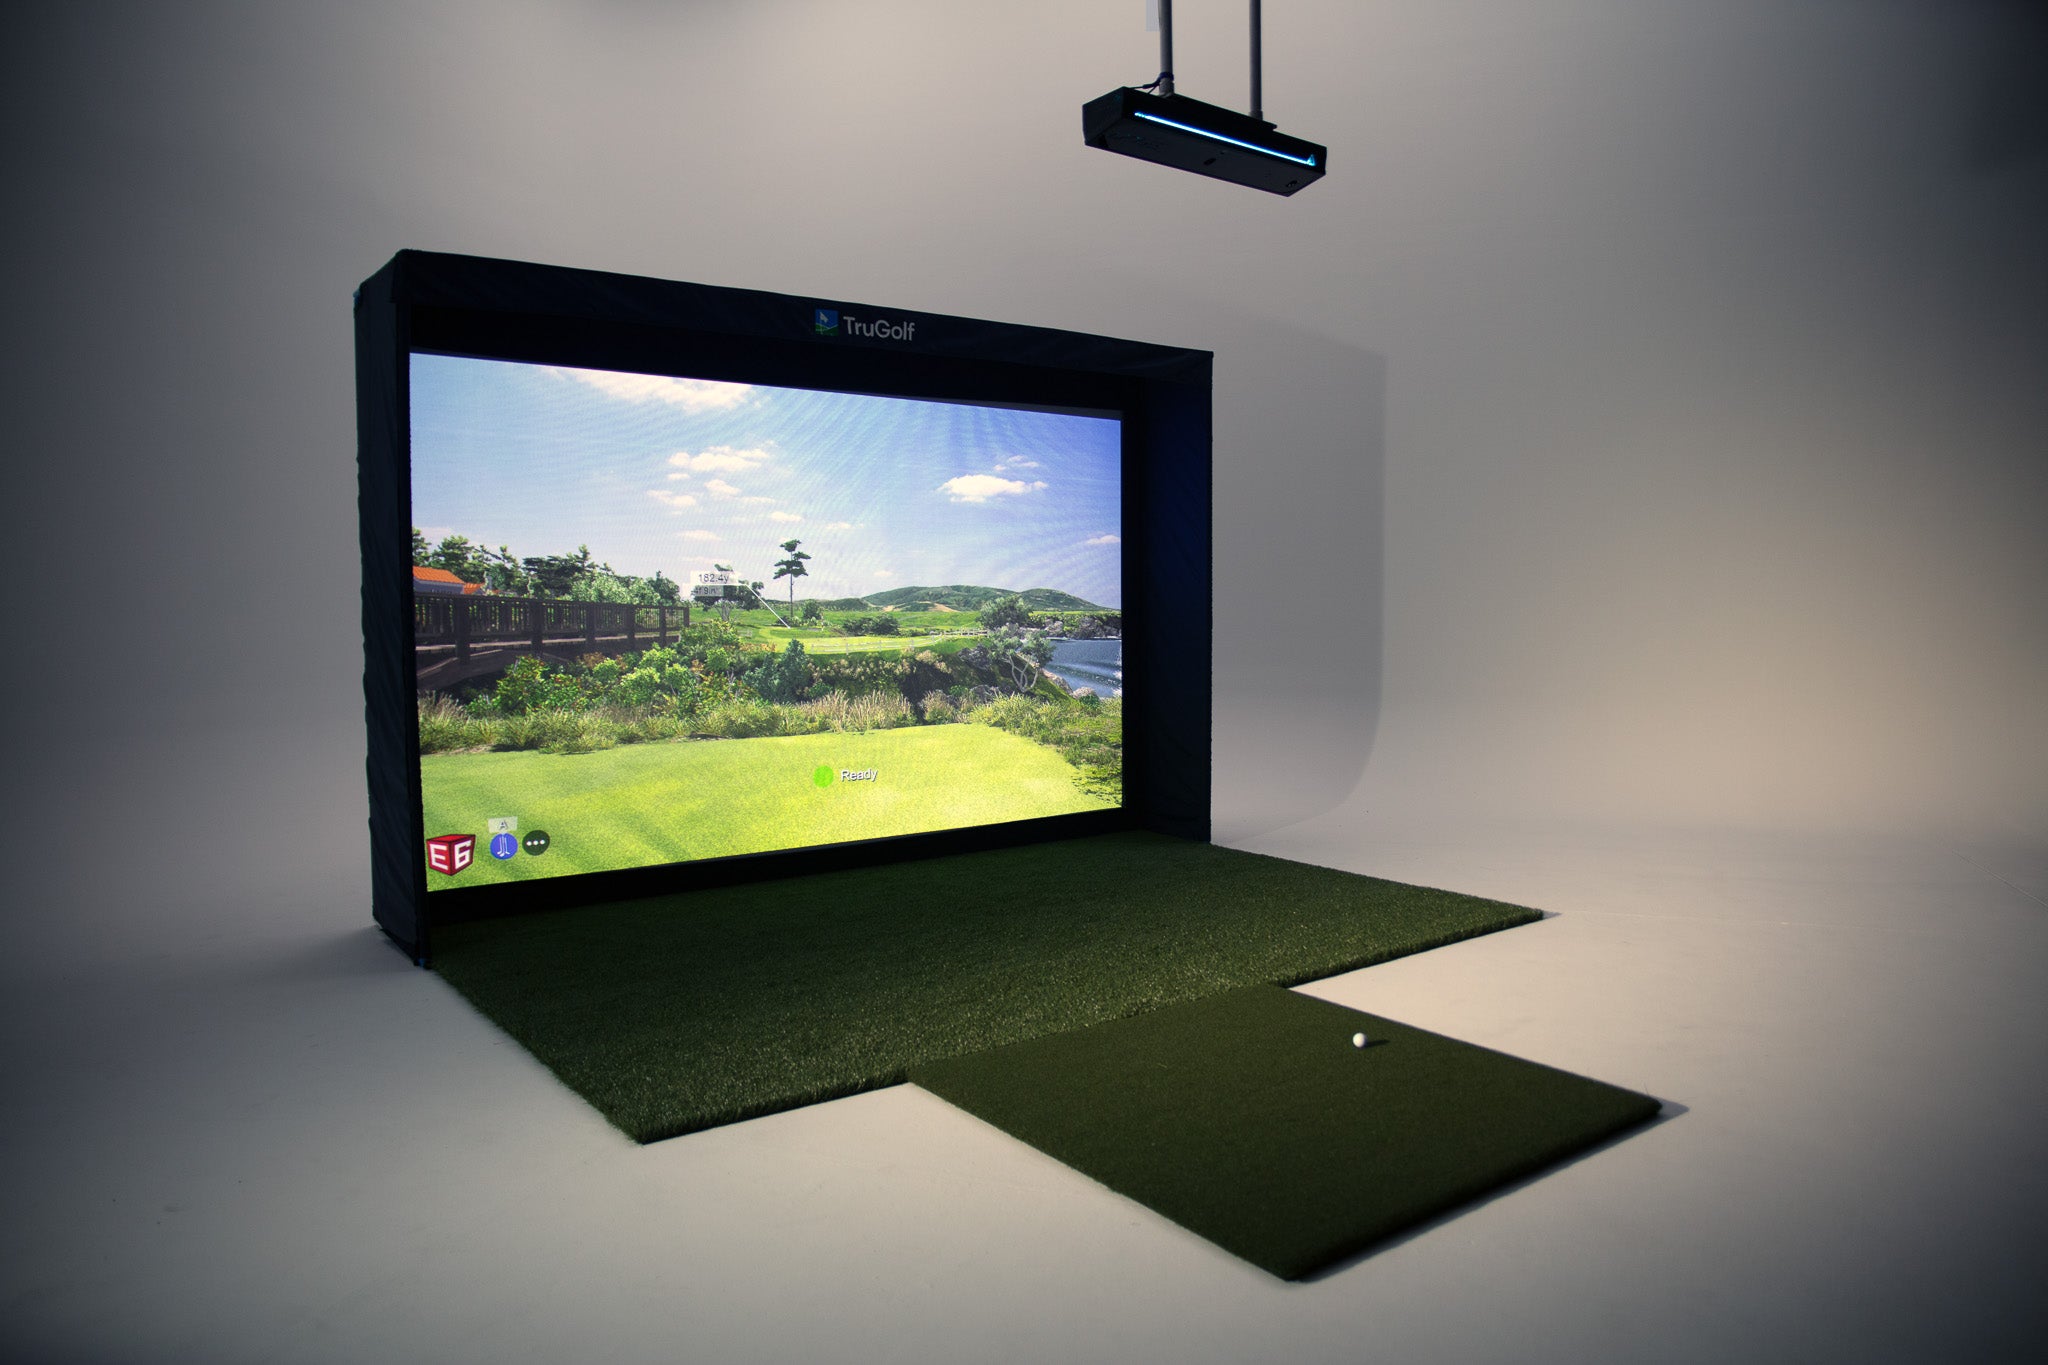
Serving the Treasure Valley
Local installation in your city