A golf simulator is only as good as the room it's built in and the team that installs it. Between the launch monitor, impact screen, projector, hitting mat, and enclosure, there are dozens of decision...
Professional Golf Simulator Installation: Costs & Process
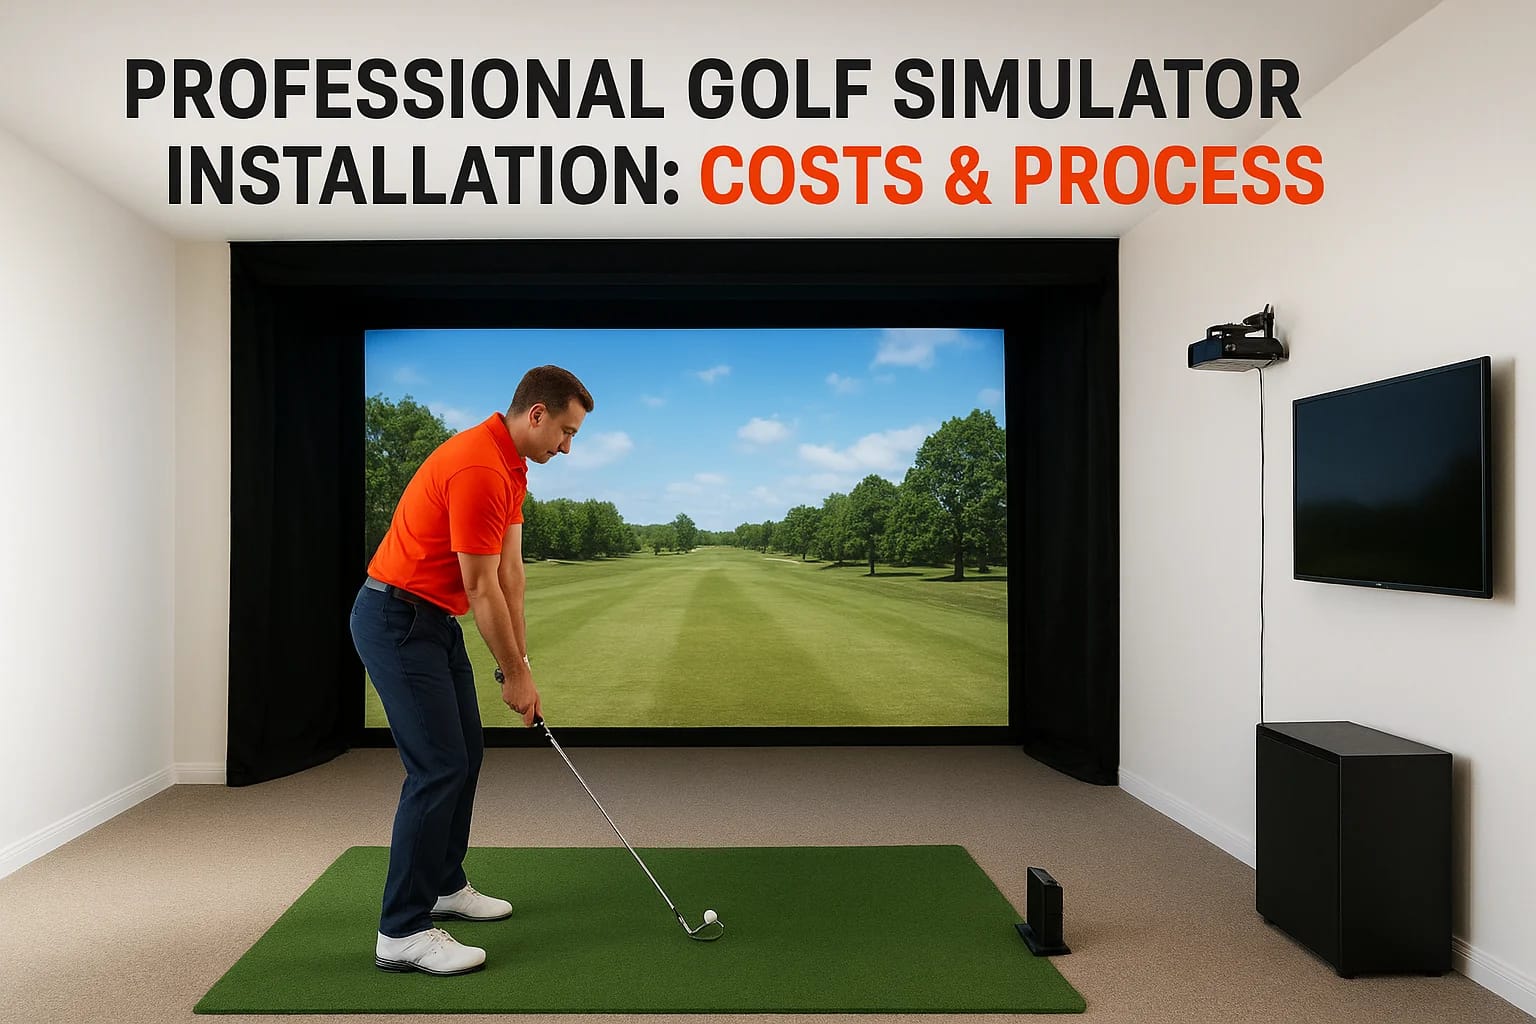
A golf simulator is only as good as the room it's built in and the team that installs it. Between the launch monitor, impact screen, projector, hitting mat, and enclosure, there are dozens of decisions that affect performance, and professional golf simulator installation ensures every one of those decisions is made correctly. Get it wrong, and you're stuck with a washed-out image, inaccurate ball tracking, or a setup that simply doesn't feel right.
That's where proper planning and expert execution matter. A professionally installed golf simulator accounts for ceiling height, room dimensions, lighting control, electrical requirements, network connectivity, and AV calibration, details that DIY approaches often overlook until it's too late. For homeowners and business owners across the Treasure Valley, this kind of project falls squarely within what we do at Treasure Valley Solutions: custom technology integration that's designed around your space and built to perform.
This article breaks down what professional golf simulator installation actually involves, from initial design considerations to final calibration. We'll cover typical costs, the step-by-step process, and what separates a reliable installation from one that creates headaches down the road.
What professional golf simulator installation includes
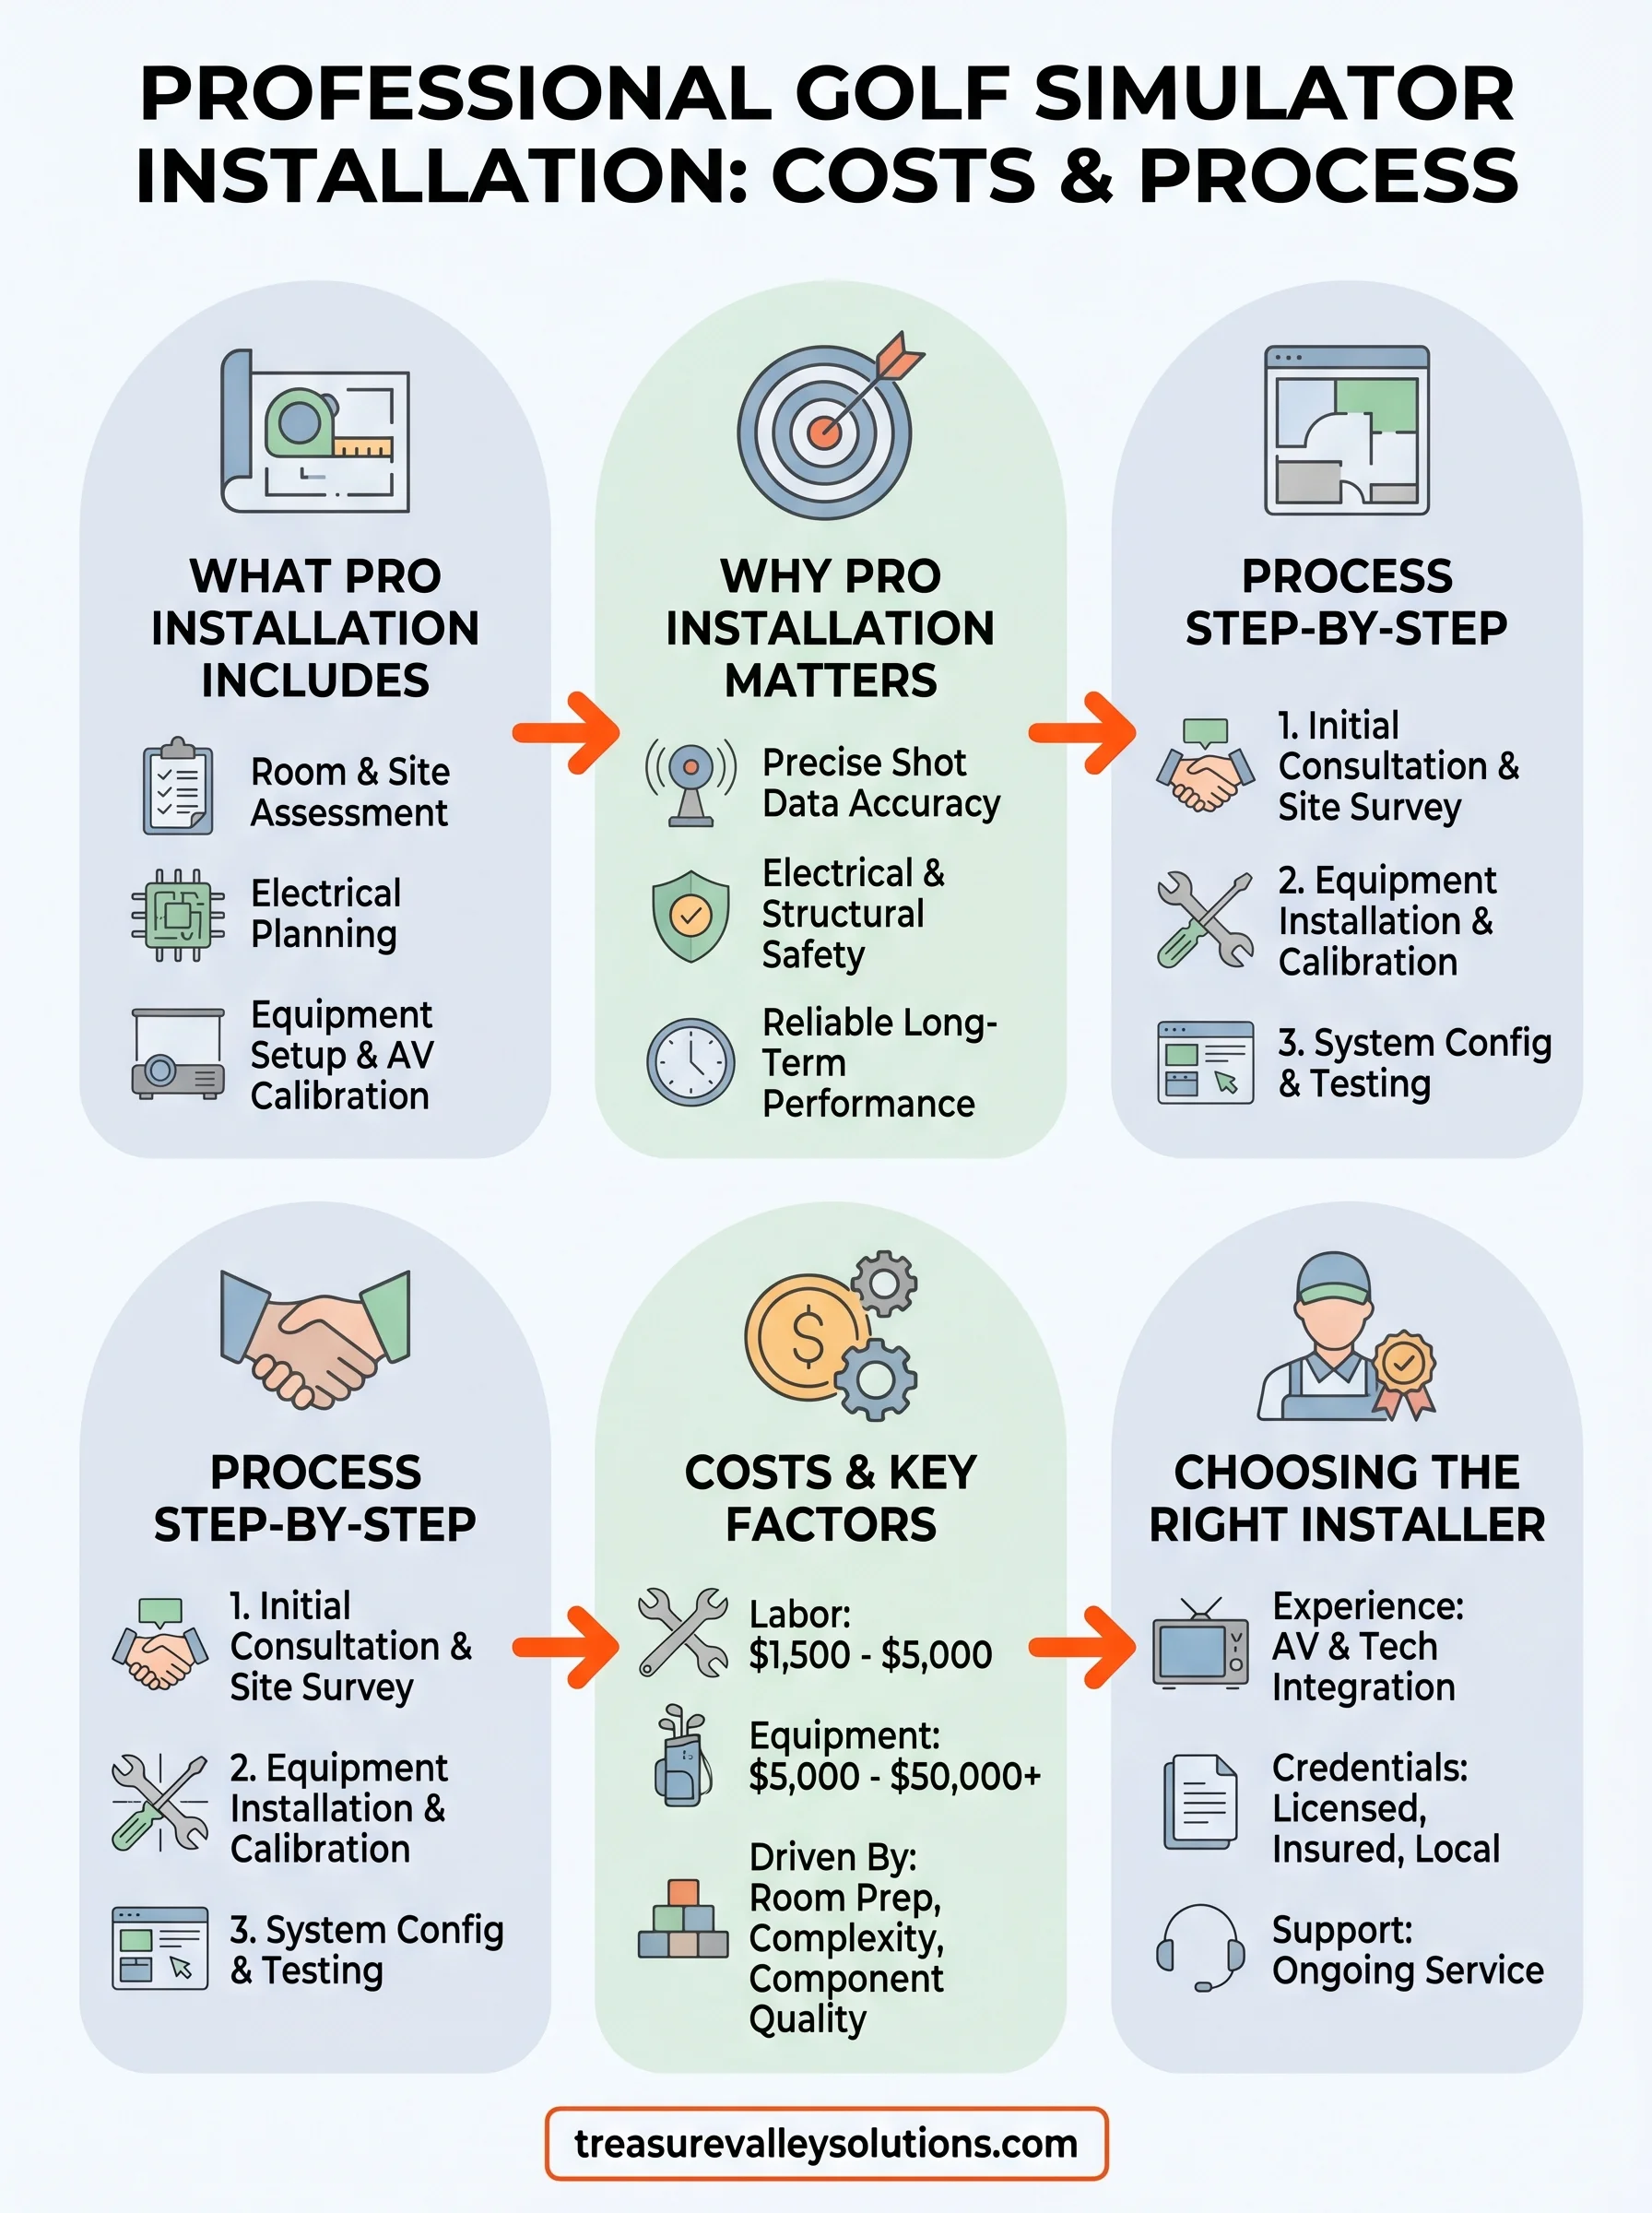
Professional golf simulator installation covers far more than bolting a screen to a wall and plugging in a projector. A full installation starts with a detailed site assessment and ends with a fully calibrated, tested system that performs accurately every time you step up to hit.
Room assessment and design
Before any equipment arrives, a qualified installer evaluates your space for ceiling height, room depth, wall materials, and ambient light levels. Most simulators require a minimum ceiling clearance of 9 to 10 feet and a room depth of at least 15 to 20 feet, though exact requirements vary by launch monitor type and your swing style.
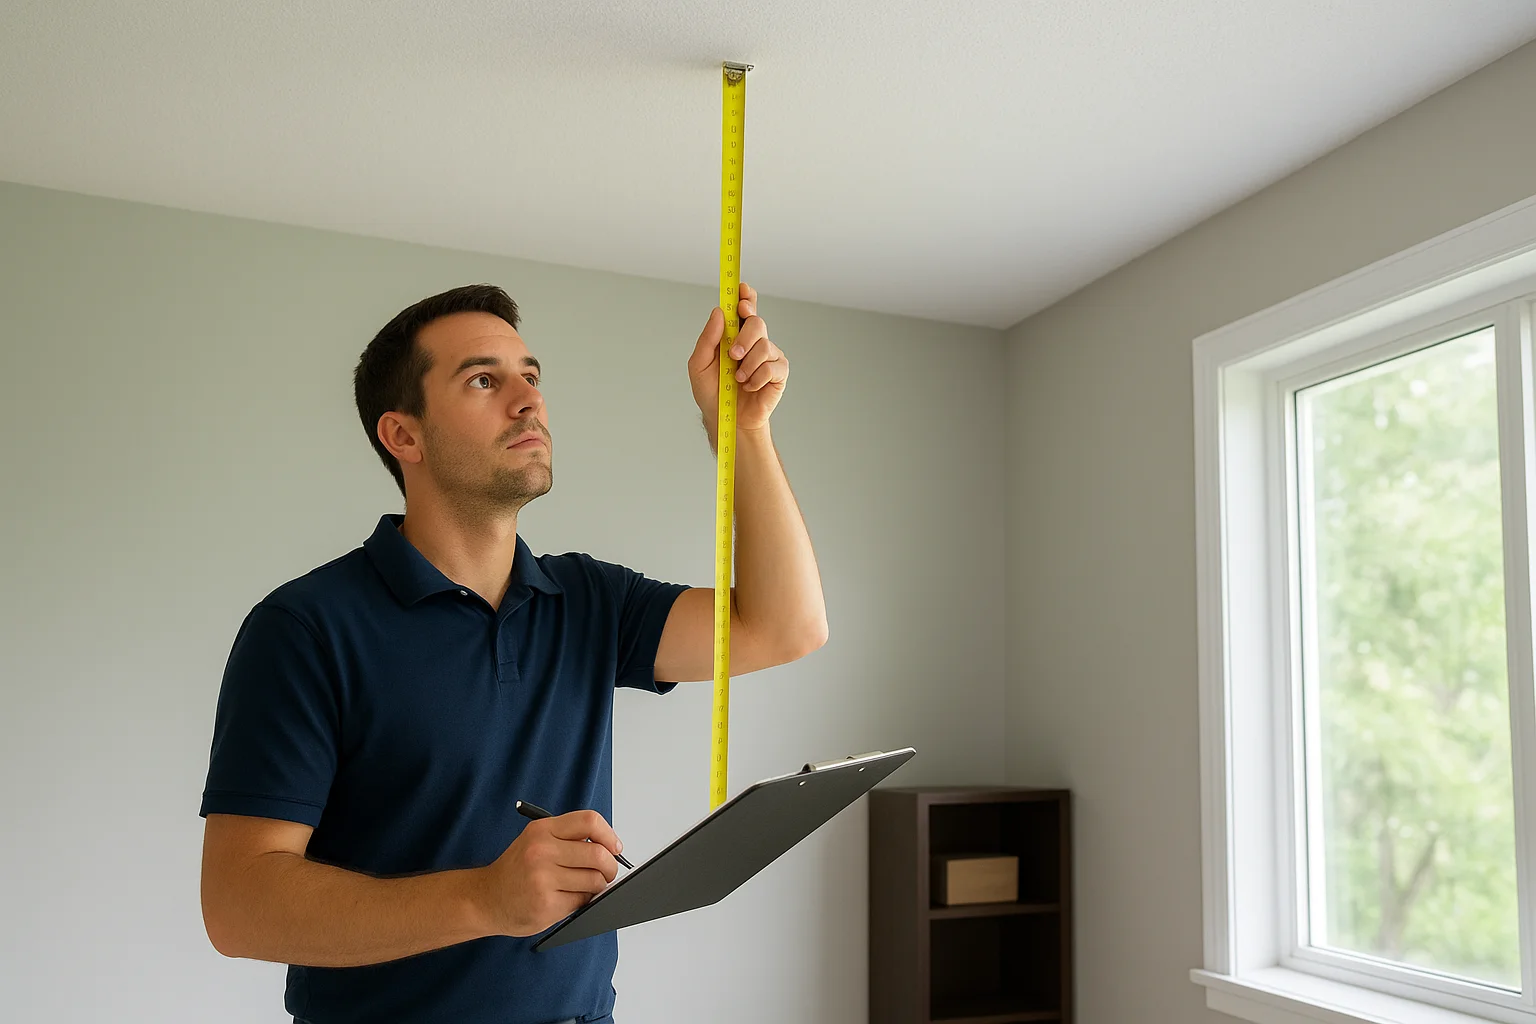
Electrical planning also happens at this stage. A professional maps out dedicated circuits for the projector, simulator computer, and any lighting control systems you want integrated into the same environment, so everything runs cleanly without interference or tripped breakers.
Getting the room layout and power requirements right from the start prevents costly rework and makes the rest of the installation straightforward.
Equipment setup and AV calibration
Once the room is prepared, the installer mounts the impact screen and enclosure frame, positions the projector at the correct throw distance, and aligns the launch monitor precisely to the hitting zone. Even a few inches of misalignment in the sensor or projector position can skew ball flight data and undermine the entire experience.
AV calibration includes adjusting image geometry, brightness, and color so the projection stays sharp and accurate at any time of day. If you're adding lighting control, network connectivity, or audio, those systems get configured and tested as part of the same process. A thorough installer also walks you through the software setup and confirms every component communicates correctly before calling the project done.
Why pro installation matters for accuracy and safety
The difference between a DIY setup and professional golf simulator installation often shows up immediately in shot data accuracy. Launch monitors require precise positioning relative to the hitting zone, and projectors need exact throw distances to deliver a clean, correctly sized image. When either is off, your ball flight readings become unreliable, which defeats the purpose of practicing with a simulator.
Sensor alignment and image accuracy
Your launch monitor captures clubhead speed, ball spin, launch angle, and carry distance. Even a small deviation in sensor placement can skew every one of those numbers. A professional installer positions and calibrates each component according to the manufacturer's specifications, so the data you see reflects your actual swing.
Accurate data is the entire point of a simulator, and that accuracy depends entirely on how precisely the system is installed.
Electrical and structural safety
Improper wiring or overloaded circuits can create fire hazards, especially when high-draw components like projectors and computers share the same line. A qualified installer also ensures the impact screen and enclosure frame are anchored correctly, so there's no risk of hardware coming loose during use.
How the installation process works step by step
Professional golf simulator installation follows a clear sequence, and knowing each phase helps you plan your timeline and set realistic expectations from the start.
Initial consultation and site survey
Your installer visits the space, measures ceiling height, room depth, and wall clearance, and identifies any structural or electrical work needed before equipment arrives. This step also confirms which launch monitor and projector combination fits your room geometry. You leave this meeting with a defined scope, a parts list, and a project schedule.
Skipping a proper site survey is one of the most common reasons simulator projects run over budget or require major rework.
Equipment installation and calibration
Once the room is ready, the installer mounts the enclosure frame and impact screen, runs all required wiring through the walls, and sets the projector at the exact throw distance the manufacturer specifies. The launch monitor gets positioned and secured relative to the hitting zone, then the software is configured and tested with live shots to confirm every data point reads correctly. Your installer walks you through the controls and confirms the system is dialed in before leaving the site. Most installations wrap up in one to two days depending on room complexity.
What it costs and what drives the price
Professional golf simulator installation labor typically runs between $1,500 and $5,000 depending on room complexity and how many systems need to be integrated. Equipment costs on top of that range from $5,000 for an entry-level setup to well over $50,000 for a premium, fully integrated build.
Key factors that affect your total
Room preparation is often the biggest variable in your final number. If your space needs electrical upgrades, new circuits, or structural framing before equipment can be installed, those costs add up before a single component gets mounted. System complexity also drives the price: adding lighting control, custom audio, or network infrastructure into the same room pushes the total higher than a basic standalone simulator.

The difference between a budget build and a premium one usually comes down to launch monitor quality and how much AV integration you layer in.
Projector resolution and throw ratio affect both image quality and how much positioning flexibility your room allows, with higher-end units carrying a significant price premium. Launch monitor brand represents the largest single equipment cost, with entry-level camera-based systems starting around $2,000 and professional radar-based monitors like Trackman or Foresight reaching $15,000 to $25,000 on their own.
How to choose the right installer in Treasure Valley
Not every AV company has the experience to handle professional golf simulator installation correctly. The right installer combines technology integration expertise with hands-on knowledge of room acoustics, electrical planning, and AV calibration, skills that go well beyond basic TV mounting or speaker wiring.
Look for AV and technology integration experience
Your installer should have a proven track record with custom AV projects and the ability to handle electrical coordination, network setup, and system programming as part of a single workflow. Ask to see completed projects and confirm they have experience with the specific launch monitor brand you plan to use, since calibration requirements vary significantly between manufacturers.
An installer who manages the full scope, from site survey to final calibration, reduces the risk of miscommunication and costly rework between separate contractors.
Verify licensing, insurance, and local availability
Licensed and insured technicians protect you if something goes wrong during installation, whether that's an electrical issue or accidental damage to your space. Local availability and ongoing support are far easier to access when your installer operates in the Treasure Valley and can respond quickly once the project is complete.
Before you commit, confirm that any installer carries liability insurance and valid trade licenses. Also check whether they can provide references from completed AV projects and offer post-installation support if your system needs calibration adjustments down the road.
Next steps
A well-executed professional golf simulator installation transforms an unused room into a space you'll actually use year-round, whether you're working on your swing in January or hosting a casual round with friends on a Friday night. Every detail, from room dimensions and electrical planning to sensor alignment and AV calibration, affects how well the finished system performs. Getting those details right from the start is far easier than fixing problems after the equipment is already mounted.
Treasure Valley Solutions handles the full scope of custom technology projects like this across the Boise, Meridian, and greater Treasure Valley area. Our team manages site assessment, wiring, AV integration, and final calibration so you get a system that works correctly the first time. If you're ready to start planning your simulator build or want to talk through your space, reach out to our team and we'll put together a plan that fits your room and your goals.