A custom golf simulator installation involves more than just buying a launch monitor and hanging a screen. It requires careful planning around room dimensions, projector placement, impact screen selec...
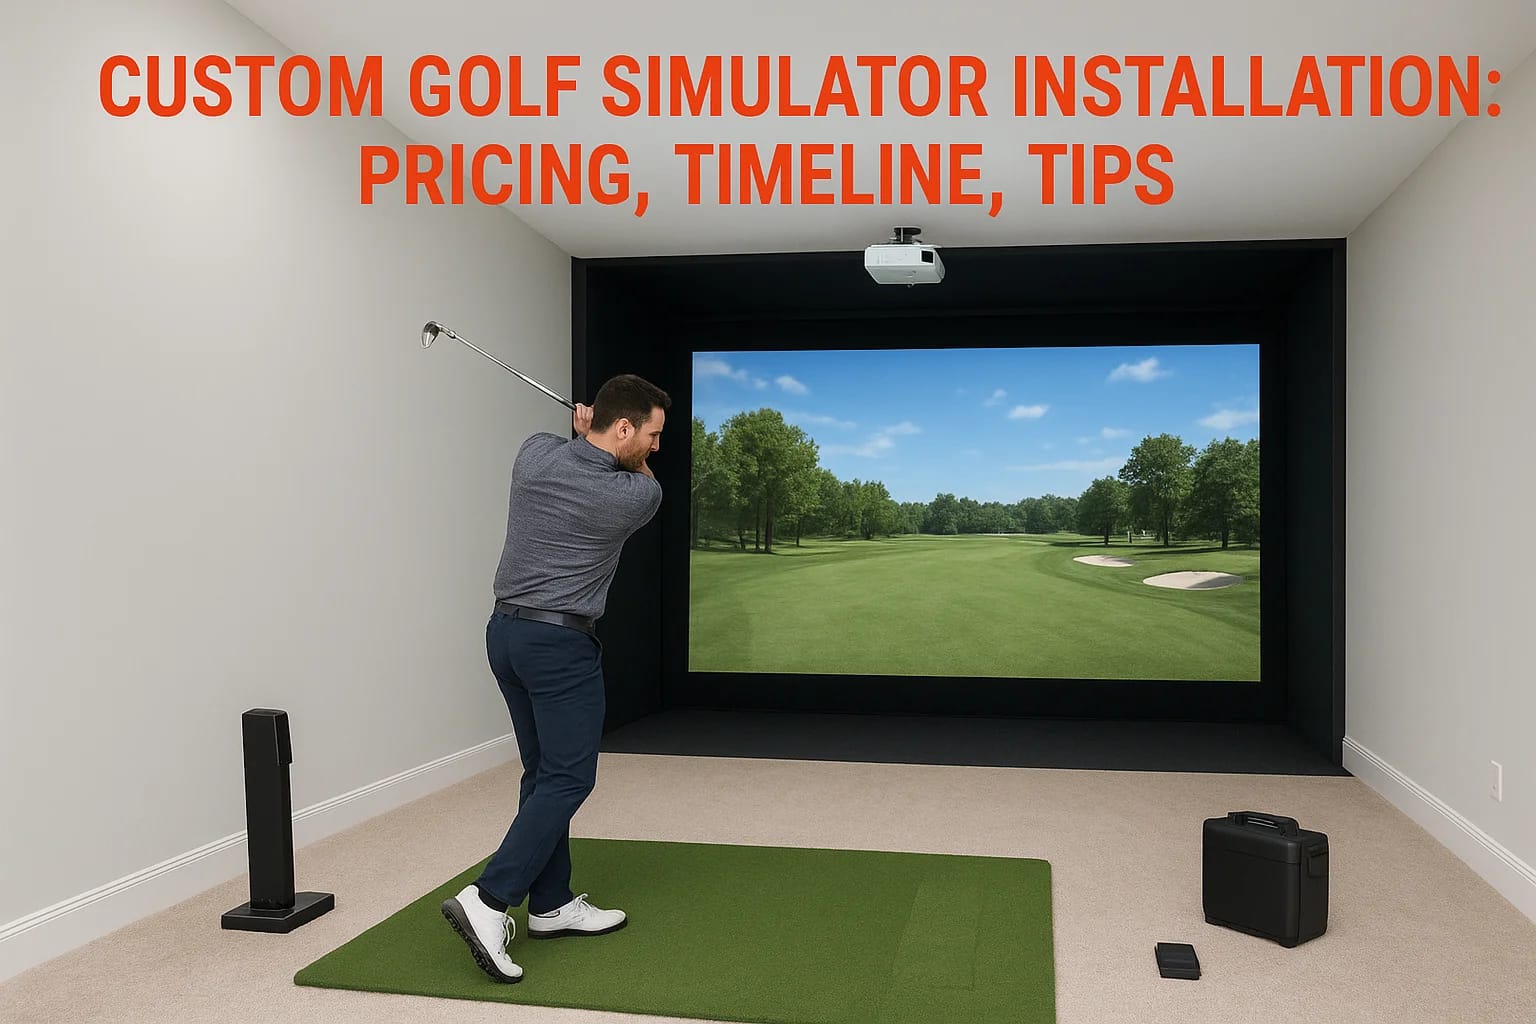
Custom Golf Simulator Installation: Pricing, Timeline, Tips
A custom golf simulator installation involves more than just buying a launch monitor and hanging a screen. It requires careful planning around room dimensions, projector placement, impact screen selection, flooring, lighting control, and AV integration, all working together so you can step up and swing without thinking about the technology behind it. Get any of these details wrong, and you end up with a setup that's frustrating to use or expensive to fix.
Whether you're converting a spare bedroom, finishing out a garage, or adding a simulator bay to a commercial space, the decisions you make early on, budget, room prep, and equipment selection, shape the entire project. That's where professional installation pays for itself.
At Treasure Valley Solutions, we design and install integrated AV and smart technology systems across the Boise and Meridian area. Golf simulators fall right in our wheelhouse: projectors, displays, acoustics, lighting, and networking all tied together into a single, clean setup. This guide covers realistic pricing, project timelines, and practical tips to help you plan a golf simulator installation that actually gets used year-round.
What custom golf simulator installation includes
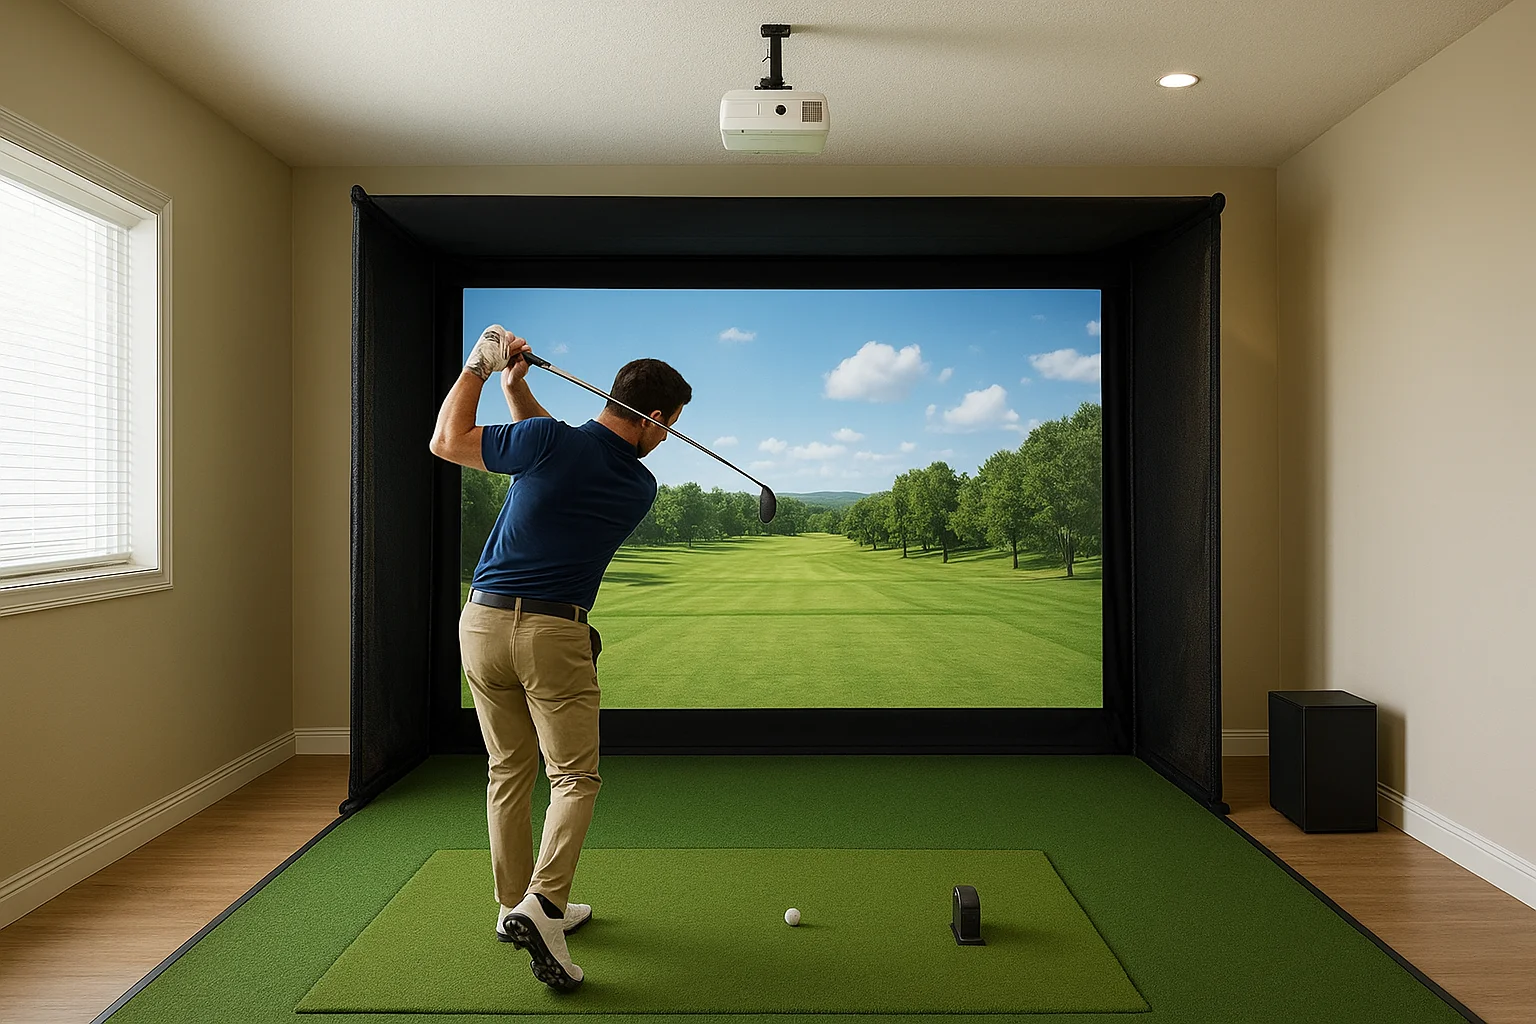
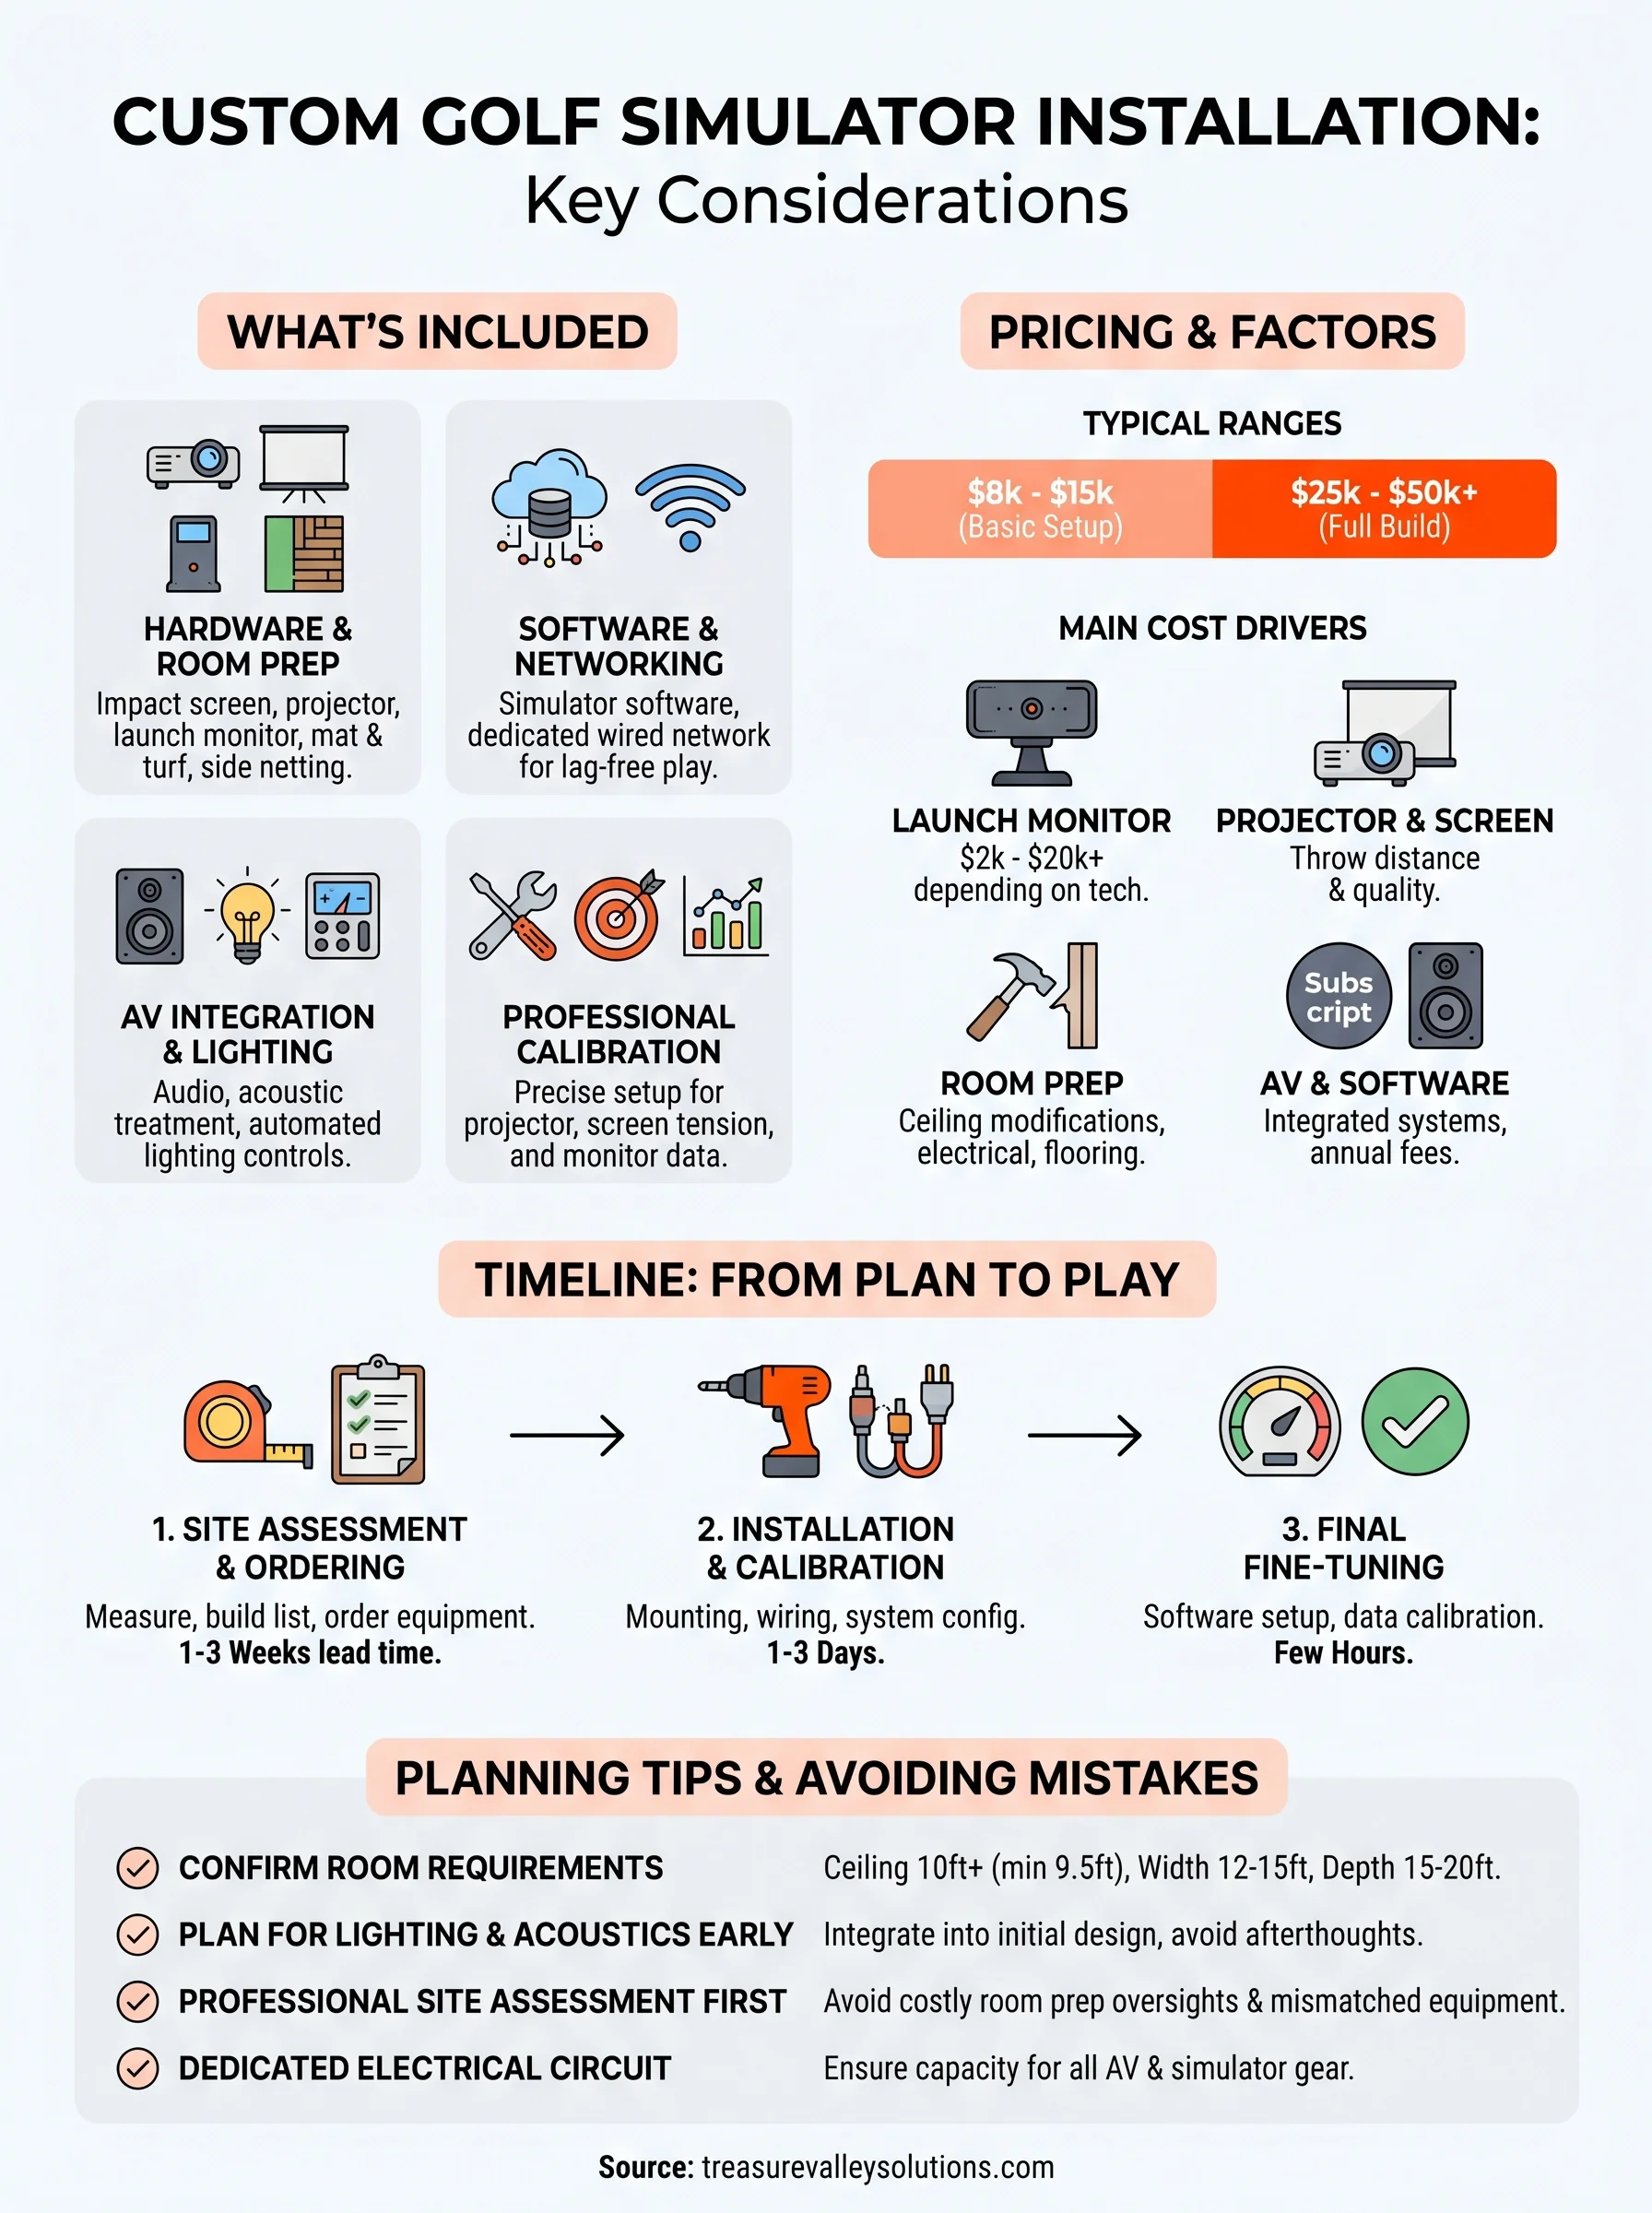
A custom golf simulator installation covers every component between your first site visit and your first full round of virtual golf. That means hardware selection, room preparation, software configuration, and AV integration, all coordinated so each piece works with the others. Most people focus on the simulator brand or the screen, but the room itself, including ceiling height, wall materials, lighting, and floor surface, shapes every other decision you make.
Hardware and room prep
The physical build starts with impact screen and enclosure selection, which depends on your room dimensions and how hard you hit. Ceiling height matters here: most installations need at least 9.5 to 10 feet of clearance to accommodate a full swing without restriction. Projector placement, whether ceiling-mounted, short-throw, or rear-projection, follows from those measurements. Flooring typically includes a hitting mat over artificial turf or rubber underlayment to absorb impact and protect the subfloor.
Getting room dimensions wrong before ordering equipment is one of the most expensive mistakes in any simulator project.
Key hardware components in a full build typically include:
- Impact screen and frame or enclosure
- Projector (standard or short-throw)
- Launch monitor (radar or camera-based)
- Hitting mat and turf surface
- Side netting or wall padding
Software, networking, and AV integration
Simulator software connects your launch monitor to the display, and your options range from basic simulation platforms to full course libraries with multiplayer capability. Your system also needs a dedicated, wired network connection to handle real-time data transfer and online play without lag or dropped frames.
Audio and lighting complete the setup. Speakers, acoustic treatment, and automated lighting controls turn a functional room into a space you want to spend time in, whether you're practicing alone or hosting a group. These layers are where smart technology integration adds the most visible value.
Why professional installation matters
A custom golf simulator installation involves multiple systems that have to work together precisely: projector throw distance, screen tension, launch monitor calibration, and network performance all affect the quality of your experience. If one component is misconfigured, the whole system suffers. A professional installer catches those issues before they become problems you have to troubleshoot yourself.
Misconfigured projector calibration or a weak network connection can produce lag, distorted images, or inaccurate ball data that makes the entire system feel unreliable.
Avoiding costly mistakes
DIY installations frequently run into room prep oversights: insufficient ceiling clearance, poor projector placement, or inadequate wall protection that leads to damage. These fixes cost significantly more after the fact than getting the build right the first time. A professional site assessment identifies every one of these issues before any equipment gets ordered or any walls get modified.
Integration with your existing systems
Professionals connect your simulator to existing home audio, lighting controls, and networking infrastructure, so everything runs cleanly from a single interface. This level of integration is where a dedicated AV installer adds value that a simulator retailer simply cannot. Your room becomes a functional, polished space rather than a disconnected collection of components you manage separately.
Pricing: what drives cost and typical ranges
Cost for a custom golf simulator installation ranges widely based on room complexity, equipment quality, and how much AV integration you want. A basic single-screen setup with a mid-tier launch monitor and standard projector typically starts around $8,000 to $15,000 installed. Full builds with premium launch monitors, acoustic treatment, automated lighting, and whole-room AV integration push into the $25,000 to $50,000+ range.
The biggest cost variable in any simulator project is the launch monitor, which alone can range from $2,000 to over $20,000 depending on technology and accuracy.
What affects your total budget
Several factors push the number up or down beyond the base hardware costs. Room preparation work, such as ceiling modifications, electrical upgrades, or flooring installation, adds to the project total and varies significantly by space. Your choice of simulator software also affects ongoing costs, since some platforms charge annual subscription fees on top of the initial license.
Here are the main cost drivers to plan around:
- Launch monitor technology (radar vs. camera-based)
- Projector type and throw distance
- Screen and enclosure quality
- Room prep and structural work
- Lighting and audio integration
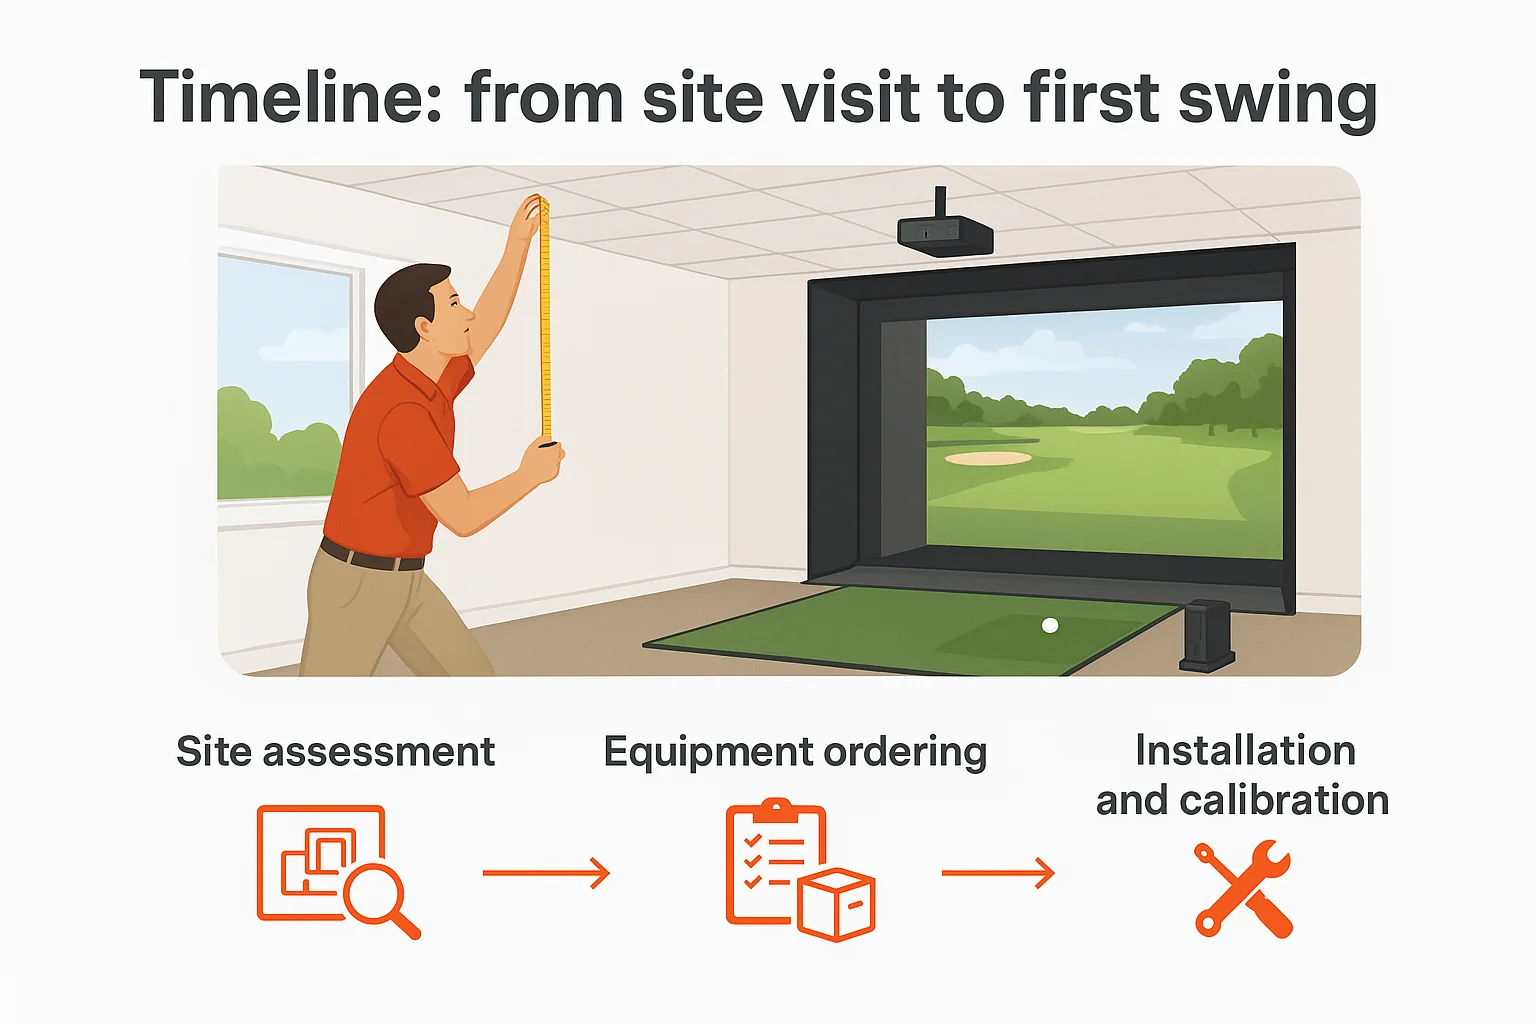
Timeline: from site visit to first swing
Most custom golf simulator installation projects run between three and six weeks from the initial site visit to your first full swing. Room prep work, structural modifications, or backordered equipment can extend that window, so knowing the general sequence upfront helps you plan around it and coordinate any other contractors involved.
Ordering equipment before your site assessment is finished is the single most common cause of project delays.
Site assessment and equipment ordering
Your installer visits your space to measure ceiling height, wall clearance, and electrical capacity, then builds a compatible equipment list from those measurements. Once you approve the plan, hardware gets ordered. Typical lead times by component include:
- Launch monitors: one to three weeks
- Projectors: one to two weeks
- Screens and enclosures: one to three weeks
Installation and calibration
When equipment arrives, your installer handles mounting, wiring, and system configuration in one to two days for most standard rooms. Builds that include acoustic treatment or full AV integration take an additional day.
After the physical install, software setup and launch monitor calibration require a few hours of fine-tuning so your ball data, projector image, and network performance are all dialed in before you step up to the mat.
Tips to plan your space and avoid mistakes
Planning your room dimensions and ceiling clearance before anything else saves you from the most expensive mistakes in any custom golf simulator installation. A dedicated planning session with your installer prevents mismatched equipment and room prep surprises before a single item gets ordered.
Skipping a professional site assessment before ordering equipment is the fastest way to add weeks and extra costs to your project.
Confirm your room requirements first
Your minimum ceiling height should be at least 9.5 feet, but 10 feet or more gives you a comfortable margin for a full swing. Also confirm that your [electrical panel](https://treasurevalleysolutions.com/blog/golf-simulator-for-garage) can support the projector, launch monitor, audio equipment, and lighting controls without overloading a single circuit.
- Ceiling height: 10 feet minimum recommended
- Room width: 12 to 15 feet for side clearance
- Depth: 15 to 20 feet for proper projector throw
Plan for lighting and acoustics early
Most people treat acoustic panels and lighting controls as an afterthought, which adds patching, extra wiring runs, and higher labor costs after the fact. Building these into your initial plan keeps the installation clean and cuts total project time.
Your smart lighting setup also affects how well the projected image reads during daytime play, so factor window placement and ambient light into your room design before finalizing any equipment decisions.
Ready to plan your simulator
A custom golf simulator installation is a significant project, and the decisions you make in the planning phase determine how well the finished room performs. Room dimensions, equipment selection, and AV integration all need to work together from day one, not get patched together after equipment has already been ordered or installed.
Treasure Valley Solutions designs and installs integrated technology systems across the Boise and Meridian area, including full golf simulator builds. We handle site assessment, equipment coordination, projector setup, networking, audio, and lighting controls so your simulator room functions as a single, polished system rather than a collection of disconnected components. Your dedicated local team manages every detail from your first site visit through final calibration.
Contact us to schedule your site assessment and start planning a simulator room built around your space, your budget, and how you actually want to use it.