 (208) 991-3502
 Meridian, ID



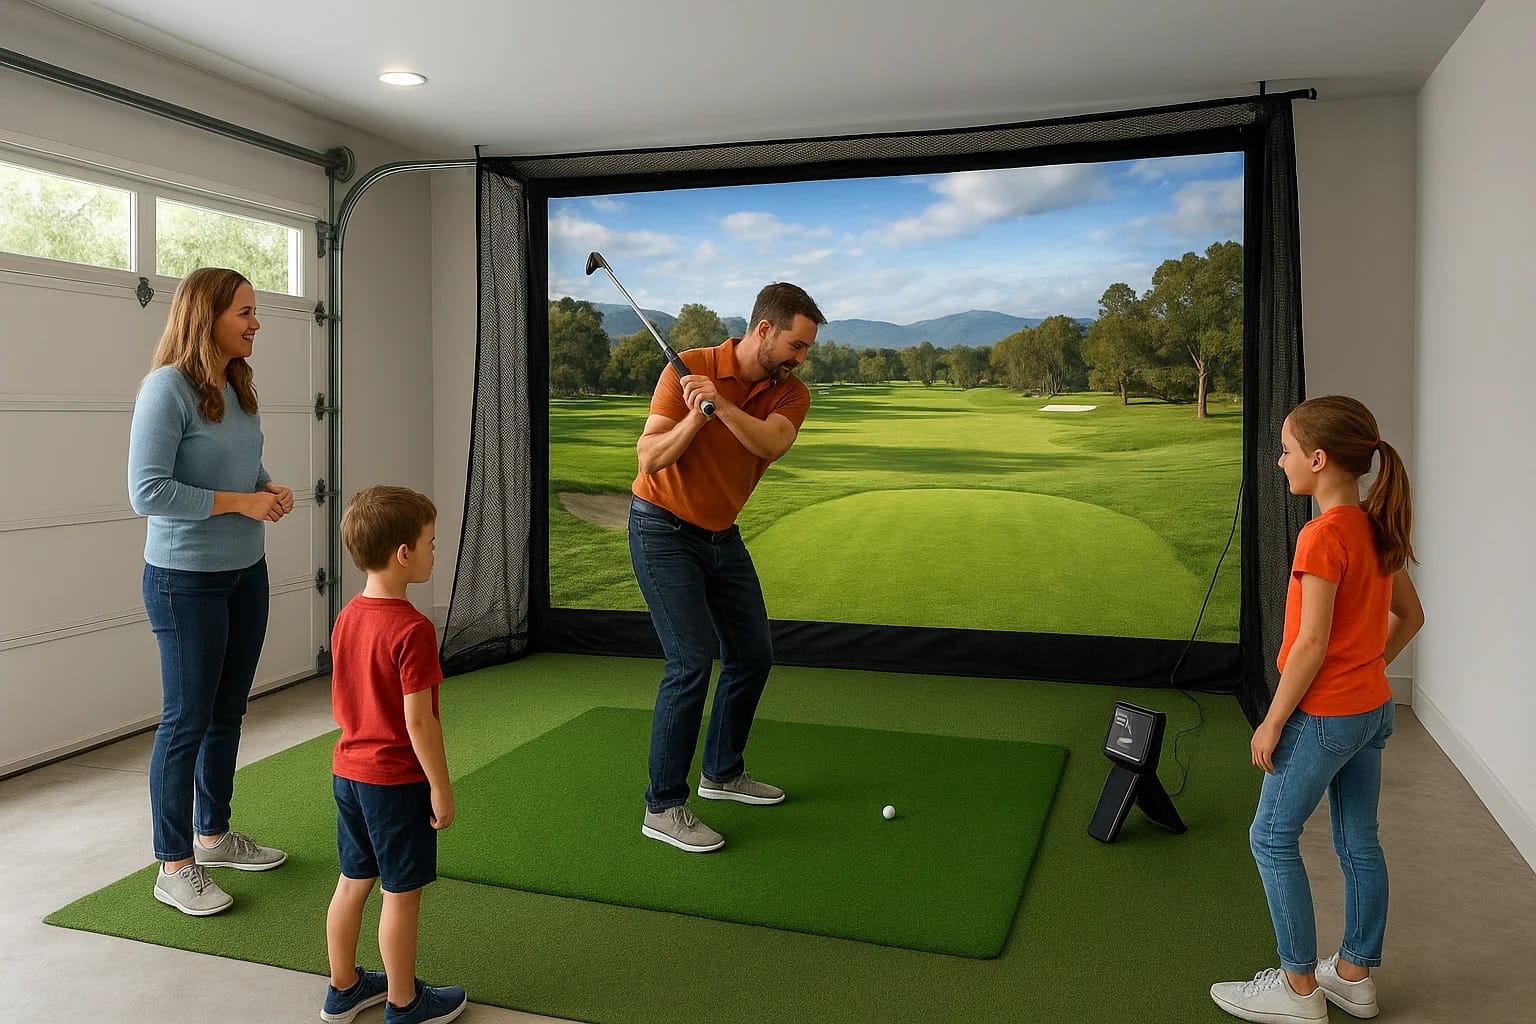

You've watched enough YouTube videos of backyard golf simulators to know it's possible, but turning a garage or bonus room into something your whole family will actually use is a different project. A...
You've watched enough YouTube videos of backyard golf simulators to know it's possible, but turning a garage or bonus room into something your whole family will actually use is a different project. A family golf simulator setup needs more than a projector and a net. It needs the right space, a launch monitor that keeps up with different swing speeds, software your kids can navigate, and wiring that doesn't turn into a tripping hazard.
This guide walks through exactly what that setup requires, from minimum ceiling height and room dimensions to realistic budget ranges for entry-level versus full-featured packages. You'll see how enclosure and impact screen choices affect ball flight accuracy, and where most DIY installs run into trouble.
We build custom home theaters and AV systems around the Treasure Valley every week, and the same wiring, lighting, and audio principles that make a home theater feel finished apply directly to a simulator room. By the end of this piece, you'll know what to buy, what to skip, and whether a professional install makes more sense than tackling it yourself.
What to plan before building your family golf simulator
Before you buy anything, sit down and figure out who is actually going to use this room. A serious single-player rig built for a 6-foot-2 golfer with a fast swing looks nothing like a setup built for a family with two kids under 12 and a spouse who plays twice a year. Your family golf simulator setup has to handle a range of swing speeds, heights, and patience levels, and that changes almost every decision that follows, from ceiling height to launch monitor sensitivity to how forgiving the software feels for a first-timer.
Define who will actually use the space
Walk through a typical week in your head. Is this a dad-and-kid space for twenty minutes after dinner, or is it going to double as a Saturday hangout for four adults with drinks in hand? Families often underestimate how much room a shorter junior golfer needs on the backswing, or how loud mis-hits sound off a hard garage wall. Write down every likely user and their rough skill level before you shop for gear, because that list determines your mat size, net height, and even where you'll want seating.
Set a realistic budget range
Costs for a home simulator swing wildly depending on the launch monitor and screen you choose. Here's what most Treasure Valley families end up spending, based on projects we've quoted and installed:
| Tier | Typical Cost | What You Get |
|---|---|---|
| Entry-level | $3,000 - $6,000 | Camera-based launch monitor, impact screen, basic hitting mat, projector |
| Mid-range | $7,000 - $13,000 | Radar-based launch monitor, turf flooring, enclosure with side netting, upgraded audio |
| Full-featured | $14,000 - $25,000+ | Premium launch monitor (Trackman, Foresight), custom cabinetry, surround sound, dedicated lighting circuits |
A family simulator built on a mid-range budget with professional wiring will beat a top-tier launch monitor stuffed into an unfinished garage every single time.
Don't sink your entire budget into the launch monitor and skip the room prep. A $10,000 unit in a poorly lit, echo-prone garage plays worse than a $500 camera unit in a properly finished room with good netting and clean power.
Measure your space before you shop
Grab a tape measure before you fall in love with any specific product. Golf simulators are unforgiving about dimensions, and returning an enclosure because it doesn't fit costs you time and shipping fees. At minimum, jot down these numbers:
- Ceiling height at the hitting zone (measure the lowest point, including ductwork or light fixtures)
- Room width from wall to wall
- Distance from the hitting mat to the impact screen
- Distance behind the golfer for a full backswing with the longest club in the bag
- Location of existing electrical outlets and any HVAC vents
Bring these measurements with you when you talk to any equipment supplier or installer. A garage that's technically 8 feet tall might have a support beam that drops it to 7'4" right where a tall family member needs to swing a driver, and that's the kind of detail that only shows up when you measure the actual usable space, not just the room on paper.
Once you know your audience, your budget tier, and your real dimensions, you're ready to commit to a room and start the physical build. That's where the next step comes in.
Step 1. Choose and prepare the right room
Garages win this decision more often than any other room, mostly because they already have the ceiling height and the concrete floor a simulator needs. Basements come next, especially in daylight basements with a bit more headroom, and bonus rooms above garages work if you're willing to reinforce the floor for a hitting mat. Whatever room you pick, treat it as a construction project, not a weekend rearrangement, because the room's condition determines how well every other piece of equipment performs.
Check ceiling height and swing clearance
Most golfers need a minimum of 9 feet of ceiling clearance to swing a driver without clipping the ceiling, and that number climbs if anyone in the family is over 6 feet tall. Measure at the exact spot where the golfer will stand, not the highest point in the room, since garages often have a sloped section or a support beam that steals a few inches right where you need them most.
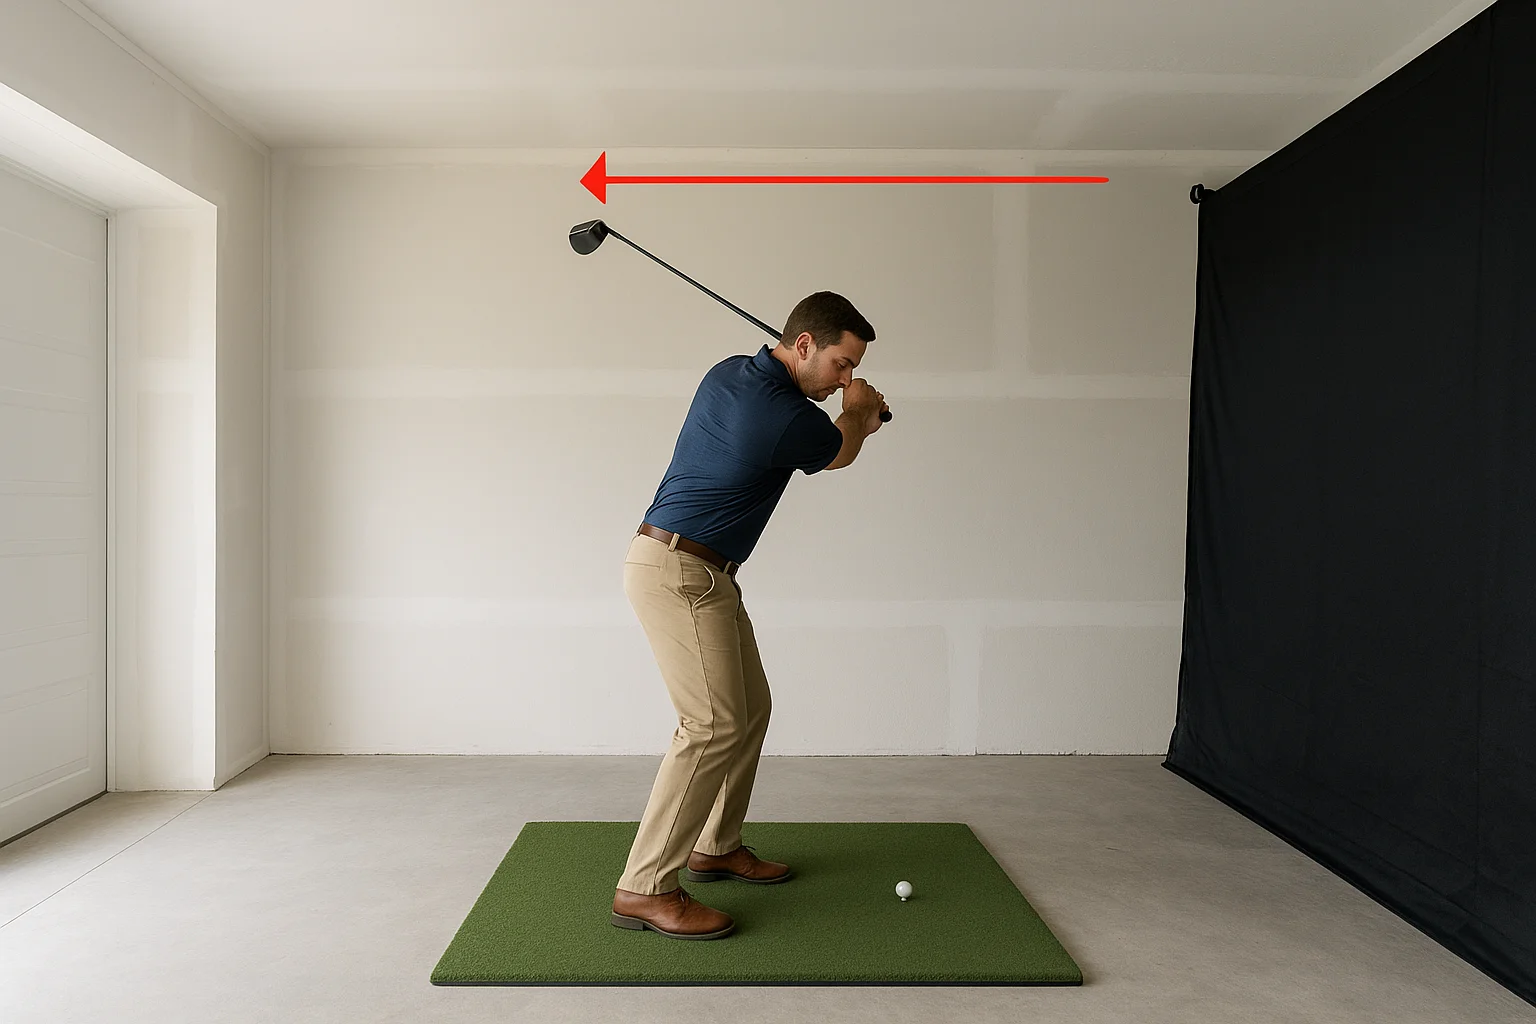
Ceiling height at the hitting zone, not the room average, decides whether your family golf simulator setup works or gets abandoned after two weeks.
Check width next. You want at least 10 feet of width and 15 to 16 feet of depth from the back wall to the impact screen for a comfortable setup that doesn't force golfers to stand too close to the screen for accurate ball flight readings.
Prep the floor, walls, and moisture control
Concrete floors need to be flat and free of major cracks before you lay turf or a hitting mat, so patch any low spots with a self-leveling compound first. Garages in the Treasure Valley also deal with seasonal humidity swings, so a vapor barrier under your turf protects both the flooring and any electronics you install later against moisture damage. Check the EPA's guidance on moisture control in buildings if your garage has ever shown signs of dampness along the foundation walls.
Walls matter almost as much as floors. Drywall reflects sound and light in ways that make a simulator room feel harsh, especially with kids taking loud, off-center swings. Insulating the walls and adding acoustic panels or thick curtains cuts down on echo and keeps the neighbors from hearing every mis-hit. If the garage door forms one wall of your hitting bay, seal any gaps around it, since drafts affect both comfort and the accuracy of some camera-based launch monitors that rely on consistent lighting conditions.
Step 2. Pick your launch monitor, screen, and software
Once your room is prepped, the launch monitor becomes the heart of your family golf simulator setup. This is the device that reads clubhead speed, ball spin, and launch angle, then feeds that data into your software to show ball flight on screen. Pick this wrong and every other purchase feels wasted, because a monitor tuned for tour-speed swings will struggle to read a 9-year-old's slow, inconsistent contact.
Compare launch monitor types
Two technologies dominate the home market: camera-based and radar-based units. Camera systems sit near the ball and photograph it at impact, which works well in tighter garage setups since they don't need extra room behind the ball. Radar units track the ball's full flight path from behind or beside the golfer, which usually means better accuracy but requires more clearance.
| Type | Best For | Typical Price Range |
|---|---|---|
| Camera-based (SkyTrak, Mevo+) | Tight garages, mixed skill levels | $2,000 - $6,000 |
| Radar-based (Trackman, FlightScope) | Serious golfers, full ball flight data | $6,000 - $18,000+ |
A camera-based monitor that reads a beginner's mis-hits reliably beats a premium radar unit that only shines on perfect contact.
For most families, a mid-tier camera unit handles the range of swings you'll see on a Tuesday night better than a tour-level radar system that assumes every shot is struck cleanly.
Choose a screen that handles mixed skill levels
Your impact screen needs to survive years of shanks, chunks, and the occasional whiffed swing from a beginner. A tensioned impact screen holds up better than a hanging sheet and gives you a flatter surface for accurate projection. Pair it with a short-throw projector rated for at least 3,000 lumens so the image stays bright even with some ambient light from a garage window.
Pick software your kids will actually enjoy
Software makes or breaks whether your family keeps using this room past the first month. Look for platforms with:
- Junior-friendly game modes, not just full 18-hole rounds
- Adjustable difficulty or forgiving mulligans for beginners
- Mini-games like closest-to-the-pin or long-drive contests
- Multiplayer support so siblings can compete head-to-head
Most major launch monitor brands bundle their own software, but check compatibility before you buy, since not every monitor works with every course package.
Step 3. Install turf, mat, and safety netting
With the room prepped and your gear picked out, the physical build starts with what's under your feet and around your family's swing zone. Turf, mat, and netting work together as a system: skip one, and the whole setup either feels wrong underfoot or turns dangerous the first time a mis-hit sails sideways instead of forward. This is also the step where most DIY installs run into trouble, since a poorly tensioned net or a mat placed too close to a wall causes problems you won't notice until someone's driver head clips the frame.
Lay turf and position the hitting mat
Roll out golf turf across the full width of the hitting bay, not just under the mat, so golfers have a consistent lie for practice chips and putts too. Budget turf runs $3 to $5 per square foot installed, while premium multi-density turf that mimics fairway and rough runs $8 to $12. Center your hitting mat on the turf with enough room on both sides for a full stance, and leave at least 3 feet of clearance behind the mat for backswing room, more if a taller family member will use the space.
A hitting mat that's too small forces golfers to alter their stance, which throws off launch monitor readings before the ball even leaves the clubface.
Secure the mat so it doesn't slide during aggressive swings. Rubber-backed mats grip concrete well, but a thin bead of turf adhesive around the perimeter keeps younger kids from kicking it out of position mid-swing.
Size and hang your safety netting
Netting protects your walls, windows, and family members from errant shots, and it needs to extend well beyond the width of your impact screen. Measure the total swing arc, including a generous buffer for a kid's slice or a beginner's shank, and hang netting that covers at least 2 feet past each side of the screen and up to the ceiling.
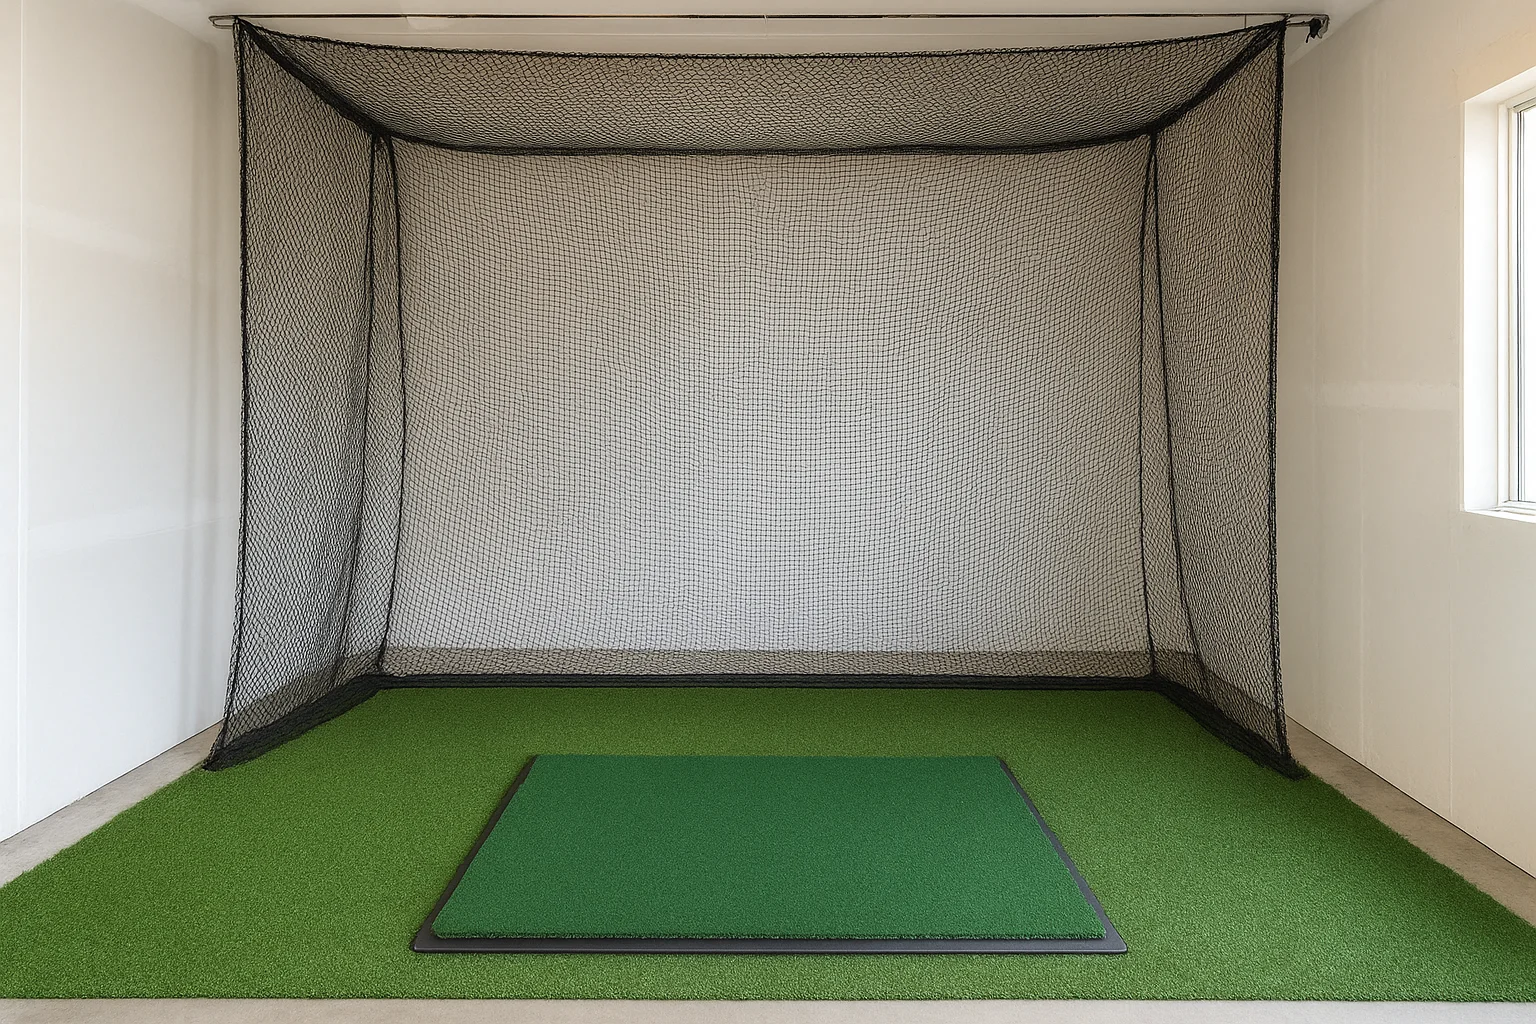
- Use a #36 or heavier nylon netting rated for golf impact, not general sports netting
- Anchor netting to ceiling joists or a dedicated frame, never just drywall anchors
- Add side barrier netting if siblings will practice while others watch from nearby seating
- Inspect netting seams and grommets every few months for wear, especially in high-use family setups
Get the netting tension right and it absorbs impact quietly. Get it wrong and every mis-hit turns into a loud thud that echoes through the whole garage.
Step 4. Wire power, lighting, and audio for family play
Gear that works flawlessly in a showroom often fails in a garage because nobody planned the electrical load ahead of time. Your launch monitor, projector, and any powered speakers all need clean, dedicated power, not a shared extension cord running to the same outlet as the freezer. Map out every device before you drill a single hole, because retrofitting wiring after turf and netting go in means tearing up work you already finished.
Plan dedicated circuits for your gear
High-draw electronics like projectors and subwoofers can trip a shared circuit mid-round, which is exactly when your kid finally nails a drive and the screen goes dark. Run a dedicated 20-amp circuit for your simulator equipment, separate from garage door openers, freezers, or shop tools that cycle on and off unpredictably.
- Dedicated 20-amp circuit for launch monitor, projector, and PC
- Surge protection on every powered component, not just a basic power strip
- In-wall conduit for HDMI and Ethernet runs so cables never sit on the floor
- A labeled breaker so you can troubleshoot fast when something trips
A tripped breaker mid-swing teaches kids to give up on the room faster than a bad launch monitor ever will.
Layer lighting for screen visibility and safety
Lighting has to do two conflicting jobs: keep the impact screen readable and keep the hitting area bright enough that nobody swings a club in the dark. Install dimmable LED fixtures on a separate switch from any ambient lighting, and aim them away from the screen to cut glare. Overhead lighting directly above the tee box helps camera-based launch monitors track the ball consistently, since inconsistent shadows throw off readings more than most families expect.
Add audio that keeps the room fun without drowning out swing feedback
Sound pulls double duty in a family setup. You want course ambiance and celebratory sound effects loud enough to feel fun, but not so loud that nobody hears the launch monitor's audio cues or a sibling calling out whose turn is next. A pair of in-ceiling speakers wired to a small amplifier, tucked outside the swing path, gives you full course audio without cluttering the floor with cords or bulky standing speakers.
Running speaker wire and low-voltage cable through conduit before you close up walls saves you from fishing cable through insulation later. This is the same rough-in work we handle on home theater installs across the Treasure Valley, and it's worth doing right the first time.
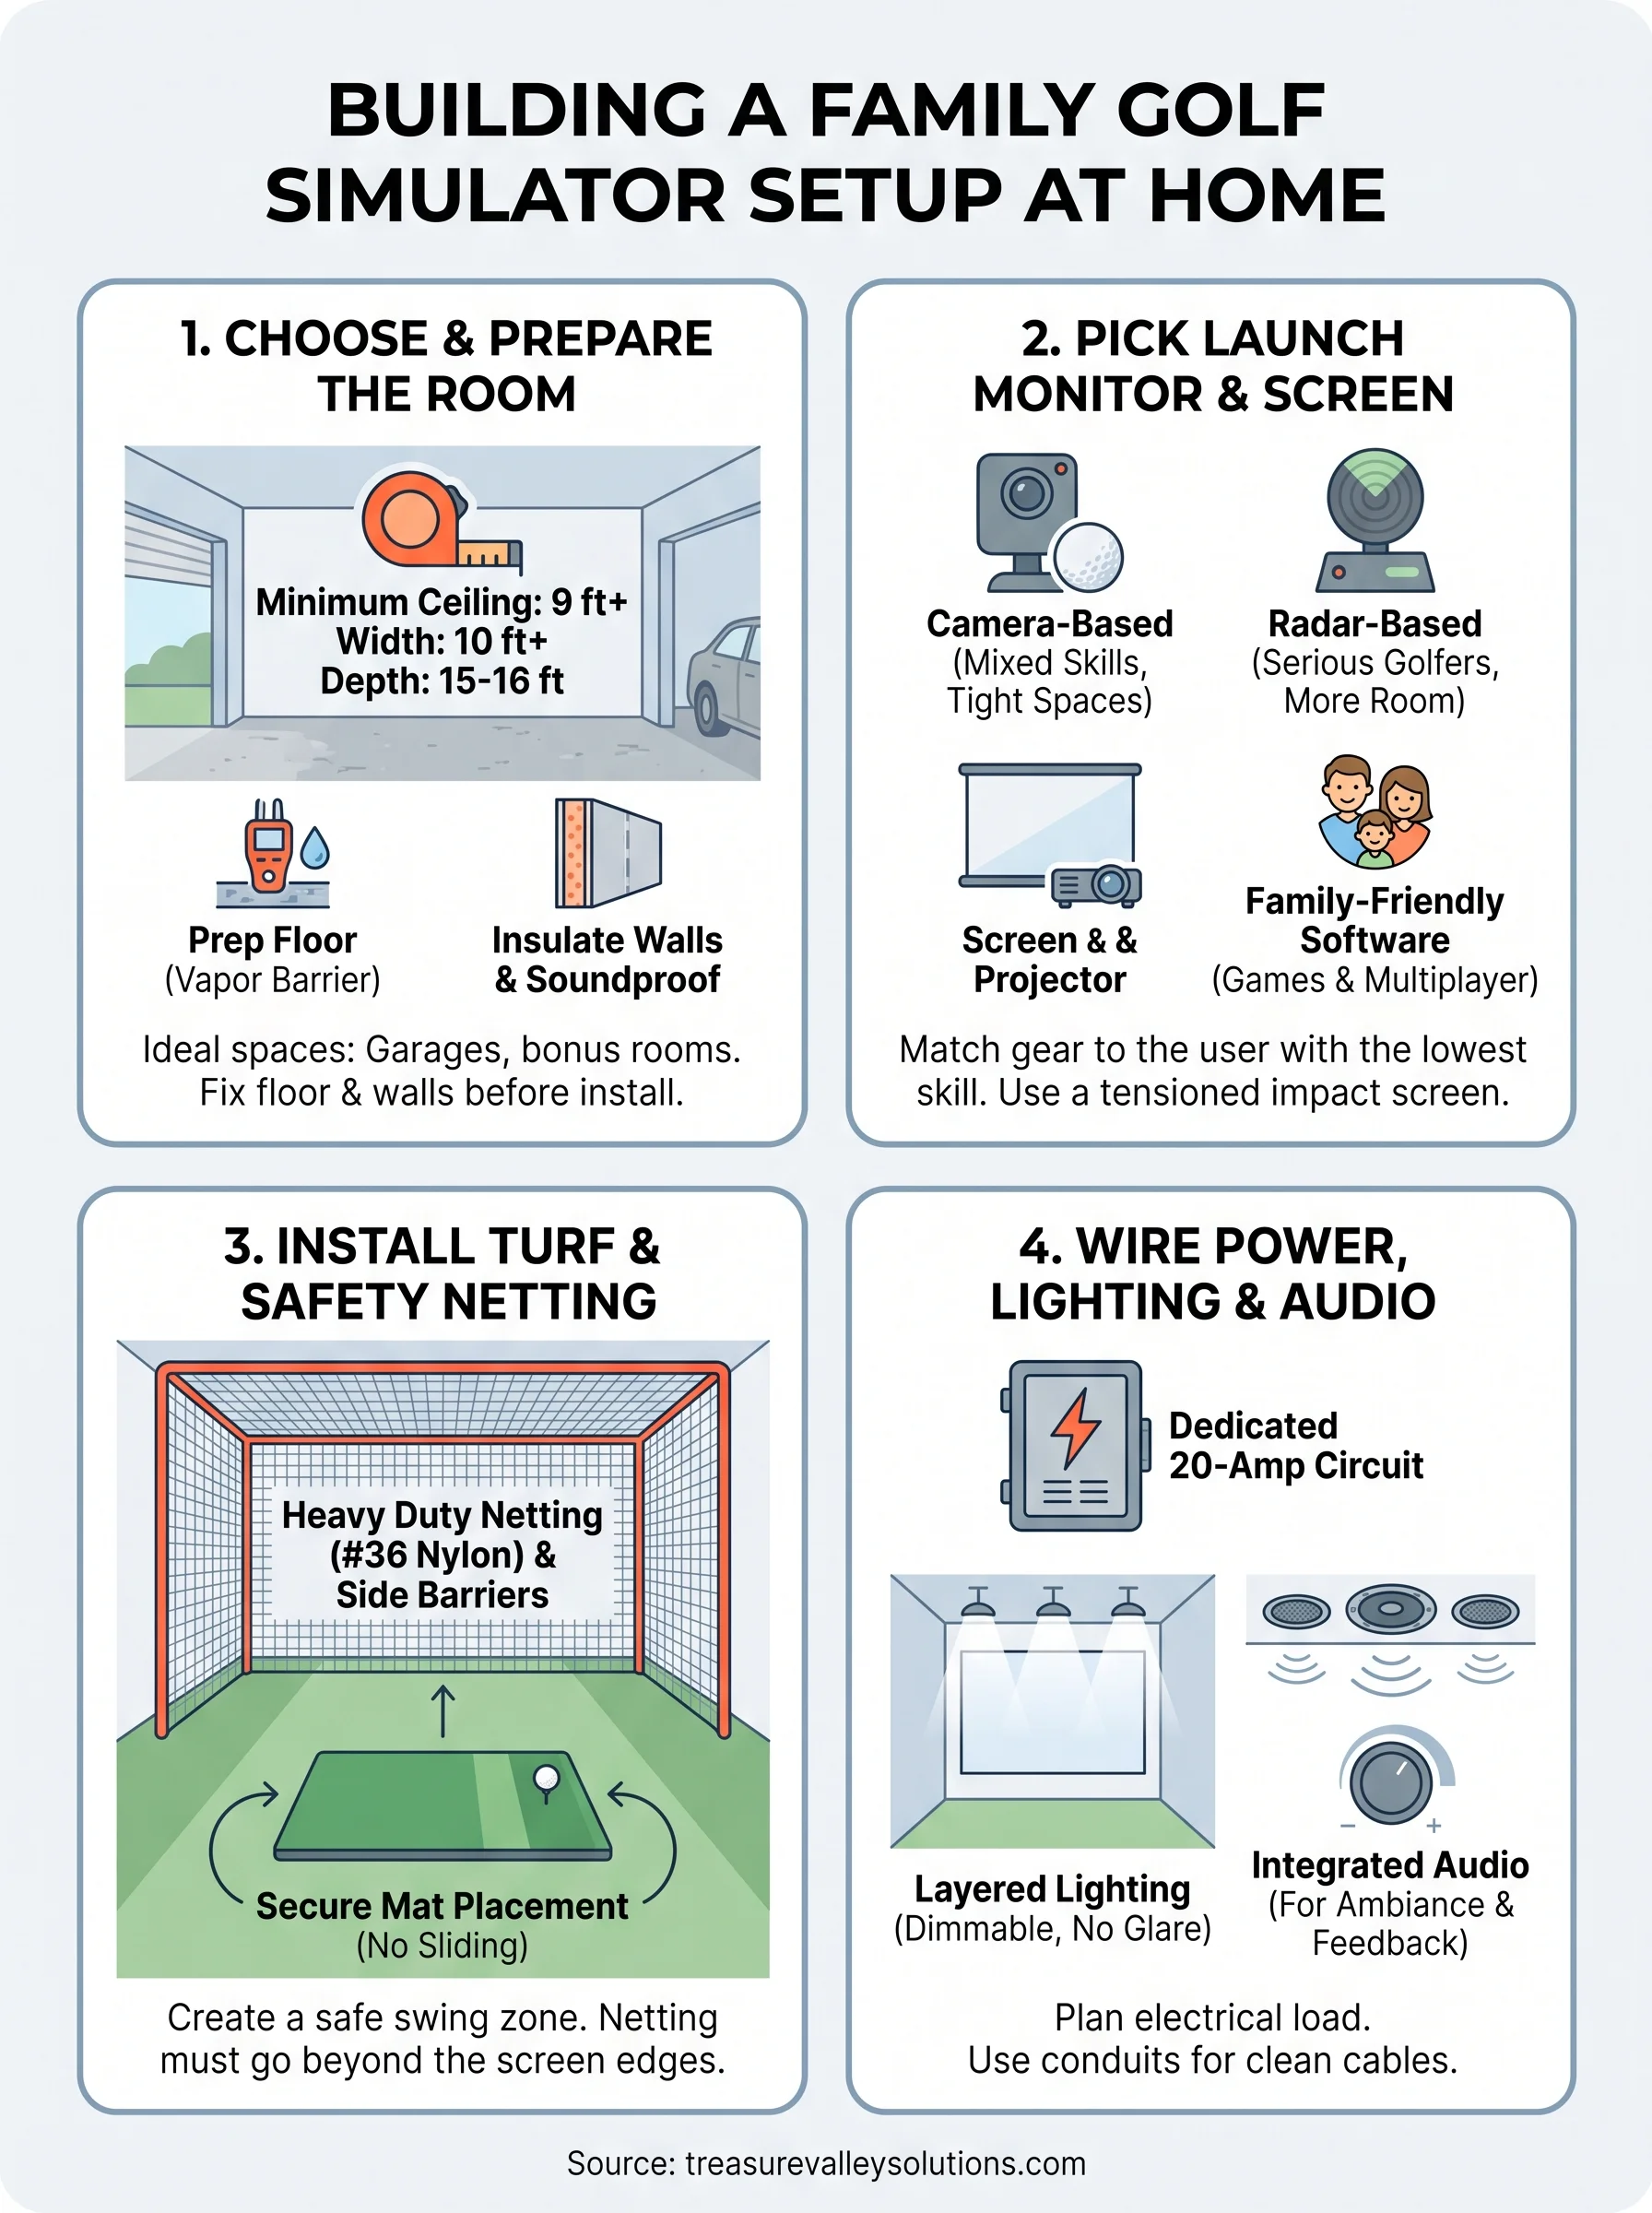
Ready to tee off at home
Building a real family golf simulator setup comes down to sequencing. Get the room right first, match your launch monitor and screen to the swings you'll actually see, install turf and netting like safety matters, and wire everything so the room stays reliable instead of frustrating. Skip a step and you'll feel it the first week, either in a launch monitor that misreads a kid's swing or a breaker that trips mid-round.
Garages and bonus rooms across the Treasure Valley have the bones for this project, but the electrical, lighting, and audio work is where most DIY builds stall out. That's the same rough-in and finish work we handle on home theater and AV projects every week, so a simulator room isn't a stretch for our crew.
If you'd rather hand off the wiring, lighting, and audio planning to someone who's done it before, reach out to our team and we'll help you build a setup your whole family actually uses.
Need Expert Help?
Ready to implement these solutions in your own home or business?
Our Services
View All Services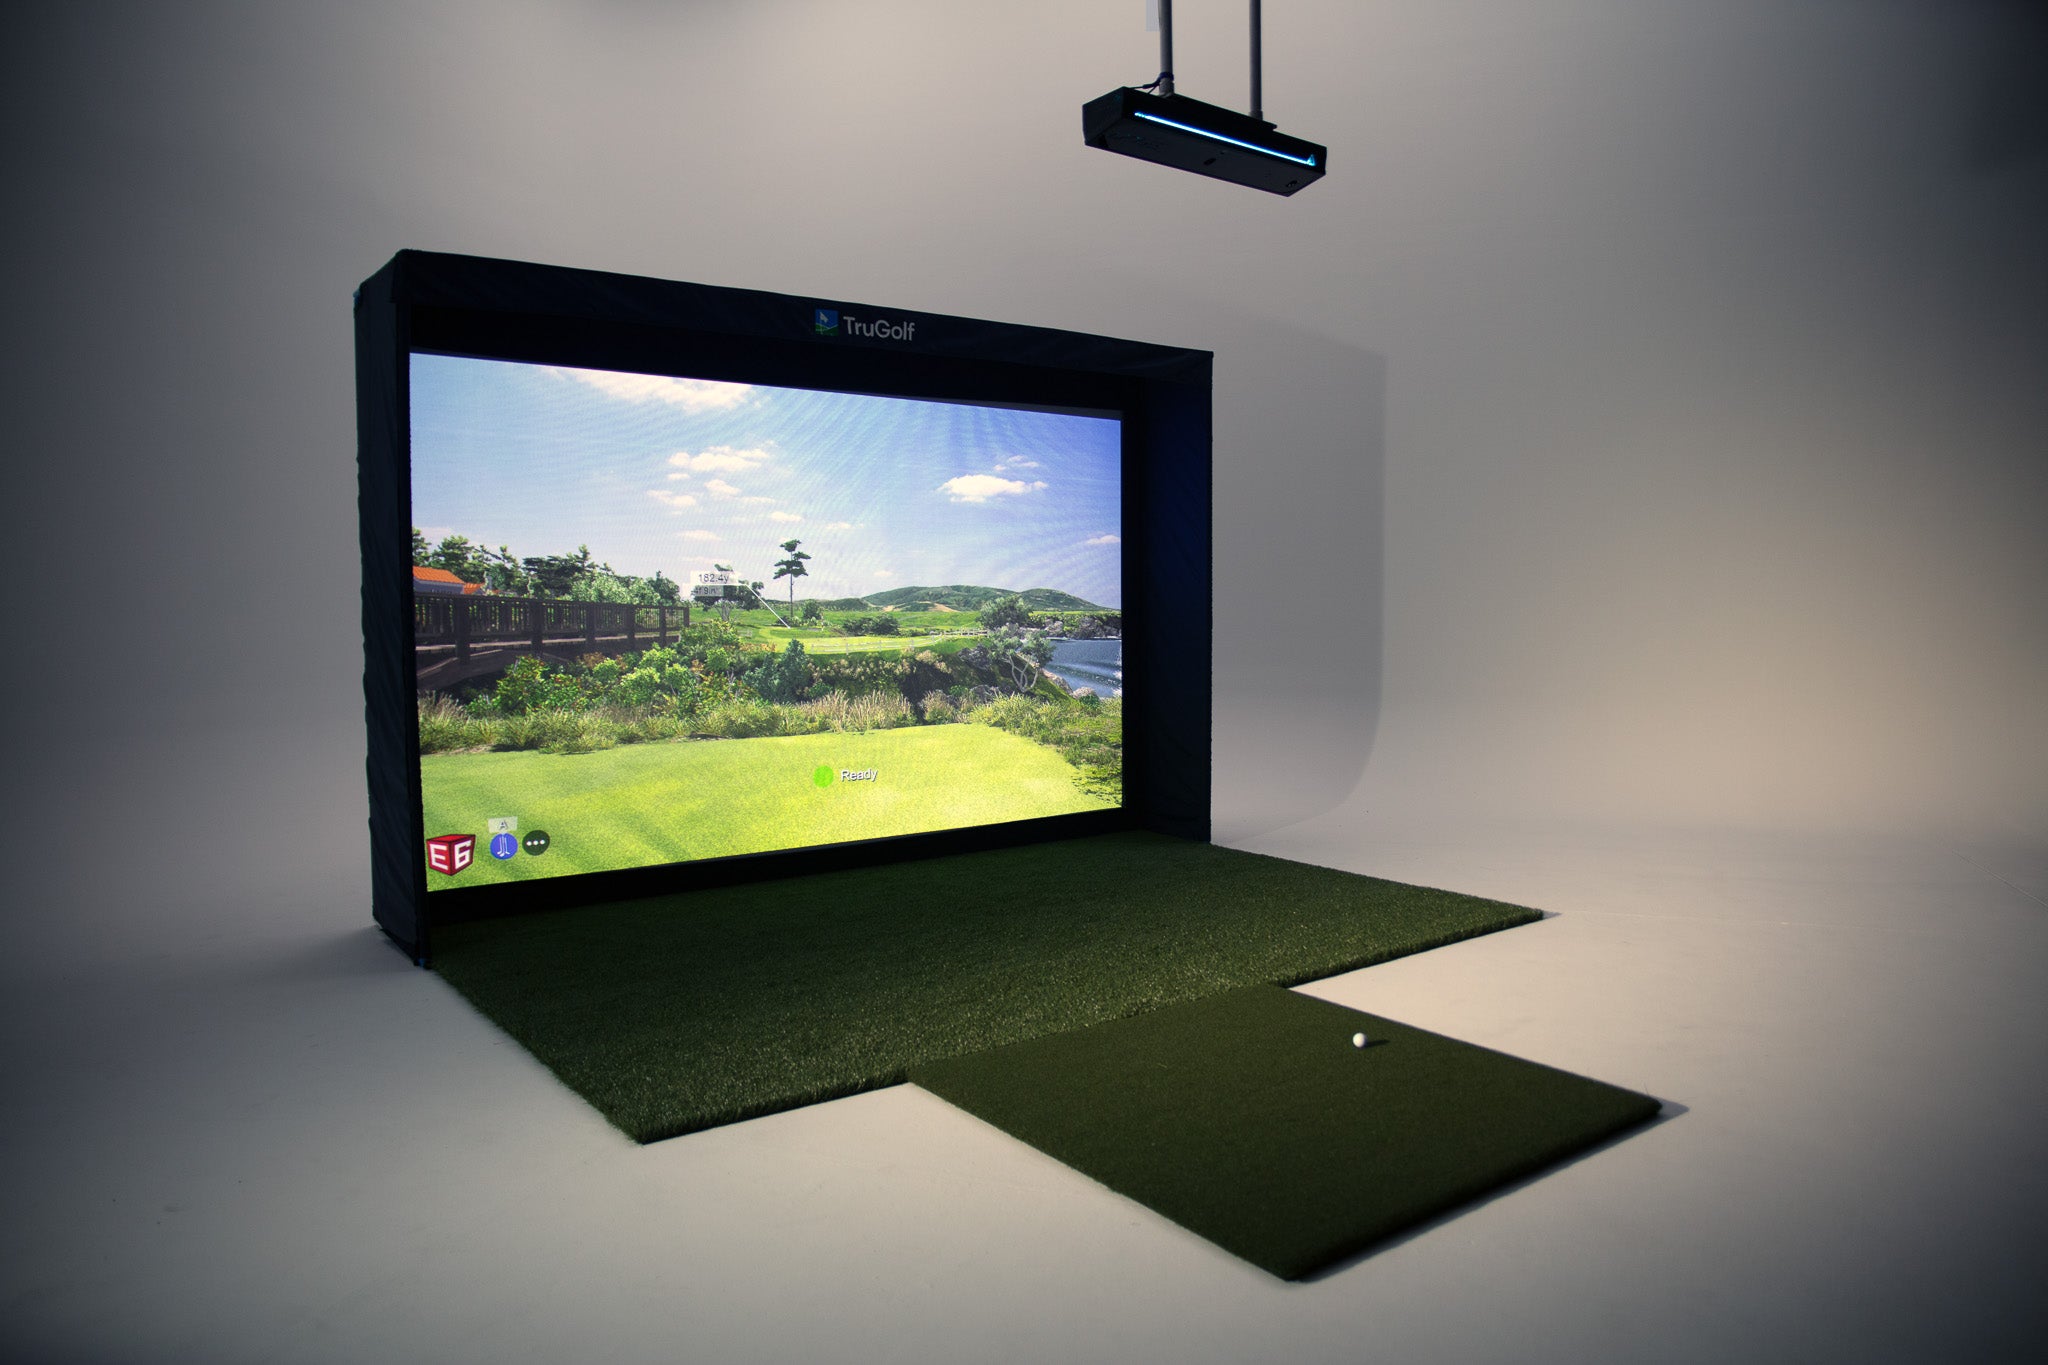
Serving the Treasure Valley
Local installation in your city