 (208) 991-3502
 Meridian, ID



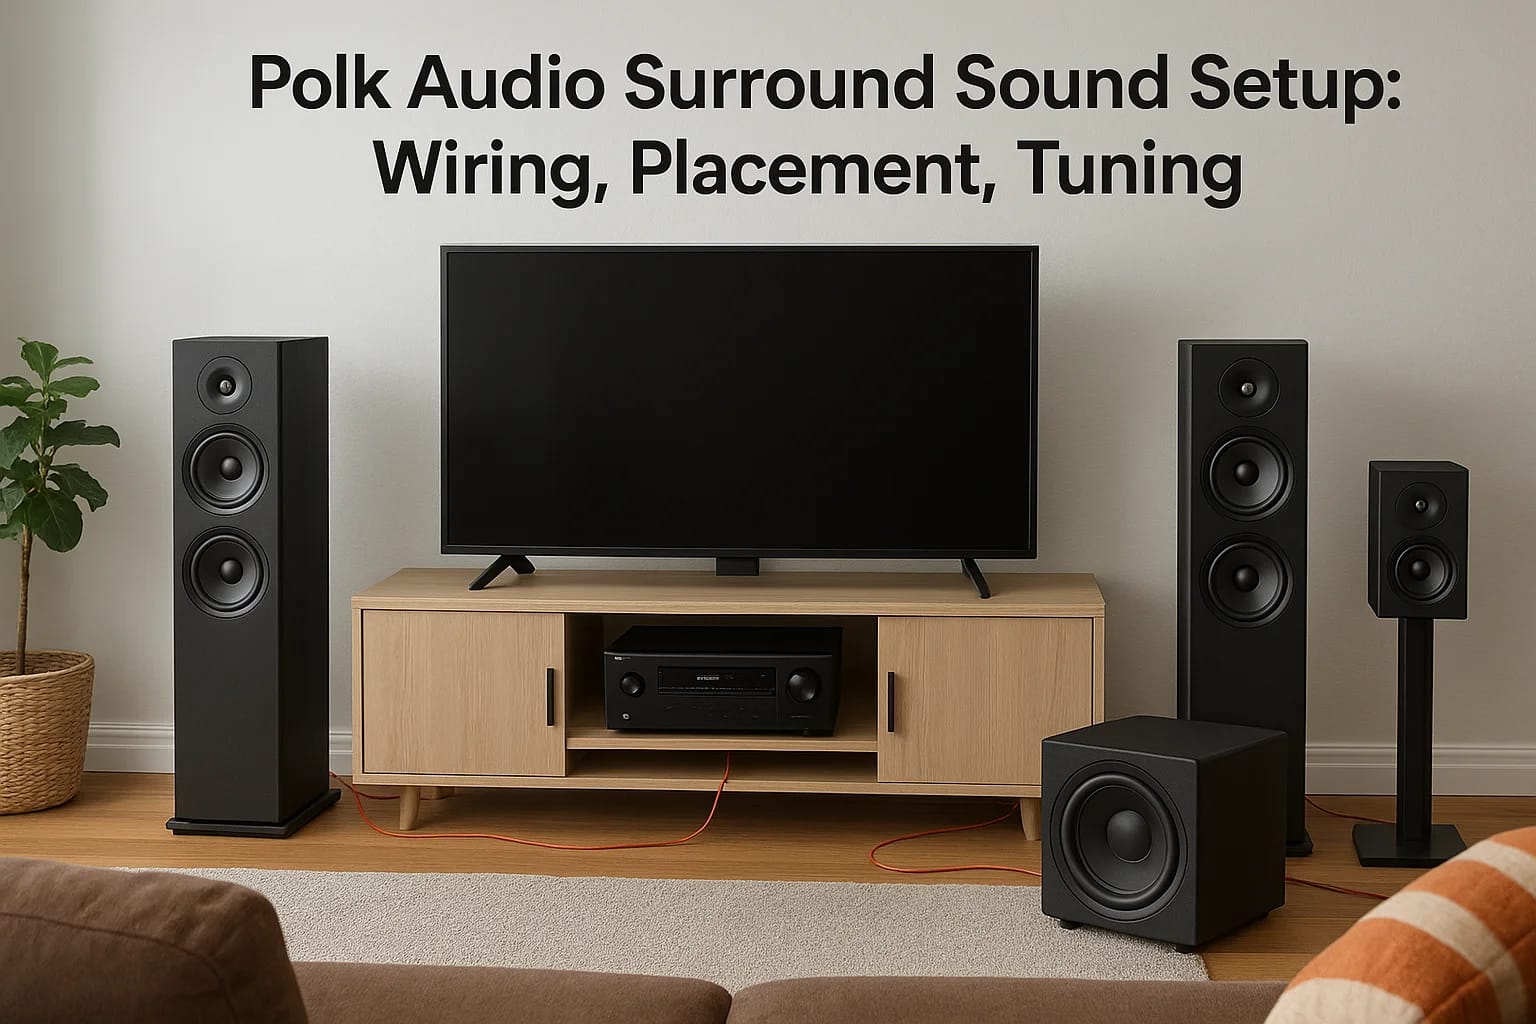

Polk Audio makes some of the most popular speakers in the home theater world, solid build quality, clean sound, and prices that don't require a second mortgage. But even great speakers will underperfo...
Polk Audio makes some of the most popular speakers in the home theater world, solid build quality, clean sound, and prices that don't require a second mortgage. But even great speakers will underperform if the Polk Audio surround sound setup isn't done right. Placement off by a few feet, a misconfigured receiver, or sloppy wiring can turn a capable system into a disappointing one.
The good news: getting it right isn't complicated once you know what matters. Speaker positioning, proper wiring, receiver calibration, and room tuning each play a role, and skipping any of these steps leaves performance on the table. Whether you're working with a basic 5.1 layout or a full 7.1 or Atmos configuration, the process follows a clear, logical order.
This guide walks you through the complete setup from unboxing to final calibration. We'll cover speaker placement for every channel, wiring best practices, receiver configuration, and room correction tuning. At Treasure Valley Solutions, we design and install home theater systems across the Boise and Meridian area every week, Polk Audio included, so this advice comes straight from hands-on experience in real rooms, not spec sheets. And if you'd rather have a professional handle it, our team is local and ready to help.
What to plan before you start
Starting a Polk Audio surround sound setup without a plan leads to rework. You'll end up moving speakers twice, running cables the wrong direction, or realizing mid-install that you're missing a critical adapter. Spending 20 minutes on planning before you touch a single cable saves hours of frustration later and produces a cleaner, better-sounding result.
Know your room
Your room's size and shape directly determine speaker placement and system configuration. Before you do anything else, measure the length and width of the space and identify your primary listening position, which is typically your couch or main seating area. The speakers need to surround that position, not just fill the room at random.
The listening position should sit at roughly one-third from the back wall, not pushed flat against it, for the best surround effect.
Hard surfaces like tile, bare walls, and glass reflect sound and can make high frequencies harsh or fatiguing over long sessions. Carpeted rooms with fabric furniture and curtains absorb more, which generally helps imaging and reduces flutter echo. Note what's in your room now so you can factor it into both placement decisions and EQ settings during calibration later.
Confirm your gear list
Before you run a single cable, verify that you have everything you need on hand. Missing one piece mid-install, like a specific cable gauge or the right wall plate, means stopping and waiting on a delivery. Here's what a standard 5.1 setup requires:
| Item | What to check |
|---|---|
| AV receiver | Supports Dolby Atmos or DTS if you plan to expand |
| Polk speakers | Front left/right, center, surround left/right, subwoofer |
| Speaker wire | 16-gauge minimum for most rooms; 14-gauge for longer runs |
| HDMI cables | HDMI 2.1 for 4K sources |
| Banana plugs or bare wire | Matches your receiver's binding posts |
| Subwoofer cable (RCA) | Single-conductor shielded cable |
Your receiver's channel count must match your planned speaker layout before you start. A 5.1 receiver won't power a 7.1 build without an upgrade, so confirm this before you begin pulling wire and positioning gear across the room.
Step 1. Identify your Polk system and gear
Before you wire anything, you need to know exactly what Polk Audio system you're working with. Polk produces several speaker lines, including the Monitor XT, Signature Elite, and Reserve series, and each line has different impedance ratings, sensitivity specs, and physical sizes that affect both placement decisions and receiver requirements.
Know your Polk speaker line
Check the back of each speaker for its impedance rating, typically 6 or 8 ohms, and its sensitivity rating in dB. These two numbers tell you how hard your receiver needs to work to drive the speakers. A 6-ohm speaker pulls more current than an 8-ohm model, so your receiver must handle that load without overheating.
If your receiver specifies a minimum impedance of 8 ohms, running 6-ohm Polk speakers at high volume for extended periods can damage the unit.
Polk's current lineup spans several tiers, from the Monitor XT entry series to the higher-performing Signature Elite and Reserve lines. Knowing which line you own also helps you identify compatible center channels and surrounds if you plan to expand the system later.
Match your system to your receiver
Your receiver's channel output must align with your planned polk audio surround sound setup exactly. A 5.1 receiver handles five channels plus a subwoofer output, and if you own a 7.1 Polk package, you need a 7-channel receiver to run all speakers properly.
Pull out your receiver manual and confirm the watts-per-channel rating at your speaker's impedance. Most Polk speakers perform well with 80 to 120 watts per channel, which mid-range receivers from Denon, Yamaha, or Marantz cover without issue.
Step 2. Connect your TV, receiver, and sources
Your receiver is the central hub of the entire system, and every source, including your TV, gaming console, and streaming device, connects through it. Getting these connections right determines whether your polk audio surround sound setup passes full surround audio to your speakers or defaults to basic stereo.
Run your HDMI connections
Connect all video and audio sources directly to your receiver's HDMI inputs, not to your TV. Your TV then connects to the receiver's HDMI ARC or eARC output. This routing lets the receiver decode Dolby Atmos and DTS:X signals from your sources before sending audio to the speakers and passing video to your TV.
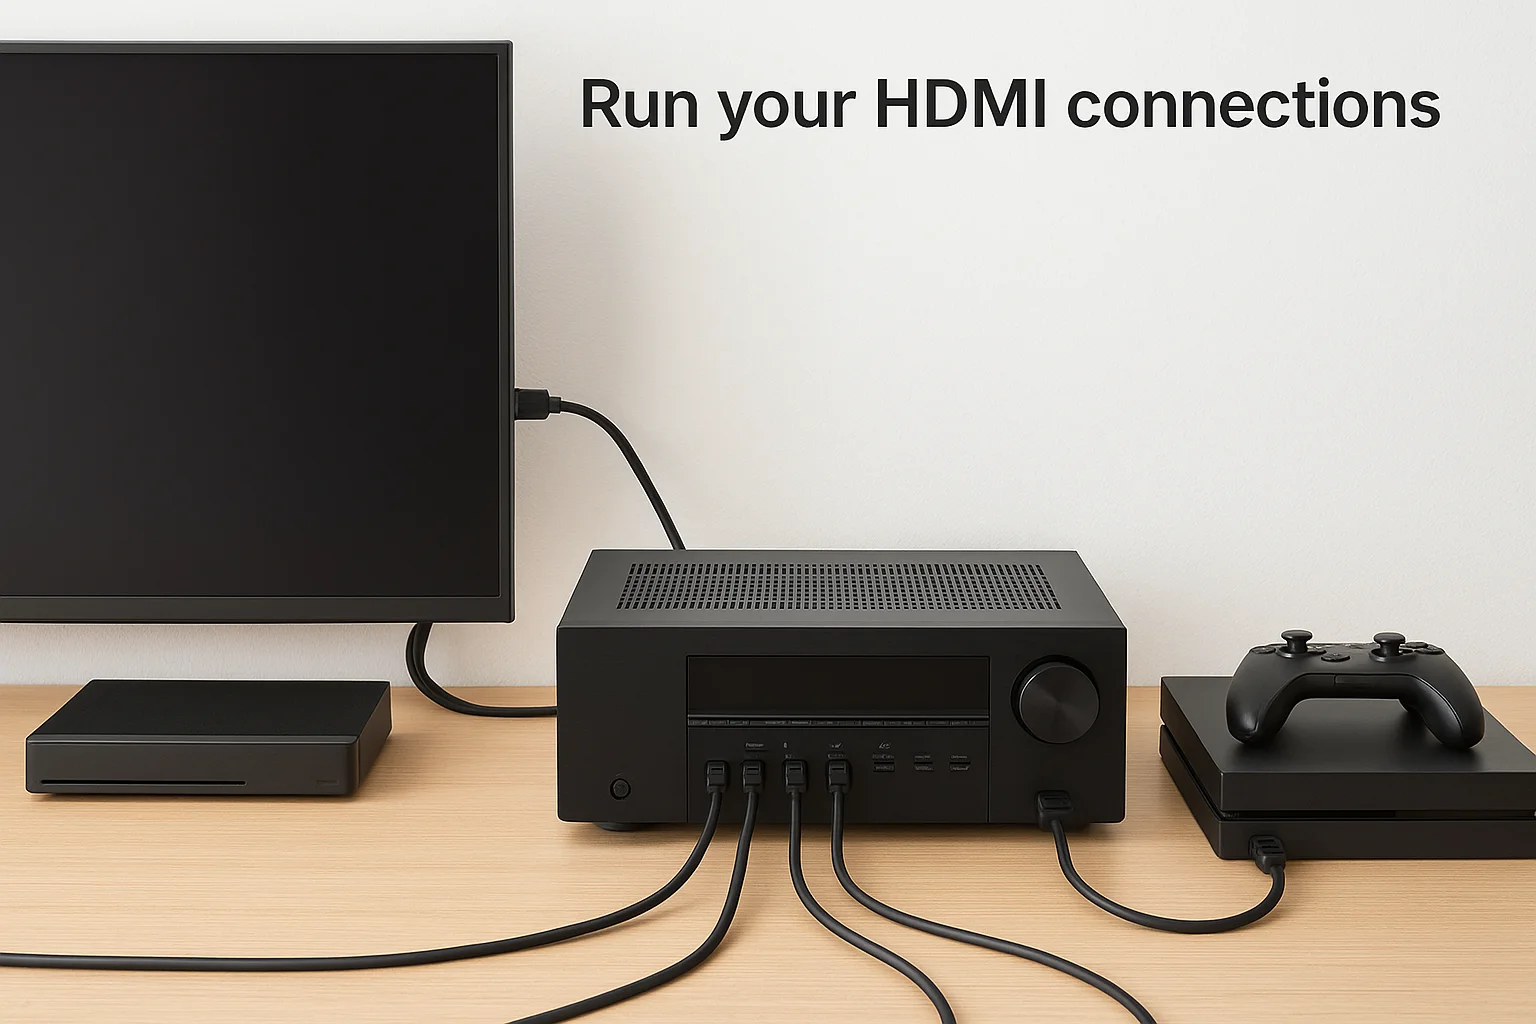
Always use the HDMI eARC port on both your TV and receiver to unlock full lossless audio formats like Dolby TrueHD.
Use this connection order as your reference:
| Device | Connect to |
|---|---|
| Blu-ray player | Receiver HDMI input |
| Gaming console | Receiver HDMI input |
| Streaming stick | Receiver HDMI input |
| Receiver HDMI ARC/eARC out | TV HDMI ARC/eARC port |
Configure audio output on your TV and sources
Set your TV's audio output format to Bitstream or Pass-Through, not PCM, so the receiver handles decoding rather than the TV. On each source device, navigate to audio settings and select Dolby Atmos or DTS where available. This single change is often what separates flat stereo output from true surround sound.
Check these settings on each device before you run the auto-calibration in Step 4:
- Blu-ray player: Set audio output to Bitstream (Dolby or DTS)
- Gaming console: Enable Dolby Atmos or DTS:X in audio settings
- Streaming device: Select Dolby Atmos under audio quality options
Step 3. Wire and place speakers for real surround
Getting speaker wire and positioning right is the part of any polk audio surround sound setup that most people rush, and it shows immediately in the sound. Poor placement creates dead spots, weak center channel imaging, and surrounds that feel disconnected from the action on screen. Take this step seriously and the difference is immediate.
Run your speaker wire
Cut all wire runs before you mount anything, leaving 12 to 18 inches of extra length at each endpoint. Strip roughly half an inch of insulation from each end, twist the copper strands tight, and insert them into the binding posts. Always maintain consistent polarity: positive to positive and negative to negative on both the speaker and receiver. A reversed connection on even one speaker collapses the stereo image and reduces bass impact across the whole system.
Use 16-gauge wire for runs up to 50 feet and step up to 14-gauge for longer distances to avoid resistance-related volume loss.
Position each speaker correctly
Your speaker angles and ear-level height determine how convincing the surround effect feels from your listening position. Follow this placement guide for a standard 5.1 layout:
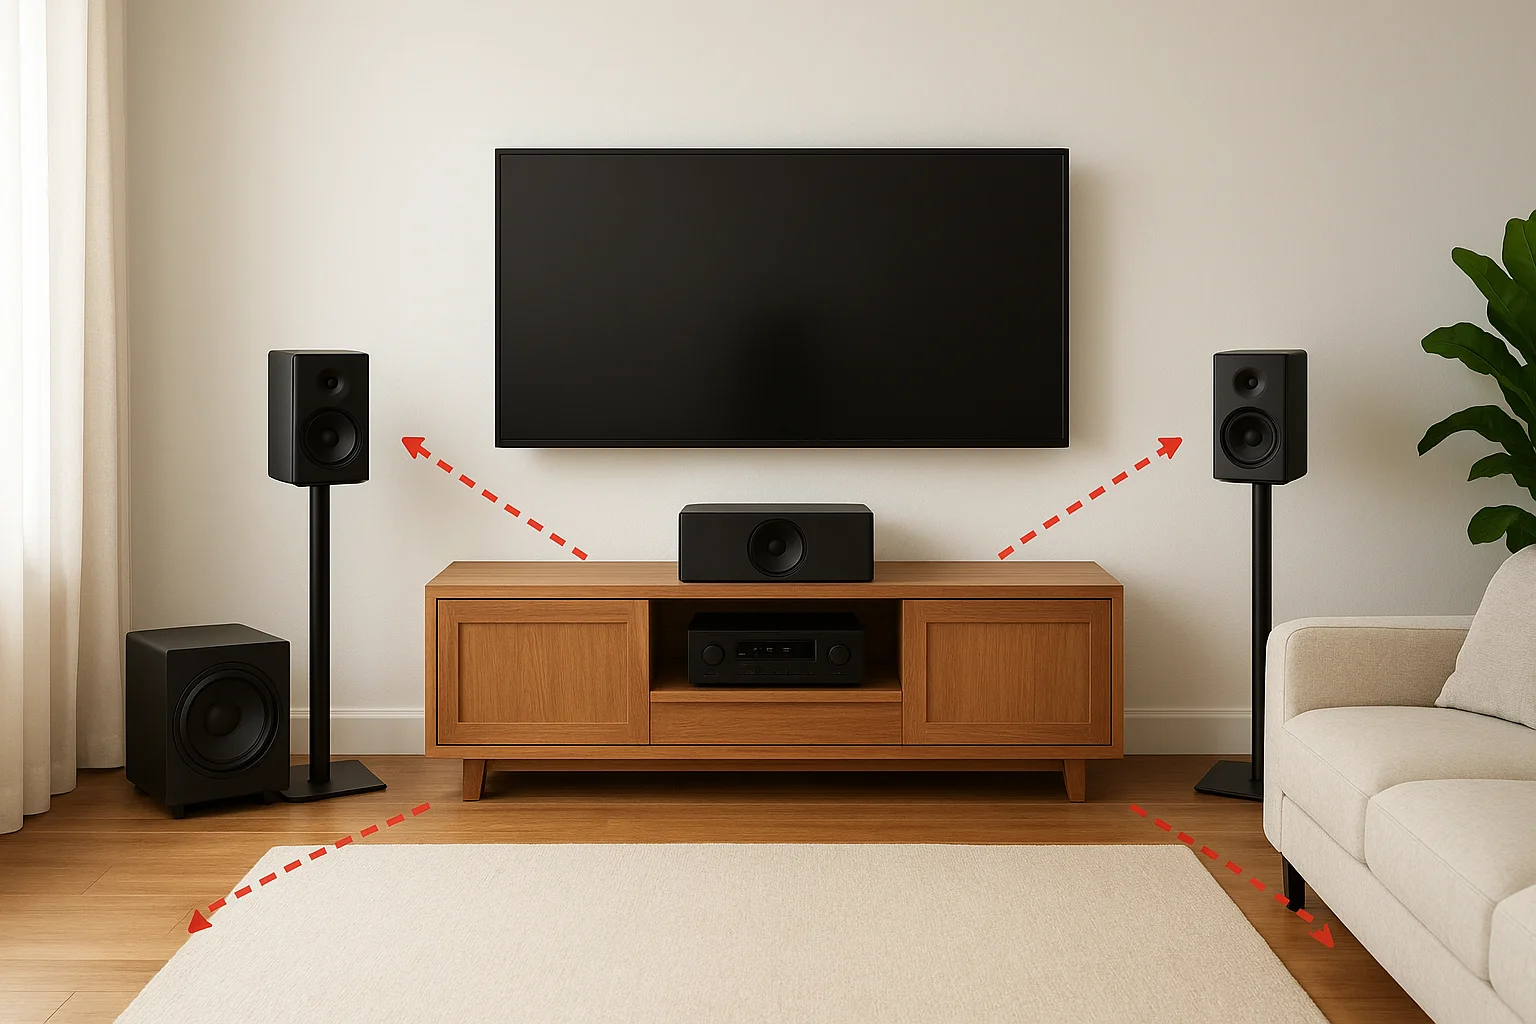
- Front left/right: 22 to 30 degrees off center, at seated ear level
- Center channel: directly above or below the TV, angled toward your ears
- Surround left/right: 90 to 110 degrees to the sides, slightly above ear level
- Subwoofer: front corner of the room for the strongest bass output
Step 4. Calibrate, tune, and fix common issues
Auto-calibration is the final step that ties your entire polk audio surround sound setup together. Without it, speaker distances and levels are guesswork, and your receiver won't apply the correct crossover settings that direct low frequencies to the subwoofer and keep the main speakers clean.
Run your receiver's auto-calibration
Place your receiver's calibration microphone at ear level in your primary listening position and launch the auto-calibration routine. Yamaha uses YPAO, Denon and Marantz use Audyssey MultEQ, and Onkyo uses AccuEQ. Each system sends test tones through every channel, measures the acoustic response at your seat, and automatically sets speaker distances, trim levels, and crossover frequencies.
Run calibration with all furniture in its normal position and the room quiet for results that reflect your actual listening environment.
After calibration completes, manually check the subwoofer level in your receiver's speaker settings. Auto-calibration often sets the sub too low, so bump it up 3 to 6 dB and compare against a known reference track before finalizing.
Fix common issues
If something sounds wrong after calibration, use this table to locate and resolve the problem quickly:
| Symptom | Likely cause | Fix |
|---|---|---|
| No sound from a speaker | Reversed or loose wire | Check polarity at binding posts |
| Weak or absent bass | Sub level too low | Increase sub trim +3 to +6 dB |
| Dialogue sounds thin | Center channel placement | Angle center toward listening position |
| Surrounds feel disconnected | Speakers too far forward | Move to 90 to 110 degrees off center |
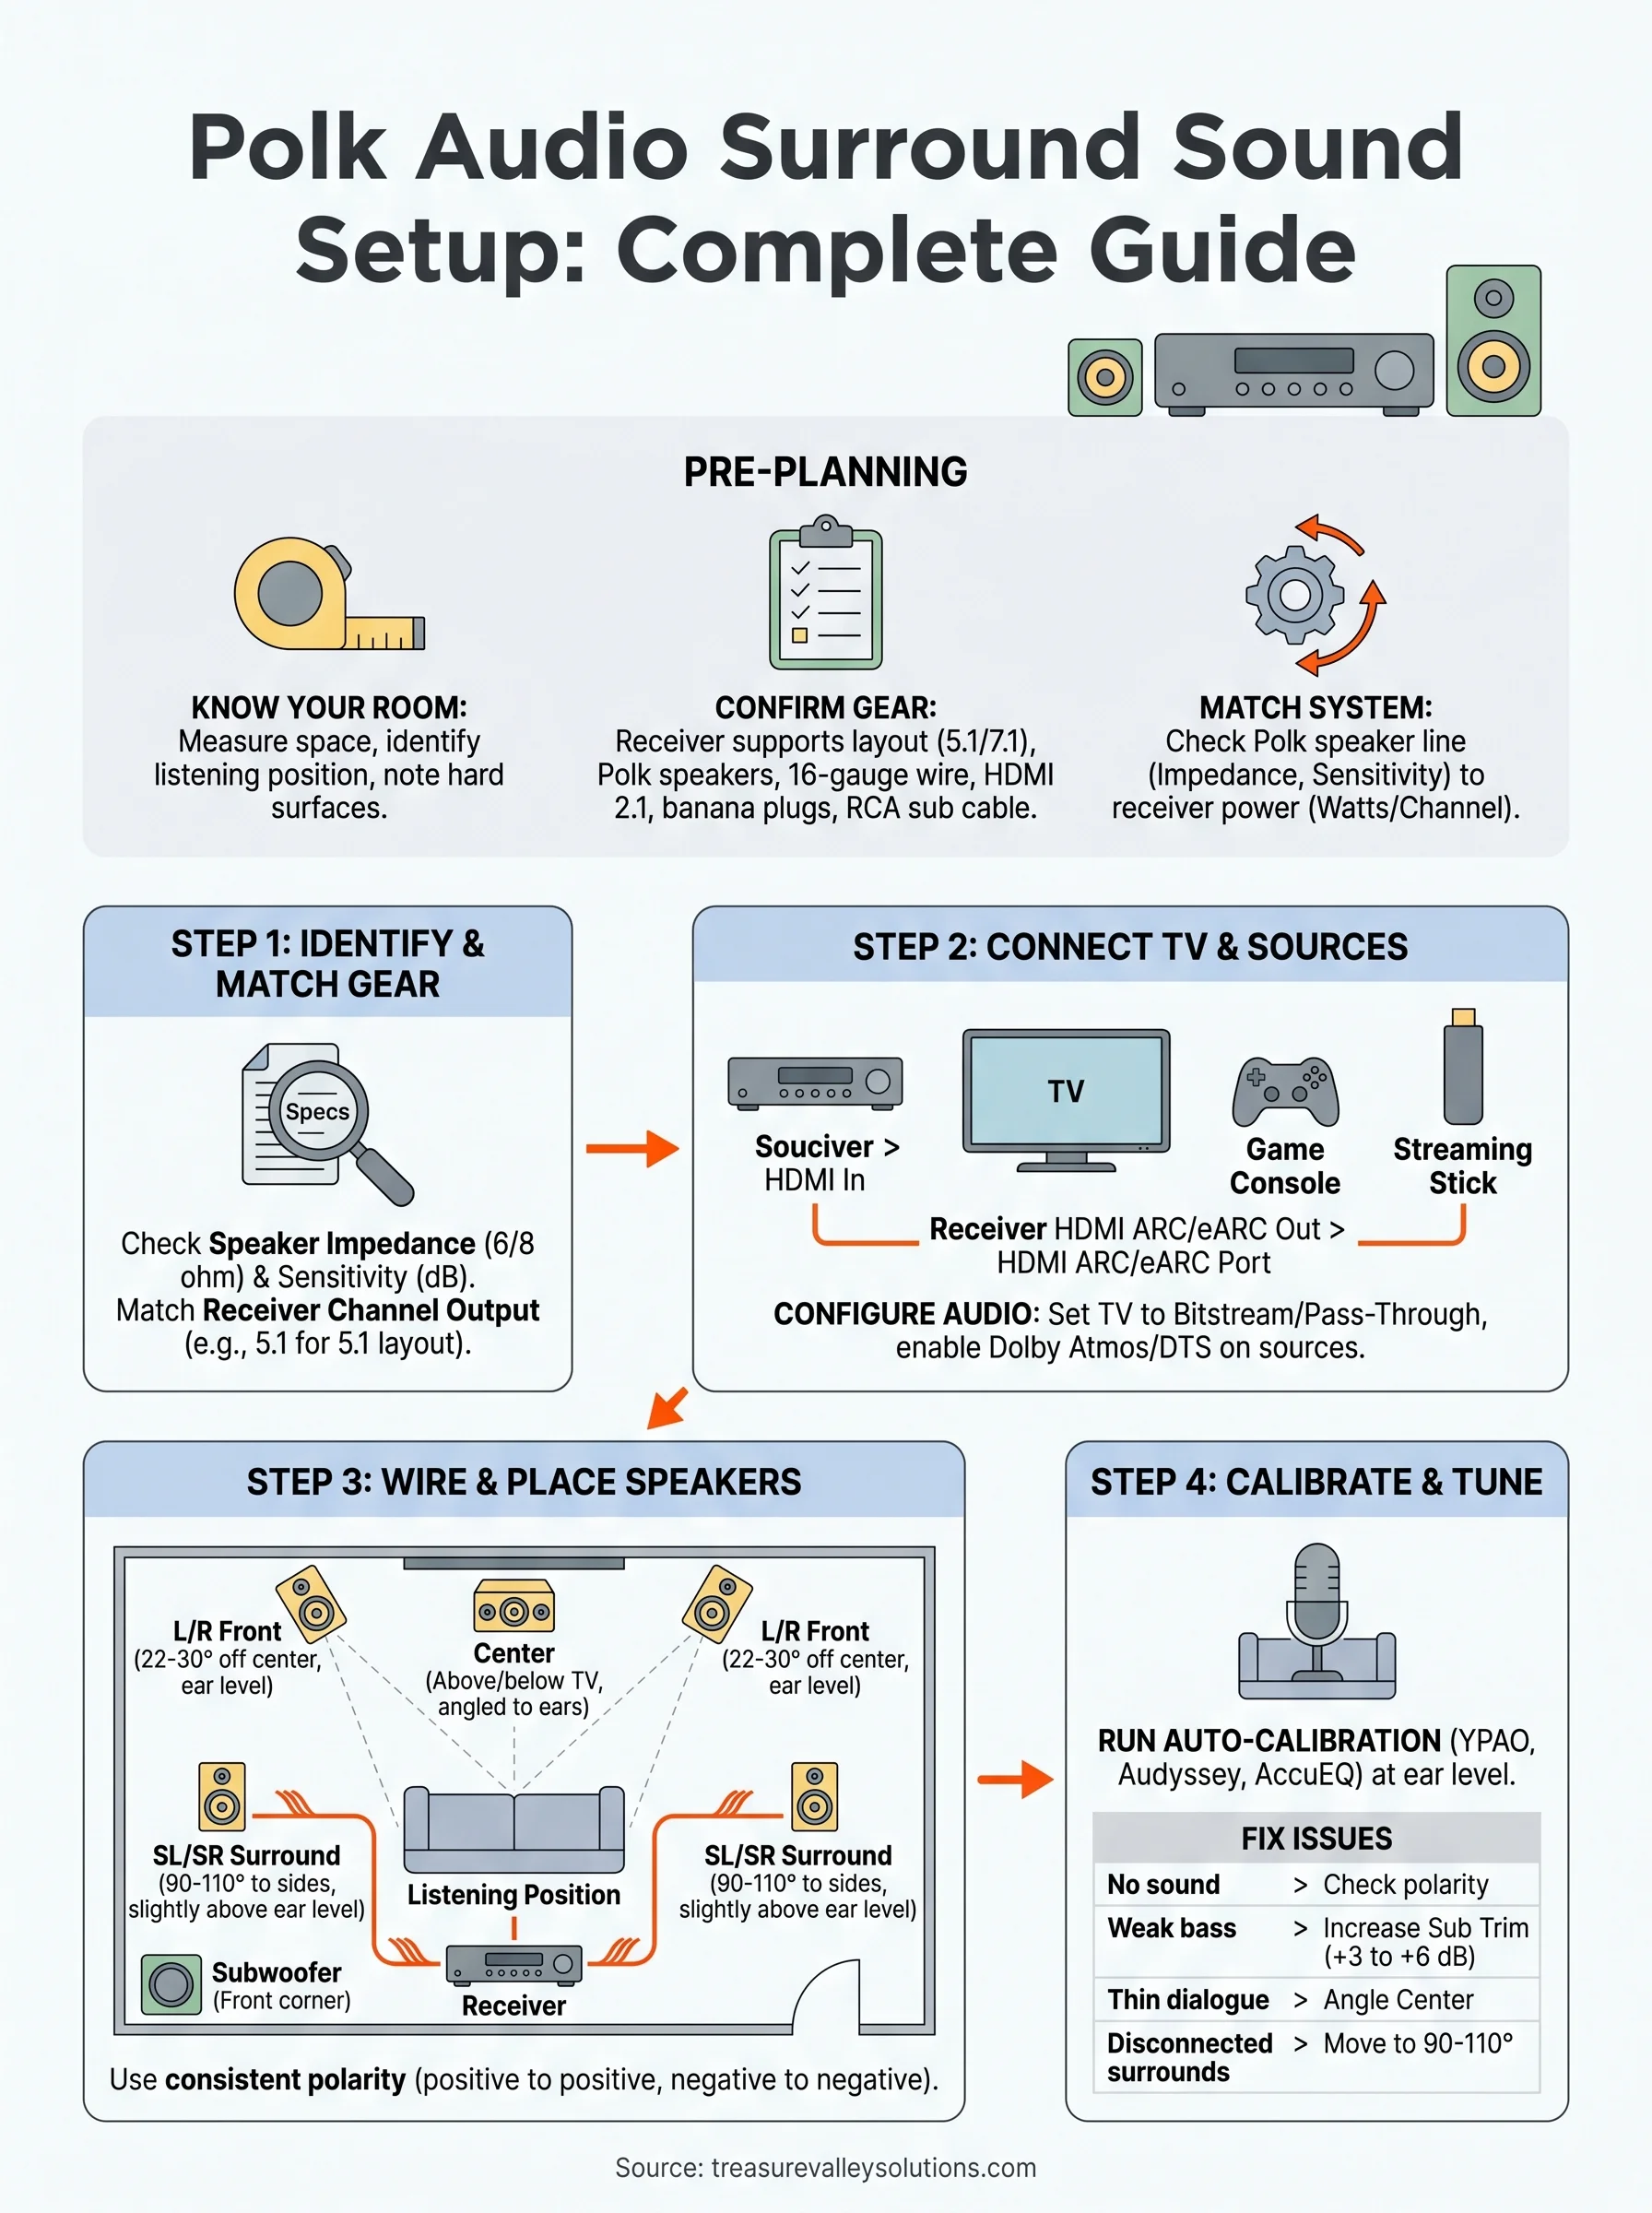
Next steps for better surround sound
Your Polk Audio surround sound setup is now wired, placed, and calibrated, but there's still room to push it further. The biggest gains after initial setup come from room treatment and content source quality. Adding even a few acoustic panels behind your listening position and on the first reflection points on the side walls reduces flutter echo and tightens imaging noticeably. Pair that with lossless audio sources like 4K Blu-ray discs or high-bitrate streaming, and you'll hear a clear difference compared to compressed audio.
Beyond acoustics, upgrading individual components over time is easier than starting from scratch. Adding ceiling speakers opens the door to Dolby Atmos height channels, and Polk's lineup makes that expansion straightforward. If you want a professional to take the guesswork out of any of this, the team at Treasure Valley Solutions handles home theater design and installation across the Boise and Meridian area. Get in touch with our team to talk through your setup.
Need Expert Help?
Ready to implement these solutions in your own home or business?
Our Services

Home theater design and installation planned around your room, viewing goals, and equipment scope.

Expert TV Mounting Treasure Valley Homeowners & Businesses Trust

Explore whole-home audio, commercial sound, Sonos setup, and surround sound installation in the Treasure Valley.
Serving the Treasure Valley
Local installation in your city