 (208) 991-3502
 Meridian, ID



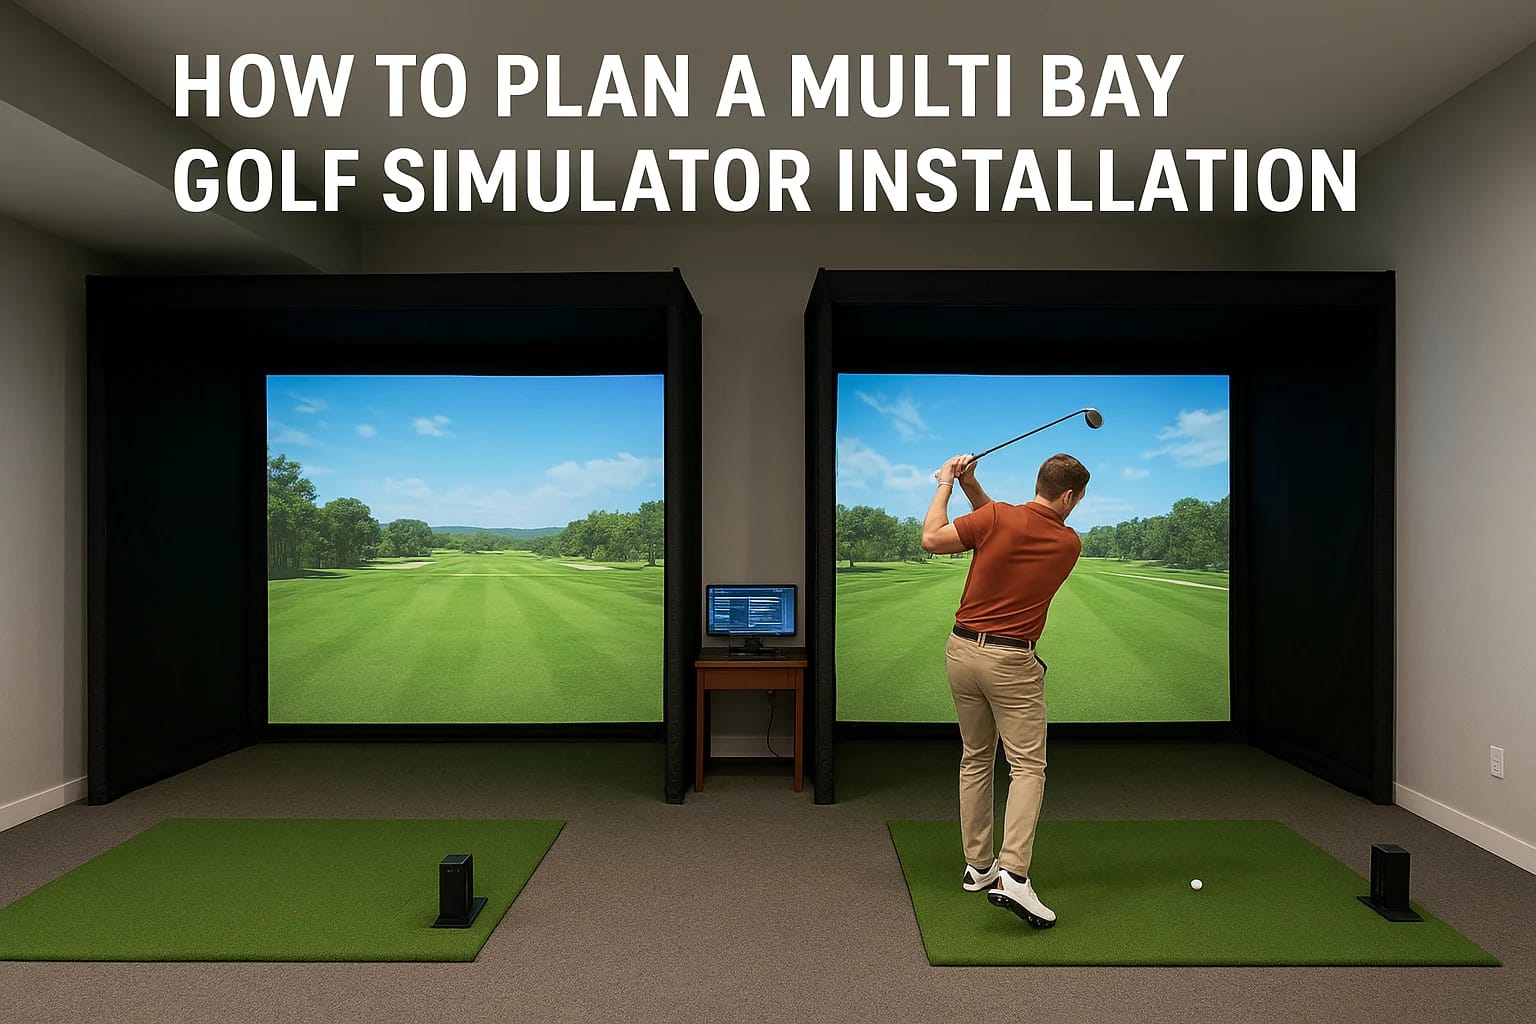

Adding a second or third bay changes everything about a golf simulator project. Space planning gets tighter, wiring runs multiply, and a multi bay golf simulator installation that works great for one...
Adding a second or third bay changes everything about a golf simulator project. Space planning gets tighter, wiring runs multiply, and a multi bay golf simulator installation that works great for one hitting bay can turn into a tangled mess when you scale it up without a plan. If you're weighing this for a home golf room, an indoor range, or a commercial entertainment venue, you need a layout strategy before you buy a single launch monitor.
This guide walks through exactly what that planning process looks like. You'll learn how to size each bay for safe swing clearance, how ceiling height and screen placement affect enclosure choices, and where electrical and network runs need to sit before drywall goes up. We also break down realistic budget ranges, since multi bay projects rarely scale in a straight line once you factor in shared audio, lighting, and separate projection setups per bay.
We've installed enough of these systems around the Treasure Valley to know where DIY plans usually go wrong, from underpowered circuits to bays spaced too close for a full backswing. By the end, you'll have a clear framework for laying out your space, choosing equipment, and deciding whether to hire a professional integrator or tackle parts of the installation yourself.
What to consider before building a multi-bay simulator
Before you measure a single wall, decide who's actually going to use each bay and how often. A home installation with two bays for family use has completely different requirements than a commercial facility running four bays back to back for paying customers. Traffic patterns, cleaning schedules, and even insurance considerations change once you're not the only one swinging a club in the room. Get clear on usage first, because that decision drives every equipment and layout choice that follows.
Budget scales differently with each added bay
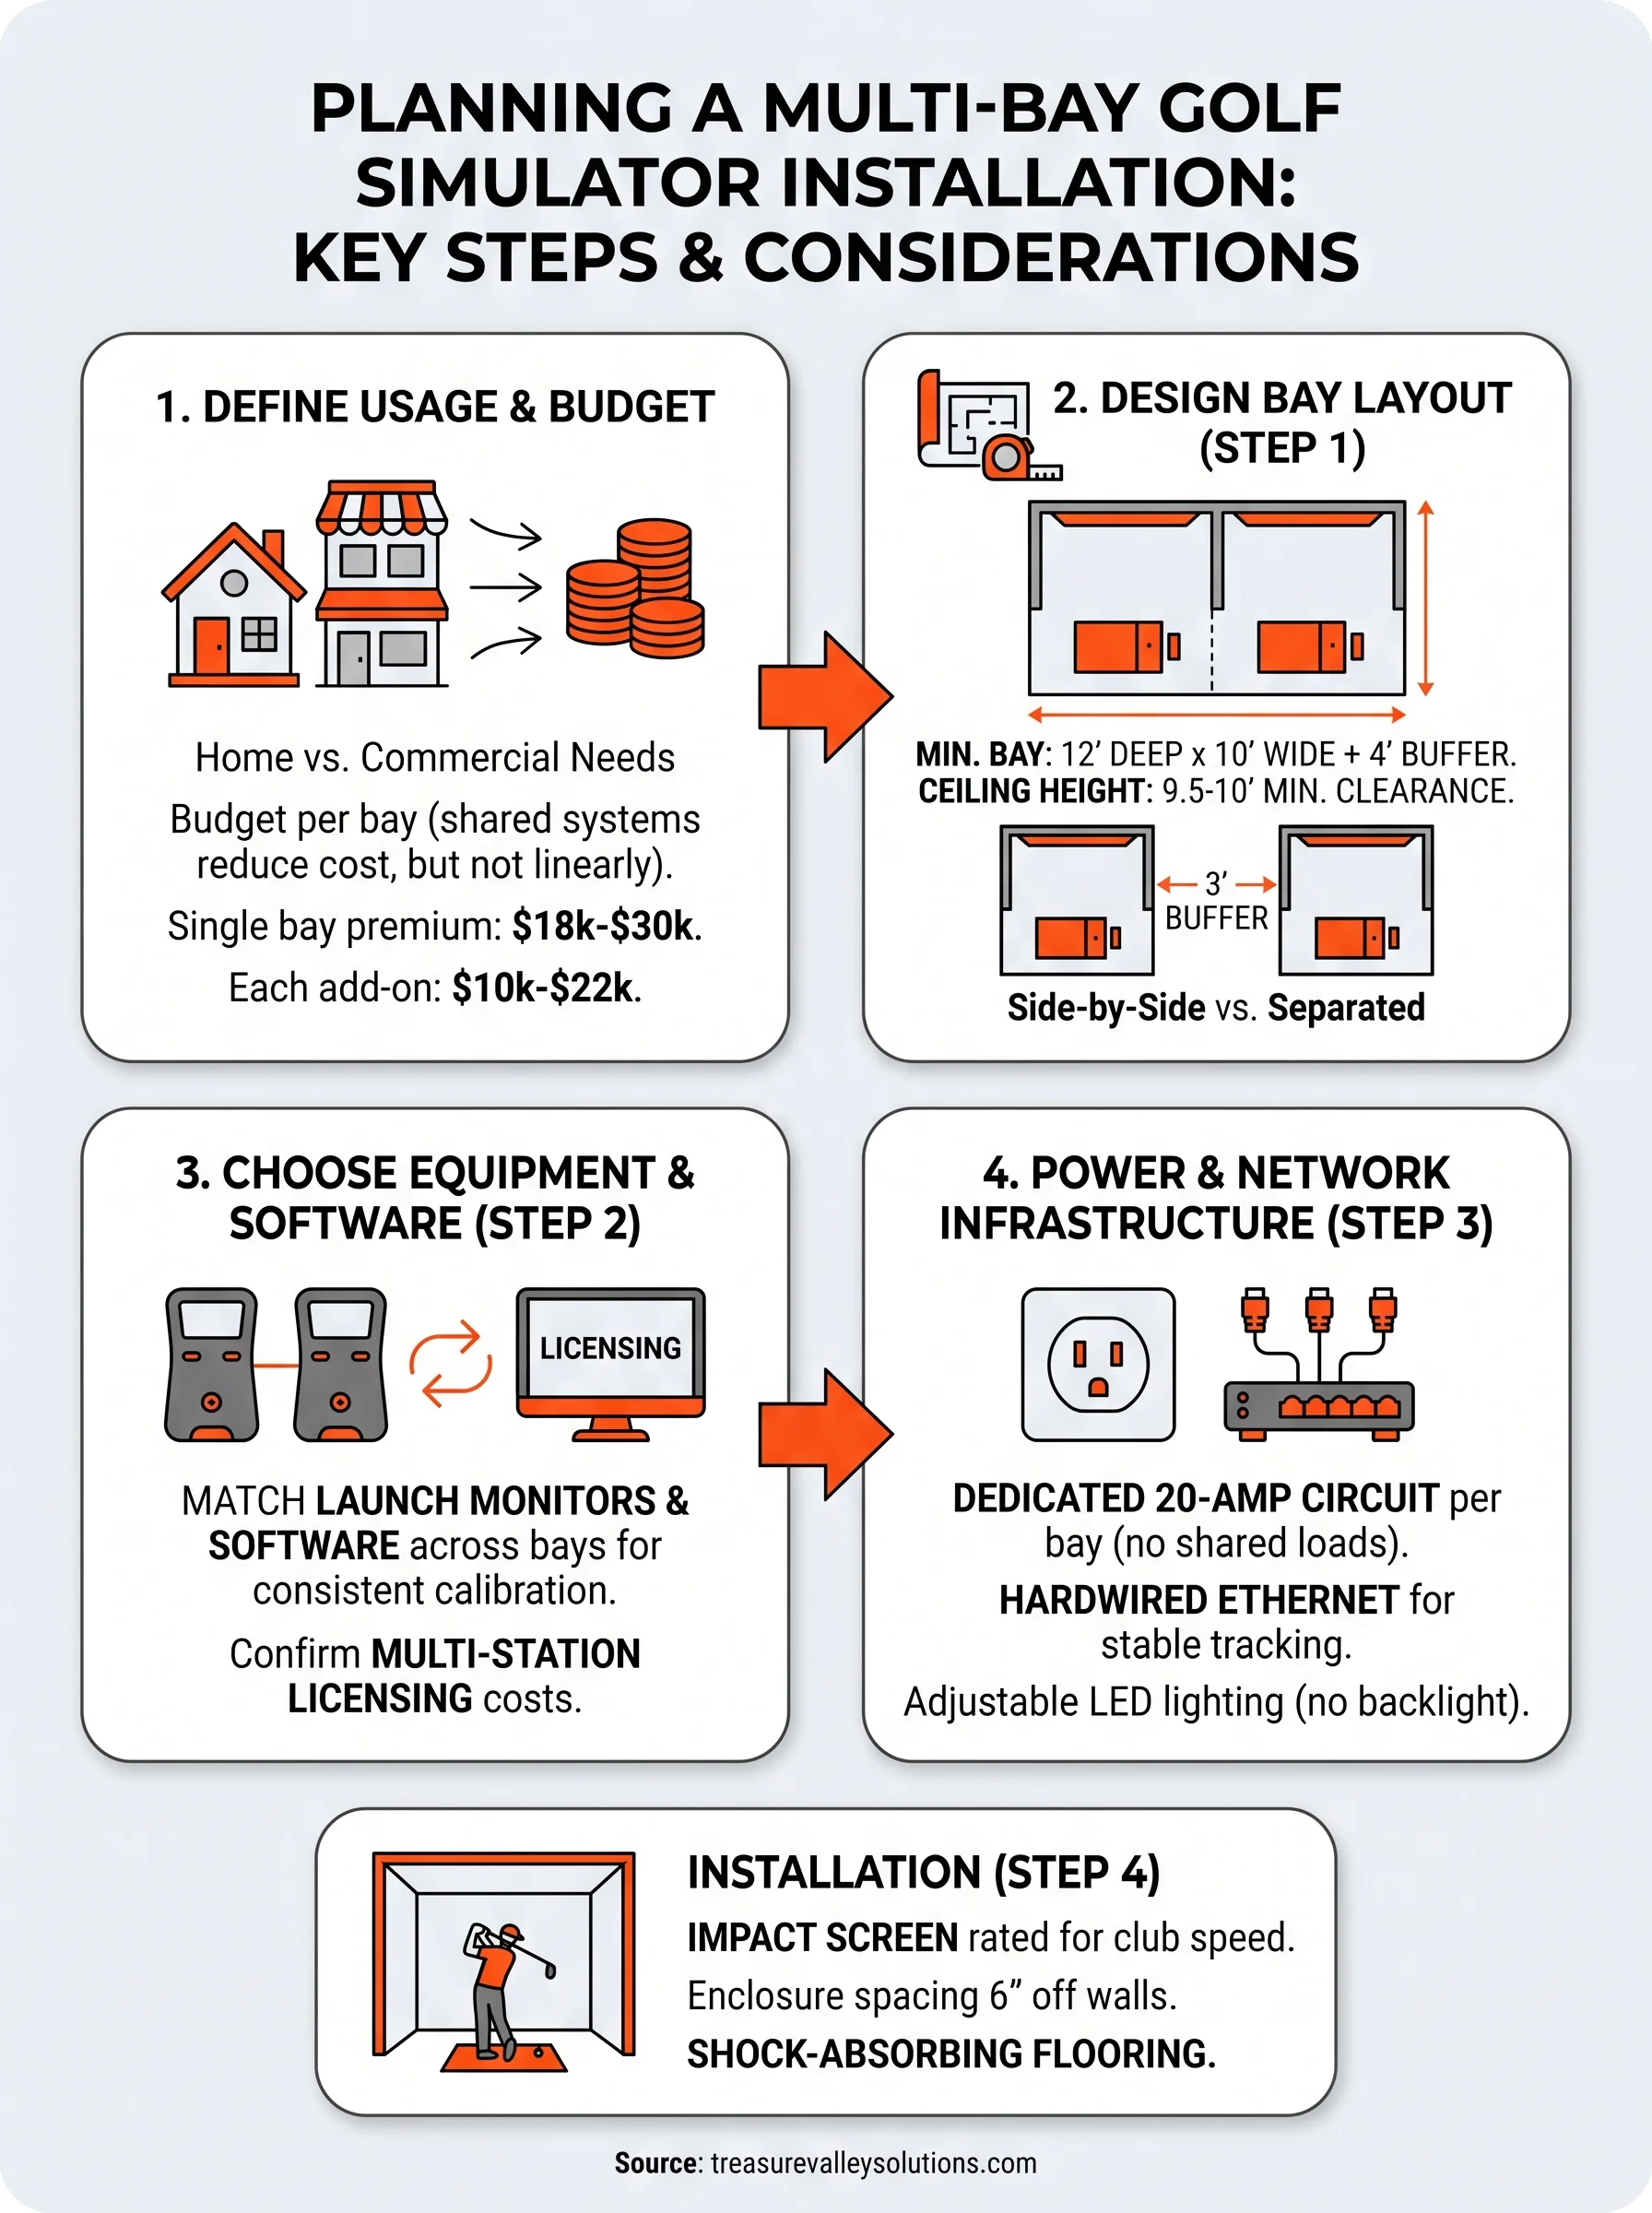
Don't assume a three-bay build costs three times a single bay. Shared infrastructure like network switches, HVAC capacity, and a central audio system can bring per-bay costs down, while separate projection and launch monitor setups for each station keep costs from dropping too far. Expect these rough ranges when planning:
- Single bay, DIY-grade equipment: $8,000 to $15,000
- Single bay, premium launch monitor and enclosure: $18,000 to $30,000
- Each additional bay (with shared infrastructure): $10,000 to $22,000
Plan your budget per bay, not divided evenly across the whole build, since shared systems only cover part of the cost.
Ceiling height and room shape set your ceiling, literally
Ceiling height is the constraint most homeowners underestimate. You need at least 9.5 to 10 feet of clear height per bay to accommodate a full swing with a driver, and that number climbs if you're mounting a projector rather than a short-throw unit. Room shape matters just as much as height. Long, narrow rooms let you line up bays side by side with shared screen walls, while square rooms often force you into an L-shaped configuration that separates bays and adds wiring distance. Walk your space with a tape measure and a driver in hand before you commit to a layout on paper.
Step 1. Measure your space and design the bay layout
Start with a tape measure, not a floor plan app. Each hitting bay needs a minimum of 12 feet deep by 10 feet wide, plus 4 feet of buffer behind the tee for a full backswing with longer clubs. Multi bay golf simulator installation projects usually fail at this step because someone measures the room's total square footage instead of mapping out individual swing zones with clearance.
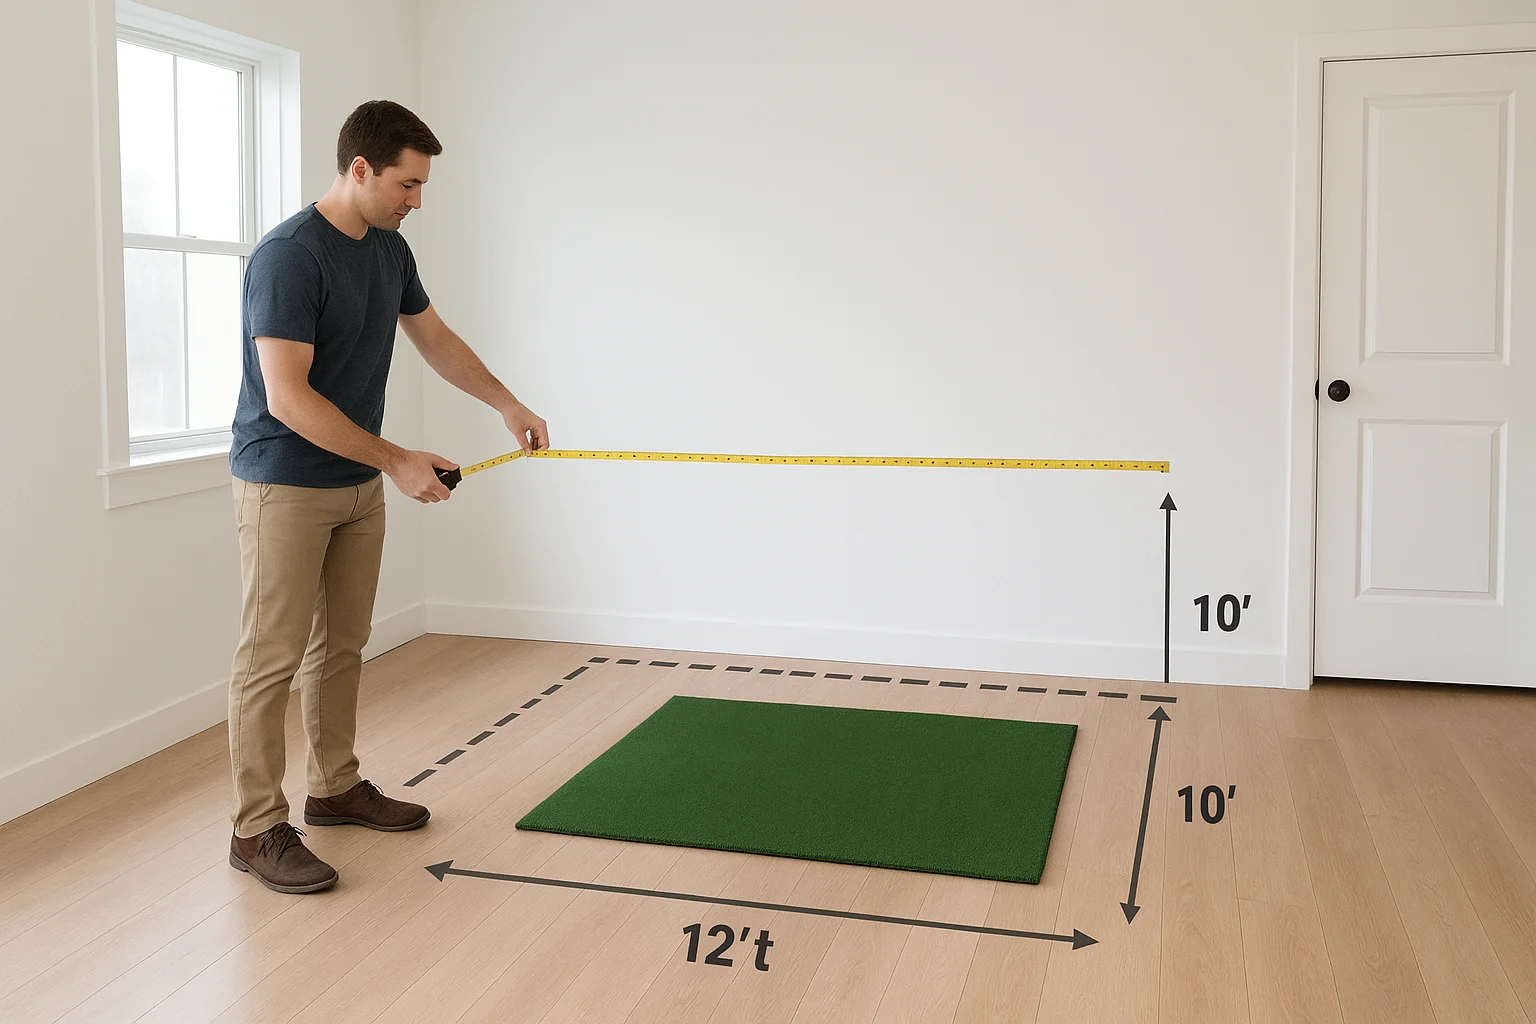
Measure for the tallest golfer with the longest club, then add buffer, because retrofitting clearance after installation almost never works.
Sketch your layout before touching a wall. Note where doors swing open, where support columns sit, and where HVAC vents currently blow air across the hitting area, since airflow can interfere with ball flight sensors.
Decide on side-by-side versus separated bays
Side-by-side bays share a screen wall and often a single projector truss, cutting material costs. Separated bays, connected by a hallway or angled layout, reduce noise bleed between golfers and work better for commercial spaces booking bays independently. Bay spacing should account for at least 3 feet between hitting mats if bays sit parallel, giving players room to set up clubs and bags without crowding each other's backswing.
Step 2. Choose launch monitors and simulator software
Every bay needs its own launch monitor, and matching units across bays keeps calibration and troubleshooting simple. Camera-based systems like those from Foresight or Trackman handle indoor spaces well since they don't rely on radar tracking that needs extra distance behind the ball. Radar-based units work fine too, but they often want more room behind the tee, which can force you to rethink bay depth from Step 1.
Match launch monitor models across every bay, since mixing brands multiplies your troubleshooting time and licensing headaches.
Match software licensing to your usage model
Simulator software licensing gets expensive fast across multiple bays, so check whether your chosen platform charges per bay or offers a multi-station discount. E6 Connect and GSPro both support multi-bay setups, but confirm licensing terms before you commit hardware, since some vendors bundle software with specific launch monitors and lock you into that ecosystem.
- Confirm per-bay licensing costs before purchase
- Check whether courses and updates sync across bays automatically
- Verify hardware compatibility between your launch monitor and preferred software
Commercial venues should prioritize software with built-in booking and payment integration, since manually managing bay reservations across four stations wastes staff time you don't have.
Step 3. Plan power, networking, and lighting for each bay
Electrical planning trips up more multi-bay projects than any other step, mostly because homeowners run one circuit for the whole room instead of dedicated circuits per bay. Each hitting bay with a projector, launch monitor, and PC needs its own 20-amp dedicated circuit, separate from lighting and HVAC loads. Skip this and you'll trip breakers mid-round when three bays run simultaneously.
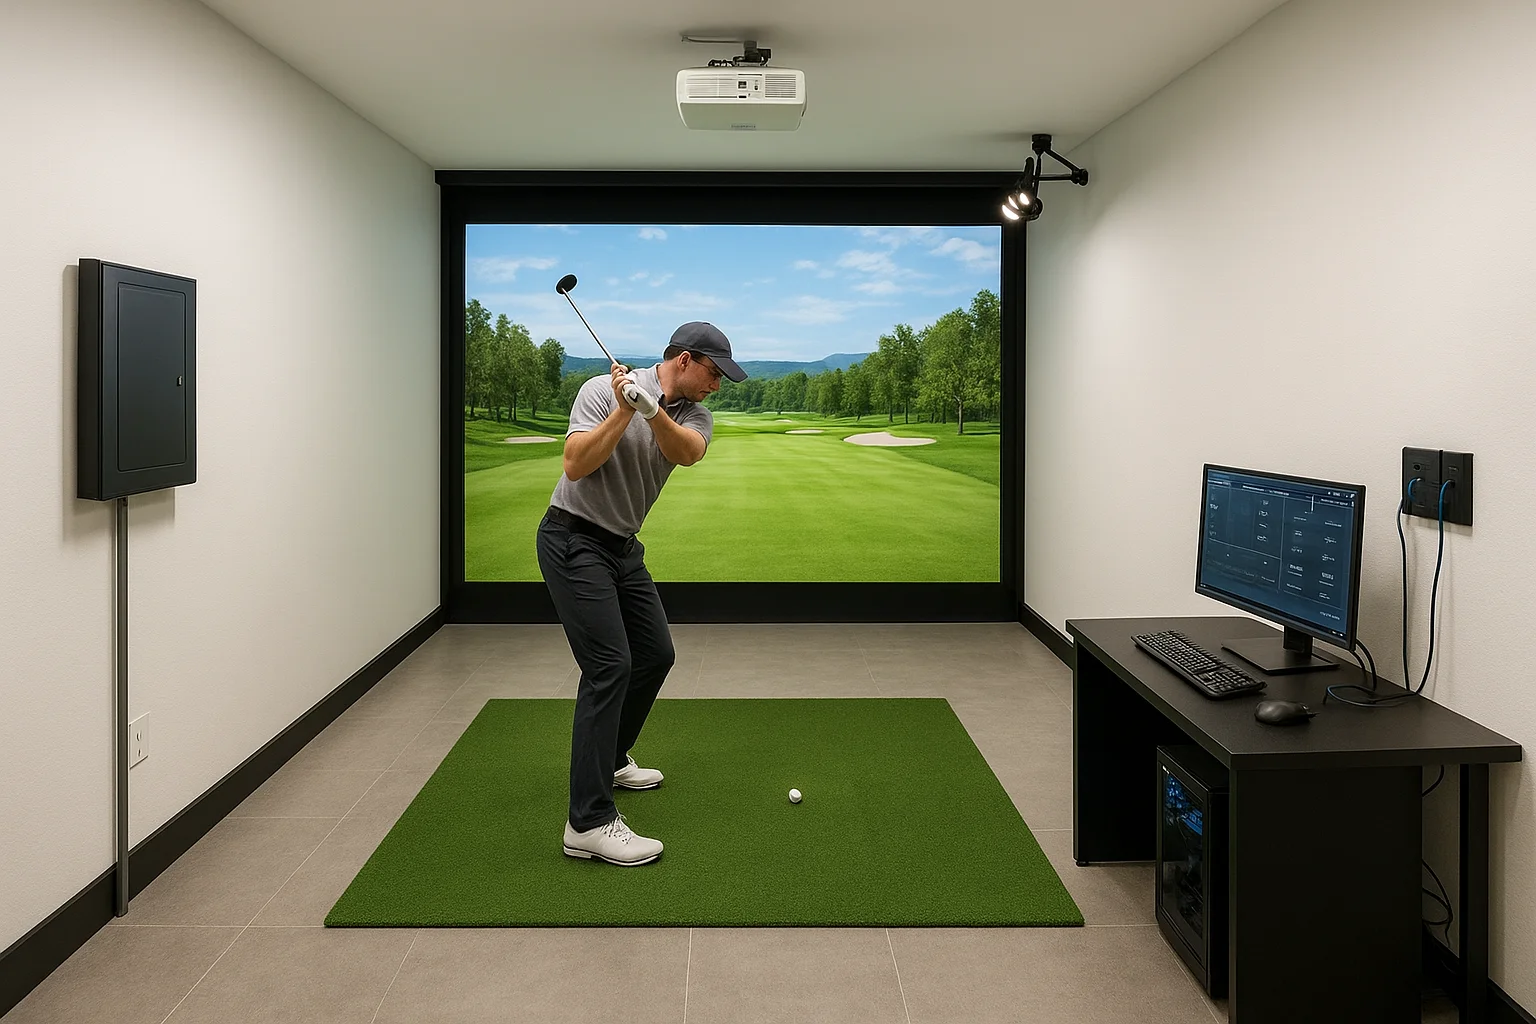
Wire each bay like its own small theater room, with dedicated power and hardwired networking, because Wi-Fi drops cost you calibration accuracy mid-swing.
Networking matters just as much as power. Run hardwired Ethernet to every bay rather than relying on Wi-Fi, since launch monitor software and camera tracking choke on latency spikes. A simple network closet with a managed switch feeding each bay keeps troubleshooting centralized.
Lighting affects tracking accuracy, not just ambiance
Lighting isn't decorative here, it directly affects camera-based launch monitor accuracy. Install adjustable LED lighting on separate dimmer switches per bay, positioned to avoid glare on the screen or shadows across the hitting mat. Avoid overhead lighting directly behind the golfer, since it backlights the ball and confuses camera sensors right when you need clean tracking data most.
Step 4. Install screens, enclosures, and flooring
Screens and enclosures come last for a reason: you need power, networking, and lighting finalized before you build around them. Choose an impact-resistant screen rated for your fastest club speed, since a driver swing generates enough force to punch through budget-grade fabric. Enclosure framing should sit at least 6 inches off every wall to allow airflow and access for future cable runs.
Build the enclosure last, because chasing a wiring problem through finished drywall costs more than doing it right the first time.
Flooring ties the whole bay together and affects swing feel more than most people expect. Layer a hitting mat over a shock-absorbing subfloor, especially in bays sitting directly on concrete, since bare concrete transmits impact straight into a golfer's joints over a long session.
Match materials to bay usage
Commercial bays running dozens of swings daily need tougher materials than a home setup used a few times a week:
- Home bays: standard turf mat, drywall enclosure, carpet tile flooring
- Commercial bays: commercial-grade mat, reinforced enclosure frame, rubber subfloor
Test each bay's screen tracking and hitting feel before calling the installation finished.
From blueprint to first swing
A multi-bay build succeeds or fails on the planning stage, not the equipment list. Get your bay dimensions, electrical circuits, and networking locked in before you buy a single launch monitor, and the rest of the project falls into place. Rushing straight to screens and enclosures without that groundwork is how homeowners end up chasing wiring problems through finished drywall or discovering a bay is six inches too shallow for a real backswing.
Treasure Valley Solutions has walked enough clients through this exact process to know where plans go sideways before the first swing ever happens. Custom bay layouts, dedicated circuits, and calibrated lighting aren't extras, they're what separates a simulator room that works for years from one you're troubleshooting every weekend. If you're mapping out a two, three, or four-bay build anywhere in the Treasure Valley, reach out to our team and we'll help you turn that blueprint into a room you actually want to play in.
Need Expert Help?
Ready to implement these solutions in your own home or business?
Our Services
View All Services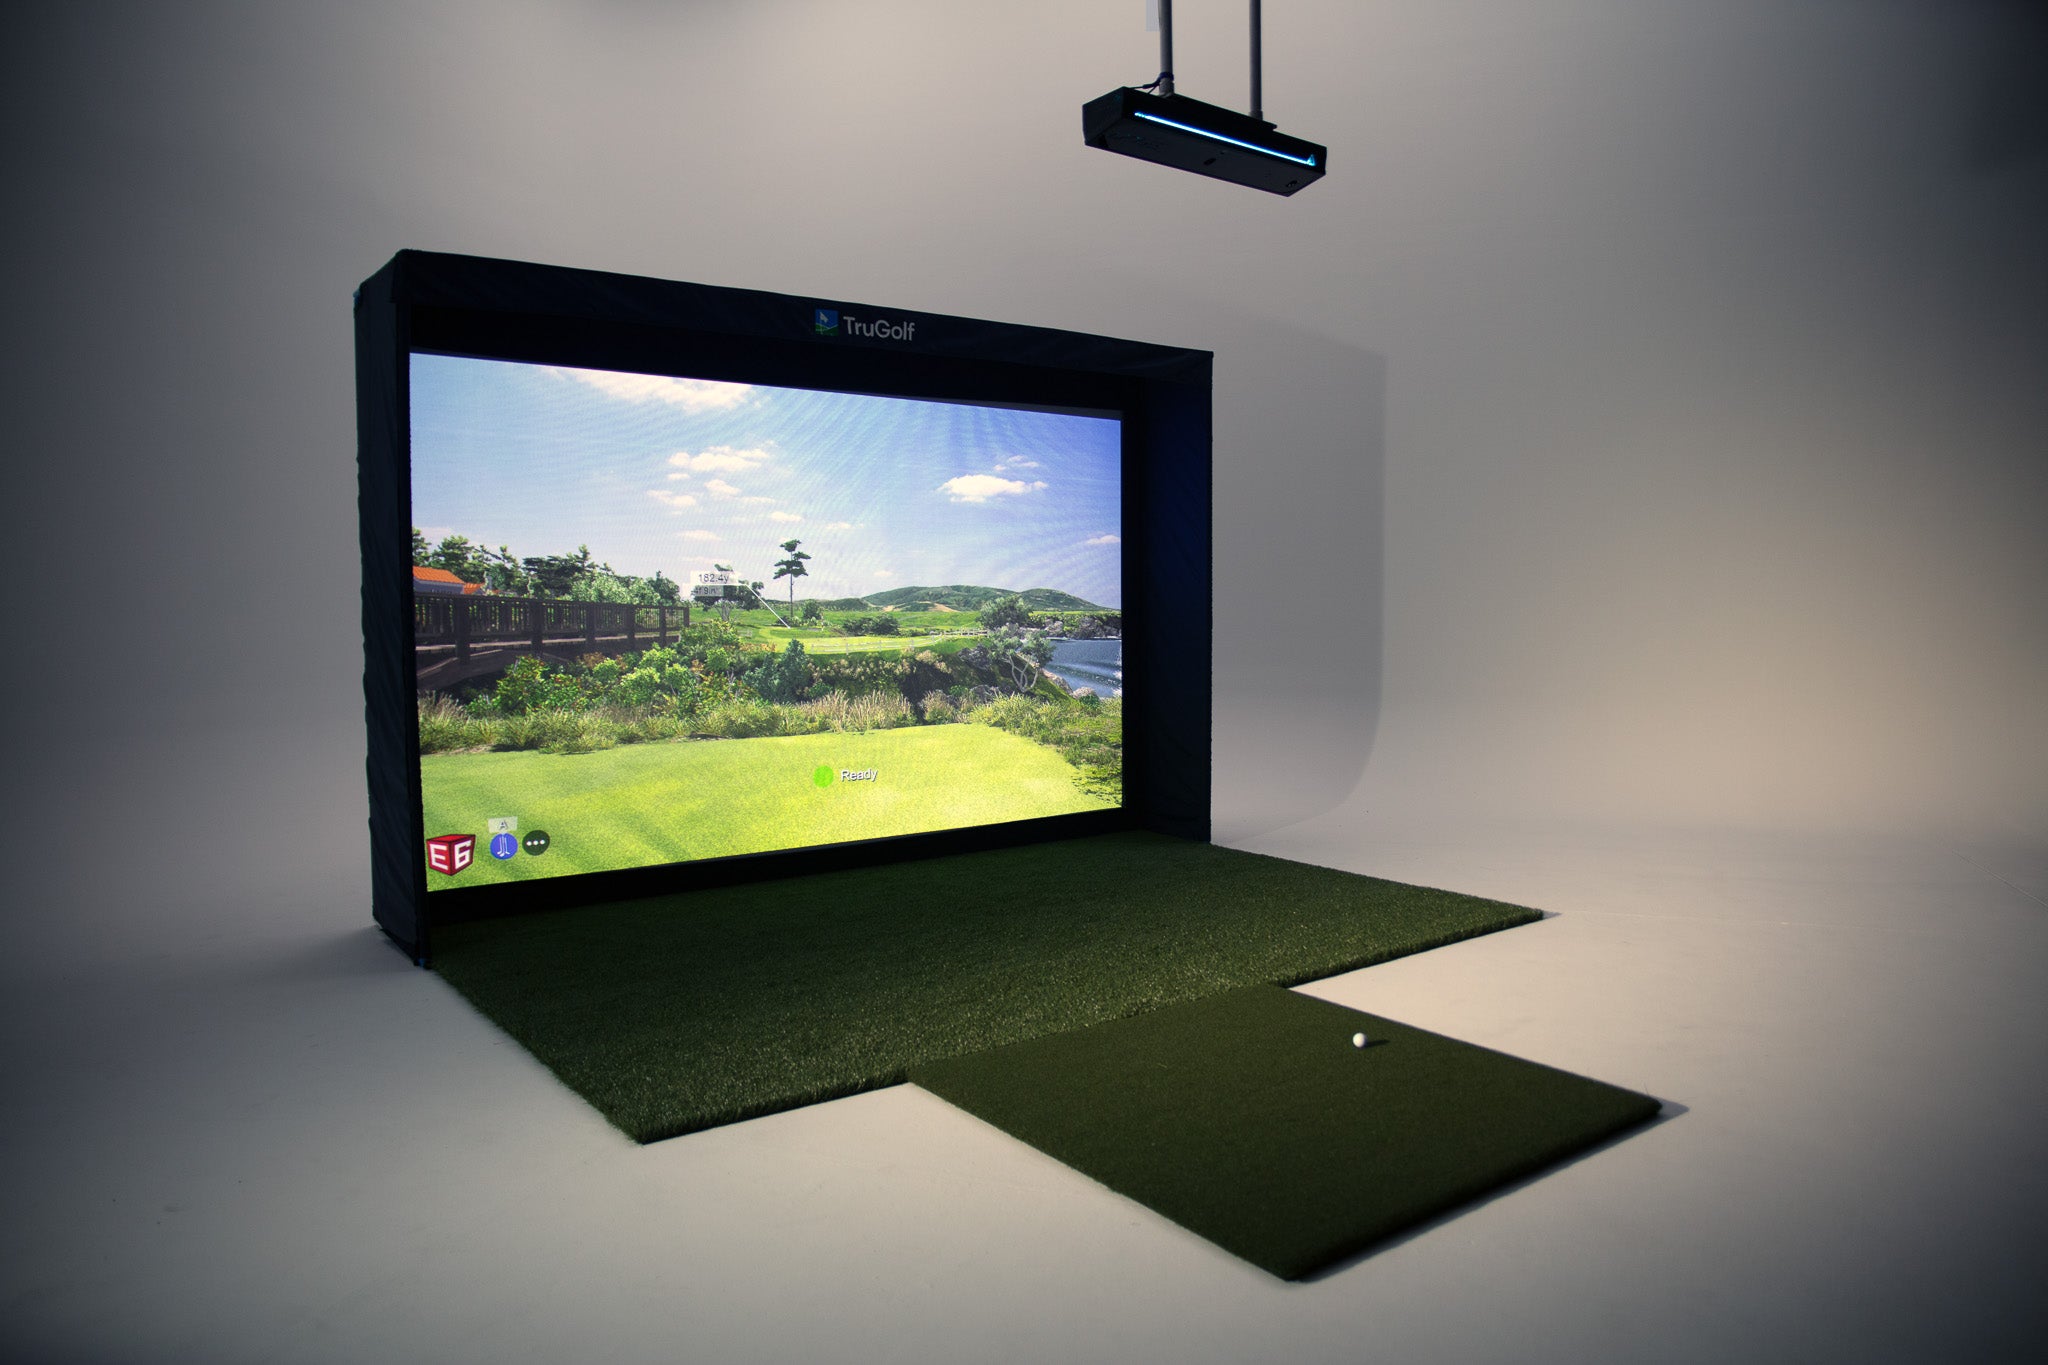
Serving the Treasure Valley
Local installation in your city