 (208) 991-3502
 Meridian, ID



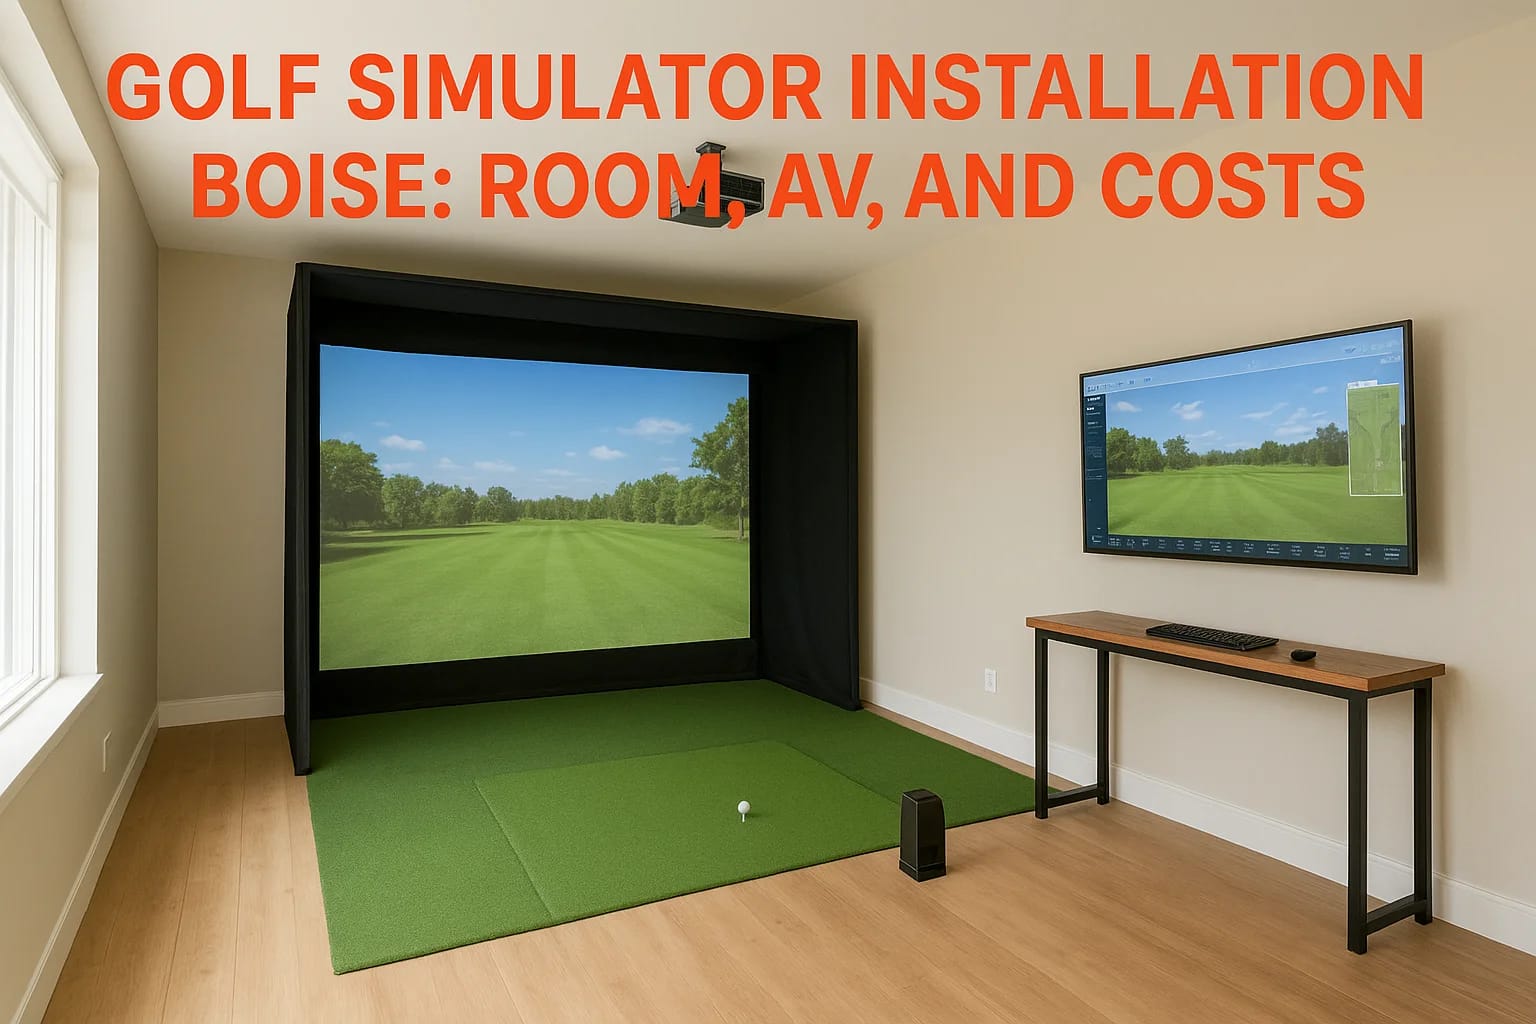

A proper golf simulator installation Boise homeowners and business owners can rely on year-round takes more than a launch monitor and a screen. It requires careful room planning, the right AV equipmen...
A proper golf simulator installation Boise homeowners and business owners can rely on year-round takes more than a launch monitor and a screen. It requires careful room planning, the right AV equipment, correct wiring, and professional calibration, all working together so every swing feels accurate and every session runs without a hitch. Get any one of those pieces wrong, and you're left with a frustrating setup that collects dust instead of improving your game.
That's where most people hit a wall. Between projector throw distances, impact screen sizing, surround sound options, lighting control, and network requirements, a golf simulator is really a full AV integration project. It sits right at the intersection of home theater, smart automation, and precision installation, exactly the kind of work we handle daily at Treasure Valley Solutions. Since 2014, we've designed and installed custom technology systems across the Boise and Meridian area, from dedicated home theaters to commercial AV buildouts, and golf simulators pull from that same skill set.
This guide breaks down everything you need to know before starting your project: room dimensions and layout requirements, AV and equipment considerations, what a realistic budget looks like, and how professional installation compares to going the DIY route. Whether you're converting a garage bay, finishing out a basement, or adding a simulator to a commercial space, you'll walk away with a clear picture of what's involved from start to finish.
What you need before starting in Boise
Before you spend a dollar on equipment, you need to confirm three things: a usable space, a realistic budget range, and a clear idea of how you plan to use the simulator. Skipping this step leads to buying gear that doesn't fit your room or ordering a system that's either underpowered for your goals or far beyond what you actually need. Most failed simulator projects start here, not during installation.
Know your space before you commit to equipment
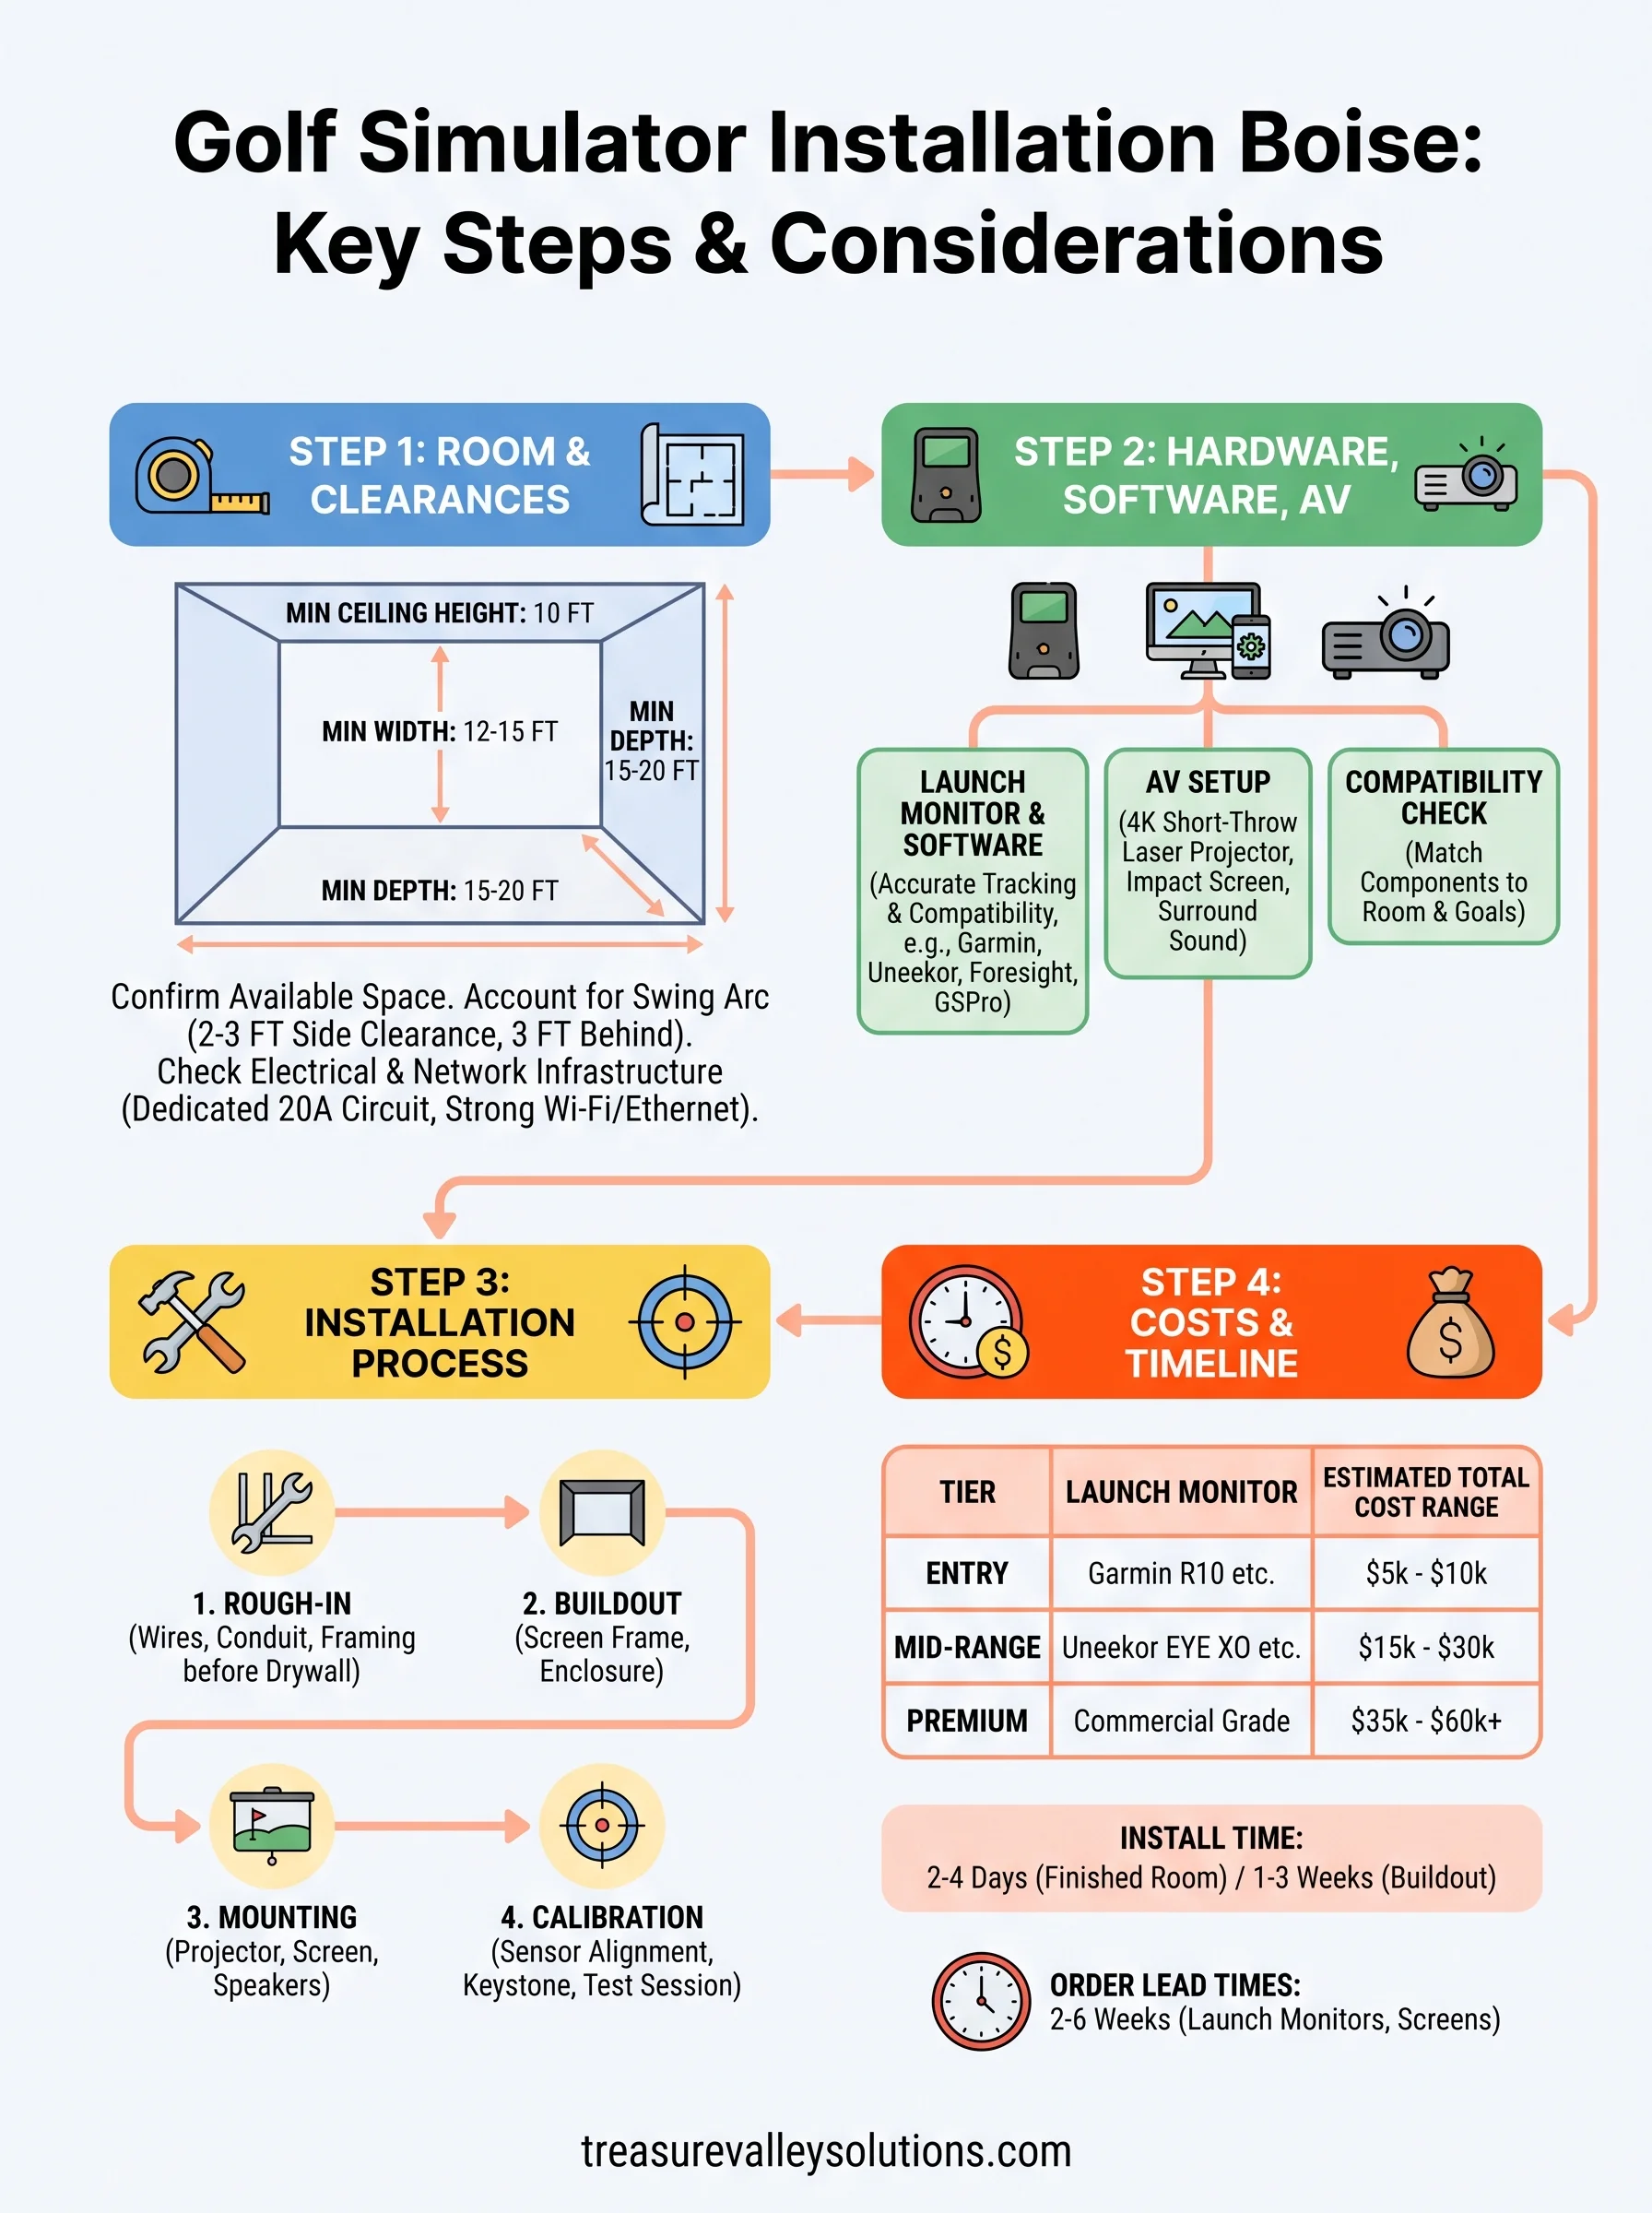
Your room determines nearly every hardware decision that follows. Ceiling height, room width, and depth all dictate which launch monitors, screens, and projectors are even compatible with your space. A room that's too short forces you into a smaller hitting bay, which limits which launch monitors work accurately. A room that's too narrow rules out side-by-side play or larger screen formats. Before you look at a single product listing, walk into your intended space with a tape measure and write down the actual dimensions.
If your room doesn't meet the minimum clearances for the simulator system you want, no amount of premium hardware will fix the experience.
You'll also want to note existing electrical and network infrastructure in that space. Simulators typically need a dedicated 20-amp circuit for the projector and PC, plus strong Wi-Fi or a hardwired Ethernet connection for software updates and online play. Identifying gaps early means your electrician and AV installer can plan rough-in work before walls are finished or closed up.
Get clear on how you'll use the simulator
Casual weekend play and a serious practice setup have very different hardware and software requirements. A homeowner who wants to play virtual courses with friends needs a different system than a golf instructor running lesson sessions with detailed swing data. Answering this question upfront shapes which launch monitor tier and simulation software makes sense for your goals and prevents expensive mismatches on the technology side.
This is also where a golf simulator installation Boise professional adds real value early in the process. Talking through your use case before purchasing any major components can save you thousands in equipment decisions you'll regret later.
Step 1. Confirm room dimensions and clearances
Room size is the foundation of every other decision in your project. Before you contact a supplier or look at launch monitors, measure your available space precisely and compare it against the minimums required by the systems you're considering. A few inches of ceiling height or depth can determine whether a system is even viable in your space, so get exact numbers before moving forward.
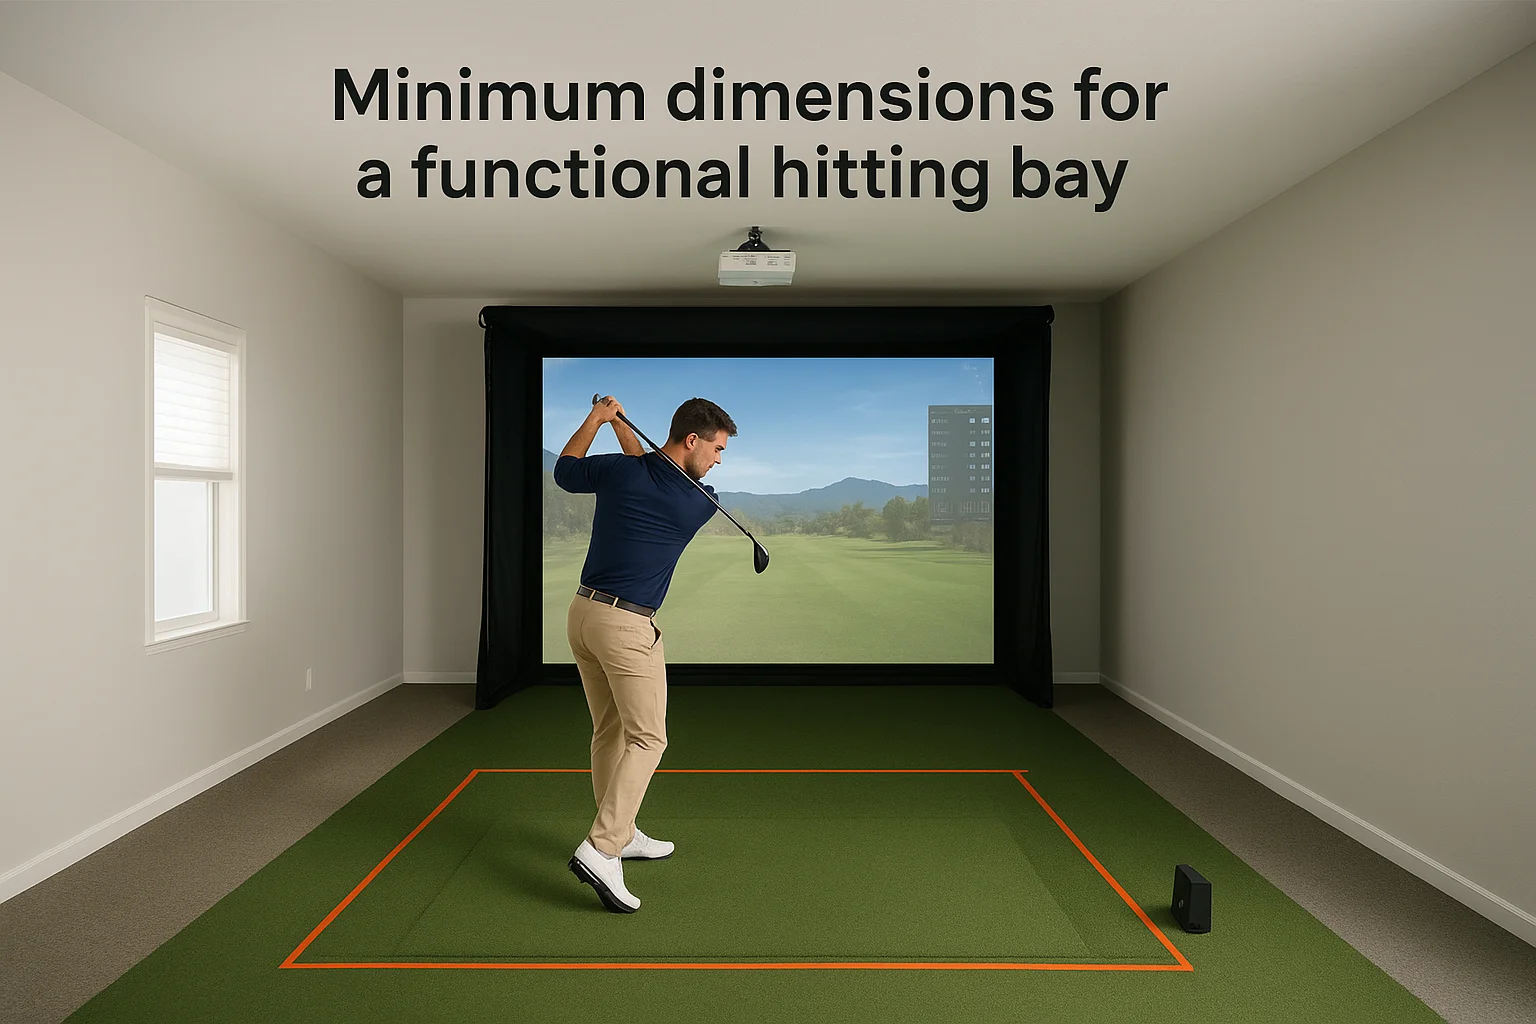
Minimum dimensions for a functional hitting bay
Most full-swing simulators require at least 10 feet of ceiling height, 12 to 15 feet of width, and 15 to 20 feet of depth from the golfer's position to the screen. These numbers shift depending on the launch monitor and screen size you select. Use the table below as a starting reference:
| Setup type | Min ceiling | Min width | Min depth |
|---|---|---|---|
| Compact single-bay | 9 ft | 12 ft | 15 ft |
| Standard single-bay | 10 ft | 14 ft | 18 ft |
| Dual-bay or commercial | 10 ft | 20 ft | 20 ft |
Purchasing equipment before confirming these dimensions is one of the most expensive mistakes in any golf simulator installation Boise project.
Account for swing arc and side clearances
Your body position at address adds roughly 2 to 3 feet of clearance needed on each side beyond the hitting mat itself. You also need at least 3 feet behind the golfer for a full follow-through on driver swings. Mark those zones on your floor with tape so you can physically walk through a swing before committing to a layout.
Step 2. Choose hardware, software, and AV
Once you confirm your room dimensions, you need to match your hardware choices to your actual space and goals. The three core components are your launch monitor, simulation software, and AV setup, and each one affects the others. Buying them in isolation without checking compatibility first leads to problems that surface during installation, not before it.
Launch monitor and simulation software
Your launch monitor determines how accurately the system tracks ball flight and club data. Entry-level options like the Garmin Approach R10 work well for casual play, while mid-range units like the Uneekor EYE XO or Foresight GC3 deliver the accuracy serious golfers and instructors expect. Pair your monitor with compatible simulation software before purchasing either one. GSPro and E6 Connect are two widely used platforms that support multiple hardware options and offer solid course libraries.
Skipping software compatibility checks before purchasing a launch monitor is one of the most costly mistakes in any golf simulator installation Boise project.
Projector, screen, and AV
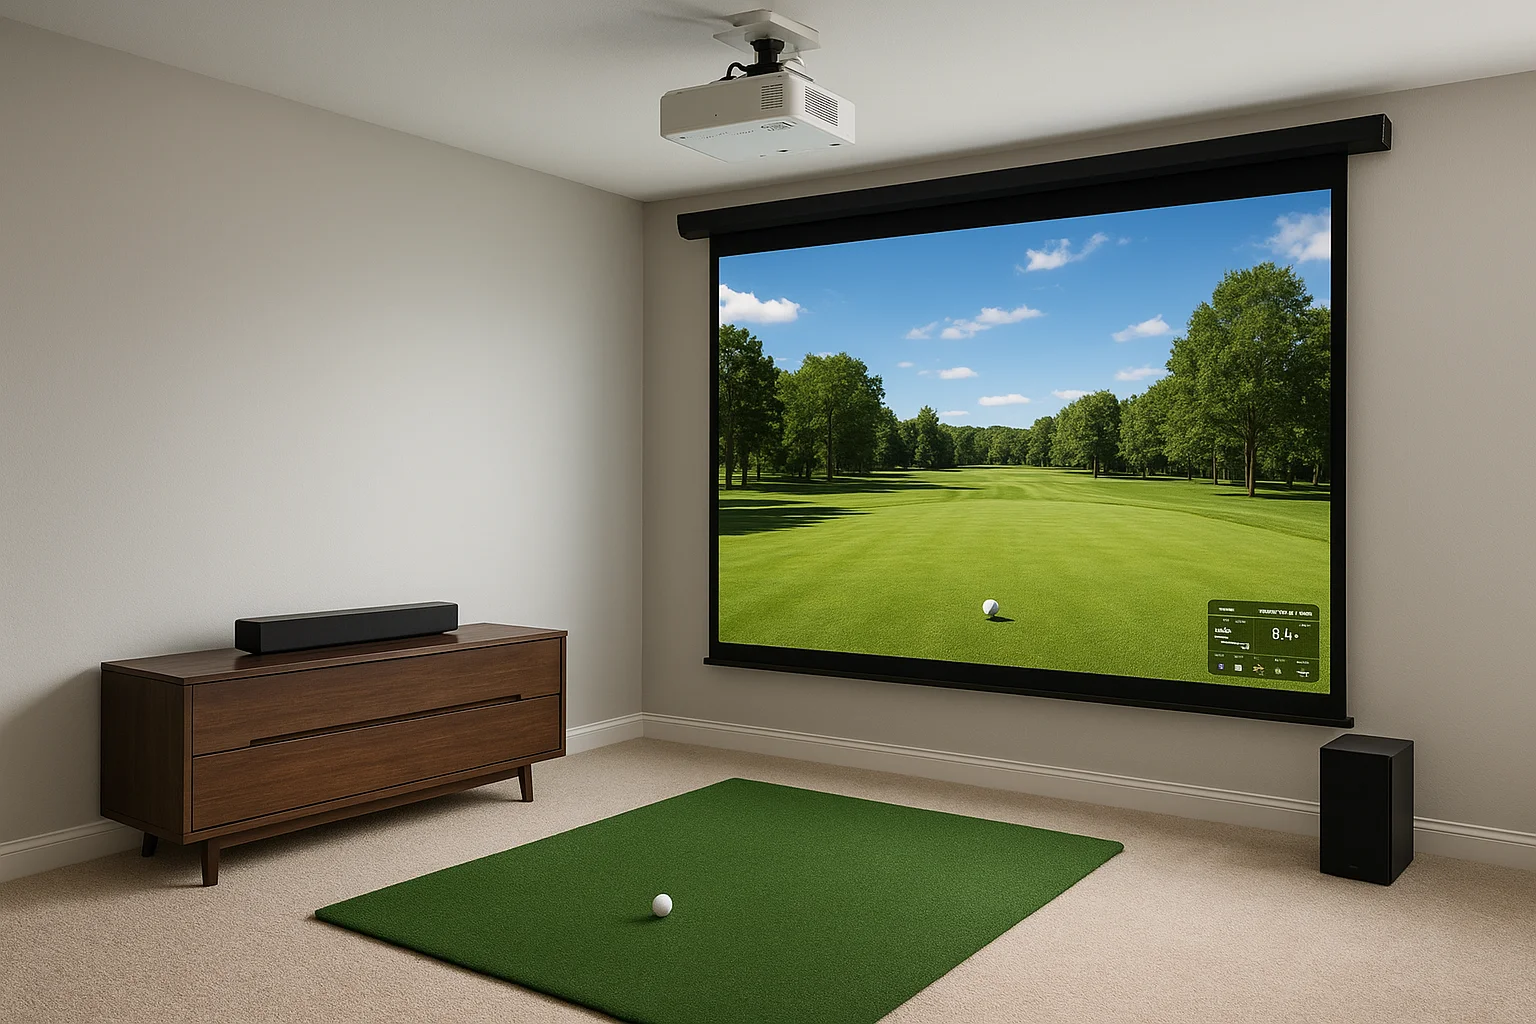
Short-throw projectors handle tighter rooms well, with a throw ratio of 0.4:1 or lower recommended for spaces under 18 feet deep. A 4K short-throw laser projector delivers a sharp, consistent image on an impact screen without washing out under ambient light. For audio, a 5.1 surround setup or a quality soundbar adds course immersion without overcomplicating your AV infrastructure. Plan your speaker wire runs, HDMI cable paths, and dedicated circuit locations during the rough-in phase so walls stay clean once the installation is complete.
Step 3. Plan the install: buildout to calibration
Planning your install in the right sequence saves you from opening walls twice or repositioning mounted equipment after the fact. A golf simulator installation Boise project typically moves through four distinct phases: rough-in, buildout, hardware mounting, and calibration. Each phase depends on the one before it, so rushing ahead without completing the previous step creates rework that costs time and money.
Sequence the buildout correctly
Start rough-in work before any drywall goes up. Your electrician should run a dedicated 20-amp circuit to the projector and PC location during this phase, along with conduit for HDMI and speaker wire runs. Wall framing for the impact screen enclosure and any ceiling mounts for projectors or speakers also happens here.
Getting your AV installer involved during rough-in, not after drywall is complete, is the single most effective way to keep your installation clean and your walls uncut.
Follow this sequence to stay organized:
- Electrical rough-in and conduit placement
- Screen frame framing and enclosure buildout
- Drywall, painting, and flooring
- Projector, screen, and speaker mounting
- PC and hardware connections
- Software installation and sensor alignment
- Full calibration and test session
Calibrate before you call the project done
Calibration is not optional and should not be rushed. Your launch monitor needs a precise distance from the hitting mat, and your projector requires keystone correction and brightness adjustment matched to your specific screen material. Run at least one full test session with a real club before signing off on the installation.
Step 4. Estimate costs, options, and timelines
Budget planning for a golf simulator installation Boise project varies widely depending on launch monitor tier, AV components, and how much room buildout your space needs. A realistic total project cost includes hardware, software licensing, installation labor, and any electrical or framing work required before equipment goes in.
Treating hardware cost as your total budget without factoring in labor and buildout consistently leads to projects that stall mid-installation.
Budget ranges by system tier
Your system tier drives the majority of your total spend. Use the table below as a starting reference for Boise-area projects:
| Tier | Launch monitor example | Total installed range |
|---|---|---|
| Entry | Garmin R10 or similar | $5,000 - $10,000 |
| Mid-range | Uneekor EYE XO, Foresight GC3 | $15,000 - $30,000 |
| Premium | Full-swing commercial grade | $35,000 - $60,000+ |
These ranges include projector, impact screen, AV wiring, and professional installation labor. Room framing or dedicated electrical work adds to those figures depending on your starting point.
What affects your timeline
A straightforward install in a finished room with existing electrical typically takes two to four days for hardware mounting, software setup, and calibration. Rooms requiring framing, drywall, or new circuits add one to three weeks depending on contractor scheduling.
Ordering lead times on launch monitors and custom impact screens can run two to six weeks, so factor that into your project start date before committing to a completion target.
Next steps for your Boise simulator
You now have a clear picture of what a golf simulator installation Boise project actually involves: room dimensions, hardware compatibility, proper sequencing, and realistic budget ranges. The difference between a setup you use every week and one that sits unused usually comes down to how well the planning phase was handled before a single piece of equipment was ordered.
Start by measuring your intended space and writing down exact ceiling height, width, and depth. Then identify your primary use case and match a launch monitor tier to that goal before purchasing anything. If your room needs electrical work or framing, get those contractors scheduled early so hardware lead times and contractor availability line up.
When you're ready to move forward with a professional install, contact the Treasure Valley Solutions team to walk through your space and build a plan that fits your room, your goals, and your budget.
Need Expert Help?
Ready to implement these solutions in your own home or business?
Our Services
View All Services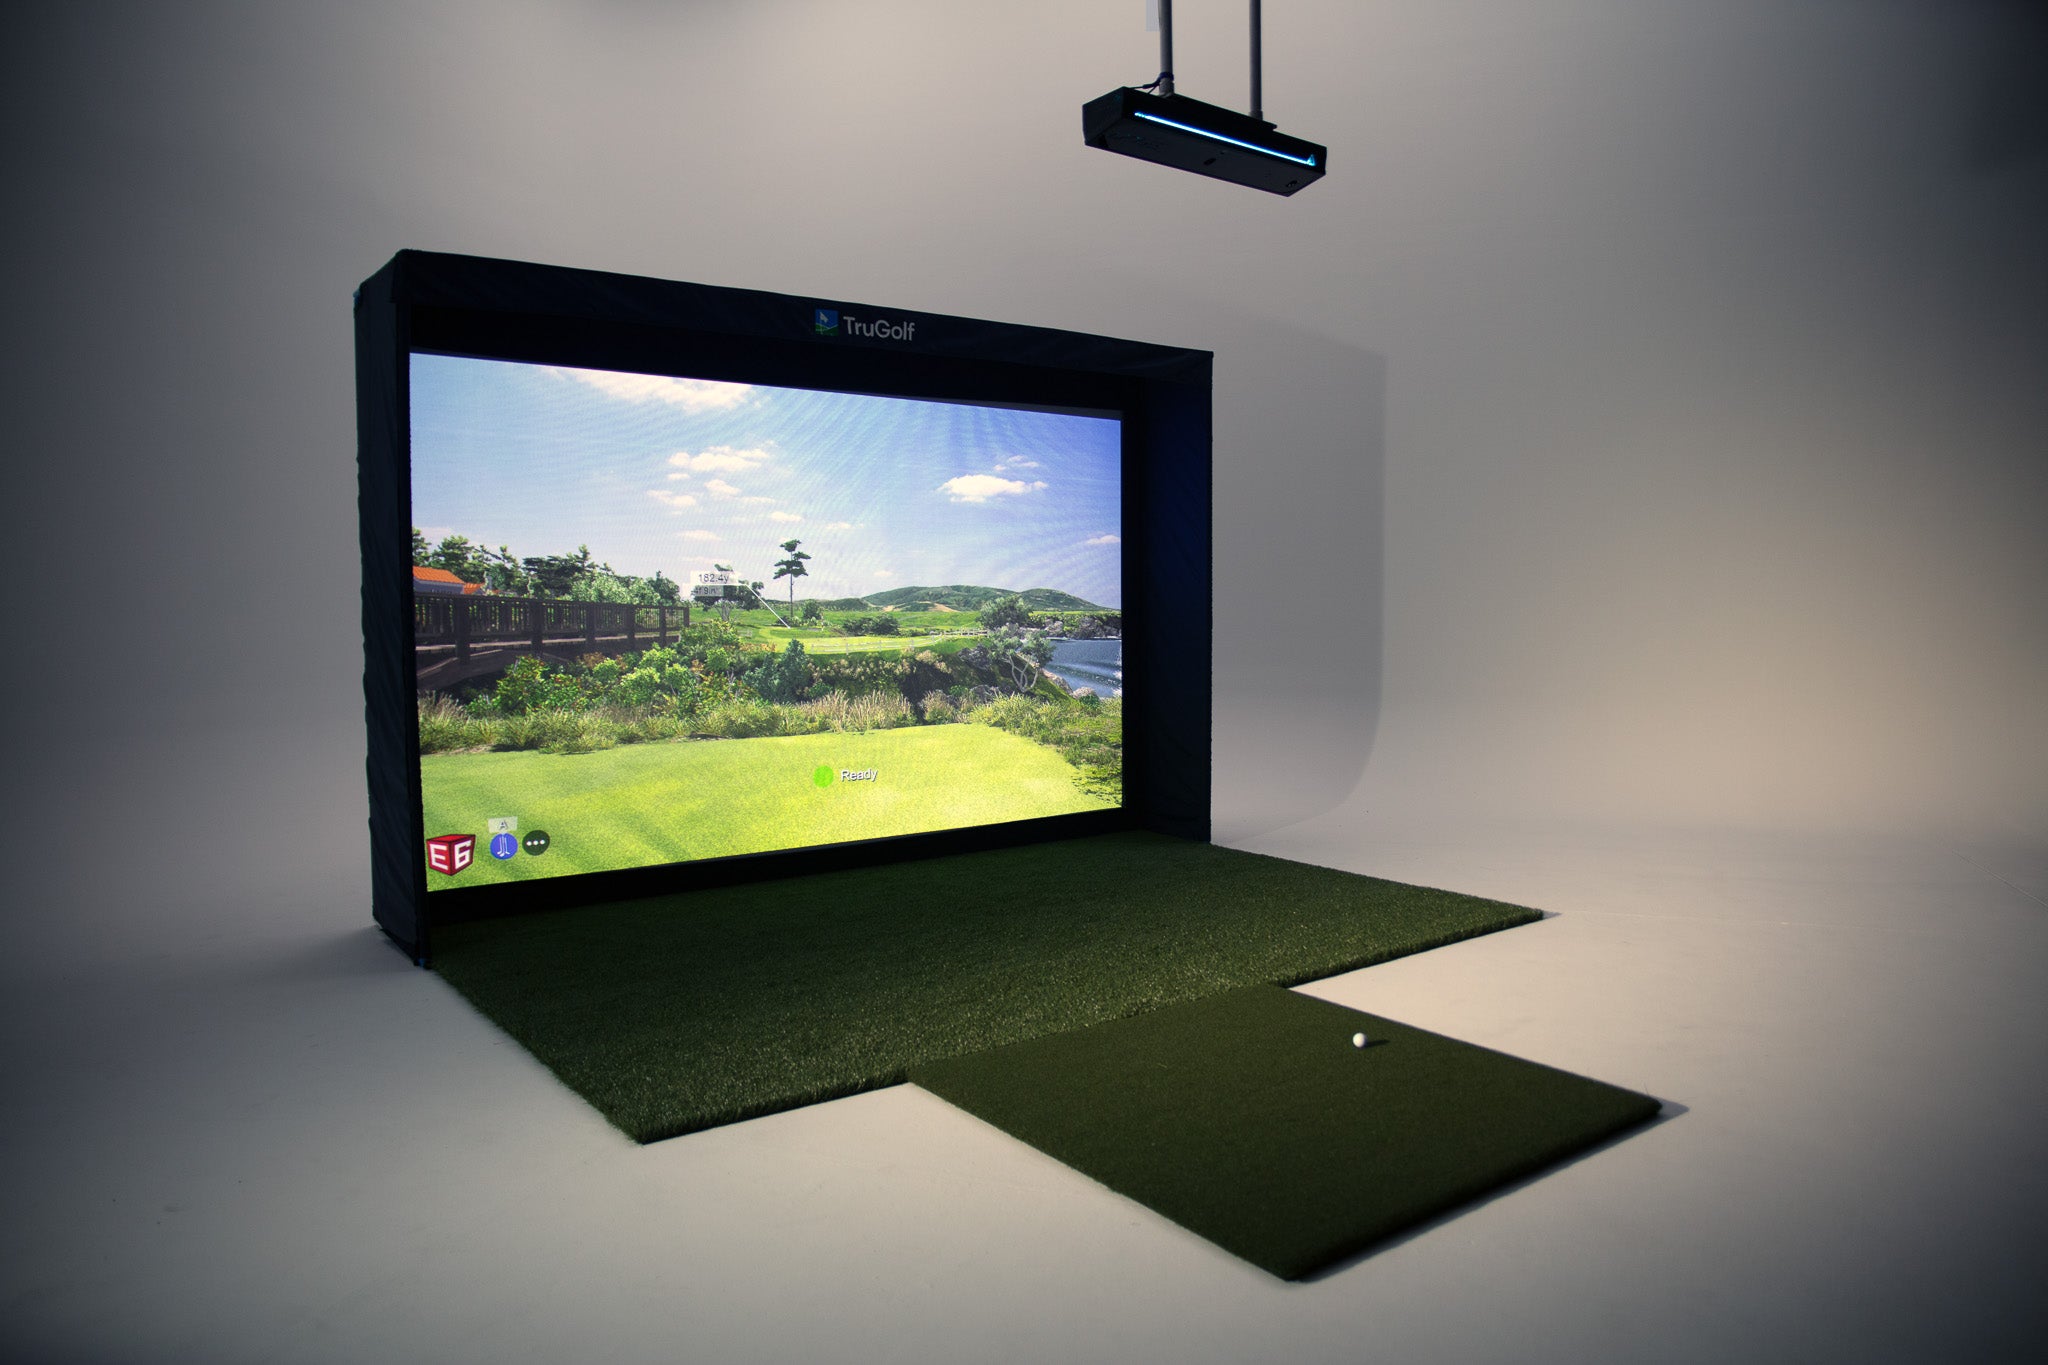
Serving the Treasure Valley
Local installation in your city