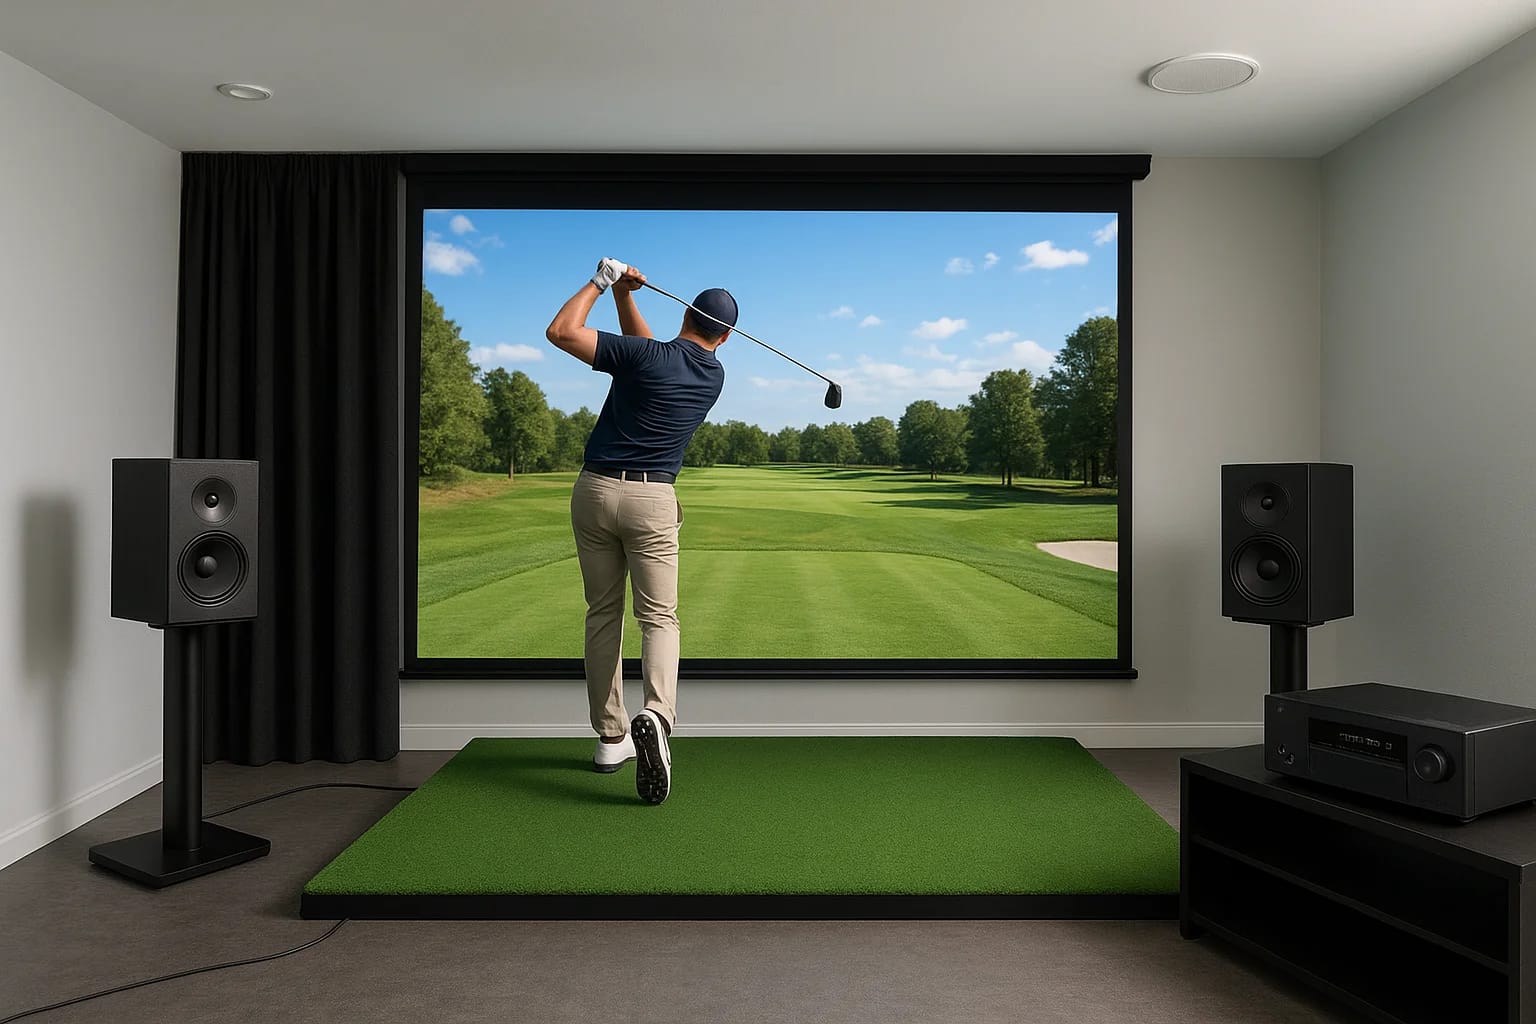
You've got the launch monitor, the impact screen, and maybe even a projector picked up. But the moment you hit that first drive and hear a flat, tinny "thwack" from a single speaker, you rea...
Golf Simulator Sound System Setup: Wiring & Placement
You've got the launch monitor, the impact screen, and maybe even a projector picked up. But the moment you hit that first drive and hear a flat, tinny "thwack" from a single speaker, you realize something's missing. A proper golf simulator sound system setup makes the difference between a room that feels like a video game and one that genuinely pulls you onto the course, complete with crowd noise, ball flight feedback, and ambient sound that fills the space the way it should.
The good news: if you plan for it now, you can build a sound system that handles both simulator sessions and movie nights without compromise. The challenge is that speaker placement, wiring, and equipment choices for a golf sim room don't follow the same rules as a standard living room setup. You're dealing with projector throw distances, impact screens, ceiling constraints, and equipment that needs to stay out of the swing path, all while keeping the audio immersive from every listening position.
At Treasure Valley Solutions, we design and install custom audio and home theater systems across the Boise and Meridian area, and golf simulator rooms have become one of our most requested projects. This guide walks you through everything we've learned, from speaker selection and positioning to wiring considerations and dual-purpose room planning, so you can get it right the first time.
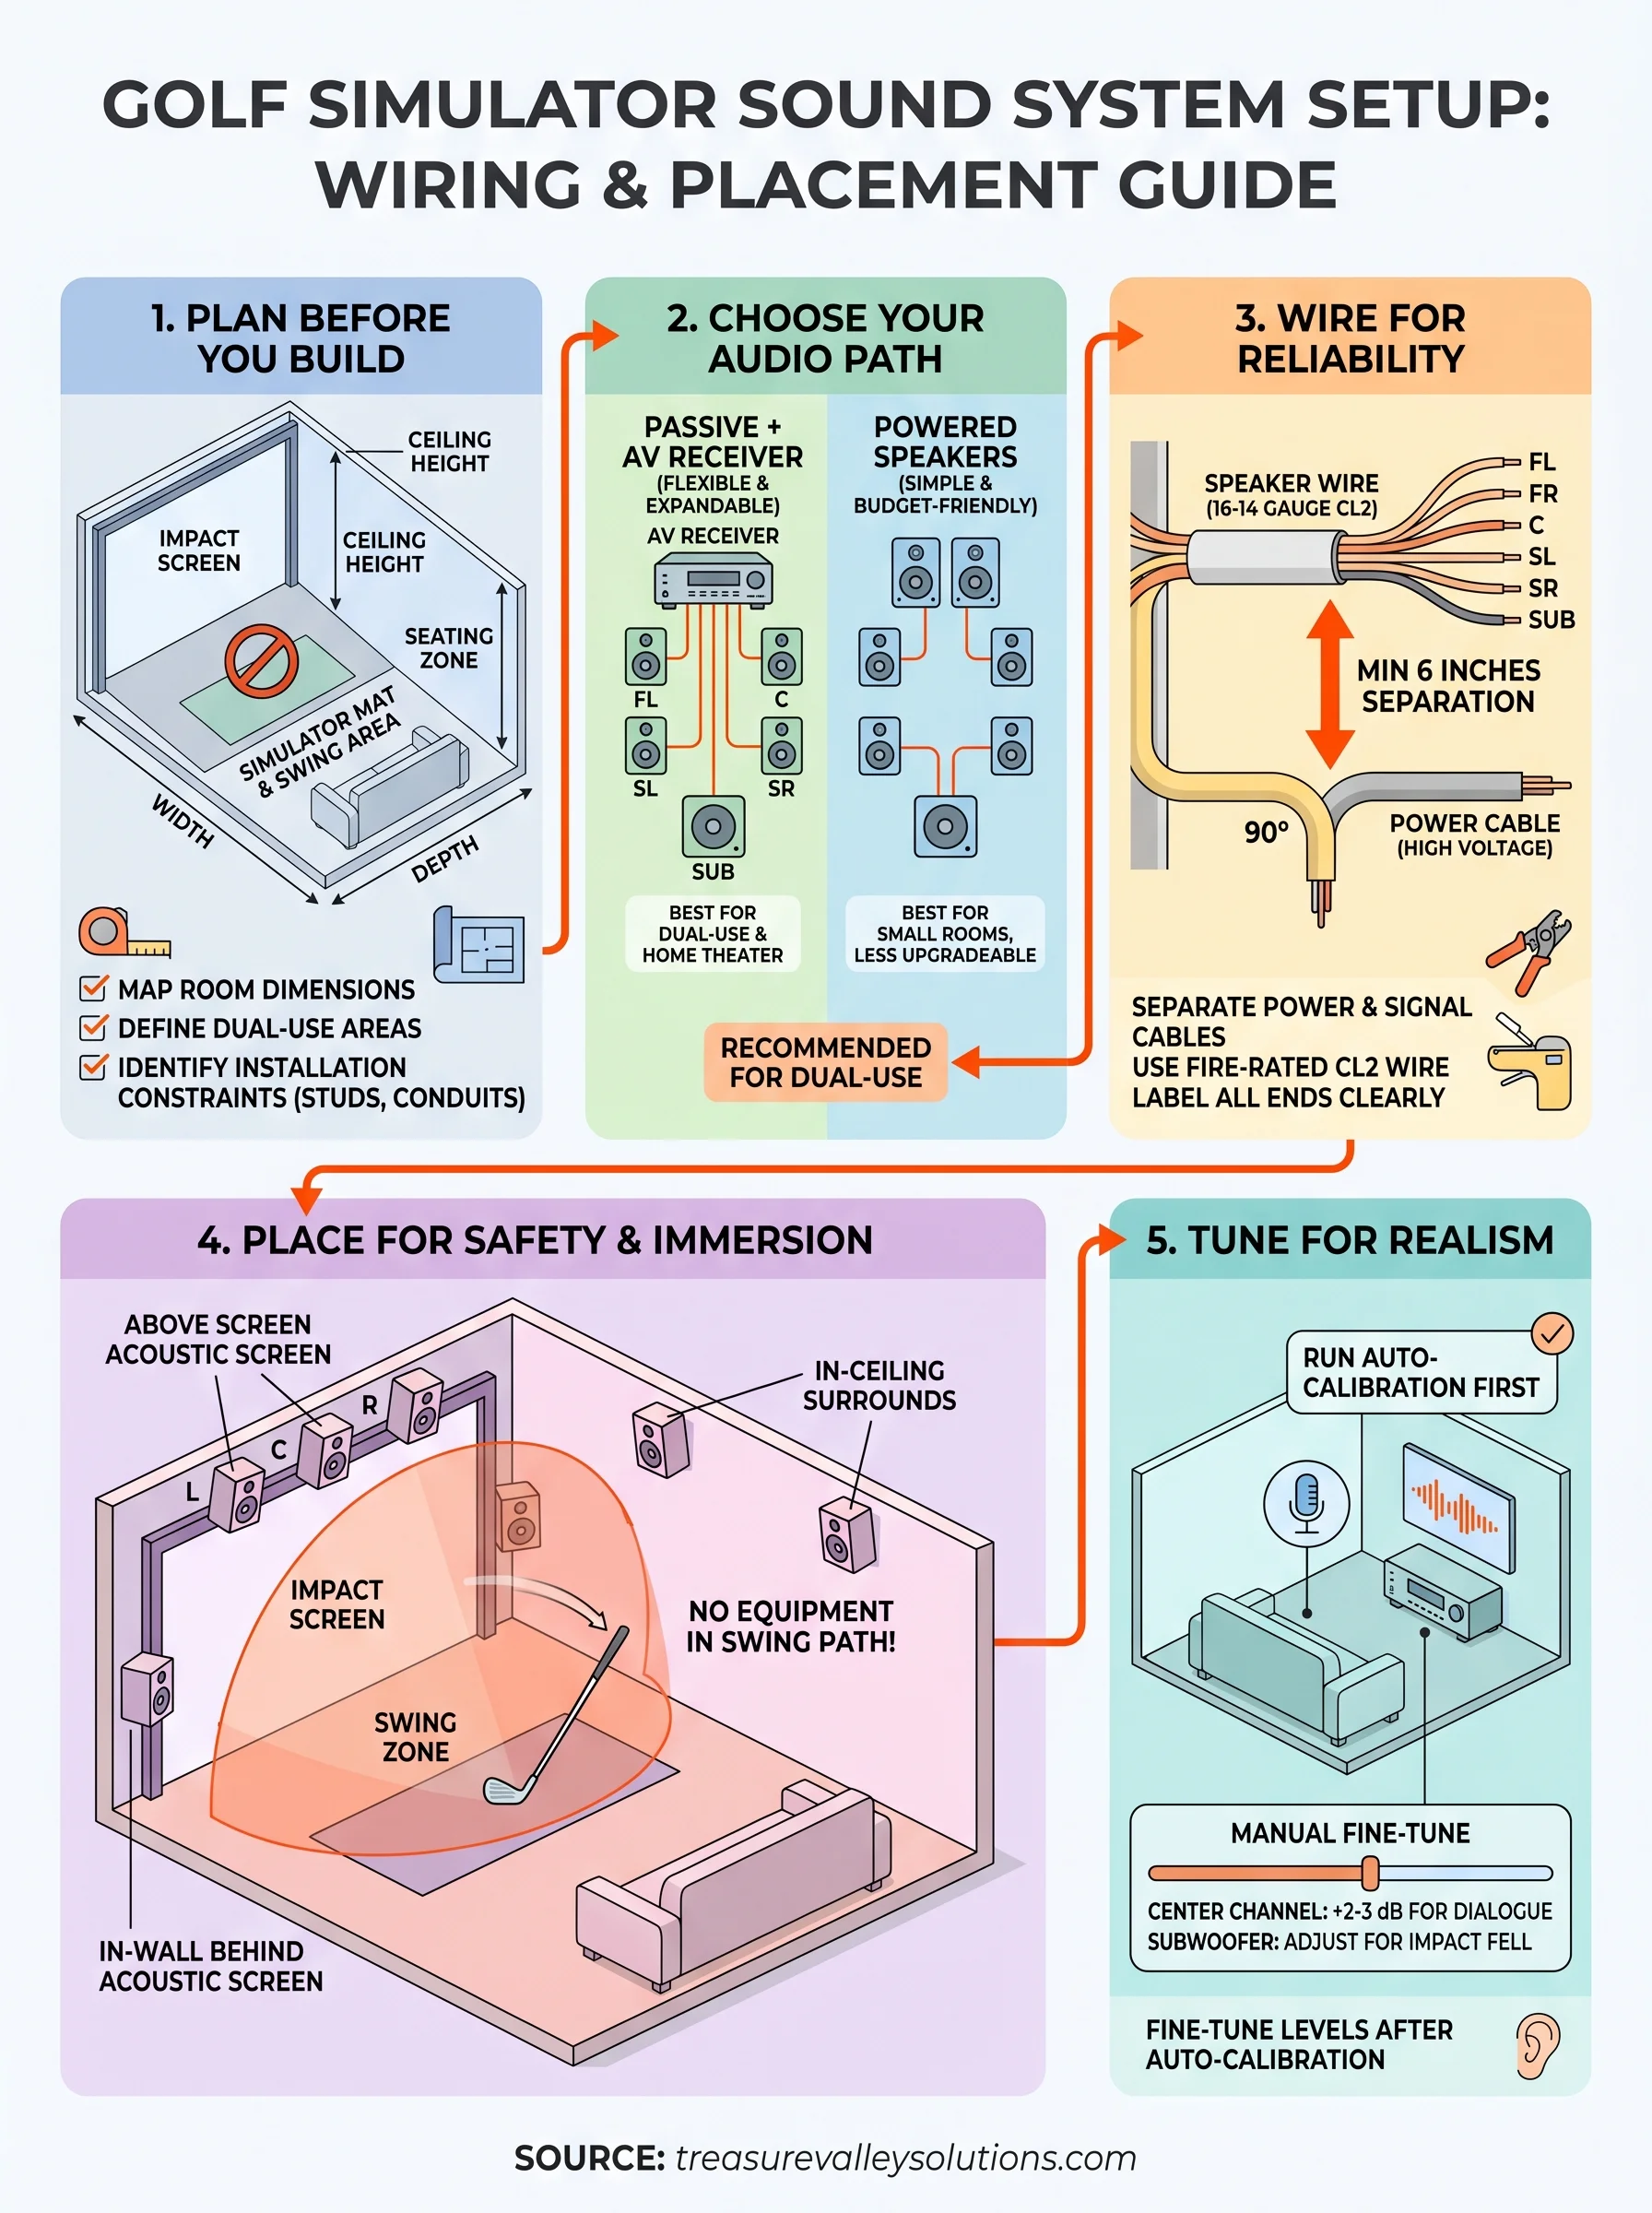
What to plan before you buy or run any wire
Before you spend a dollar on speakers or pull a single cable, you need a clear picture of how the room will be used and what physical limitations exist. Most golf simulator rooms also serve as home theaters, game rooms, or workout spaces, and each use case pulls your speaker placement and wiring plan in a slightly different direction. Getting alignment on this upfront saves you from tearing out walls later.
Map the room's dimensions and dual-use goals
Your room's ceiling height, width, and length directly control which speaker configurations will actually work. A standard 5.1 surround setup assumes a fixed listening position, but in a golf sim room you're standing, swinging, and moving around, so sound needs to cover a wider area. Measure the room fully, then note where the screen, projector, and simulator mat will sit before you decide on any speaker locations.
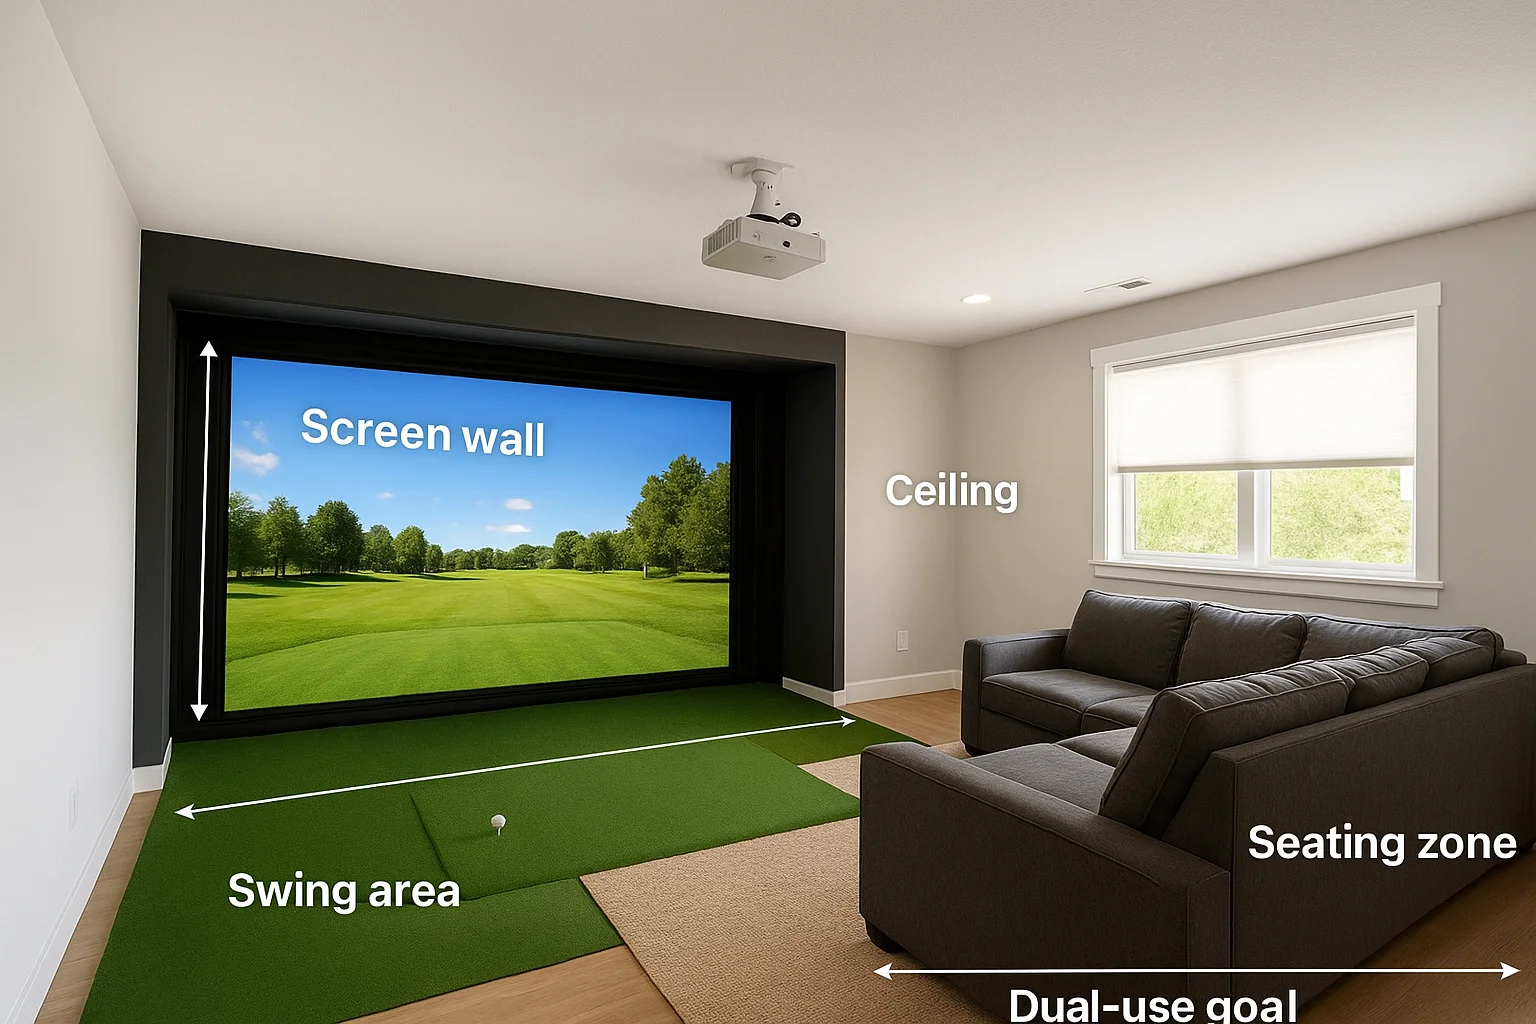
If you're building a dual-purpose space, map out both the golf sim layout and the seating layout on the same floor plan before committing to any speaker placement.
| Zone | Dimension | Notes |
|---|---|---|
| Screen wall | Width x height | Speaker clearance needed |
| Swing area | Depth from screen | Must stay equipment-free |
| Seating zone | Distance from screen | Primary listening position |
| Ceiling | Height | Overhead speaker feasibility |
Account for your installation constraints
Your golf simulator sound system setup also depends heavily on what's already in the walls. New construction gives you freedom to run wire before drywall goes up, but a finished basement or retrofit space requires careful planning around insulation, conduit access, and stud locations.
Knowing these constraints before you purchase equipment lets you choose speaker types and cable runs that actually fit your space. Check whether your room has a drop ceiling, a concrete slab floor, or existing home runs back to an AV closet, since each factor changes your wiring approach significantly.
Step 1. Choose the right audio path for your setup
Your golf simulator sound system setup starts with one foundational decision: do you run a passive speaker system driven by an AV receiver, or do you use powered (active) speakers with built-in amplification? Both approaches work, but the right choice depends on your room size, budget, and whether you want a full home theater experience alongside your simulator sessions.
Passive vs. powered speakers
Passive speakers paired with a quality AV receiver give you the most flexibility for a dual-purpose room. You can add a subwoofer, expand to 5.1 or 7.1 channels, and route everything through a single hub. Powered speakers cost less upfront and require fewer components, but they limit your upgrade path and rarely deliver the low-end punch that makes ball impact and crowd noise feel convincing.
| Option | Best for | Limitation |
|---|---|---|
| Passive + AV receiver | Dual-use rooms, home theater | Higher upfront cost |
| Powered speakers | Budget builds, small rooms | Limited expandability |
If the room will double as a home theater, start with an AV receiver setup. Adding a receiver later after drywall is up costs significantly more.
Match your receiver to your goals
Choose a receiver with at least 75 watts per channel and HDMI 2.1 support so it handles both your simulator software output and 4K movie playback without switching gear. Dolby Atmos support is worth the added cost if you plan to wire in ceiling speakers now or later.
Step 2. Wire the system so it stays reliable
Good wiring separates a golf simulator sound system setup that works every session from one that cuts out unexpectedly. Before you pull a single cable, plan your wire routes and termination points on paper so every run lands exactly where you need it, without unnecessary splices or sharp bends that degrade signal quality.
Run dedicated speaker wire to each location
Use 16-gauge or 14-gauge CL2-rated in-wall speaker wire for all permanent runs, which meets fire code requirements for in-wall installation. Label both ends of every cable at the time of installation using a consistent naming system:
- FL = Front Left
- FR = Front Right
- C = Center
- SL = Surround Left
- SR = Surround Right
- SUB = Subwoofer
Pull 10 to 15 percent more wire than your measured run length to give yourself slack at each termination point.
Keep power and signal cables separated
Low-voltage speaker wire and high-voltage power cables should never share the same conduit or bundle. Running them together introduces electromagnetic interference that appears as hum or noise in your speakers. Maintain at least 6 inches of separation wherever runs travel parallel to each other.
Where cables must cross, route them at 90-degree angles instead of running them side by side. This simple step keeps audio quality clean without adding any cost to your installation.
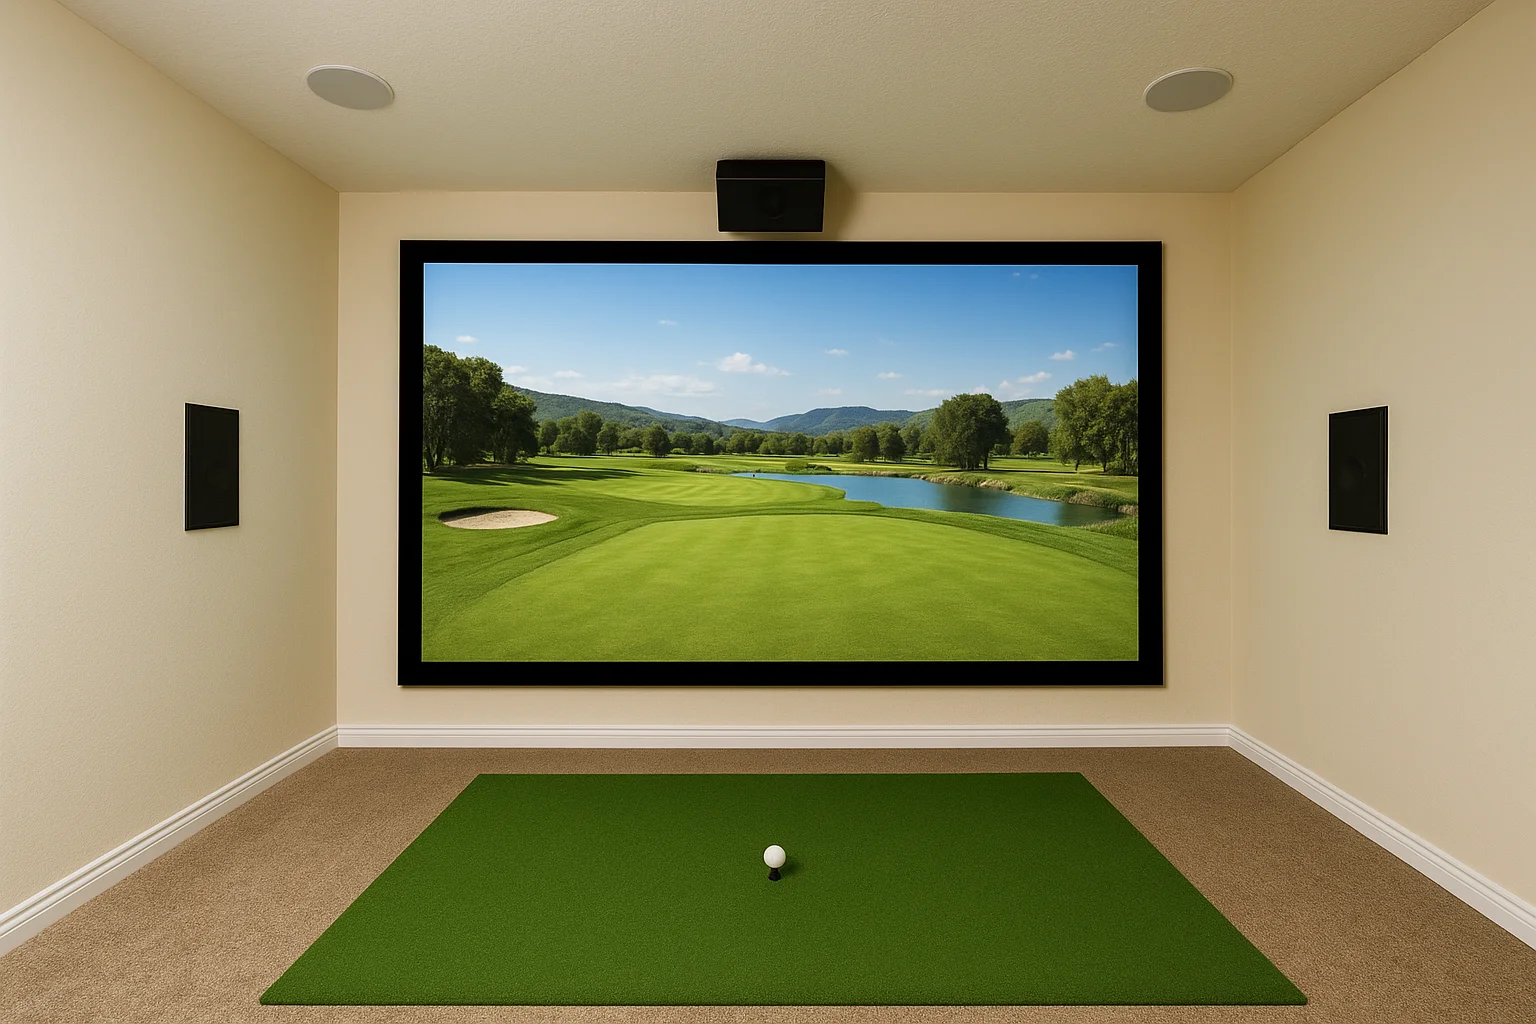
Step 3. Place speakers for impact safety and immersion
Speaker placement in a golf simulator room follows one rule that standard home theater guides never mention: nothing goes in the swing path. Your golf simulator sound system setup needs to keep every speaker either flush-mounted, ceiling-mounted, or positioned well outside the active hitting zone, which typically extends three to four feet in every direction from the mat.
Treat the swing zone as a no-equipment area and design your speaker layout around it before you choose speaker models.
Position front speakers around the impact screen
Left, center, and right speakers belong on the screen wall, but they cannot sit directly in front of the impact screen where a mis-hit or rebound could reach them. Mount them inside the wall cavity behind an acoustically transparent screen fabric, or bracket them above the screen at a 10 to 15 degree downward angle toward the listening position.
Common front speaker mounting options:
- In-wall cavity behind acoustically transparent screen fabric
- Above-screen bracket mount angled 10 to 15 degrees downward
- Ceiling-mount near the screen wall, directed toward the seating zone
Handle surrounds without blocking the swing path
In-ceiling speakers are the safest surround option for a simulator room because they stay completely out of the swing path. Place surround speakers directly above or slightly behind the seating position, angled toward the primary listening area to keep sound enveloping without putting any hardware in a position a club could reach.
Step 4. Tune audio for clear dialogue and realistic shots
Once your golf simulator sound system setup is physically installed, the last step is calibration. Raw speaker output without tuning often produces muddy low-end from the subwoofer, dialogue that gets buried under ambient sound, and surrounds that feel either too loud or too distant. Spending 30 minutes on calibration changes the entire experience.
Run your receiver's auto-calibration first
Most modern AV receivers include an automatic room correction tool such as Audyssey, YPAO, or MCACC. Place the included microphone at your primary listening position, run the calibration sequence, and let the receiver measure each speaker's distance, level, and frequency response. This gives you an accurate starting baseline that accounts for your room's actual dimensions and acoustic properties.
Run auto-calibration with the room as quiet as possible. HVAC noise and outside sound will skew the microphone readings.
Fine-tune levels manually after auto-calibration
Auto-calibration rarely nails everything on the first pass, so manually check each channel level using your receiver's test tone. Set your center channel 2 to 3 dB higher than the front left and right to keep commentary and course audio clear during simulator sessions. Reduce subwoofer output slightly if ball impact sounds feel exaggerated in the room.
Next steps
A well-executed golf simulator sound system setup comes down to decisions made before the first wire gets pulled: room layout, speaker path, wiring standards, placement rules, and calibration all build on each other. Skip one step and you'll feel it every session. Follow the process outlined here and you end up with a room where every shot, ambient sound, and crowd reaction lands exactly where it should.
If you're planning a simulator room in the Boise or Meridian area and want professional design and installation, Treasure Valley Solutions handles custom audio and home theater projects from initial planning through final tuning. We've built dual-purpose simulator rooms where the sound system works just as hard for movie nights as it does for 18 holes. Take a look at examples of our completed projects to see what a finished installation looks like, or reach out to our team to talk through your specific room.