You just bought a Kwikset smart lock or maybe you installed one months ago and lost the manual. Now you need to program a new user code, reset the lock, or fix an issue that has you stuck. The printed...
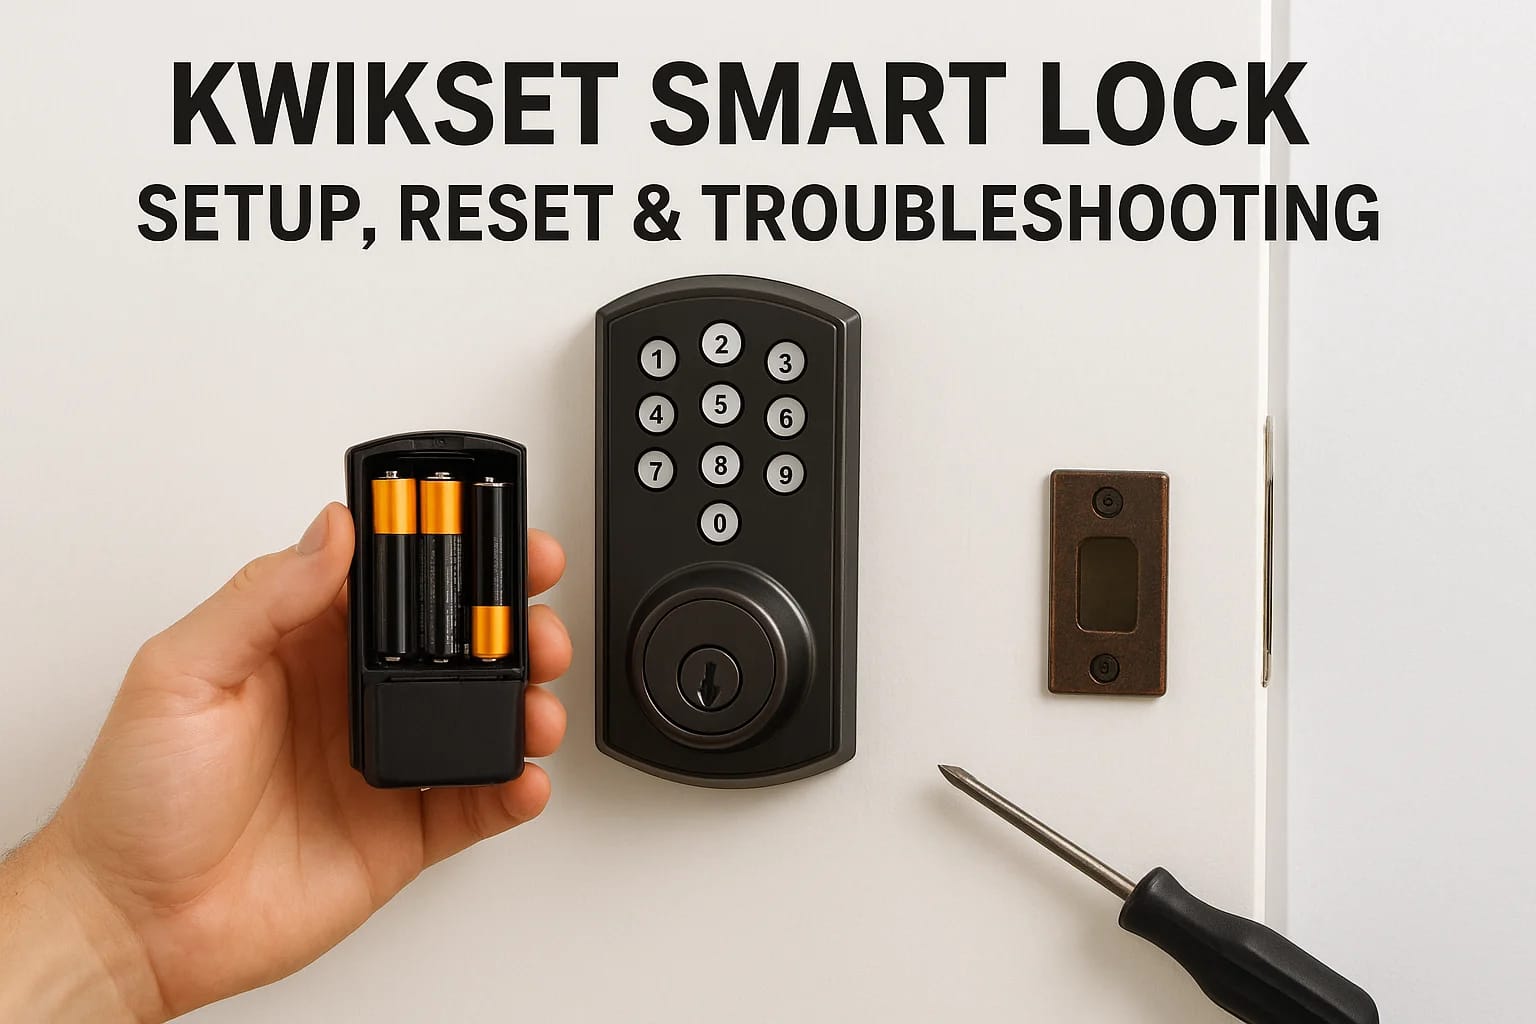
Kwikset Smart Lock Manual: Setup, Reset & Troubleshooting
You just bought a Kwikset smart lock or maybe you installed one months ago and lost the manual. Now you need to program a new user code, reset the lock, or fix an issue that has you stuck. The printed instructions are gone and you can't remember which model you own. This happens more than you think.
Finding the right manual for your specific Kwikset model and understanding how to use it solves your problem. You need clear instructions for installation, programming codes, factory resets, and common fixes. No confusing tech jargon or vague steps that leave you guessing.
This guide walks you through everything. You'll learn how to identify your exact lock model, download the correct manual, install your lock properly, program and manage user codes, and troubleshoot the most common issues. Each section gives you specific steps you can follow right now to get your Kwikset smart lock working the way you need it to.
What you need before you start
You need a few basic tools and pieces of information ready before you install or troubleshoot your Kwikset smart lock. Having everything prepared saves time and prevents you from stopping mid-installation to hunt for a screwdriver or your lock's model number. Most people have these items already, but double-check your toolkit now to avoid frustration later.
Tools and materials
Your installation requires only standard household tools. You need a Phillips head screwdriver (the most common type), and some Kwikset models also need a flathead screwdriver for minor adjustments. Keep fresh AA or AAA batteries on hand (check your specific model requirements). A pencil helps you mark mounting holes accurately, and painter's tape protects your door finish while you work.
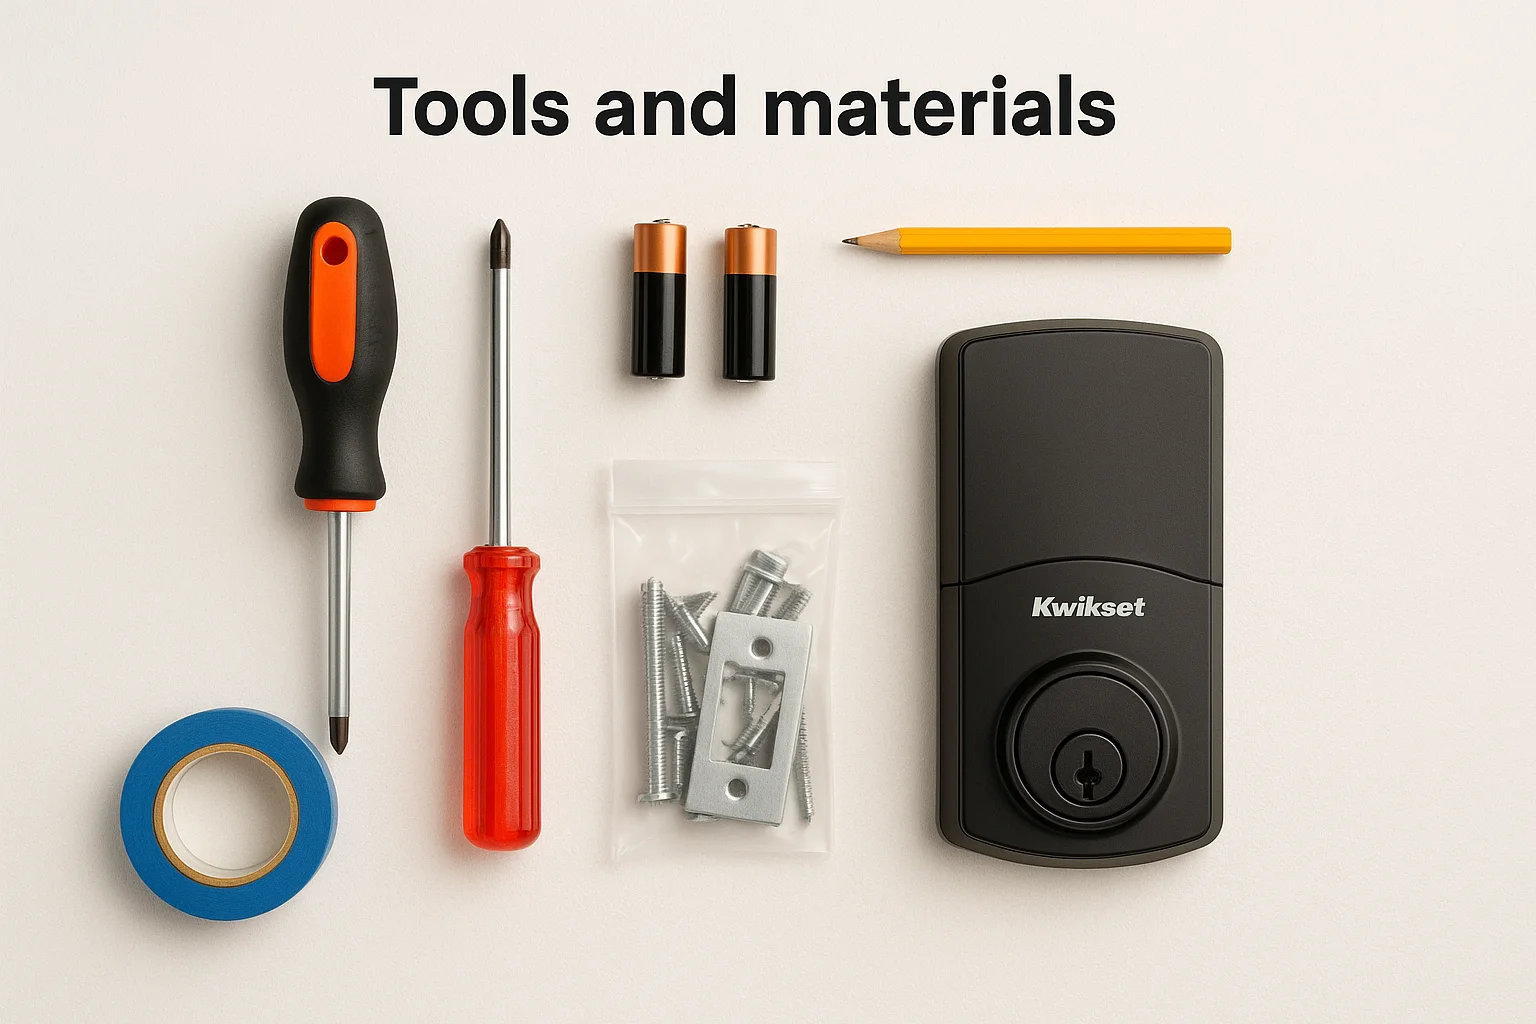
The lock package includes all mounting hardware, strike plates, and templates. Your door needs an existing 1-inch or 1-1/2-inch cross bore (the large hole) and a 2-1/8-inch edge bore (the latch hole). Most standard doors already have these from a previous deadbolt.
Information to gather
Write down your lock's model number before you start. You find this on the product box, the instruction sheet inside, or stamped on the lock body itself. The model number looks like "Halo 939" or "SmartCode 917" and determines which kwikset smart lock manual you need.
You cannot program user codes or connect your lock to Wi-Fi without the correct manual for your specific model.
Check if your door opens inward or outward and whether the lock sits on the left or right side when you stand outside. This information matters during installation because you need to orient the lock correctly for your door's swing direction.
Step 1. Identify your lock model and find its manual
Your Kwikset lock's model number tells you which manual you need and determines what features your lock supports. Every Kwikset smart lock has a unique model identifier printed somewhere on the product or packaging. Finding this number takes less than two minutes and prevents you from downloading the wrong instructions or following steps that don't apply to your hardware.
Where to find your model number
Check the product box first if you still have it. Kwikset prints the model number on a label on the box's end panel, usually near the barcode. The label shows both the model name (like "Halo" or "SmartCode") and a three-digit model number (like 939, 917, or 270).
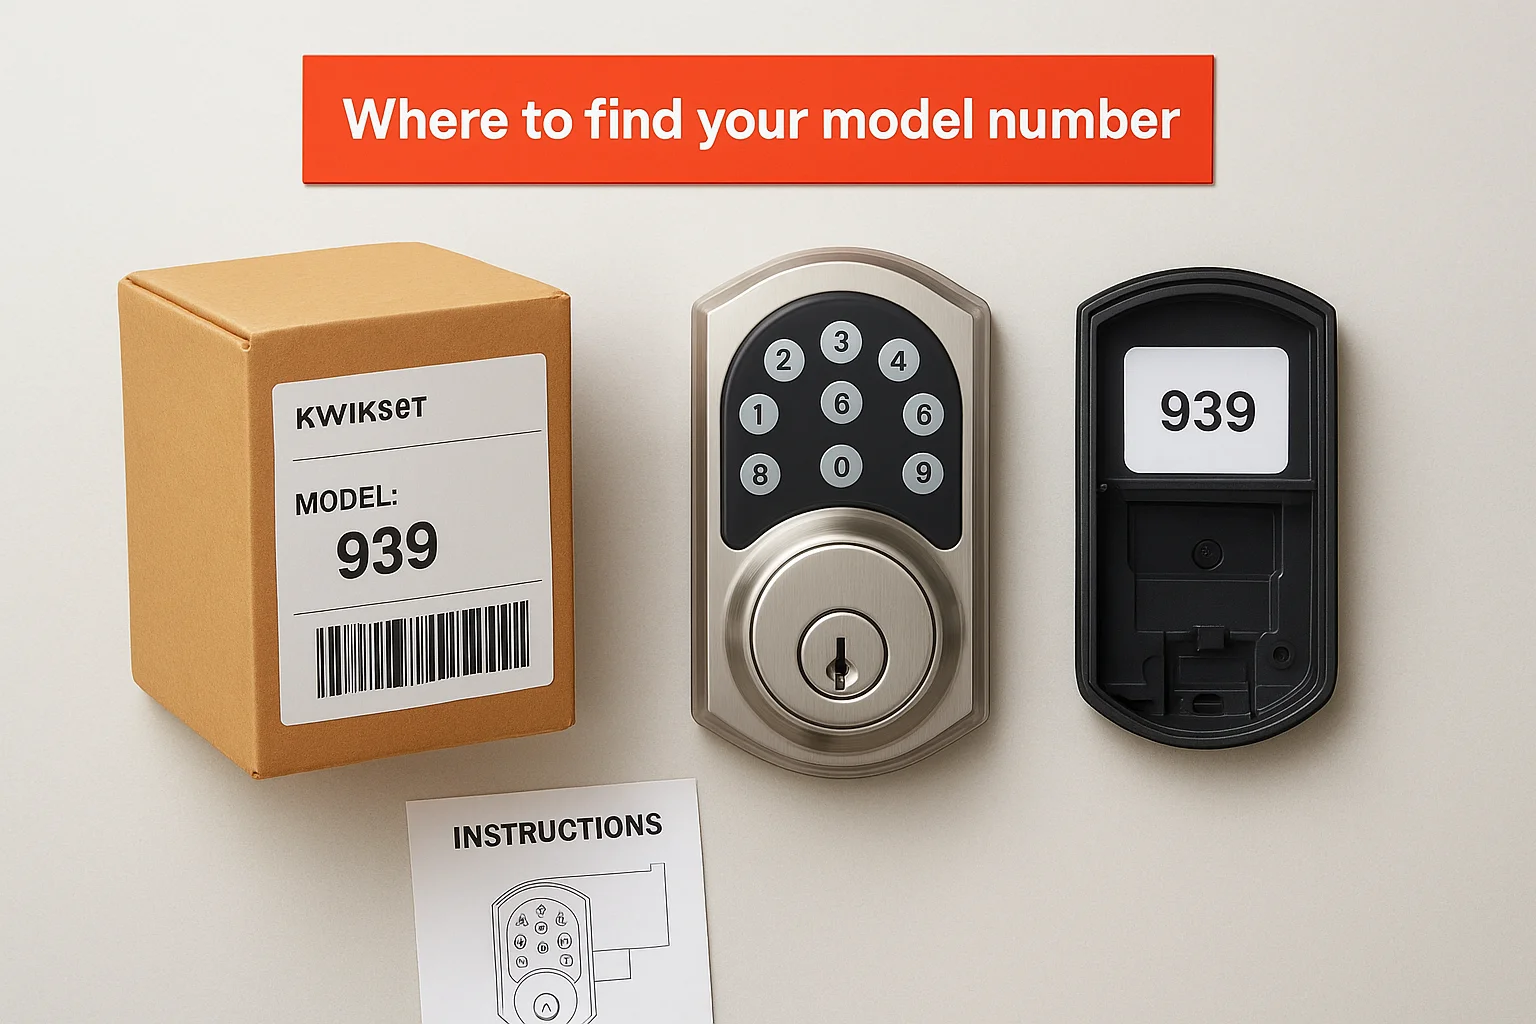
Look at the lock body itself if you discarded the box. Remove the battery cover on the interior side of your door. You see the model number stamped on a small white label inside the battery compartment or printed directly on the metal or plastic housing. Common models include the SmartCode 888, SmartCode 913, SmartCode 914, SmartCode 917, Halo 939, and Convert 910.
The instruction sheet included with your lock also lists the model number at the top of the first page. If you kept any paperwork from installation, check there before taking apart your lock.
Download the correct manual
Visit the official Kwikset support page at kwikset.com/support to download your kwikset smart lock manual. The site organizes manuals by product line and model number. Select your lock type (deadbolt, lever, handleset) and then choose your specific model from the dropdown menu. Each manual downloads as a PDF file you can save to your phone or computer for quick reference.
The manual contains your lock's specific programming button sequence, which varies between models and cannot be guessed.
Keep both the installation guide and the user guide if your model has separate documents. The installation guide covers mounting and wiring, while the user guide explains programming codes and troubleshooting.
Step 2. Install and hand your Kwikset smart lock
Your kwikset smart lock manual contains a step-by-step installation guide specific to your model, but the basic process stays consistent across most Kwikset smart locks. You mount the exterior assembly first, then attach the interior assembly, and finally insert batteries to power the lock. The entire installation takes 30 to 45 minutes if your door already has the correct holes drilled from a previous deadbolt.

Prepare your door
Remove your old deadbolt completely before you start. Unscrew the interior mounting screws, pull both lock halves away from the door, and remove the latch mechanism from the door edge. Clean any dirt or debris from the holes so your new lock sits flush against the door surface.
Verify your door has a 1-inch cross bore (some models need 1-1/2 inches) and a 2-1/8-inch edge bore. Measure these holes with a tape measure or ruler. If your holes match the specifications in your manual, you skip to installation. Wrong-sized holes require drilling, which most people hire a locksmith to handle correctly.
Insert the latch mechanism from your Kwikset package into the edge bore. The flat side of the latch faces the direction your door closes (the strike plate side). Secure the latch faceplate with the two provided screws, making sure the latch sits completely flush with the door edge.
Mount the exterior assembly
Slide the exterior lock cylinder through the large cross bore hole from outside your door. The tailpiece (the long metal piece sticking out the back) needs to fit through the slot in your latch mechanism. Rotate the cylinder until the tailpiece drops into place and the cylinder sits flat against the door.
Thread the mounting plate onto the tailpiece from inside your door. The plate has alignment guides that match slots on the tailpiece. Push the plate firmly against the door's interior surface and hold it steady while you complete the next step.
Your lock will not function properly if the tailpiece does not engage correctly with the latch mechanism.
Install the interior assembly and batteries
Position the interior lock assembly over the mounting plate. Match the screw holes on the assembly with the holes in the mounting plate. Most models have two mounting screws that thread through the interior assembly into the plate. Tighten these screws firmly but do not overtighten, which can crack plastic housings or strip threads.
Insert AA batteries into the battery compartment (check your manual for the exact battery type and quantity). Your lock beeps or flashes LED lights when powered correctly. Test the lock immediately by pressing the lock button and entering the default programming code shown in your manual. The deadbolt should extend and retract smoothly without binding or sticking.
Step 3. Program, reset, and manage user codes
Your Kwikset smart lock ships with a default programming code printed in your kwikset smart lock manual, typically on the instruction sheet inside the box. This master code (often called the programming code or master code) controls all user code management functions. You need this code to add new users, delete old codes, or reset your lock to factory settings. Most Kwikset models use a 4 to 8 digit programming code that you should change immediately after installation for security.
Create your first user code
Press the program button once (location varies by model but sits inside the battery compartment or on the back panel). The lock beeps once and the status LED flashes green. You have 30 seconds to complete the next steps before the lock exits programming mode.
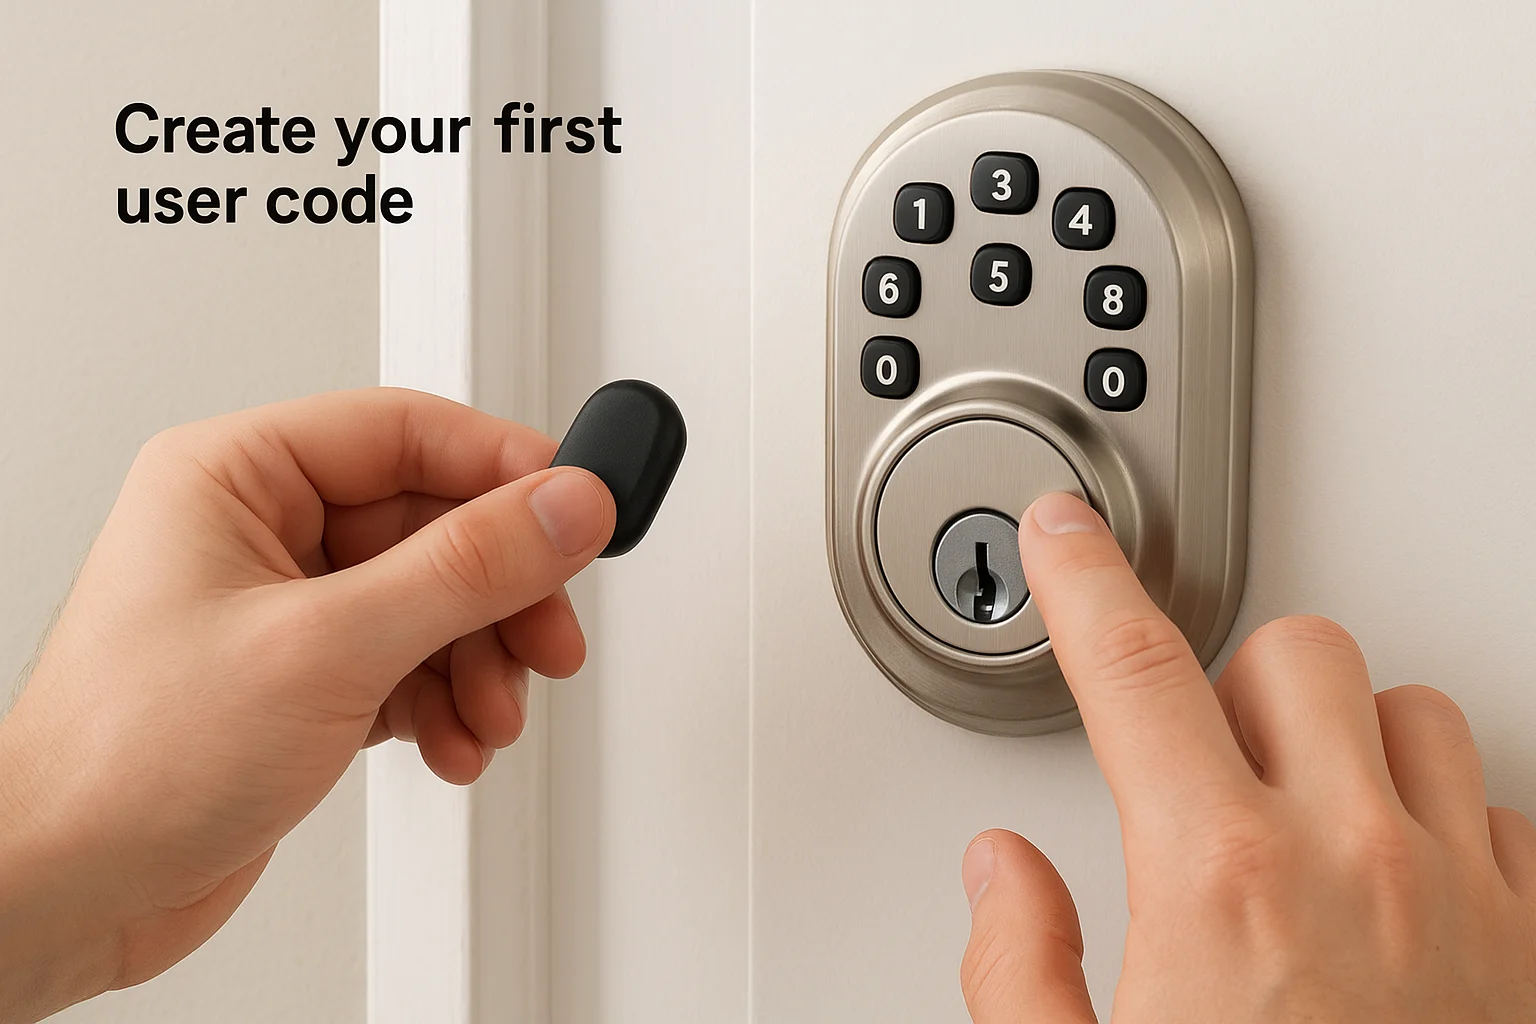
Enter your programming code followed by the lock button. The lock beeps twice to confirm you entered the correct programming code. Immediately enter a new user code between 4 and 8 digits, then press the lock button again. The lock beeps once and flashes green when it saves your new code successfully.
Test your new code right away by entering the digits and pressing the lock button. The deadbolt extends if you programmed the code correctly. Enter the code again and press the unlock button to retract the deadbolt. Your lock accepts up to 30 unique user codes on most models (check your manual for your specific model's limit).
Write down all user codes in a secure location separate from your home, because you cannot retrieve stored codes from the lock itself.
Add multiple user codes
Repeat the programming sequence for each additional user. Press the program button once, enter your programming code + lock button, then enter the new user code + lock button. Each code must use a unique number sequence and you cannot duplicate codes already stored in the lock.
Assign specific codes to family members, trusted neighbors, or service providers who need regular access. This system lets you track who enters your home and allows you to delete individual codes later without changing everyone's access. Number your codes sequentially (like 1234, 2345, 3456) or use memorable dates like birthdays for easier management.
Perform a factory reset
A factory reset erases all user codes and returns your lock to its original default settings. You need this when you move into a new home with an existing Kwikset lock or when you forget your programming code.
Press and hold the program button for 30 seconds until you hear one long beep. The lock deletes all codes immediately. Some models require you to remove the battery, wait 10 seconds, then reinstall the battery while holding the program button. Check your manual for your model's exact reset procedure because this varies significantly between different Kwikset product lines.
Delete individual user codes
Press the program button once, then enter your programming code + lock button. Press the program button again. Enter the specific user code you want to delete, then press the lock button. The lock beeps twice and flashes red when it removes that code from memory.
You cannot delete your programming code using this method. Deleting the programming code requires a full factory reset that wipes all stored data. This protects your lock from unauthorized users who might gain temporary access and try to remove the owner's master control.
Step 4. Troubleshoot common Kwikset lock issues
Your Kwikset smart lock stops working correctly for several predictable reasons, and most problems take less than five minutes to fix once you identify the cause. The troubleshooting section in your kwikset smart lock manual lists model-specific error codes and beep patterns, but the core issues affect nearly all electronic deadbolts the same way. You diagnose problems by testing each component systematically rather than replacing parts randomly or calling a locksmith immediately.
Lock won't respond to user codes
Check your battery level first because low power causes the most common code recognition failures. Press any button on your keypad and watch the LED indicator. A red flash or dim light means your batteries need replacement right now. Install fresh AA batteries (most models use four) and test your code again.
Your lock rejects valid codes when the door alignment shifts and prevents the deadbolt from extending fully. Close your door and manually turn the interior thumb turn. The deadbolt should slide smoothly into the strike plate without force. Binding or resistance indicates your door sagged or the strike plate moved. Loosen the strike plate screws slightly and adjust the plate position until the bolt enters cleanly, then retighten the screws.
A lock that beeps three times and flashes red after code entry always indicates a misalignment issue, not a programming problem.
Deadbolt jams or doesn't extend
Remove the interior lock assembly and inspect the tailpiece connection to your latch mechanism. The tailpiece needs to sit completely flush inside the latch slot without gaps. Debris or improper installation causes the tailpiece to slip out of position during operation. Clean the connection points with a dry cloth and reseat the tailpiece firmly.
Test your exterior cylinder by turning it manually without batteries installed. The cylinder should rotate smoothly through a full 180-degree turn in both directions. Grinding or stopping indicates internal damage that requires cylinder replacement (most Kwikset models sell replacement cylinders separately for around $30).
Batteries drain in less than six months
Your lock uses excessive power when the bolt encounters resistance during every lock/unlock cycle. The motor works harder to overcome friction and depletes batteries three times faster than normal. Apply a small amount of graphite lubricant (never oil-based products) to the deadbolt and latch mechanism. Cycle the lock ten times to distribute the lubricant evenly.
Disable unnecessary features like audible beep confirmations or reduce the LED brightness through your lock's programming menu (check your manual for the specific button sequence). These settings drain minimal power individually but add up to weeks of battery life when disabled. Most users extend battery life from four months to eight months by adjusting just two settings.
Keypad buttons don't respond
Clean your keypad surface with a slightly damp microfiber cloth to remove dirt, oils, and residue that block the touch sensors. Let the keypad dry completely (wait five minutes) before testing again. Moisture under the keypad membrane causes buttons to register multiple presses or fail to register at all.
Press the program button inside your lock once to wake the system if your keypad stays dark after button presses. Some models enter a sleep mode after 30 days of inactivity and require a manual wake command from the program button before the keypad reactivates.

Next steps
You now have everything you need to install, program, and troubleshoot your Kwikset smart lock using your kwikset smart lock manual and the steps in this guide. Save your manual PDF to your phone so you can reference model-specific instructions anytime you need them. Keep your programming code written down in a secure location separate from your home.
Test your lock's basic functions every month by entering each active user code and checking battery levels. Replace batteries before they drop below 25% capacity to prevent lockouts. Schedule a full system check twice per year where you verify all codes work correctly and the deadbolt extends smoothly without binding.
Professional installation guarantees your lock works correctly from day one and integrates seamlessly with your existing smart home systems. Contact Treasure Valley Solutions for expert smart lock installation and programming throughout the Boise area.